

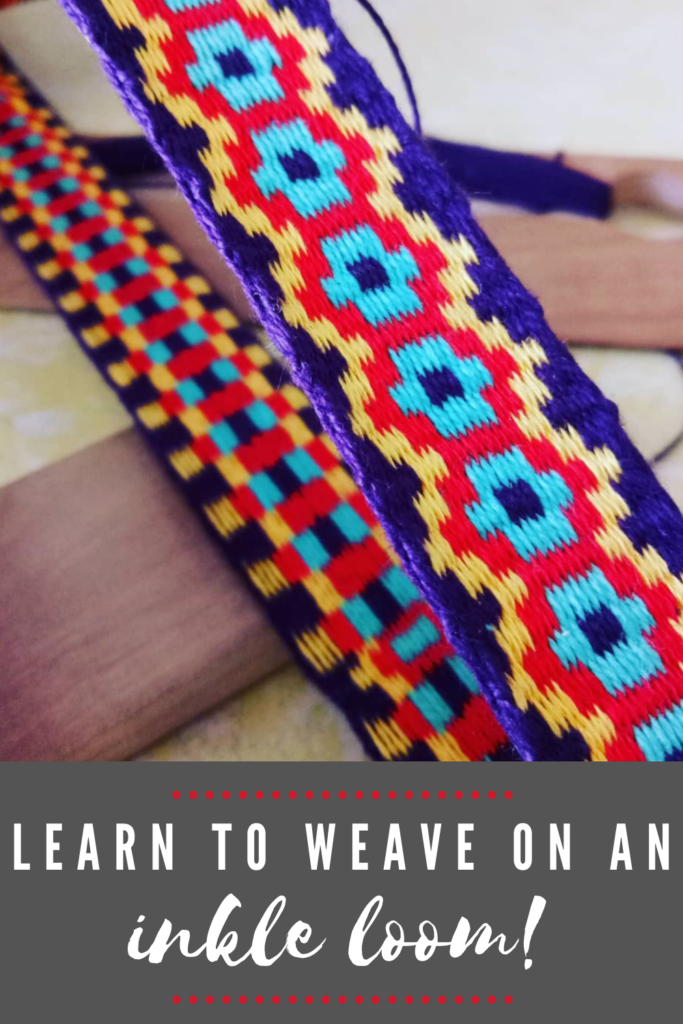
Have you ever wondered how to weave on an inkle loom—what it is, how it works, and what kinds of beautiful bands you can create with it? You’re in the right place!
An inkle loom is a simple, portable loom that’s perfect for beginners and experienced weavers alike. It’s designed for weaving strong, narrow bands that can be used for everything from belts and bag straps to decorative trims. In this post, I’ll walk you through what an inkle loom is, how to set it up, and what you can weave on it—so you can start your own inkle weaving journey with confidence!
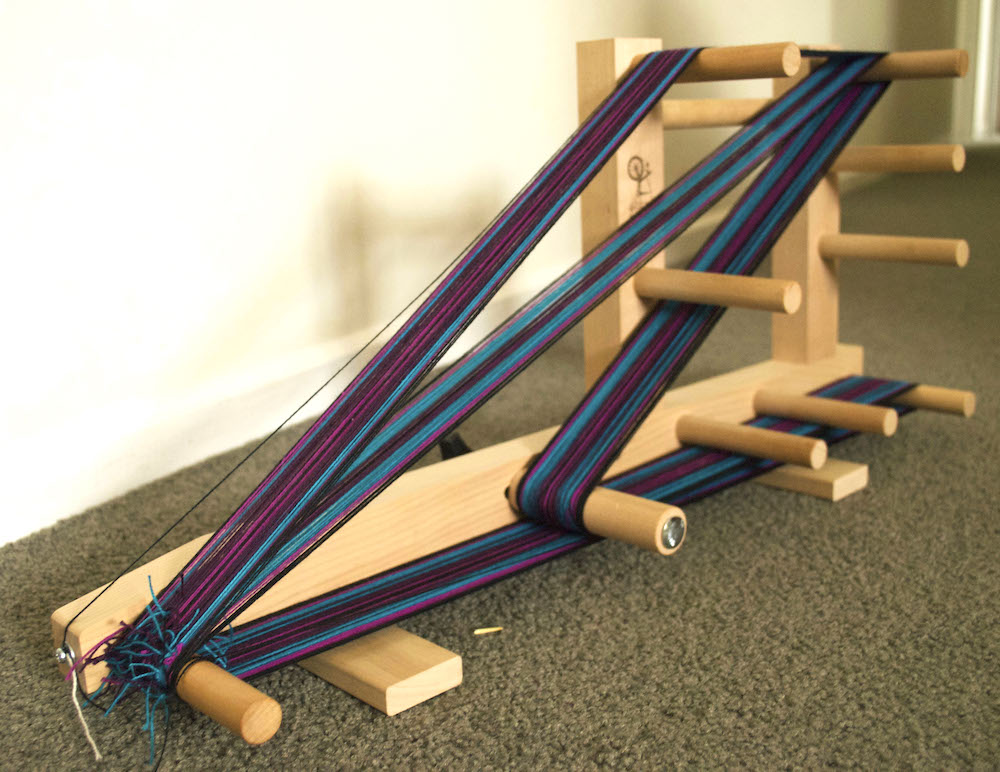
An inkle loom is basically a wooden frame with pegs for your warp to wind around and be tensioned on. There is also an adjustable tensioning peg to release or increase tension.
*This post contains affiliate links. For more information please see my disclosure policy.
Once you’ve wound on your warp, you create an extra shed for plain weave by using heddles to pick up threads. By the time you’re ready to weave, you will have shed 1 and shed 2 or heddled and unheddled threads. Pretty simple!
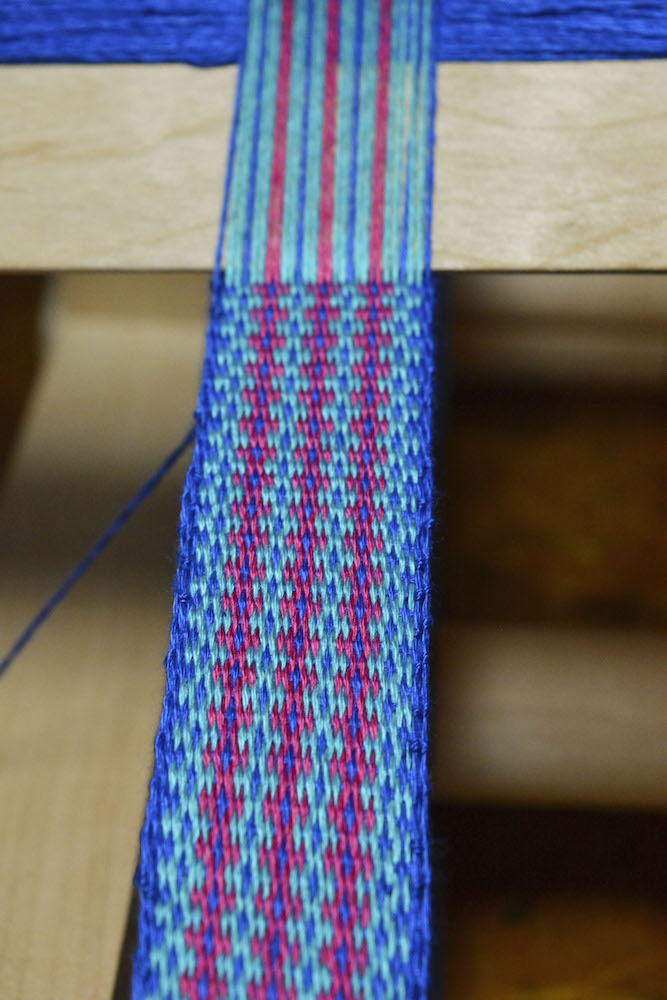
The weave structure that you use on an inkle loom is warp faced plain weave. This means that, although you are weaving plain weave, you place your warp under very tight tension and beat each pick down hard with a belt shuttle so that the warp colours remain visible but the weft threads do not. The warp threads become very condensed together, forming a thick, tight fabric, or band.
Now I’m going to address some commonly asked questions about inkle loom weaving:
What do I get when I purchase an inkle loom?
Whichever brand of inkle you choose, it should come standard with certain pieces. Firstly, the loom itself, commonly made of strong wood and usually requiring some basic assembly, comes with a built in tensioning peg.
You should also receive a belt shuttle, a clamp (this gives you the option of clamping the loom to a table or similar) and an instruction booklet.
You may or may not receive some string heddles, but you will need these, so check before purchasing if they are included. Of course, you an always make your own with some tapestry warping thread or seine twine.
What can I make on an inkle loom?
An inkle loom is for weaving bands. What you can then use the bands for is up to your own imagination!
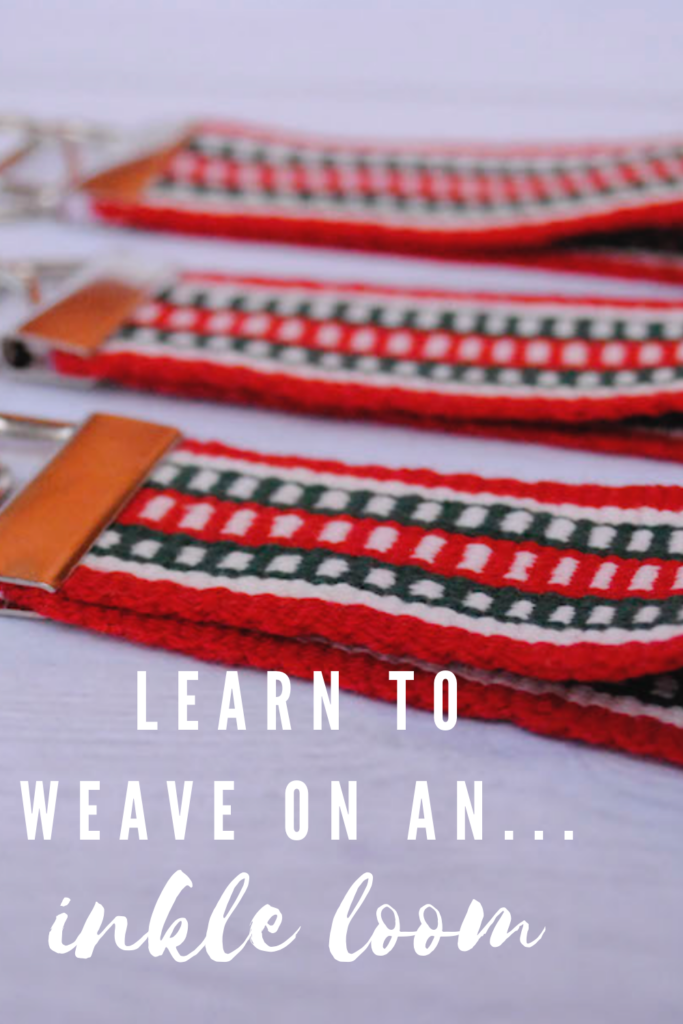
Some ideas are: key fobs, dog leads, shoelaces, bag handles, decorative trim for other craft or sewing projects, tabs to sew onto your handwoven towels to hang them, stitched together to make a larger project like a bag or purse, bracelets, lanyards, belts, guitar straps… lots of possibilities!
What width and length can I weave on an inkle loom?
I will talk about Ashford inkle looms, as that is what I own and know best. There are 2 sizes available:
Ashford Inkle loom. (just over $100USD)
This is the inkle loom that I have. You can warp it to a length of 110″ and achieve a weaving width of up to 3″.
Ashford Inklette loom (under $100USD)
This is a smaller alternative. You can warp up to a length of 72″ and a weaving width of 2″.
Why is an inkle loom a good option?
You may find the thought of an inkle loom limiting because you can only weave bands on it. However, there are so many variations for the actual bands possible that inkle weaving can keep you very busy for a very long time.
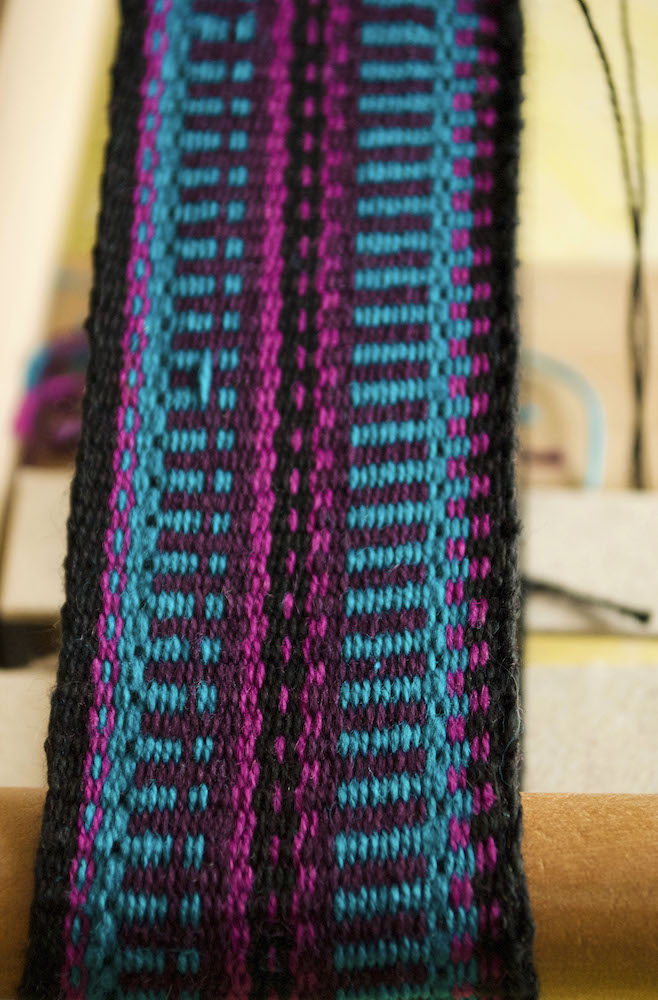
I’ve had my inkle for a few years and feel like I’ve only just scratched the surface. For example, last year I experimented with krokbragd on my inkle. I hear you saying “but you said an inkle is a 2 shaft loom!”
Indeed, it is, just like a rigid heddle loom is, but by doing pick up and adding extra heddles, we can make those extra shafts we need for more intricate patterns.
Weaving this krokbragd band was a fascinating exercise in taking a normally weft faced pattern draft and turning it to produce a warp faced pattern draft. And look at how gorgeous it is! If you want to know more about this project, I wrote a blog post about it here.
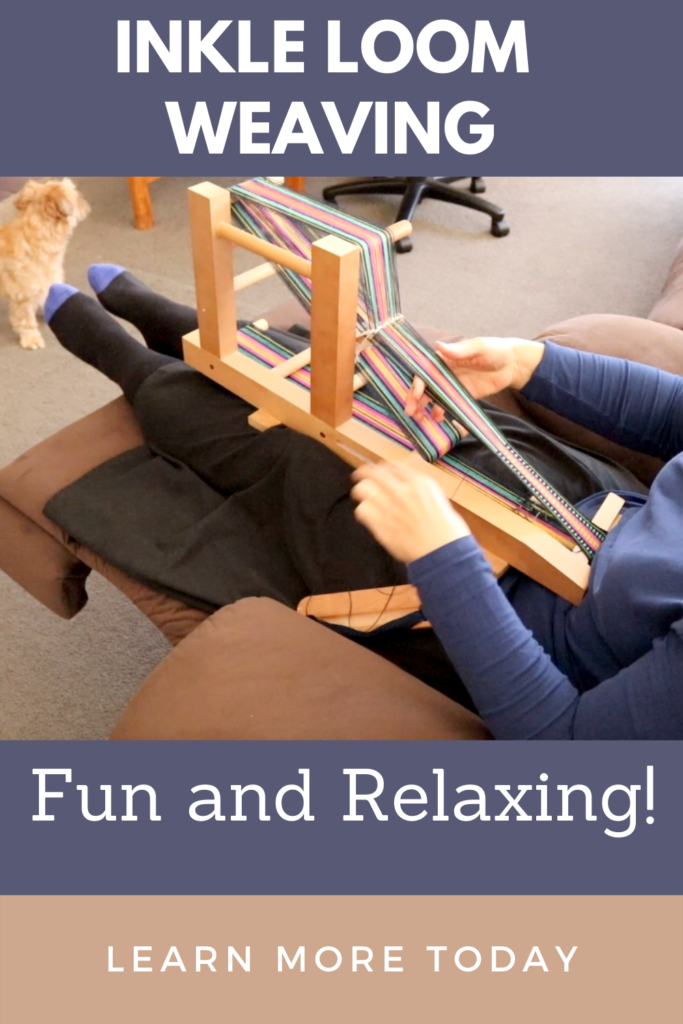
It is also such a light and portable loom. I like to sit in a recliner and weave on the inkle in the evenings while watching a movie with my family or chatting with someone. It’s small enough to take just about anywhere.
And of course, in the world of looms, this has to be one of the most affordable. Some weavers make their own, so make friends with google if that idea interests you.
Which yarns are best for inkle weaving?
I have mostly used 8/2 cotton. If you are familiar with me, you will know that I’m not a huge fan of mercerised cotton, aka Perle cotton, but for inkle weaving I have used it many times. It gives a lovely sheen to the bands.
I have also used unmercerised cotton a lot on my inkle. Both are perfect for the task. The colours of your band are all made in the warping process (remember, it’s a warp faced weave).
Here is a little tip – choose your weft colour according the colour of the edges of your warp, that way when you take the weft around the selvedges at the shed change, it will blend in nicely.
Where should I start?
The instruction booklet that comes with your inkle loom should help you a lot to get set up for your first project, however it won’t be long before you want to branch out and learn more. The best book that I have found on inkle weaving is Anne Dixon’s The Weaver’s Inkle Pattern Directory, which is extremely comprehensive and useful for both beginners and experienced levels.
Anne has over 400 patterns to try in all different styles and variations of difficulty. It’s quite an amazing book!
You will also find my Youtube series on weaving a floral inkle band invaluable, as it takes you right through from how to set up your loom to finishing your band after weaving. You will definitely want to check it out and be sure to watch all the videos so that you don’t miss any crucial steps:
You can download and print out this free floral pattern here:
Also, be sure to check out my article 7 Tips For Weaving on an Inkle Loom which includes yet another gorgeous and free downloadable pattern for you to weave on your inkle loom.
If you’re ready to get more serious about learning to weave on your inkle loom and also delve into tubular weaving, baltic pick up and all the tips and tricks, check out my online Inkle Weaving Course.

Inkle Weaving
Learn the fun and fascinating art of band weaving on your inkle loom!
4140 students enrolled
Last updated Dec 18th, 2025
I hope this article has peaked your interest in inkle weaving and helped you to see the many benefits of this little loom.
I love to weave on my Lojan Inkle Loom! I am a reseller for Lojan products in Australia, if you are interested in ordering please get in touch.
If you have any questions or comments, please leave them below, I love to hear from you (and it helps me to not feel like I’m talking to myself here 😆)
Until next time…
Happy Weaving!
There is a band on this site that looks to be 3 different wefts. It has a purple edge, yellow, then red and the light blue and dark blue center motif. Is this a krokbragd band? If so, do you have instructions on to harness the 2 and 3 sheds?
Deb
I know the one you mean. Yes, it’s krokbragd. I will be releasing a krokbragd inkle class this year, I’m working on the designs right now 😉
Hi, Kelly! I appreciate all your informative blogs and posts. Does the pattern book you recommend also have alphabet patterns? Or can you recommend a book with a variety of alphabet fonts, for either pick up or tablet weaving?
Hi Lisa,
Yes, there is a section on lettering in Anne’s book.
Hi Kelly, Is there any way to cut the warp off the inkle and save the warp? my heddles seem a bit loose and i don’t want to waste my warp. thanks E.
I’m not sure, I haven’t done that before. Theoretically you could cut the threads at the starting peg, but to re-attach them you would need to tie each one back on individually. What is happening with your heddles? Were some of them a bit long and others shorter? Are they interfering with you being able to get clean sheds?
I dusted off my inkle loom and needed a refresher course on how to get started so I really appreciate your lessons. You’re the best teacher with very good directions.
Thank you for all the time and inspiration you share…it’s much appreciated!
Thank you Char, I’m so glad to hear your inkle loom is being put to use 😊
Hi, Kelly. I recently treated myself to an inklette which I’m keen to start using. I found your videos and blogs very useful but I have a couple of questions.
If I just want to weave something small eg a bookmark how do I achieve that? Do I weave just the length I want and end up with a lot of waste or do I weave a few bookmarks, placing spacers in between? Or do I weave a continuous band and then cut off the lengths I want?
I think you mentioned in one of your videos that it can take an inch or two before the tension settles down and that you cut off that after you’ve finished. So, how to you finish off/ neaten the raw edge?
Hi Anne,
You have a few options for bookmarks. Yes, ideally you would weave more than one on a single warp to prevent wasting yarn, but because there are so many pegs on an inkle loom you do have the option of putting on a shorter or a longer warp.
If it were me, I would space in between each book mark, depending on how much fringe you want, or whether you want fringe at all.
Yes, that’s right it takes at least an inch (a couple of inches usually) for the band to really come together and get to a consistent width. I usually serge raw edges once the band is off the loom.
Thanks very much for your advice, Kelly. I think I’m now ready to make a start!
Darn it, Kelly. I had a hard time understanding how the inkles work. After your instructions it seems so simple. Now I want one!
😁😁😁
So, is there a difference, in what you can create, between an inkle loom and card weaving? And could I use my RHL with cards to create bands?
Yes and yes 😄
With card weaving, you can do more intricate designs.
And you can use your cards with your RHL to weave bands.
Very timely for me since I can no longer find any more elastic for the masks I was making to protect my family from the Coronavirus. I used some Inkle bands I wove more than a year ago but have run out of those. My problem was that I couldn’t quite remember how to warp the loom.
Thank you, Kelly, for sharing your videos!
Thanks! I think I will get my inkle loom out too!!!! The pictures you posted are an inspiration to make something pretty!!
Awesome!
I just found an inkle loom when cleaning out a closet in my house. Great timing! It’s quite different from the RH loom, and I sure can use the help.
Great, I’m sure you will find it lots of fun!
Another source that I use constantly is Annie McHale’s In Celebration of Plain Weave.
Thanks for sharing!
Thanks again Kelly! I’ve had my inkle loom for ages (in the cupboard) but just needed a push to get started on it. What better time than now!
Wonderful, good luck to you!
I got an inkle loom about 3 weeks ago for my birthday, and this couldn’t have come st a better time! I will check it your video and blog post. I’m not sure about my selvedges though (as with any loom, always the selvedge!). Should I be pulling the weft quite firmly? (Compared to a rigid heddle or table loom). They seem a bit untidy but if I pull tight they curl the deges up, and make my band considerably narrower.
Yes, you pull in on the selvedges much more than you would for other weaving. The band does narrow considerably and that is normal. As you practice, you will find that there is a sweet spot with how much to tension the weft at the edges. The start of the band can look a little wonky, but will become consistent as you weave and find that sweet spot 😊
Thanks for that! I have probably just been being a bit too gentle!
I’ve got a little Inklette and having fun just plain weaving with nothing fancy. I made two mistakes – first of all I didn’t go round the tension peg and only discovered my mistake when I had allllllll my warping yarn on *sigh*. Secondly, when re-warping, I wasn’t fully concentrating and some yarn loops came off the edge of a couple of pegs. So, all in all – a fairly taxing start to my inkle loom weaving 😀 But so portable! Fast results too 😀 Thanks for this blog post. Now I want to try something with pick up sticks! Ali x
Well, at least you learned from your mistakes 😄 Lots of possibilities with pick up, it’s quite exciting!
Ironically, I just got an Ashford Inkle Loom today. Can’t wait to try it.
Wow, how is that for timing! 😄