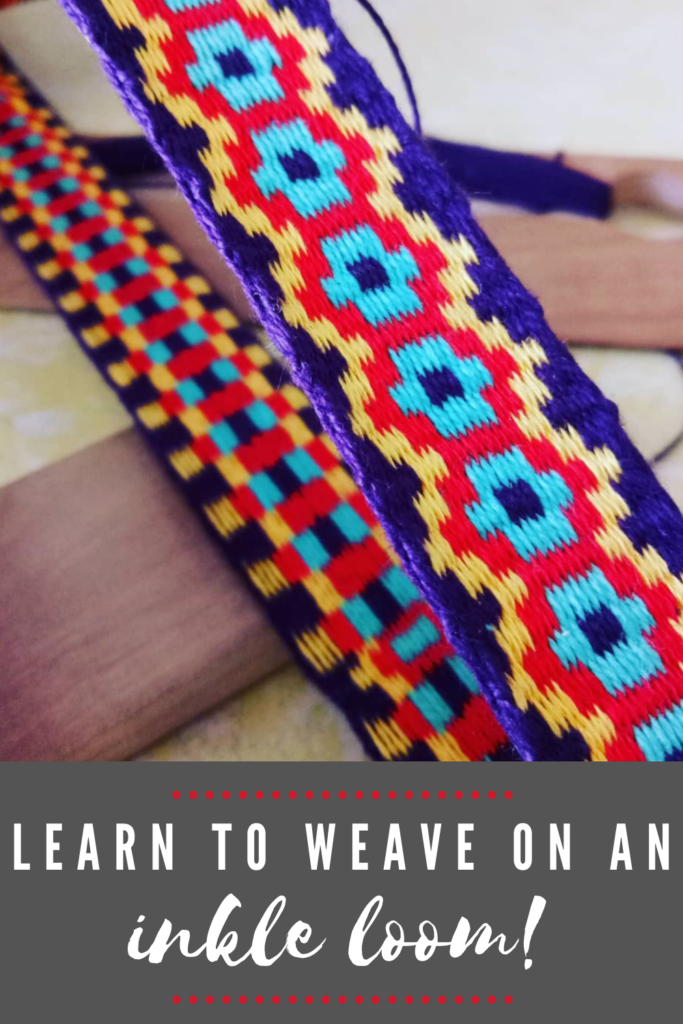
Inkle loom weaving is so fun, easy to learn and affordable to begin.
If you’ve been thinking about starting to weave on an inkle loom, I strongly encourage you to have a go. Inkle looms are simple devices that won’t take up much space and won’t break the bank either.
For an absolute beginner weaver, an inkle loom is the perfect way to test the waters without making a big investment. My favourite inkle loom available is the Lojan Inkle. It’s available in the standard size, the smaller size (Inkeltje) or if you want some tablet weaving accessories as part of the package, the Complete Edition.
As a reseller for Lojan wheels and looms in Australia, you can contact me for further details.
*This post contains affiliate links. For further information please see my disclosure policy here.
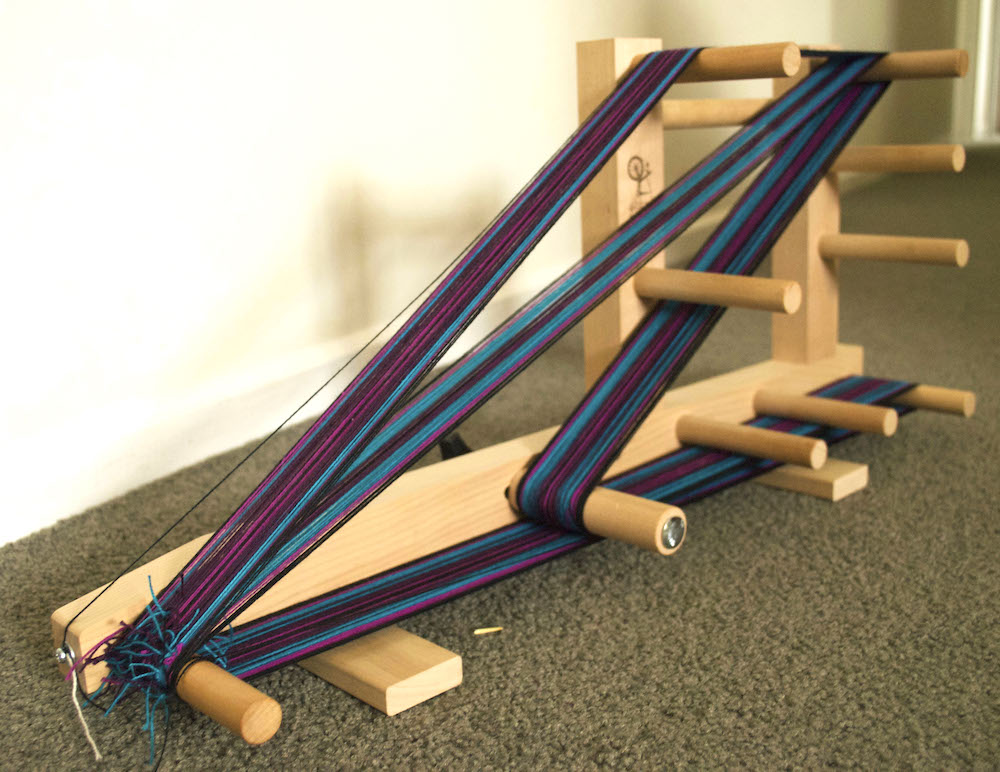
What Is An Inkle Loom?
There are only two sheds on an inkle loom – up and down. In the warping process, you alternate between heddled and unheddled warp threads. When you are ready to weave, you an either push down on the warp threads to achieve a shed or lift them up to achieve the other shed.
If you’ve never seen an inkle loom in action, my Youtube series in which we weave a lovely floral band, from start to finish is an excellent place to start:
If you want to learn more about the basics of inkle looms, I wrote a blog post about it here.
First we will go through the tips I want to share to help you weave better inkle bands, and then we will talk about all the details of the free project.
Tip 1- Use a Warping Stand
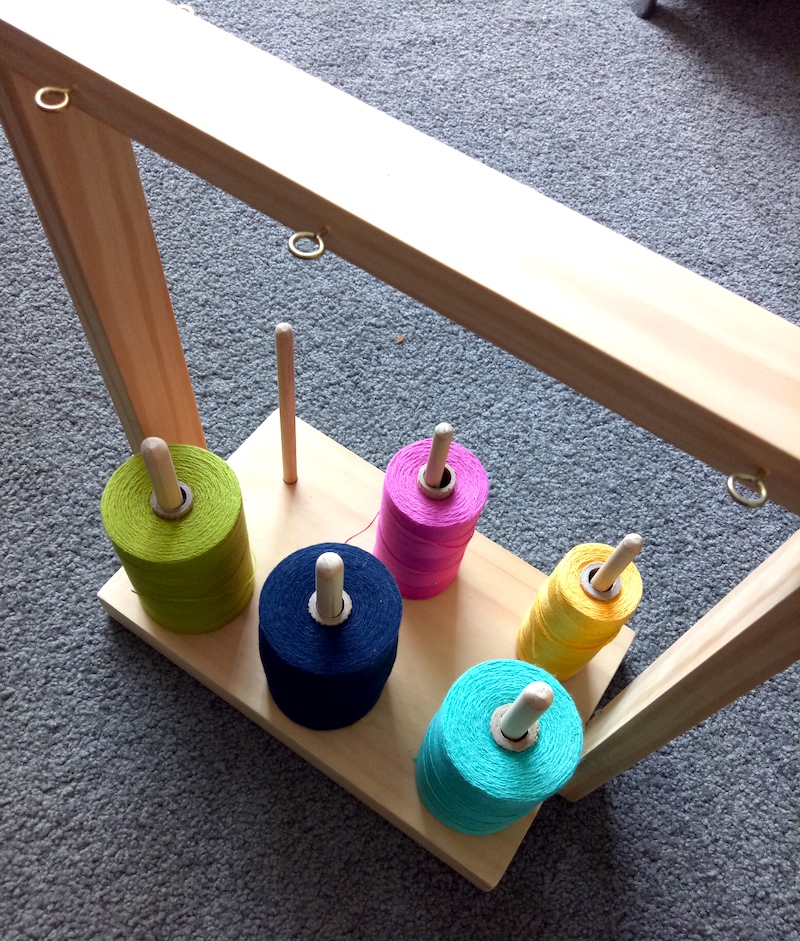
This is not essential but it just makes the warping process so much easier. I don’t have to worry about yarn cones toppling over or not feeding off the cone smoothly.
It also helps to keep the cones separate and far enough apart that the threads won’t tangle with each other as you’re changing colours. I just pop the warping stand underneath the table that I have the loom sitting on for warping and away we go.
You can purchase warping stands complete and ready to go, but if you want to save some cash, you could make one yourself like my husband and I did. We have the instructions for you to follow here.
Tip 2: Get Comfortable
One of the bonuses of an inkle loom is that you can take it anywhere. But it’s still important to think about your posture and find the most comfortable ways to weave, especially if you’re going to be at it for a while.
Some inkle weavers will clamp the loom to a table to keep it sturdy but I like to have it close to my body where I can comfortably reach to change sheds and beat. I also like to rest the loom against my body to keep it sturdy, as I find that feels most natural to me. If I’m using a table to rest the back of the loom on, that position would look something like this:
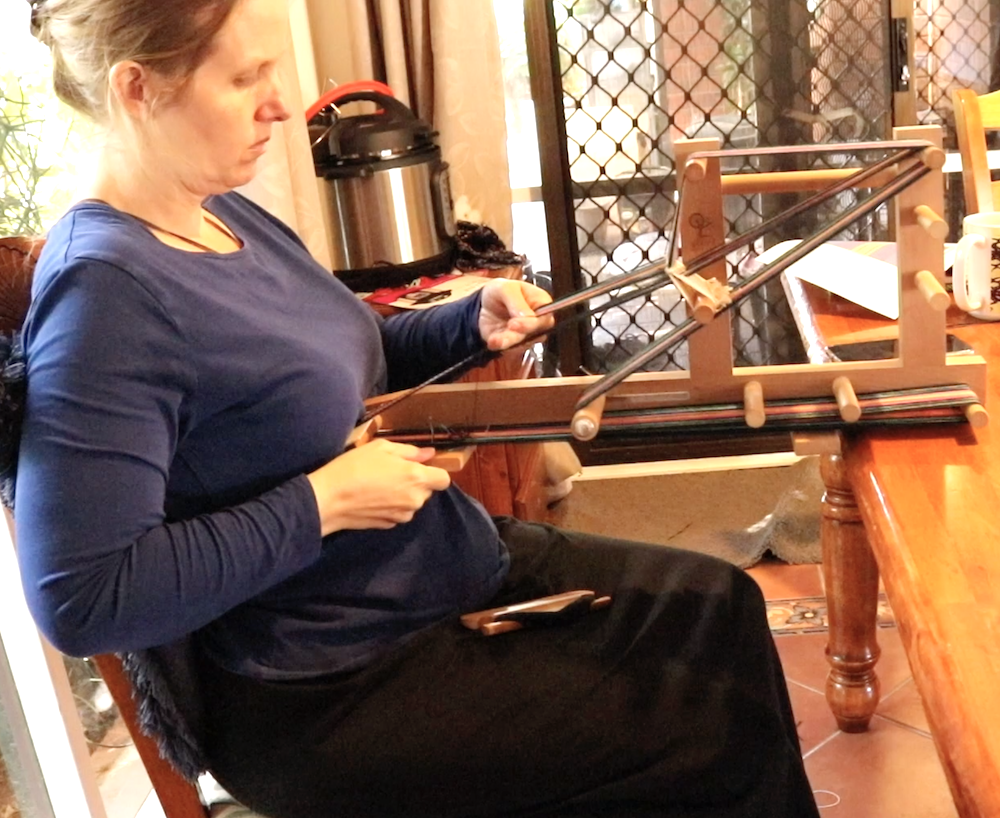
Note the comfortable, high backed chair with additional cushion to keep my back comfy. The loom rests on the edge of the table by placing the horizontal wooden bar against it, and the front of the loom rests at about the bottom of my bra level (sorry, couldn’t think of a better description – sternum maybe?!)
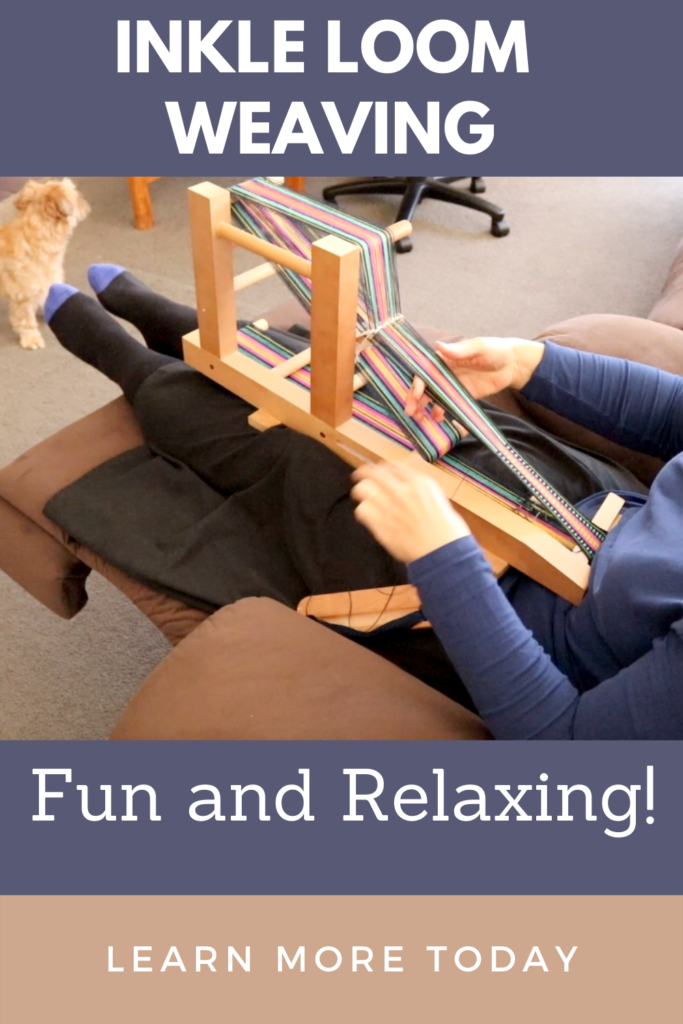
My favourite position is sitting in my recliner with my feet up. That’s my idea of relaxation!

Once again, the front of the loom is pressed against my body for sturdiness and ease of beating.
Tip 3 – Additional Warp Tensioning
You should do your best to achieve really good tension using your tensioning peg, but if you feel you are lacking a little, you can take a small section of cardboard separator and wedge that in at the starting peg, underneath your band.
You can also wedge an additional piece at the top back peg if needed. It really does make a difference!
Tip 4 – Weft tensioning is different to other weaving.
If you come from rigid heddle weaving, you will be used to fixing up your edges as the weft travels around the warp threads, especially if you use my neat edges technique. But inkle weaving is different.
Your warp threads are under high tension and the weave is warp faced, not balanced. If I’m asked how much tension to place on your edges with your weft thread, I would say probably more than you think.
You want to really pull each weft pick into place and feel it move to create a very firm band. This is something that each inkle weaver needs to find a sweet spot for, but a hint is that you need enough tension so that your weft thread is not looped, bubbled or otherwise really visible at the edges, but not so much that your edges end up bumpy, lumpy or wavy rather than nice and straight.
Tip 5 – Use the first 2 inches as practice
To be honest, your first 1.5 – 2″ is probably not going to be so pretty. It takes a little time for the warp to come together and for you to find the right amount of weft and warp tension, as well as a suitable beat.
Don’t worry about those first couple of inches, I generally cut that part off and don’t use it.
Tip 6 – Your woven band will be much, much narrower than your warp
I have some measurements here to demonstrate just how much narrower.
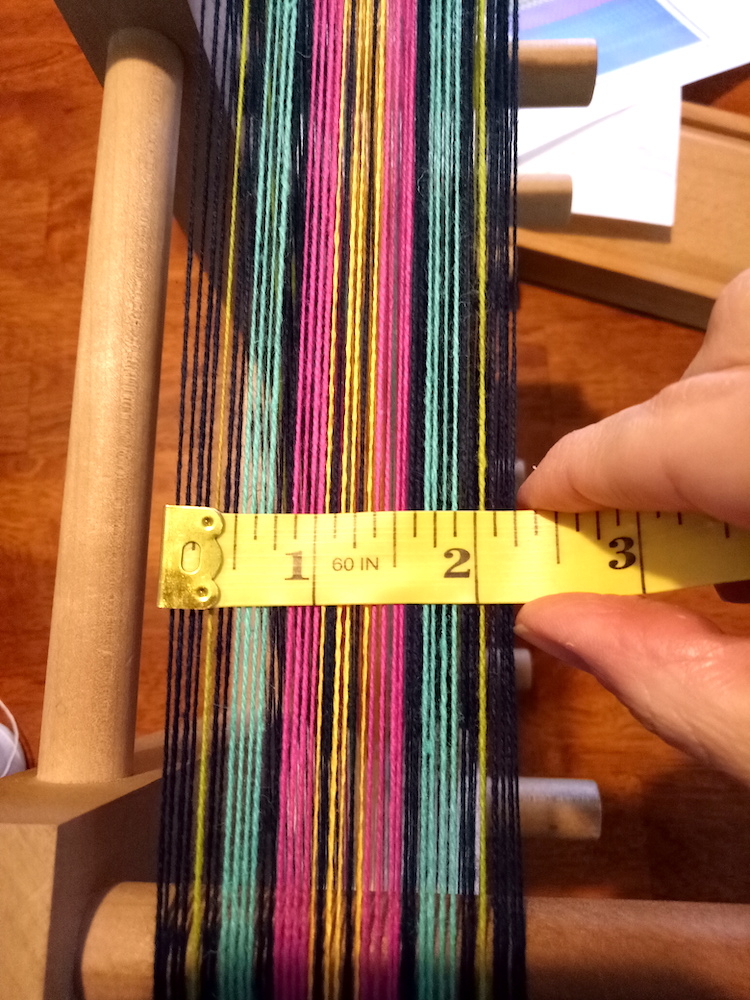
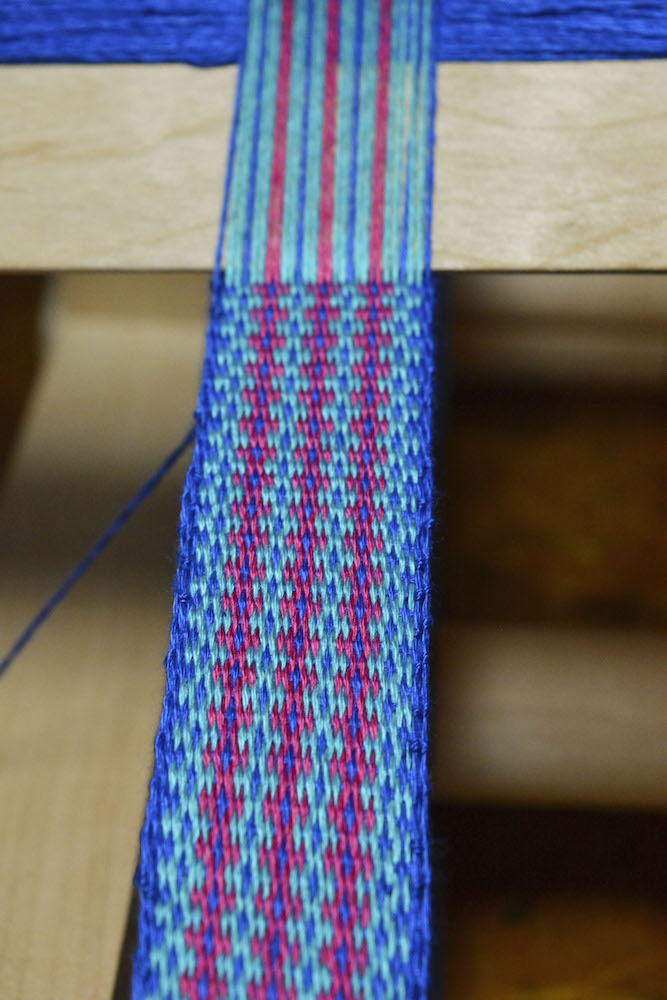
Here is my warp before I began weaving and the threads are all sitting in order. They are not pushed really close together or anything, so there is a little bit of natural spacing.
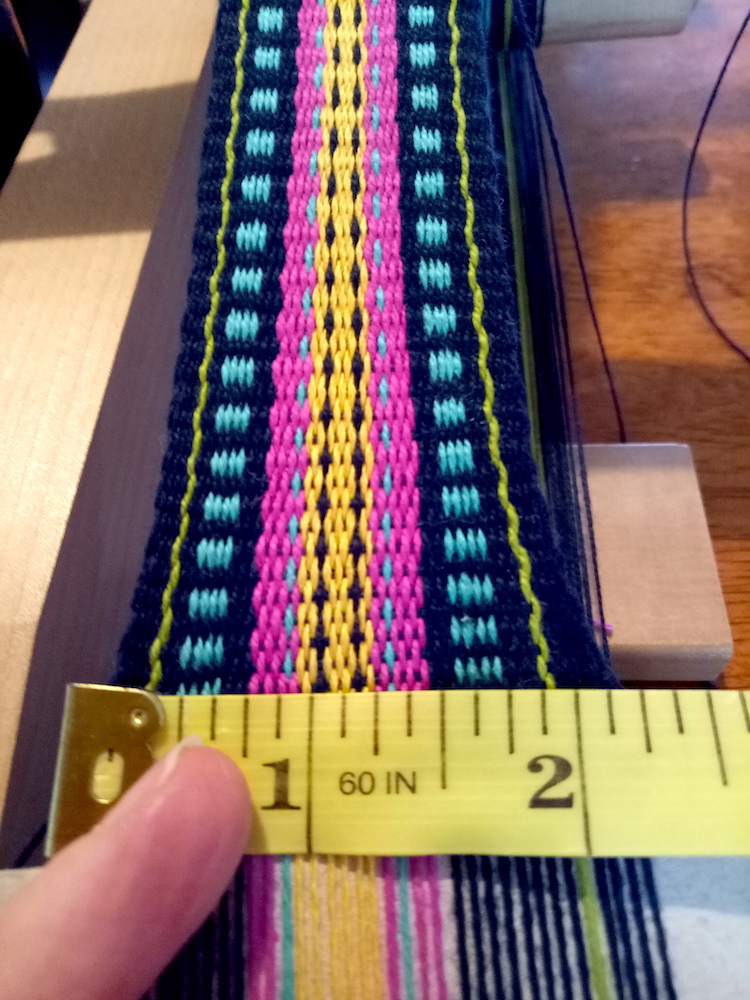
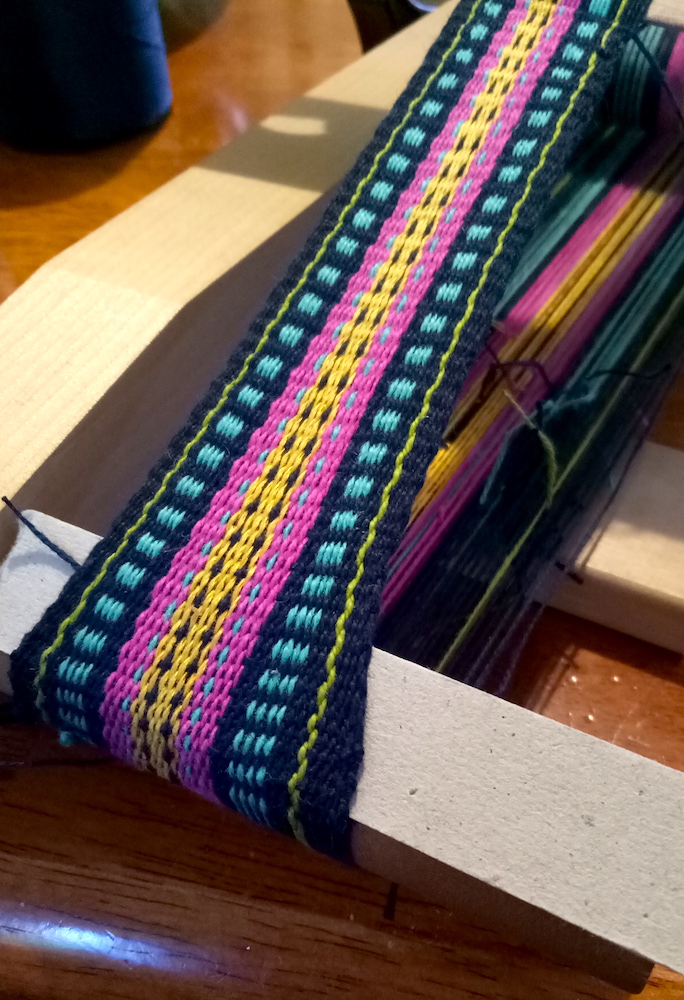
As soon as I start to weave, the band begins to narrow and draw in. It’s up to me to practice and find the right amount of draw in and tension to make a firm, consistent band.
And, by this stage I’m in my happy place with tension and the band remains a consistent width as long as I keep tensioning in the same way.
Tip 7- Your tension will improve
At the very beginning of your band, you may find it hard to get as tight a tension as you would wish for. If that is the case, try tip 3, but also know that when you have woven a little and can advance your warp for the first time, your tension will improve dramatically.
Actually, the same can be said of all the looms I own. The initial weaving is a little “getting to know you” session and once you are over the first hump (advancing the warp) everyone becomes much more settled and happy.
The Free Inkle Pattern
OK, that was the last tip I have for you today, so let’s get onto the free project discussion!
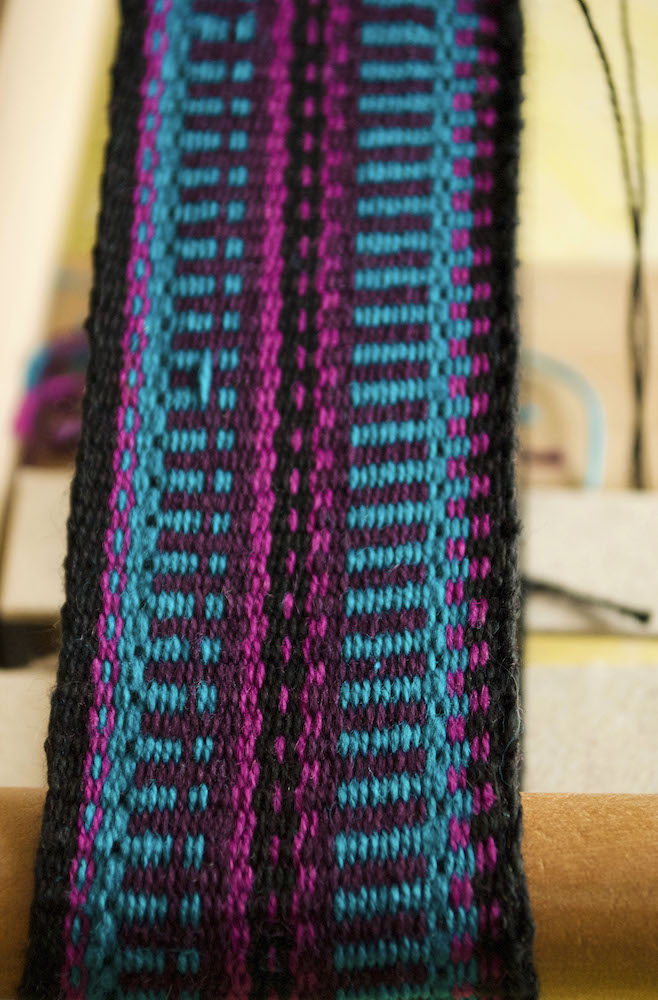
I must admit that I’m quite smitten with this inkle band and that’s why I knew I had to share it with all of you.
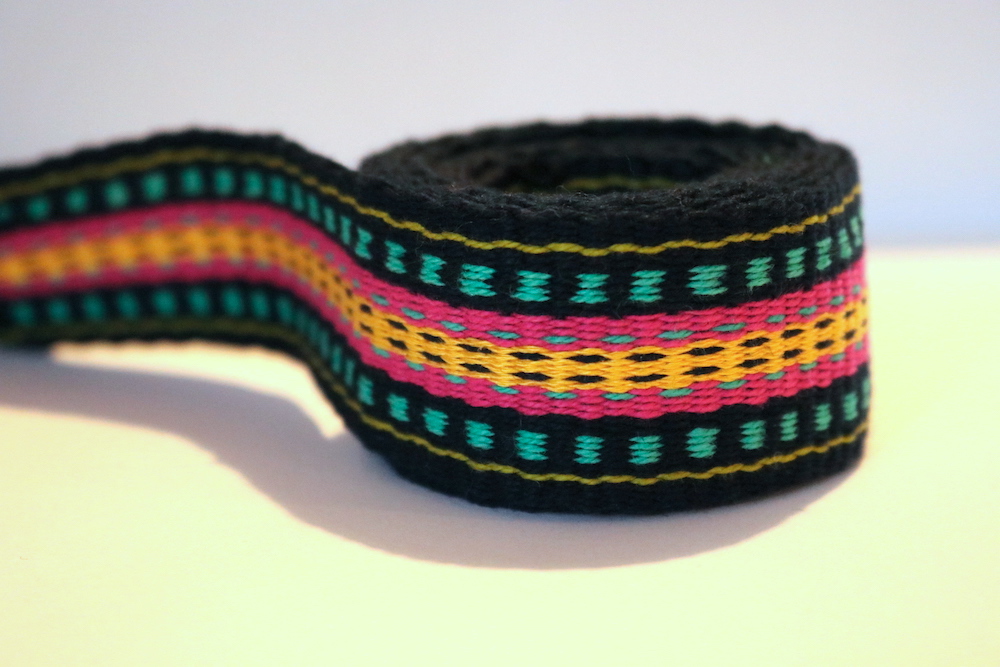
I have included the pattern draft I designed in the PDF, but if that is a bit beyond you, don’t worry, I’ve also included the colour order so that you can weave this band, regardless of your level.
You can download and print out the pattern here:
Yarns For This Project
If you are interested in using the exact same yarns that I have for this project, here are the details:
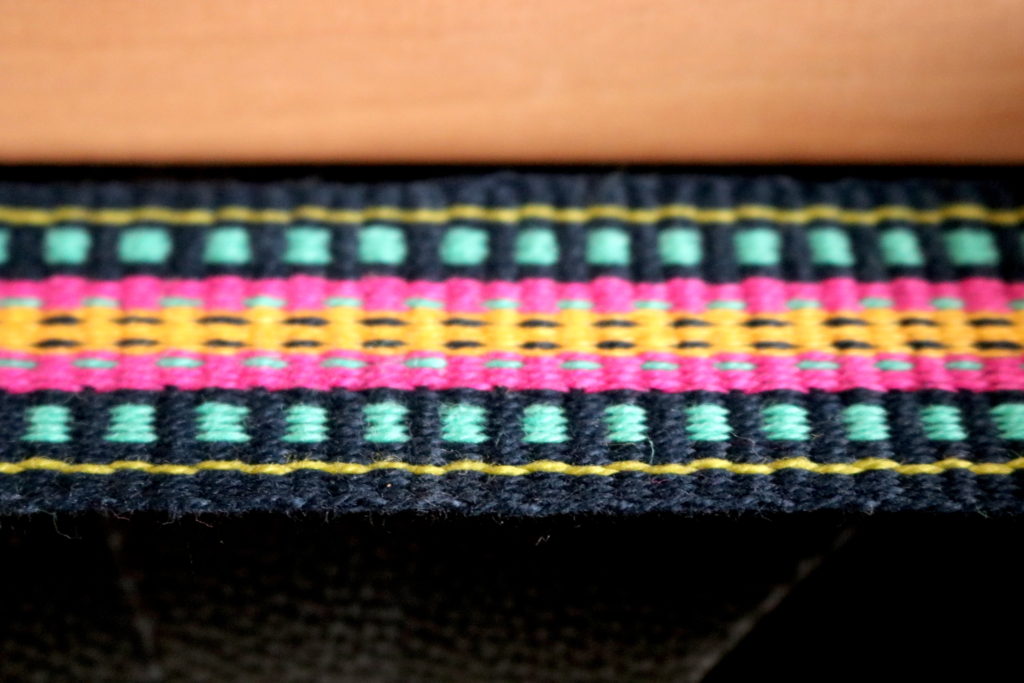
8/2 Maurice Brassard unmercerised cotton in Navy
8/2 Maurice Brassard unmercerised cotton in Fuchsia
8/2 Maurice Brassard unmercerised cotton in Limette pale (green)
8/2 Maurice Brassard unmercerised cotton in Peacock
8/2 Maurice Brassard unmercerised cotton in Jaune Fonce (yellow)
I’m not going to give exact quantities, but this band does not use an awful lot of yarn and is a great way to use up smaller quantities of leftovers.
I made the shortest warp that my inkle loom takes. I used navy as the weft, as it is best to use the same colour as your warp edges, it helps to blend it in and make neat looking edges.
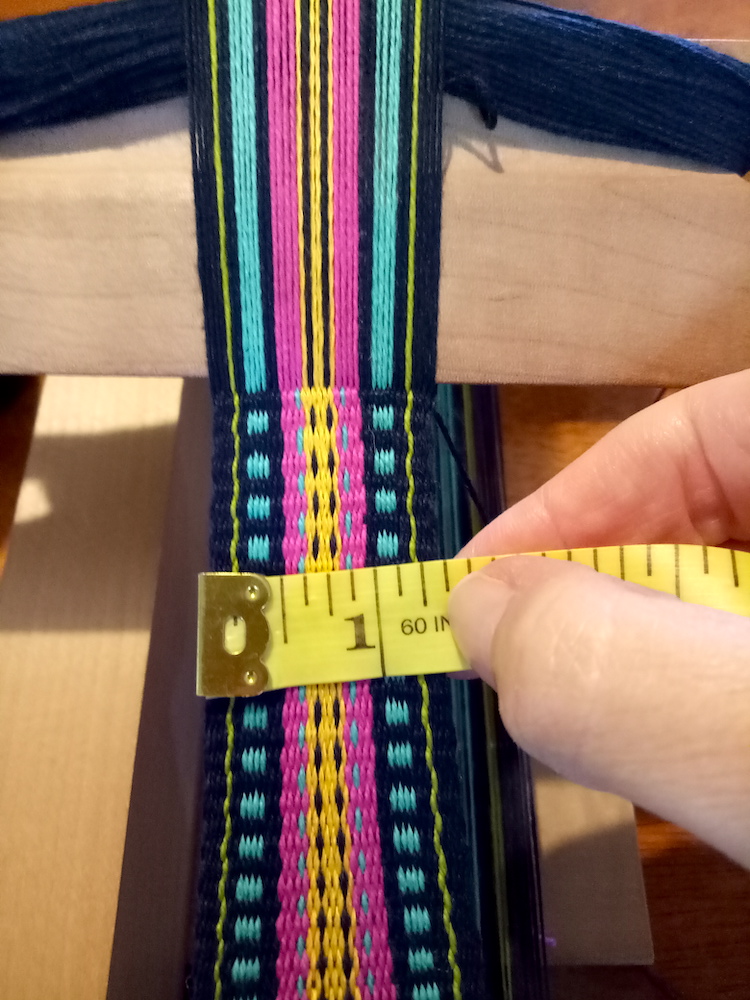
My band measurements when finished and off the loom were about 59 x almost 1.5 inches.
I hope you enjoy weaving your own band! If you are interested in increasing your knowledge or want access to a lot of pattern examples and types for your inkle loom, I highly recommend Anne Dixon’s wonderful book The Weaver’s Inkle Pattern Directory.
Be sure to check out my Inkle weaving tips video on Youtube to see some of the tips in action:
If you’re looking for comprehensive, step by step Inkle instruction, check out my Inkle Weaving Course online.
Until next time…
Happy Weaving!