Thank you for joining me in this series, it’s been terrific to have you following along, and hopefully by the end of this lesson you will have a beautiful, functional bag to use or gift.
If you missed the last lesson, you can check it out here.
This post contains affiliate links, which means that if you click and purchase, I make a small commission at no extra cost to you.
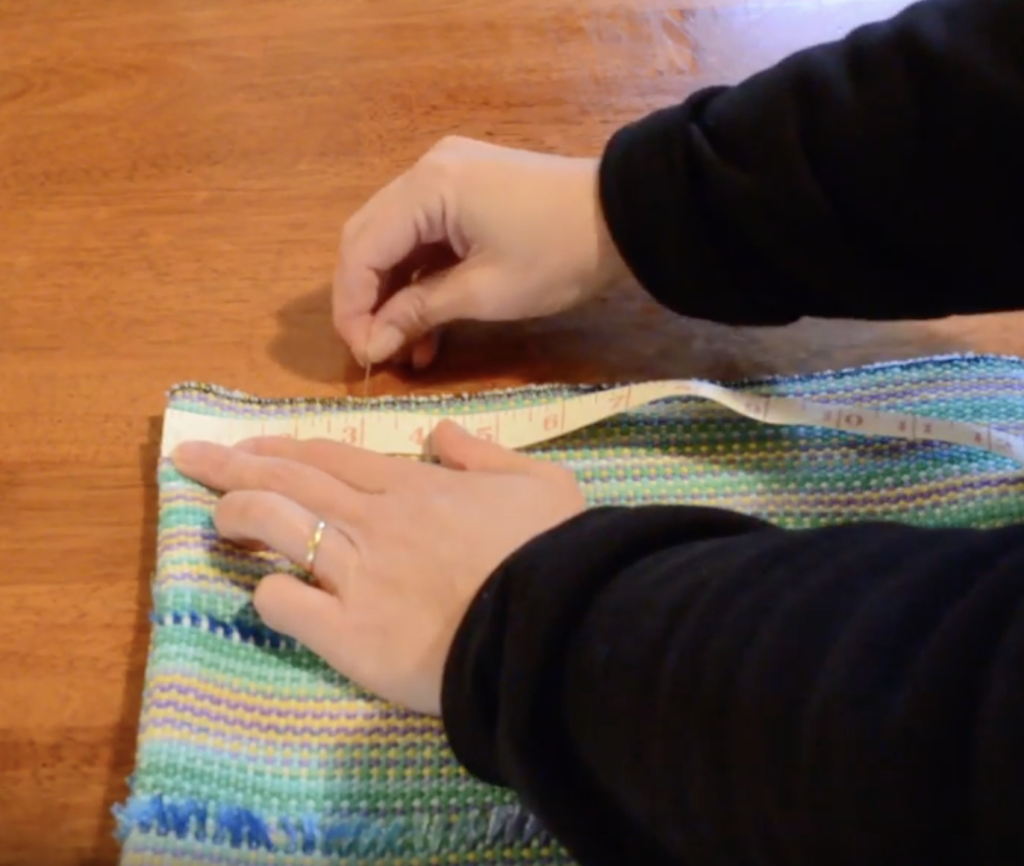
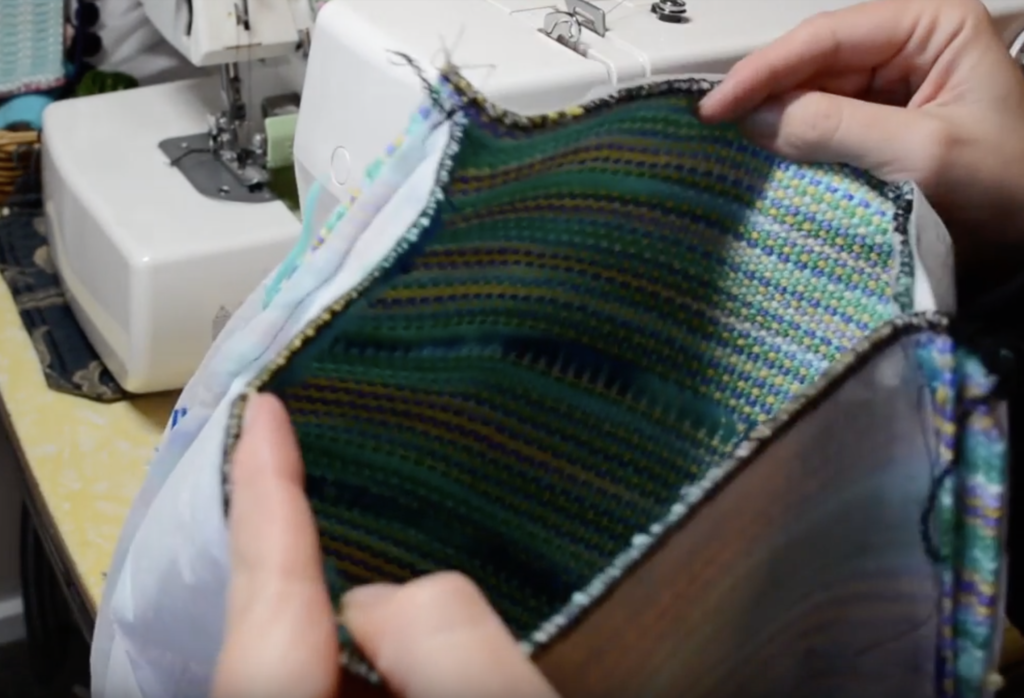
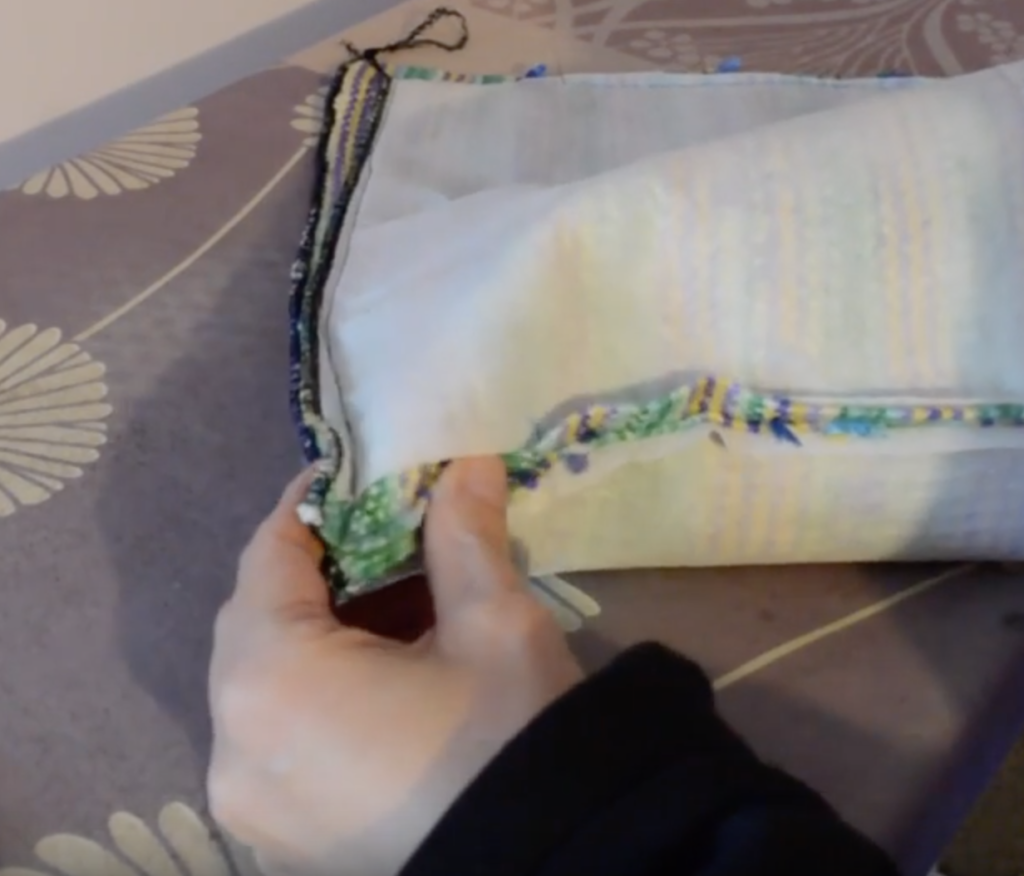
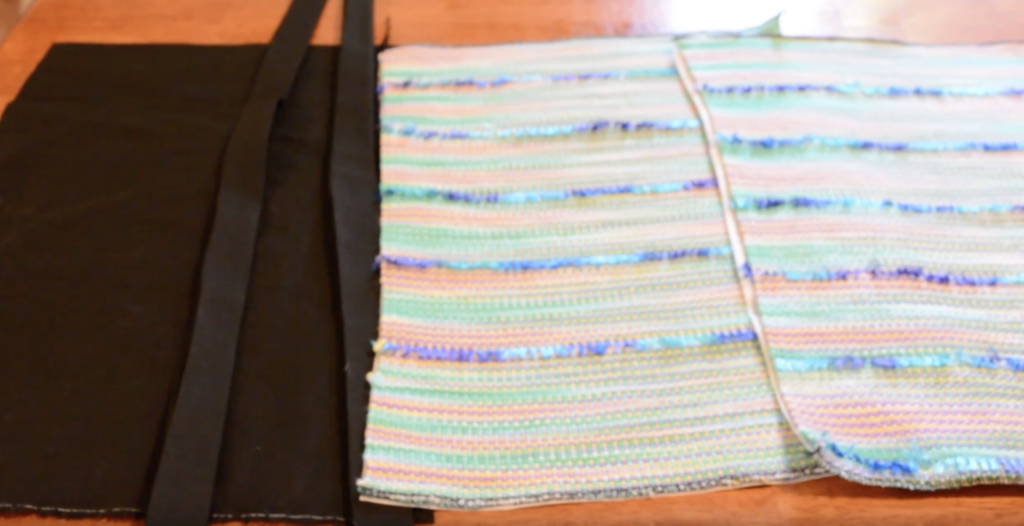
Last time we pinned the bag and lining together. Now we need to take the bag to the sewing machine.
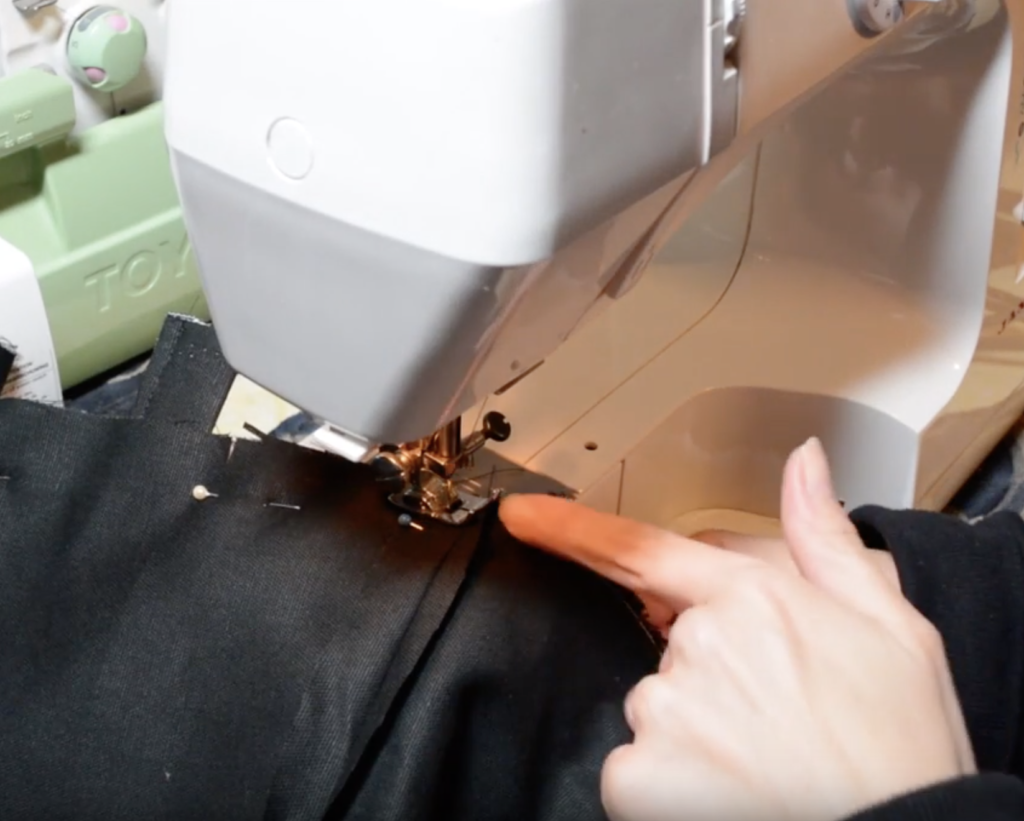
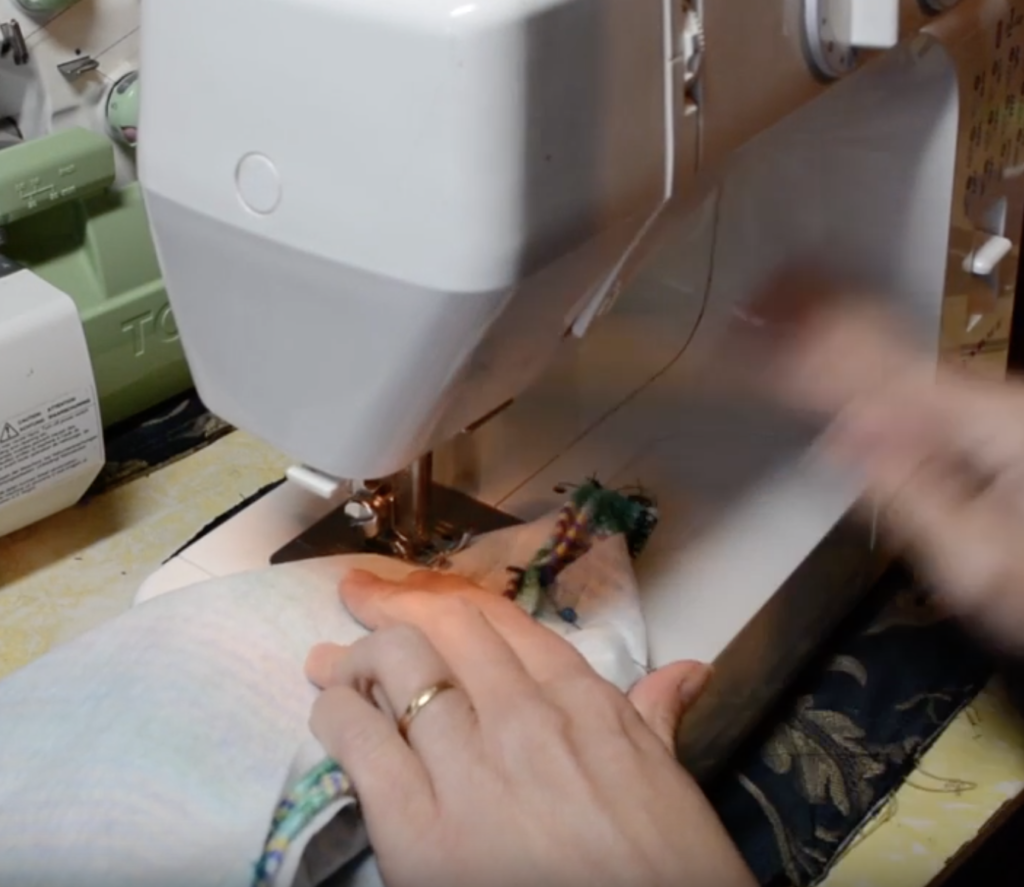
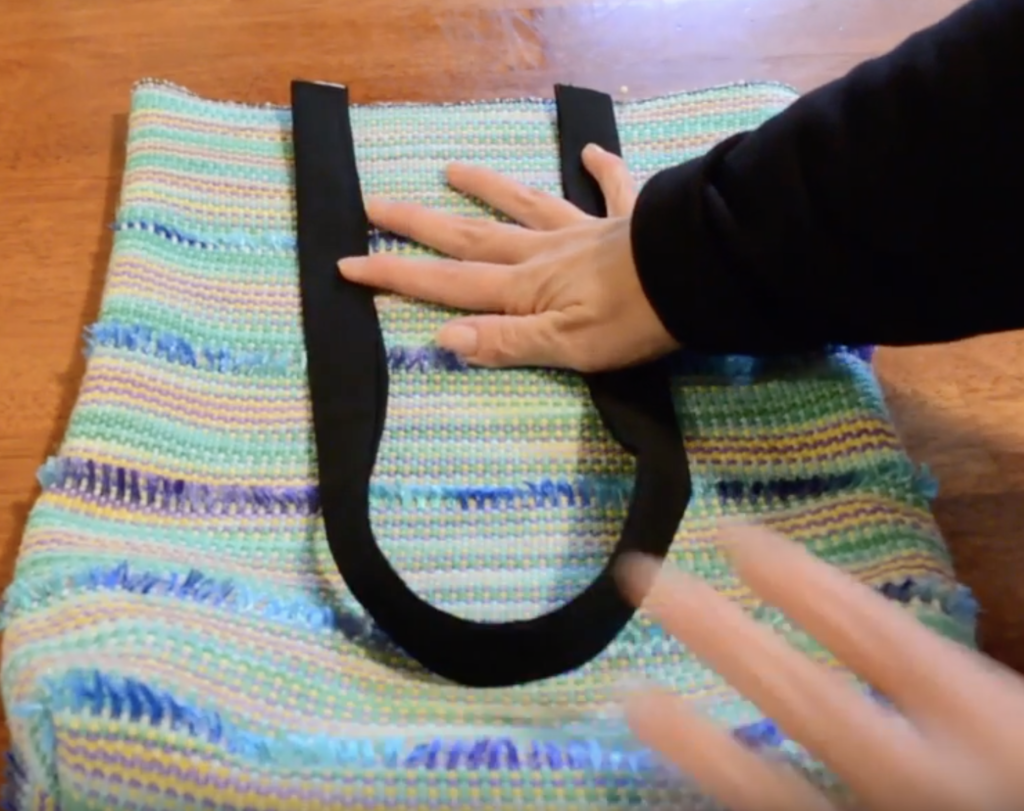
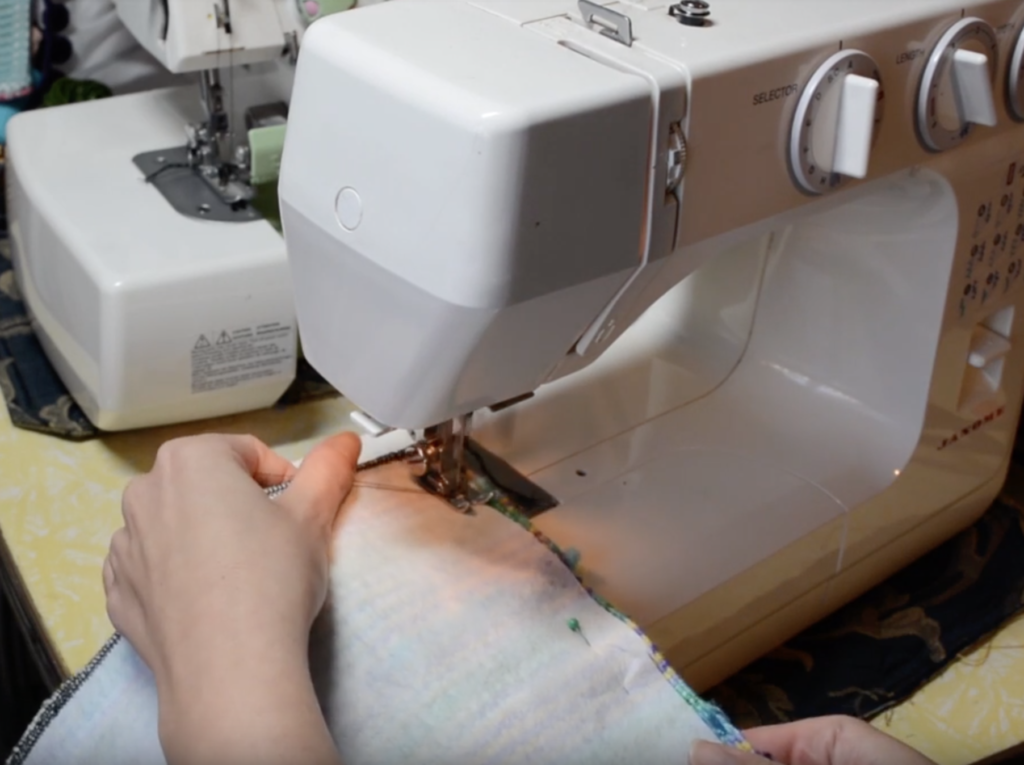
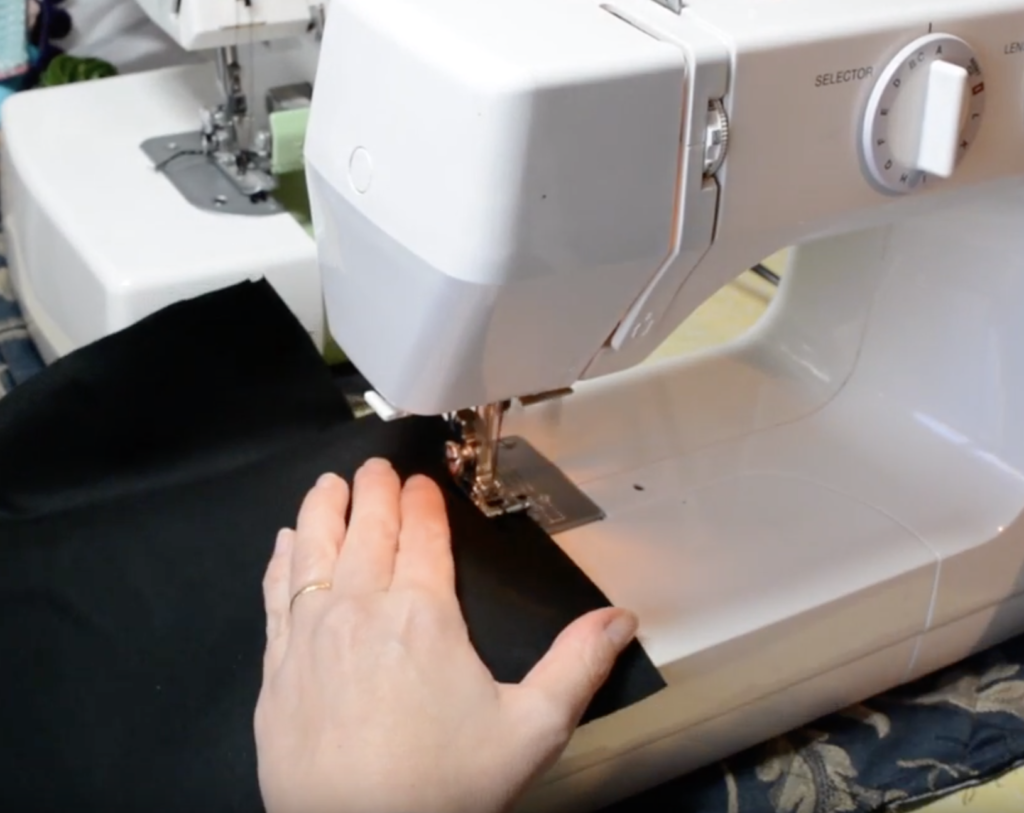
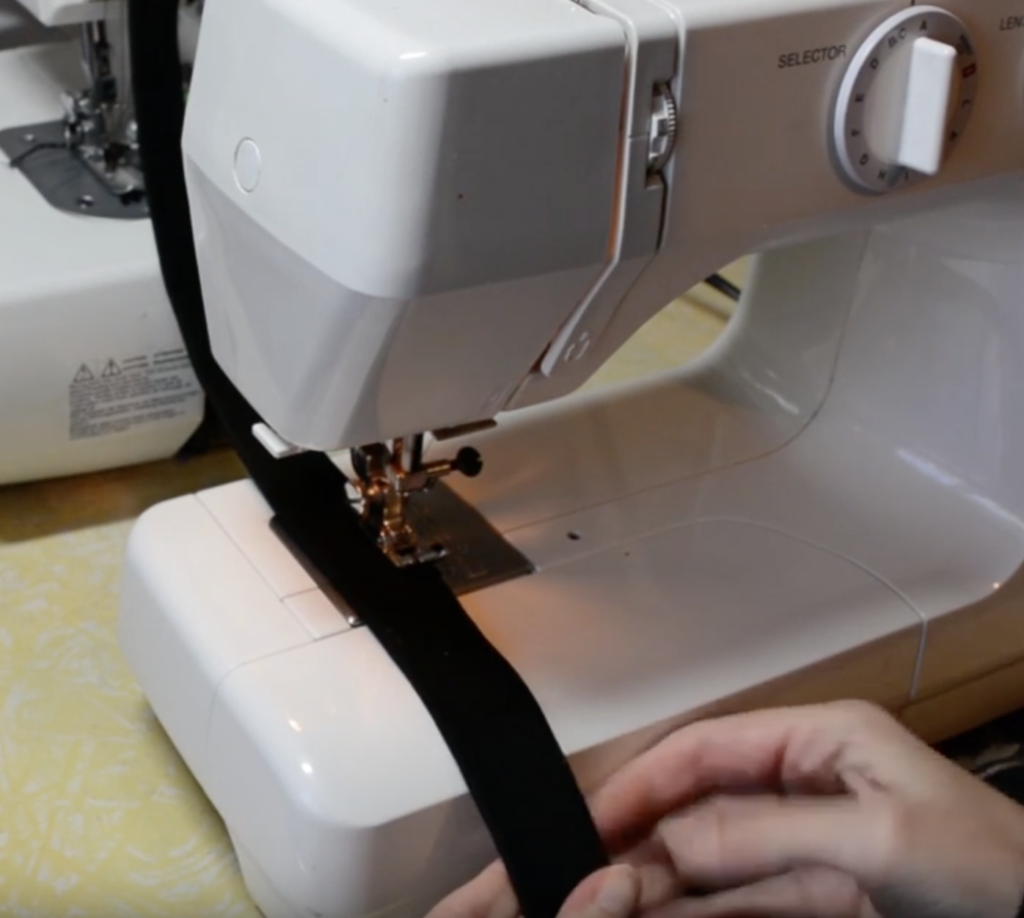
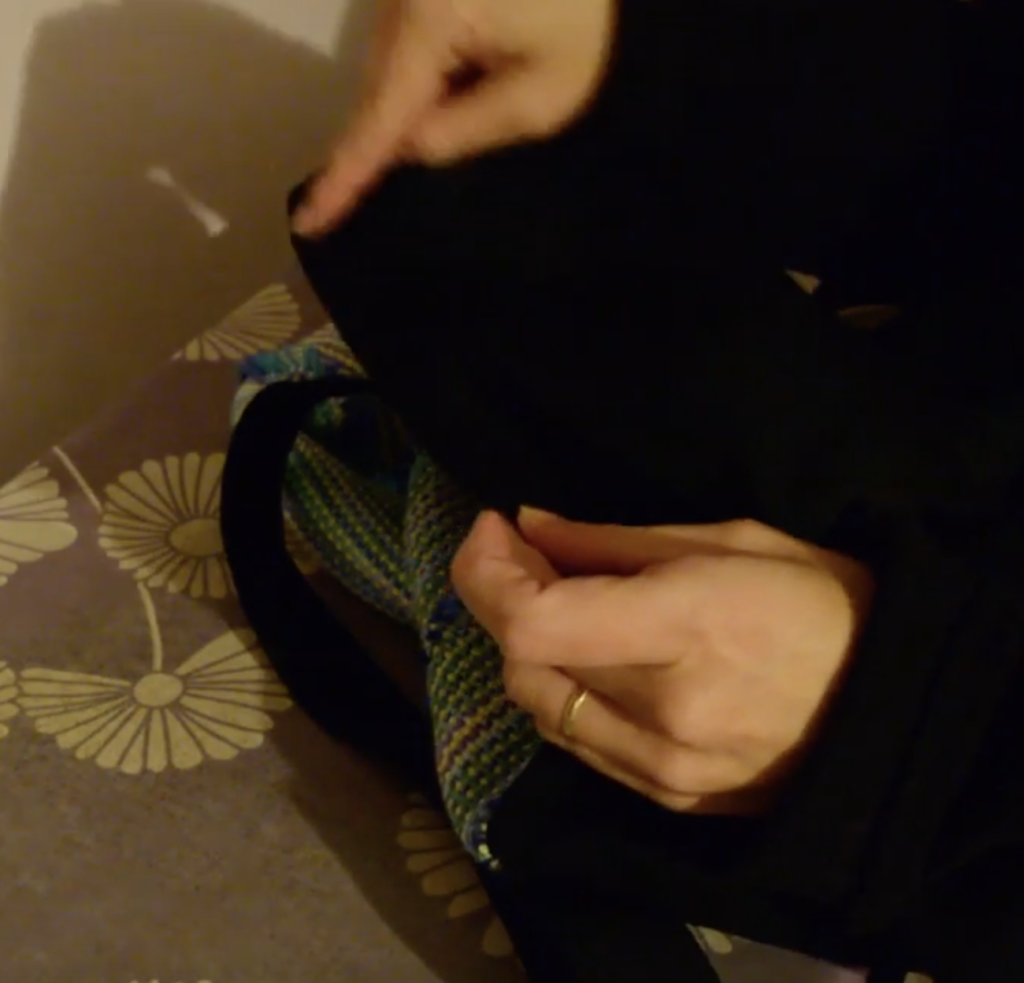
At your sewing machine, sew right around the top of the bag with a straight stitch, removing pins as you go. I usually aim for a 1/4 to 1/2″ seam. This will sandwich together the lining, outer bag and handles together.
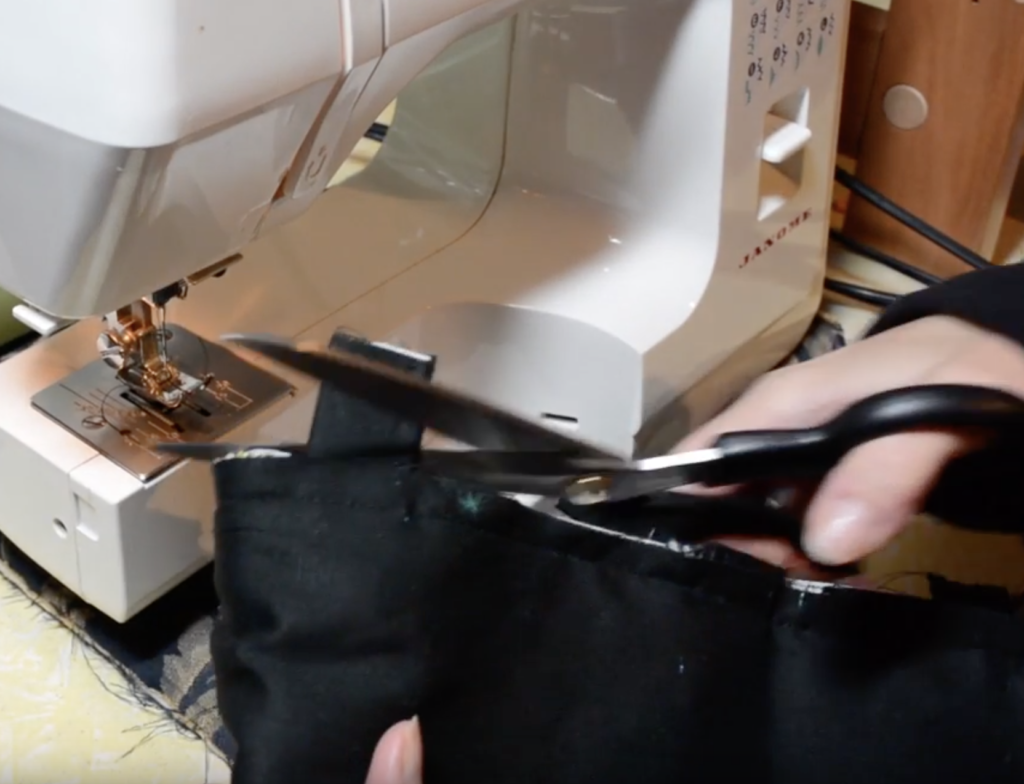
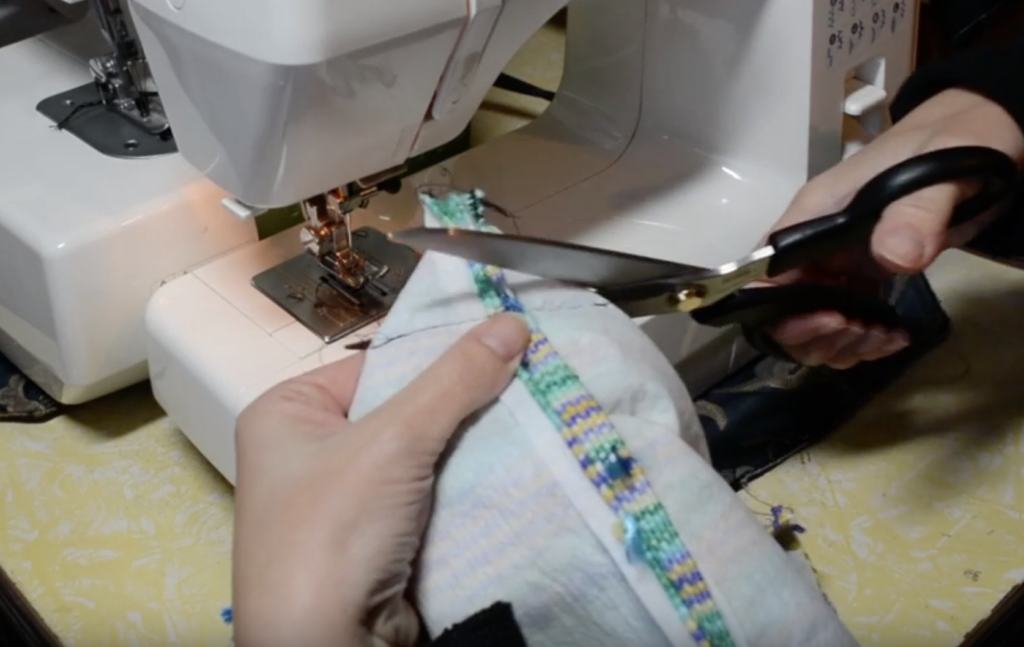
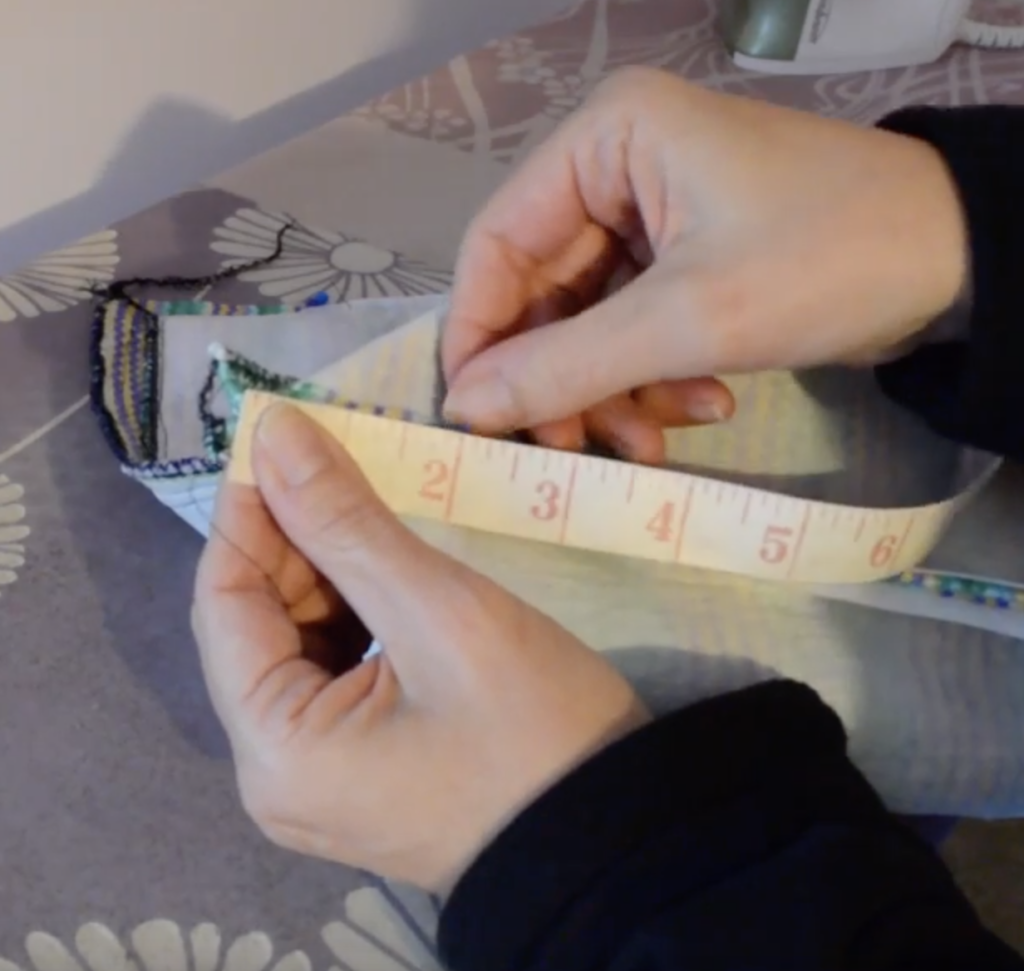
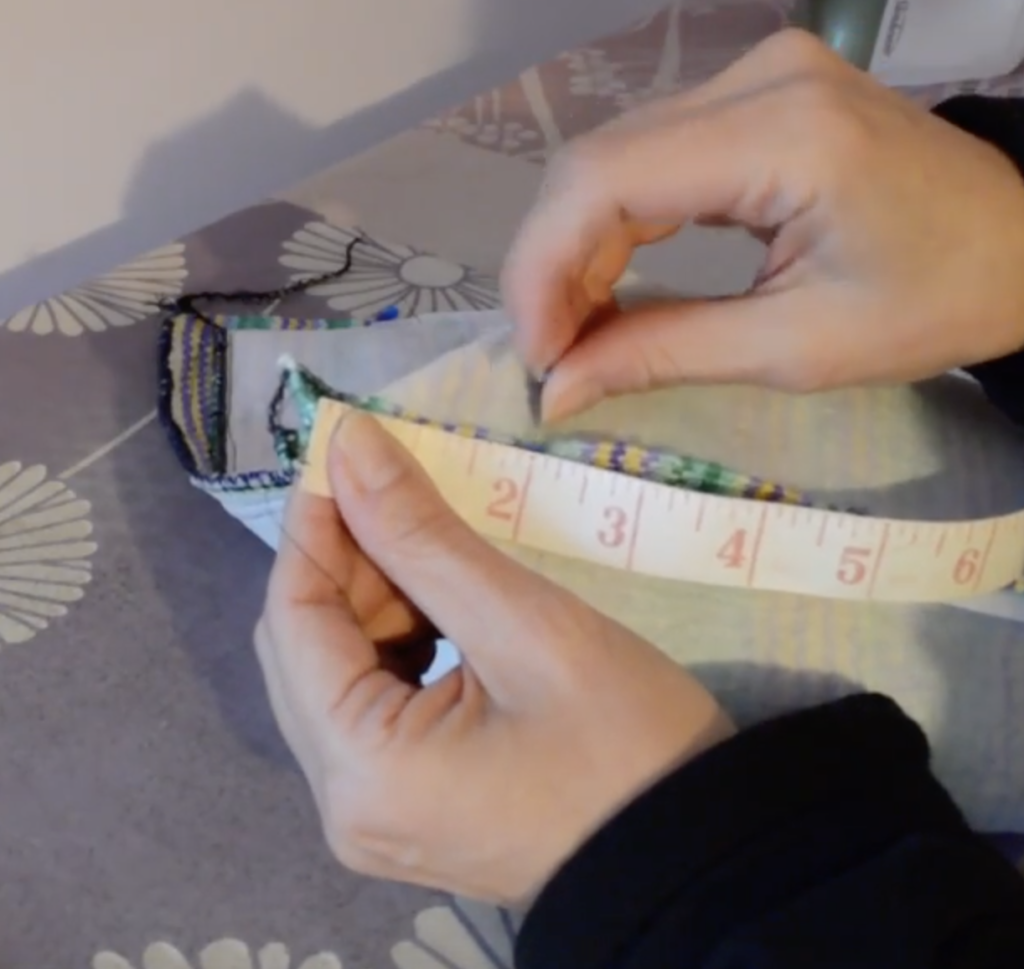
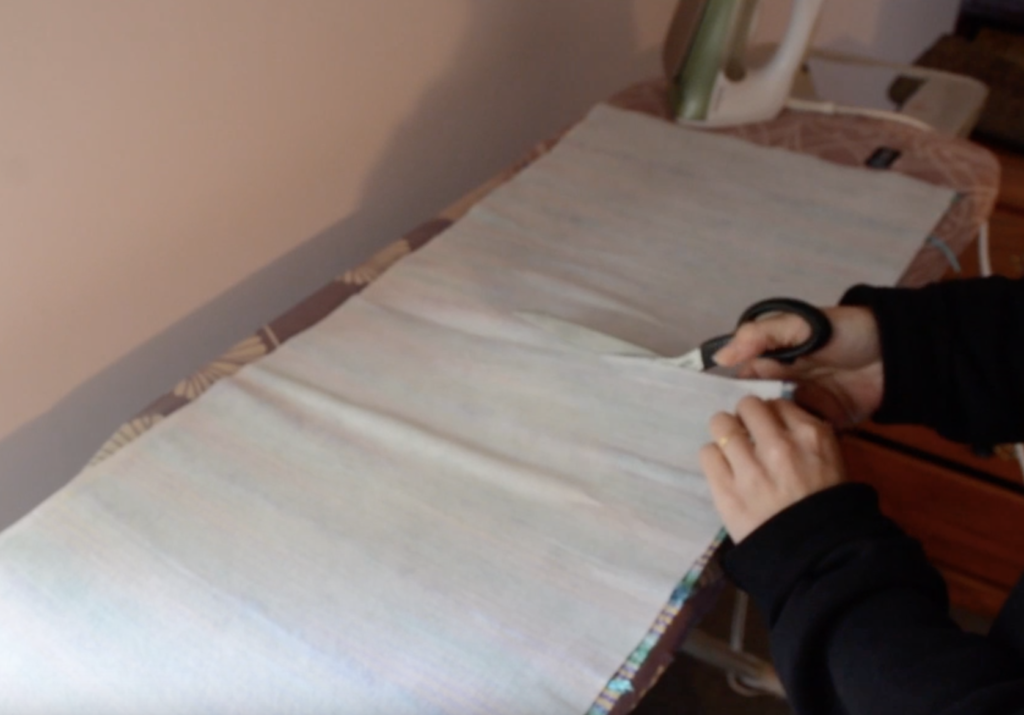
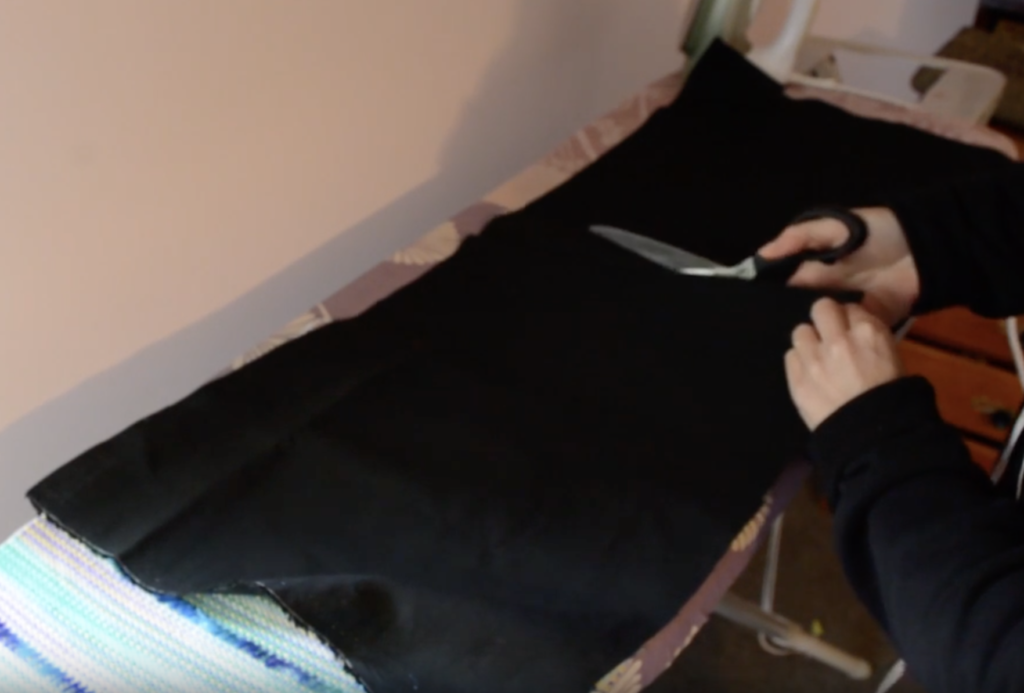
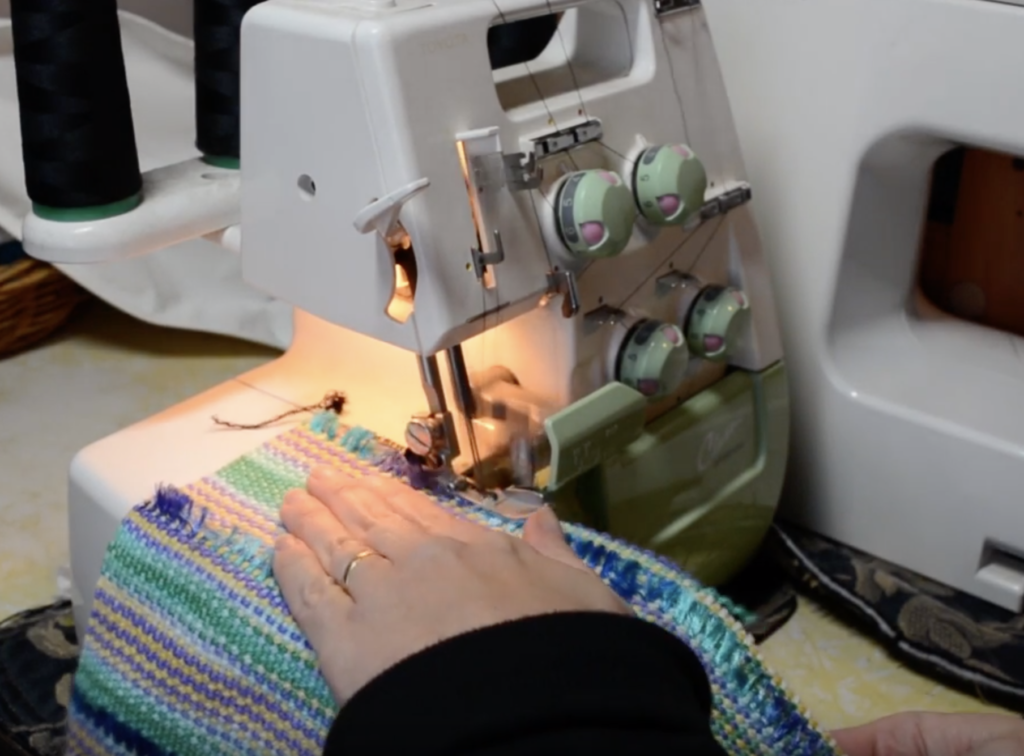
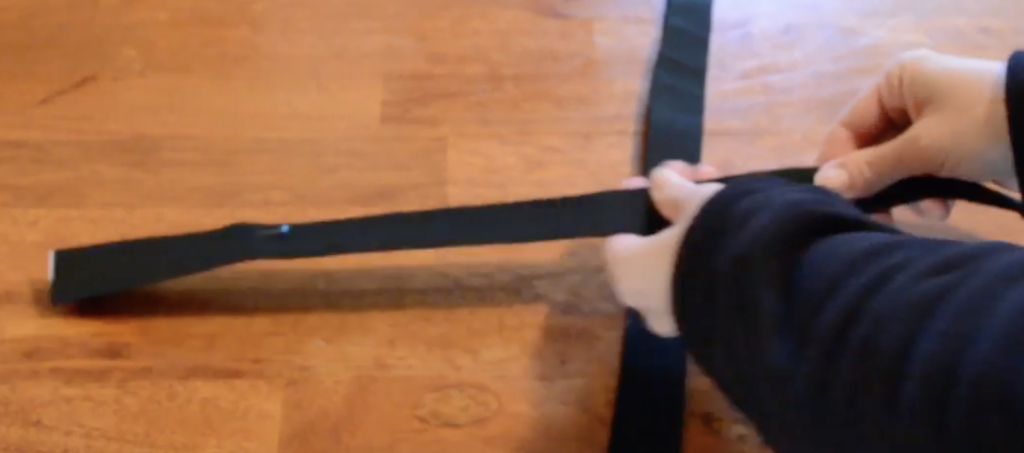
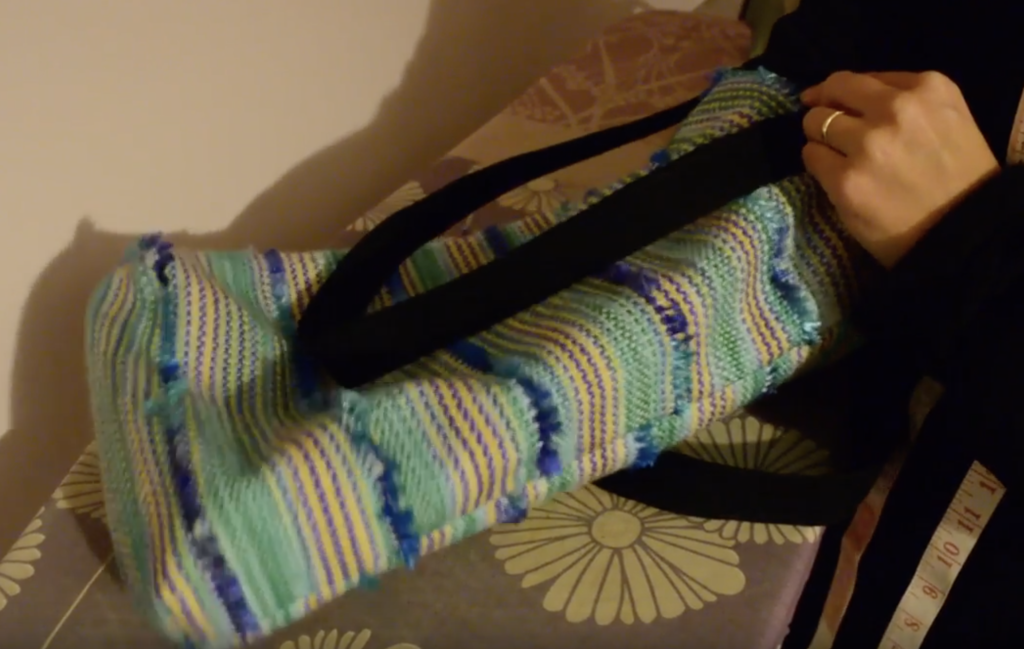
Trim the ends of the handles if needed. If your seam allowance is rough or wide, you can trim that too, for a neater finish. If you do trim, make sure to secure the raw edge with zig zag on your sewing machine or using your serger.
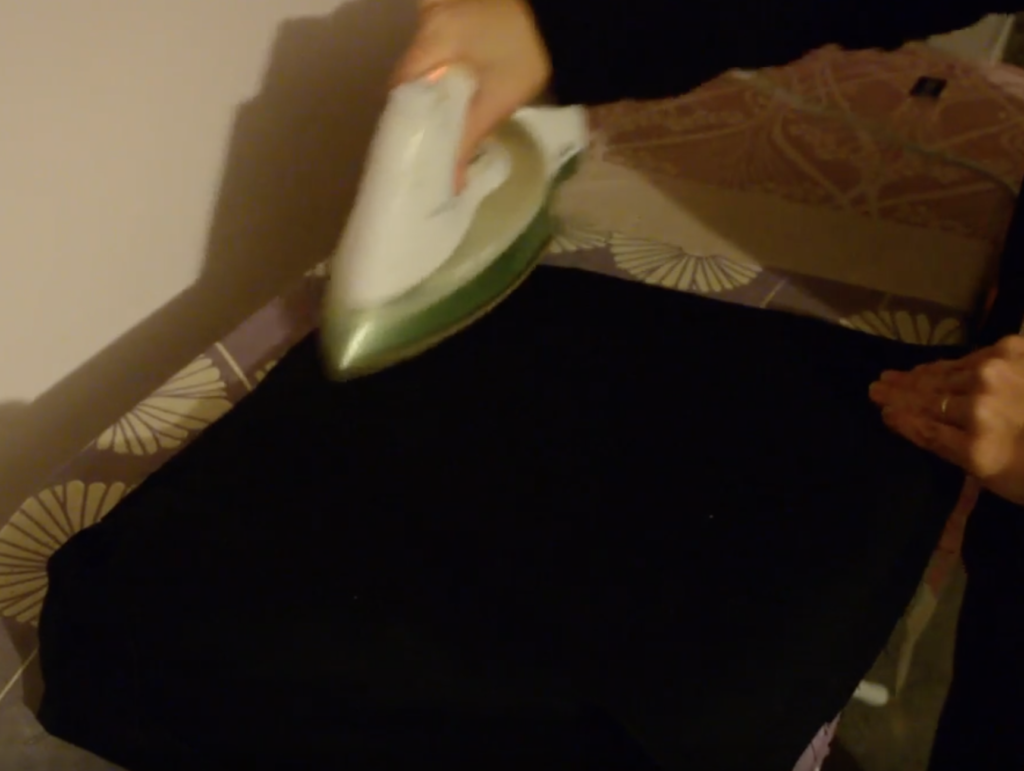
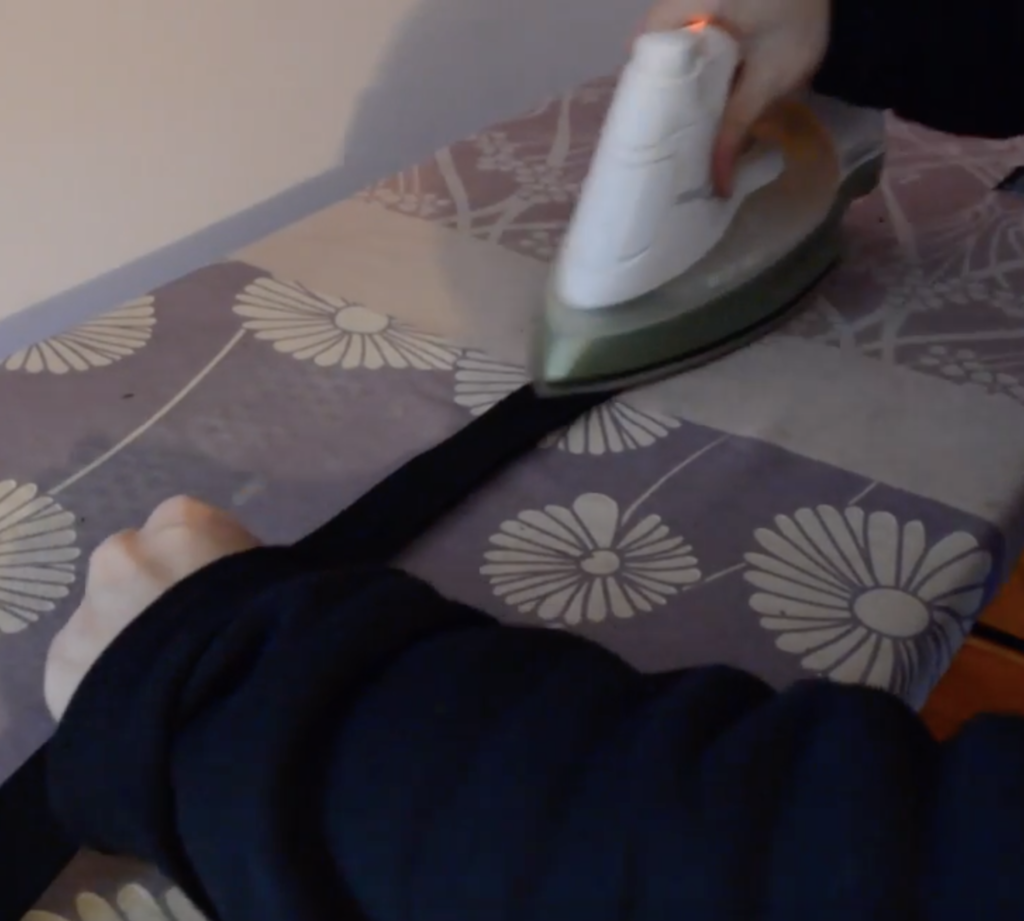
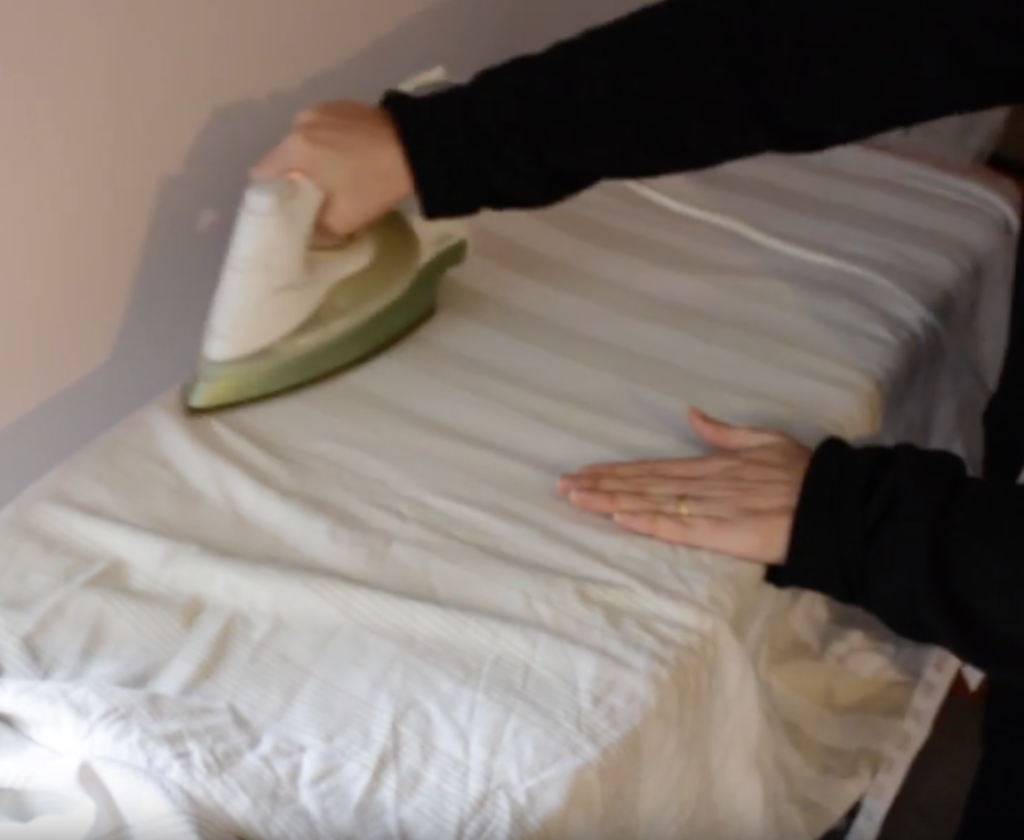
Give the bag a good press with a hot iron, paying particular attention to the top seams you just sewed.
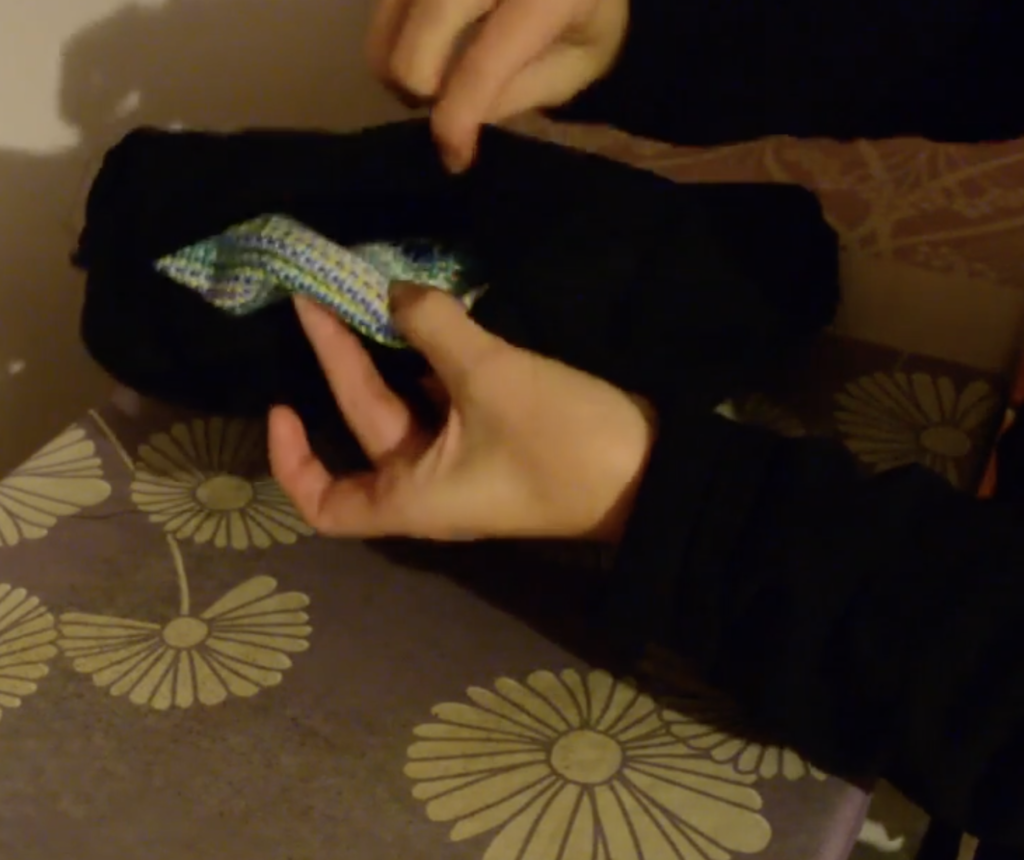
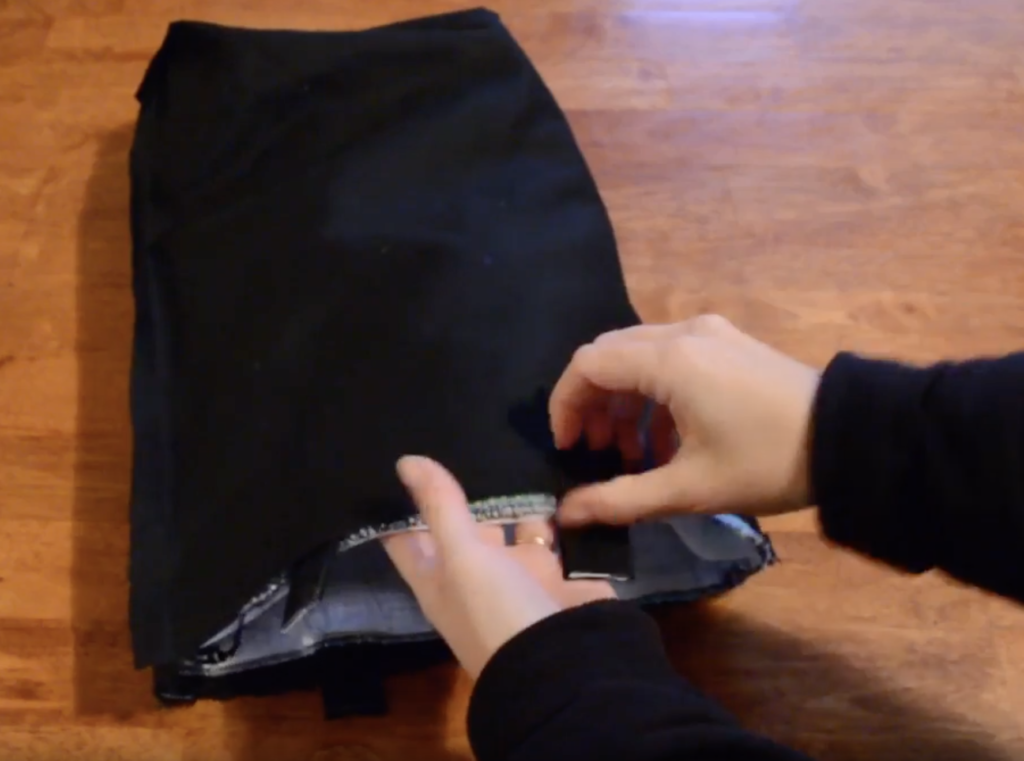
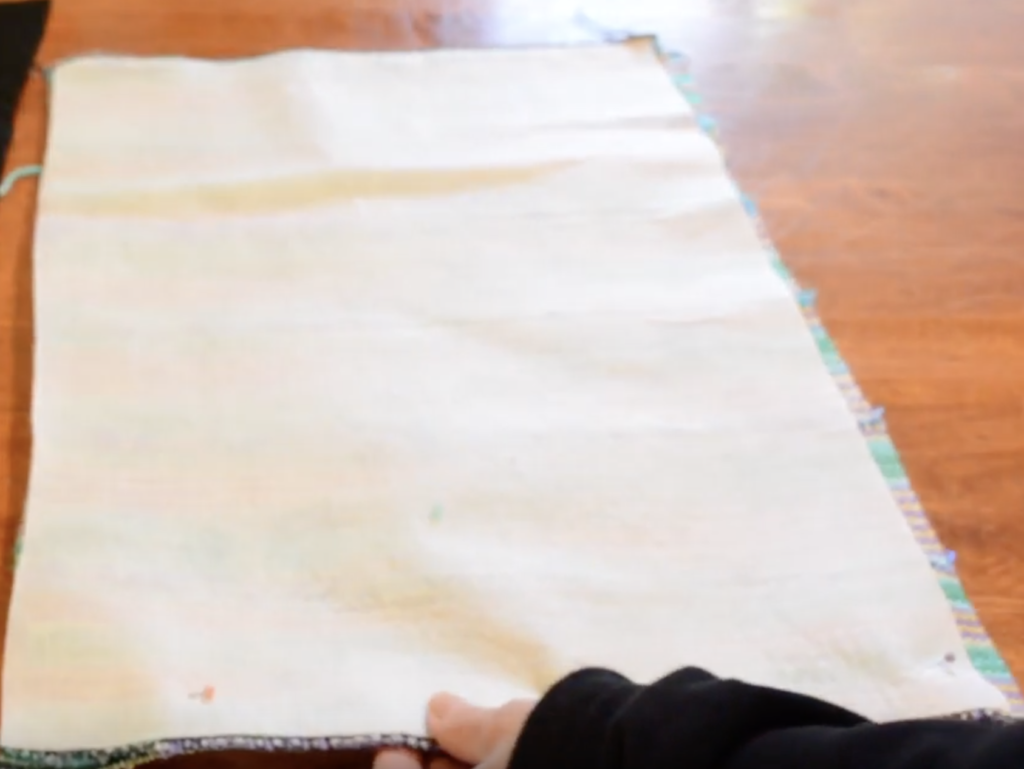
You will recall that when sewing the lining pieces together, we left a gap along the bottom seam. This is where that little feature comes in as highly important!
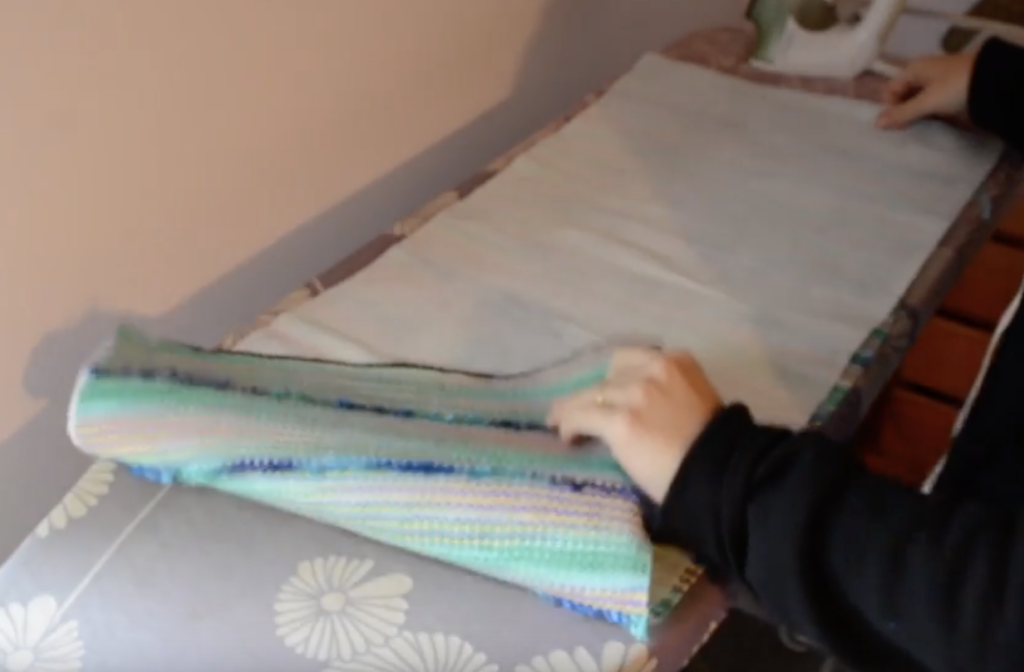
Placing your hand inside the gap, begin to slowly and gently work the outer bag through the lining hole. As you do this, the lining will naturally start to turn inside out – this is what we want!
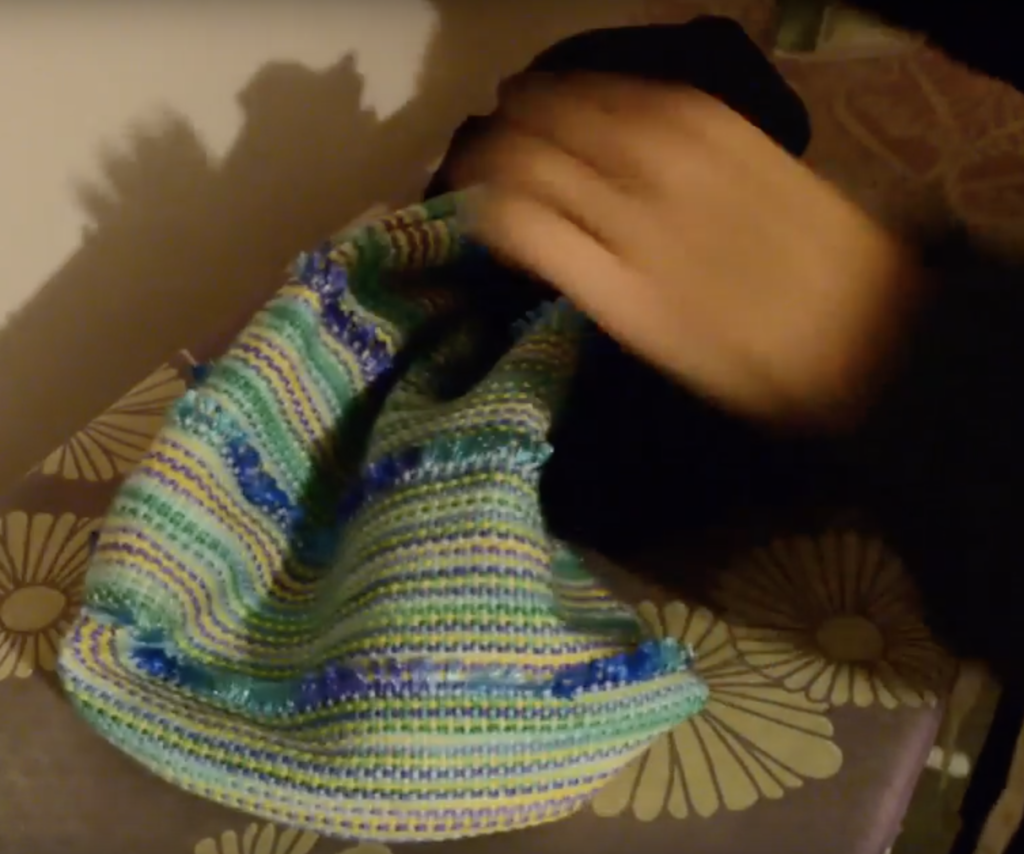
When the lining is fully turned out, give the seams where the lining and outer bag meet a good press, helping to flatten down the layers of seam and giving a much neater finish.
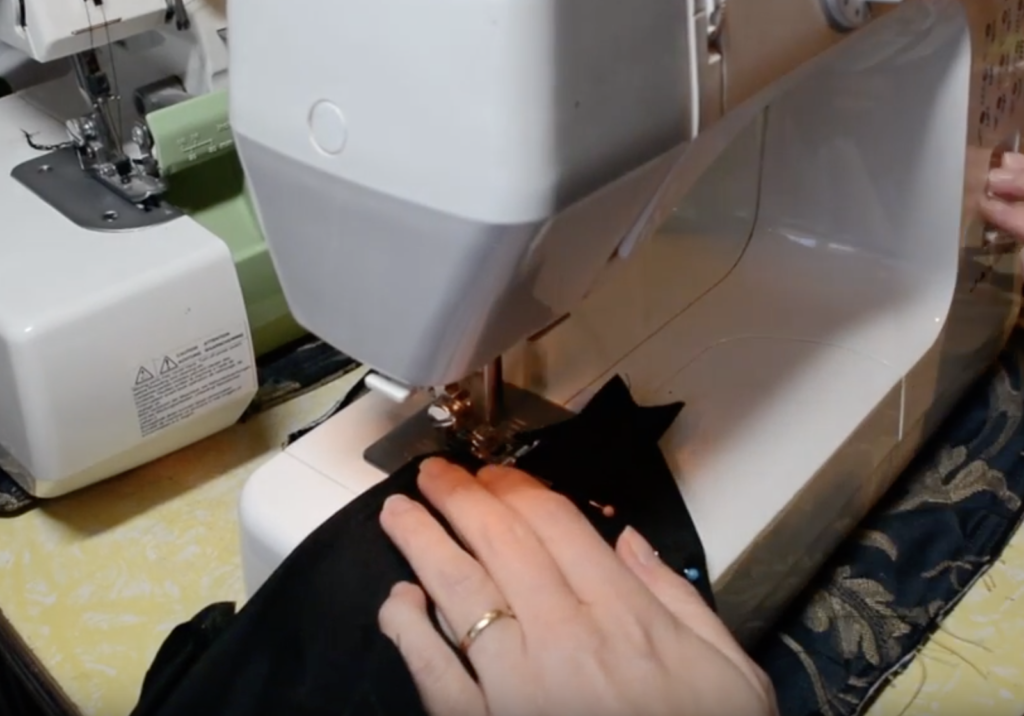
Next we need to stitch the gap in the lining closed, otherwise you will have a hole in the inside bottom of your bag! You can either hand stitch or machine stitch, just make sure that all raw edges are turned inwards.
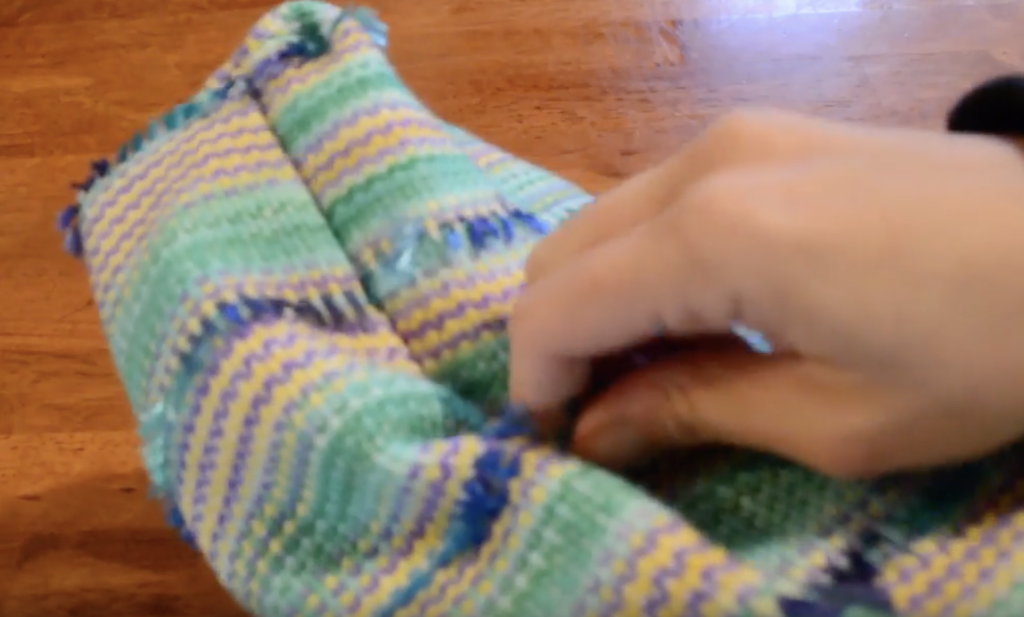
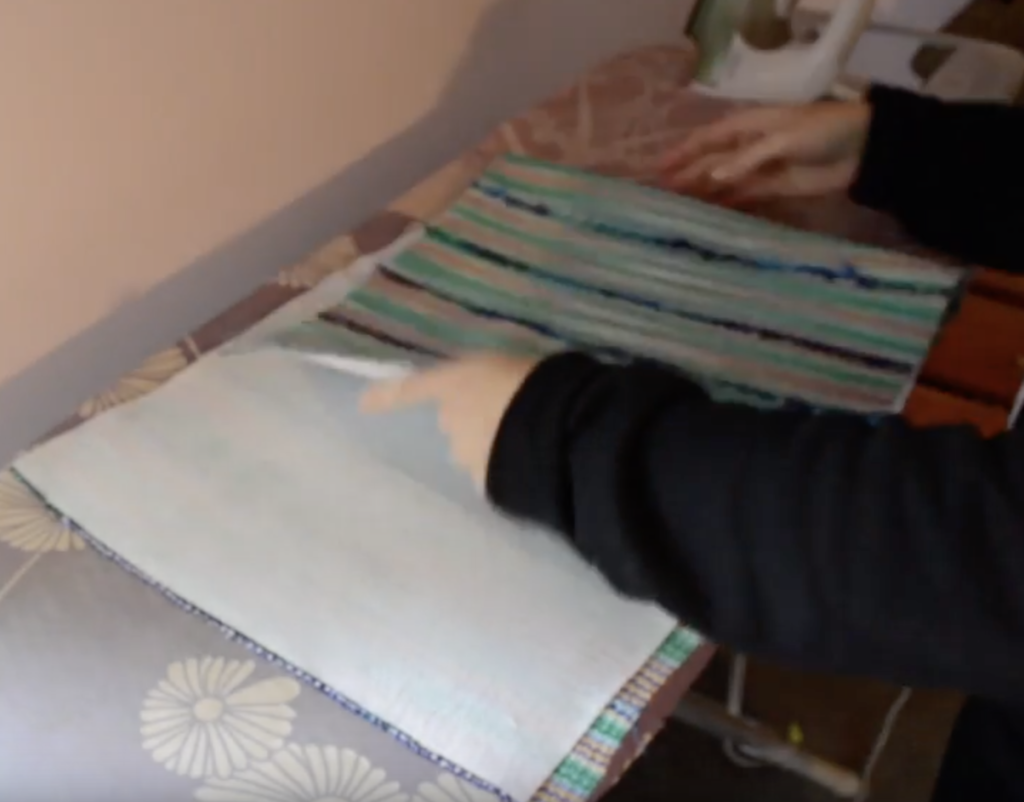
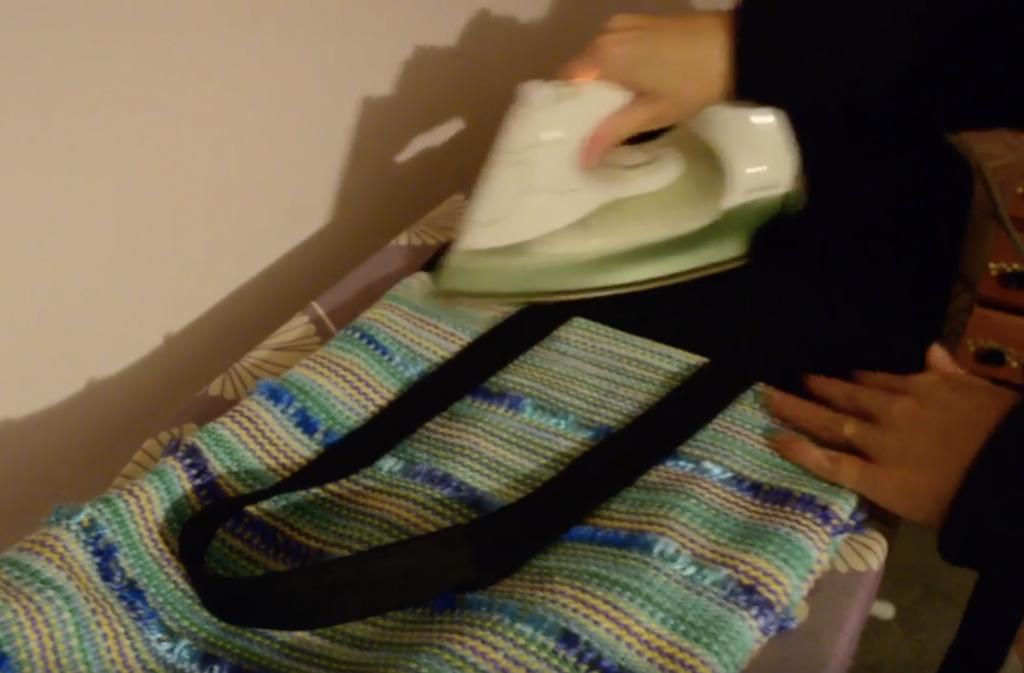
Grab the end of the lining and push and tuck it to the inside of the bag. Take a bit of extra time to arrange the lining so that it sits flat inside and is sitting in the same shape as the outer bag with no bunchy bits. Pay particular attention to the corners, and poke the lining into them with your fingers.
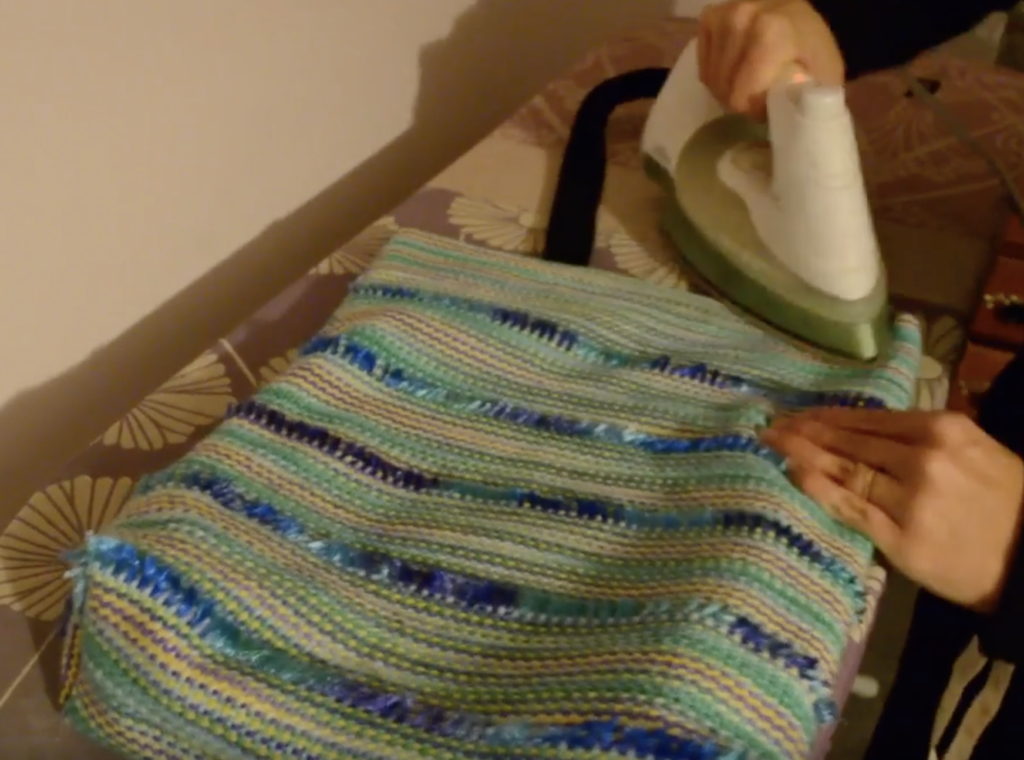
Once you’re satisfied with the positioning of the lining, press the whole bag once again, slipping the iron inside the bag to flatten the lining. It can be helpful to slip the open end of the bag over the end of the ironing board to ensure the lining is sitting properly at the top.
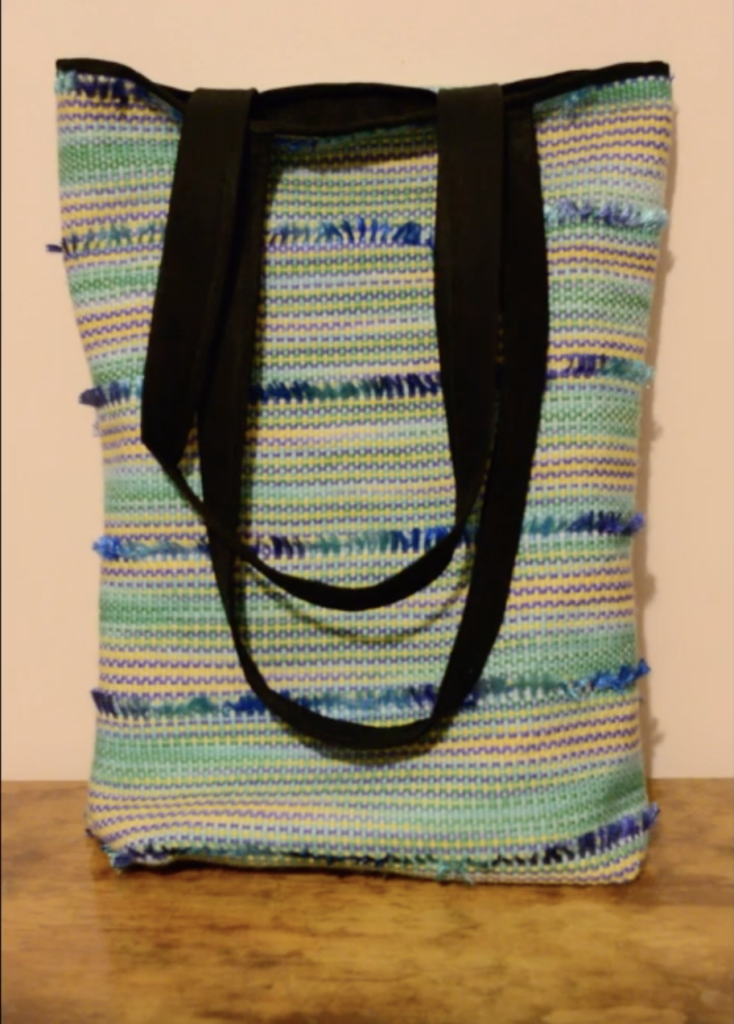
The final step is optional. You can top sew around the very top edge of the bag, using a matching thread. This will help to secure the lining in place and stop it from moving back out of the bag. It also looks nice. But, you decide.
So, that’s it!
How did your bag turn out? Please let me know if you have made one, and of course, I always love to see photos.
Until next time…
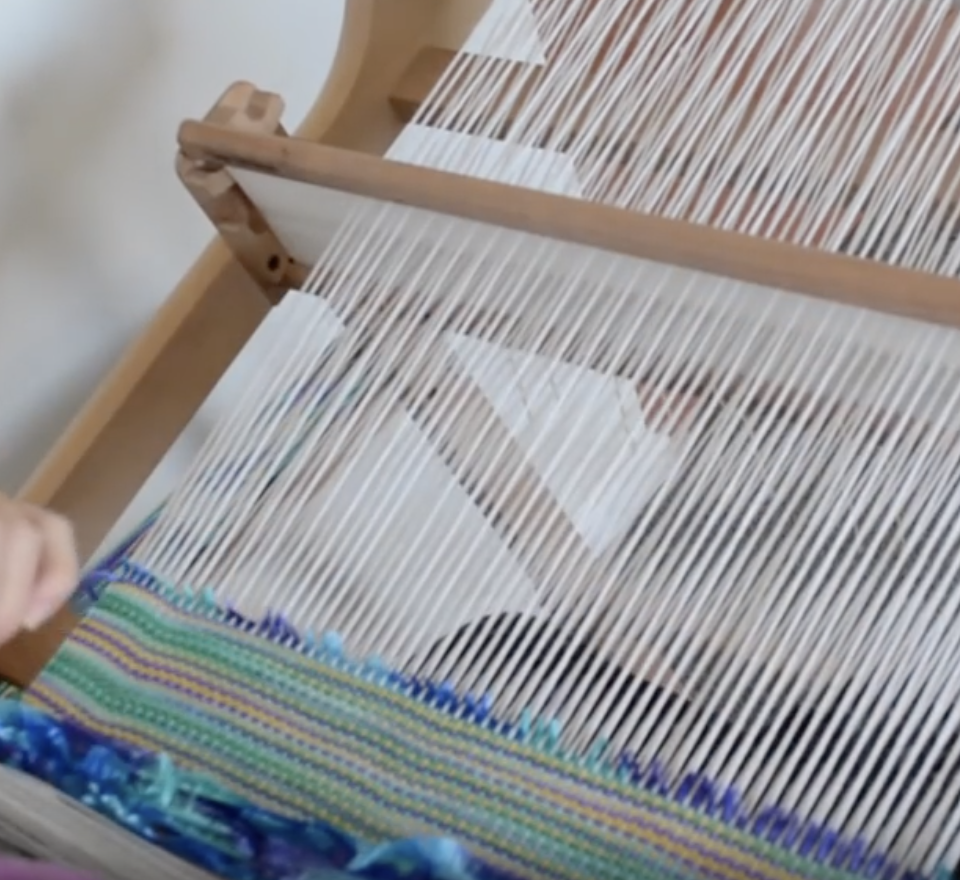
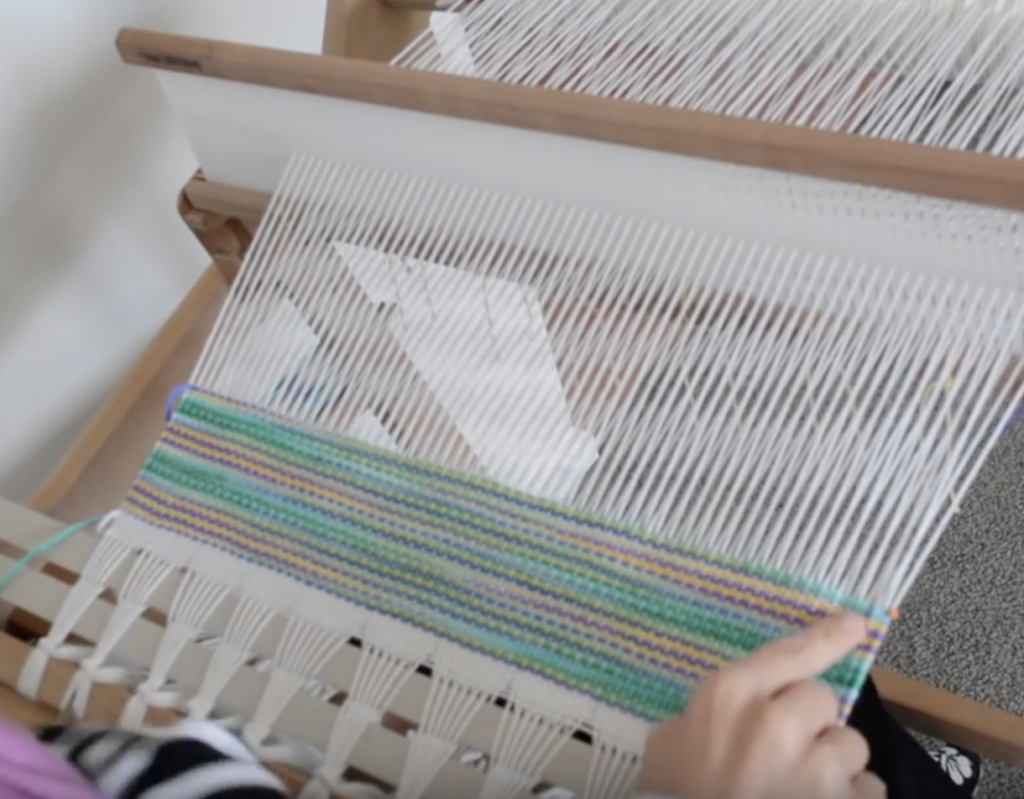
Happy Weaving!