
In today’s Tote Bag Weave Along post, we will cover warping. The last post containing details about materials can be found here.
You can download the PDF with essential project information below.
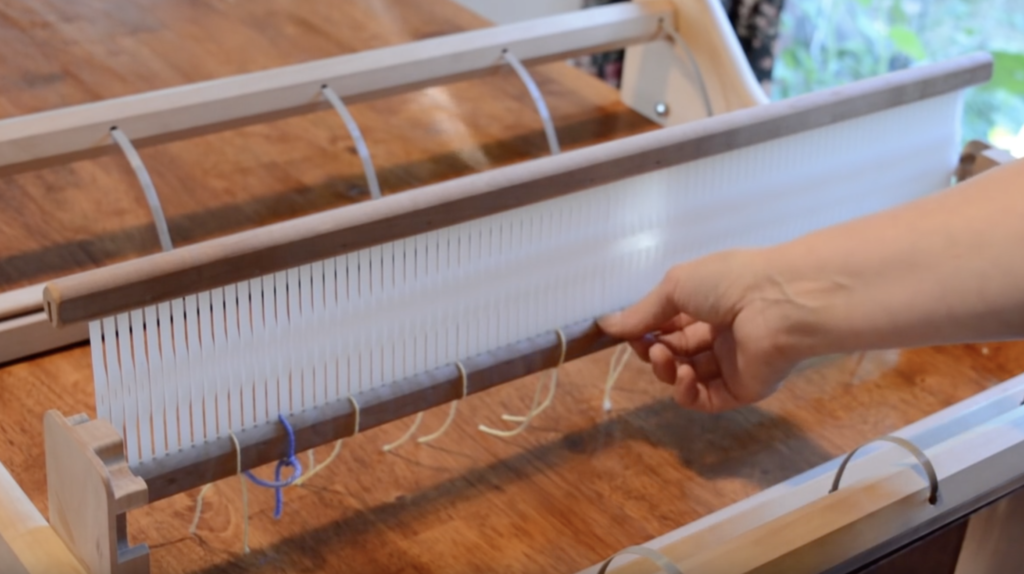
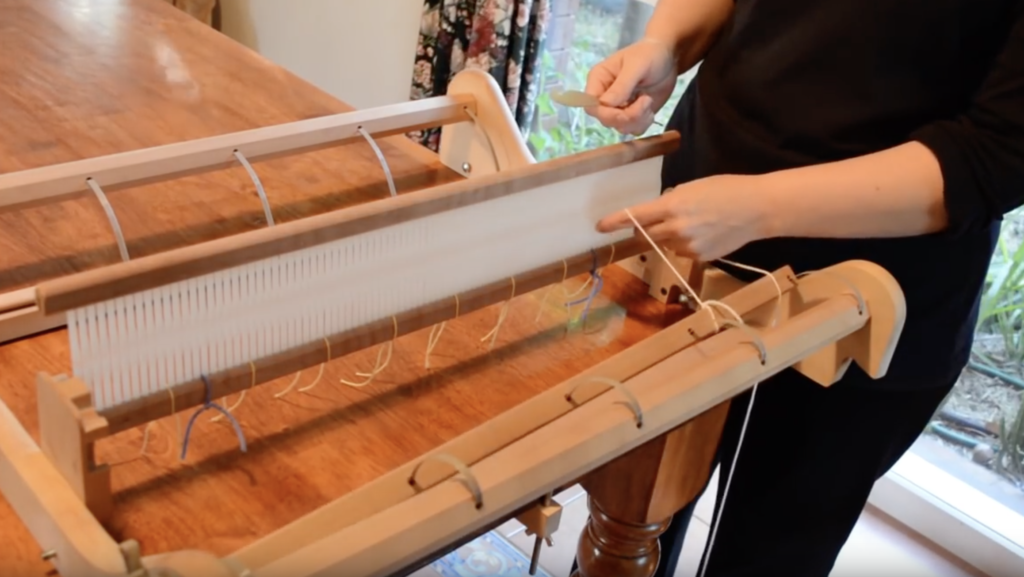
Prior to warping for any project I find it very useful to mark out the width of the project with some waste yarn to avoid having to count and re-count slots, which can be a bit tedious! I just thread the waste yarn through the slot and tie it at the bottom of the reed. Easy peasy.
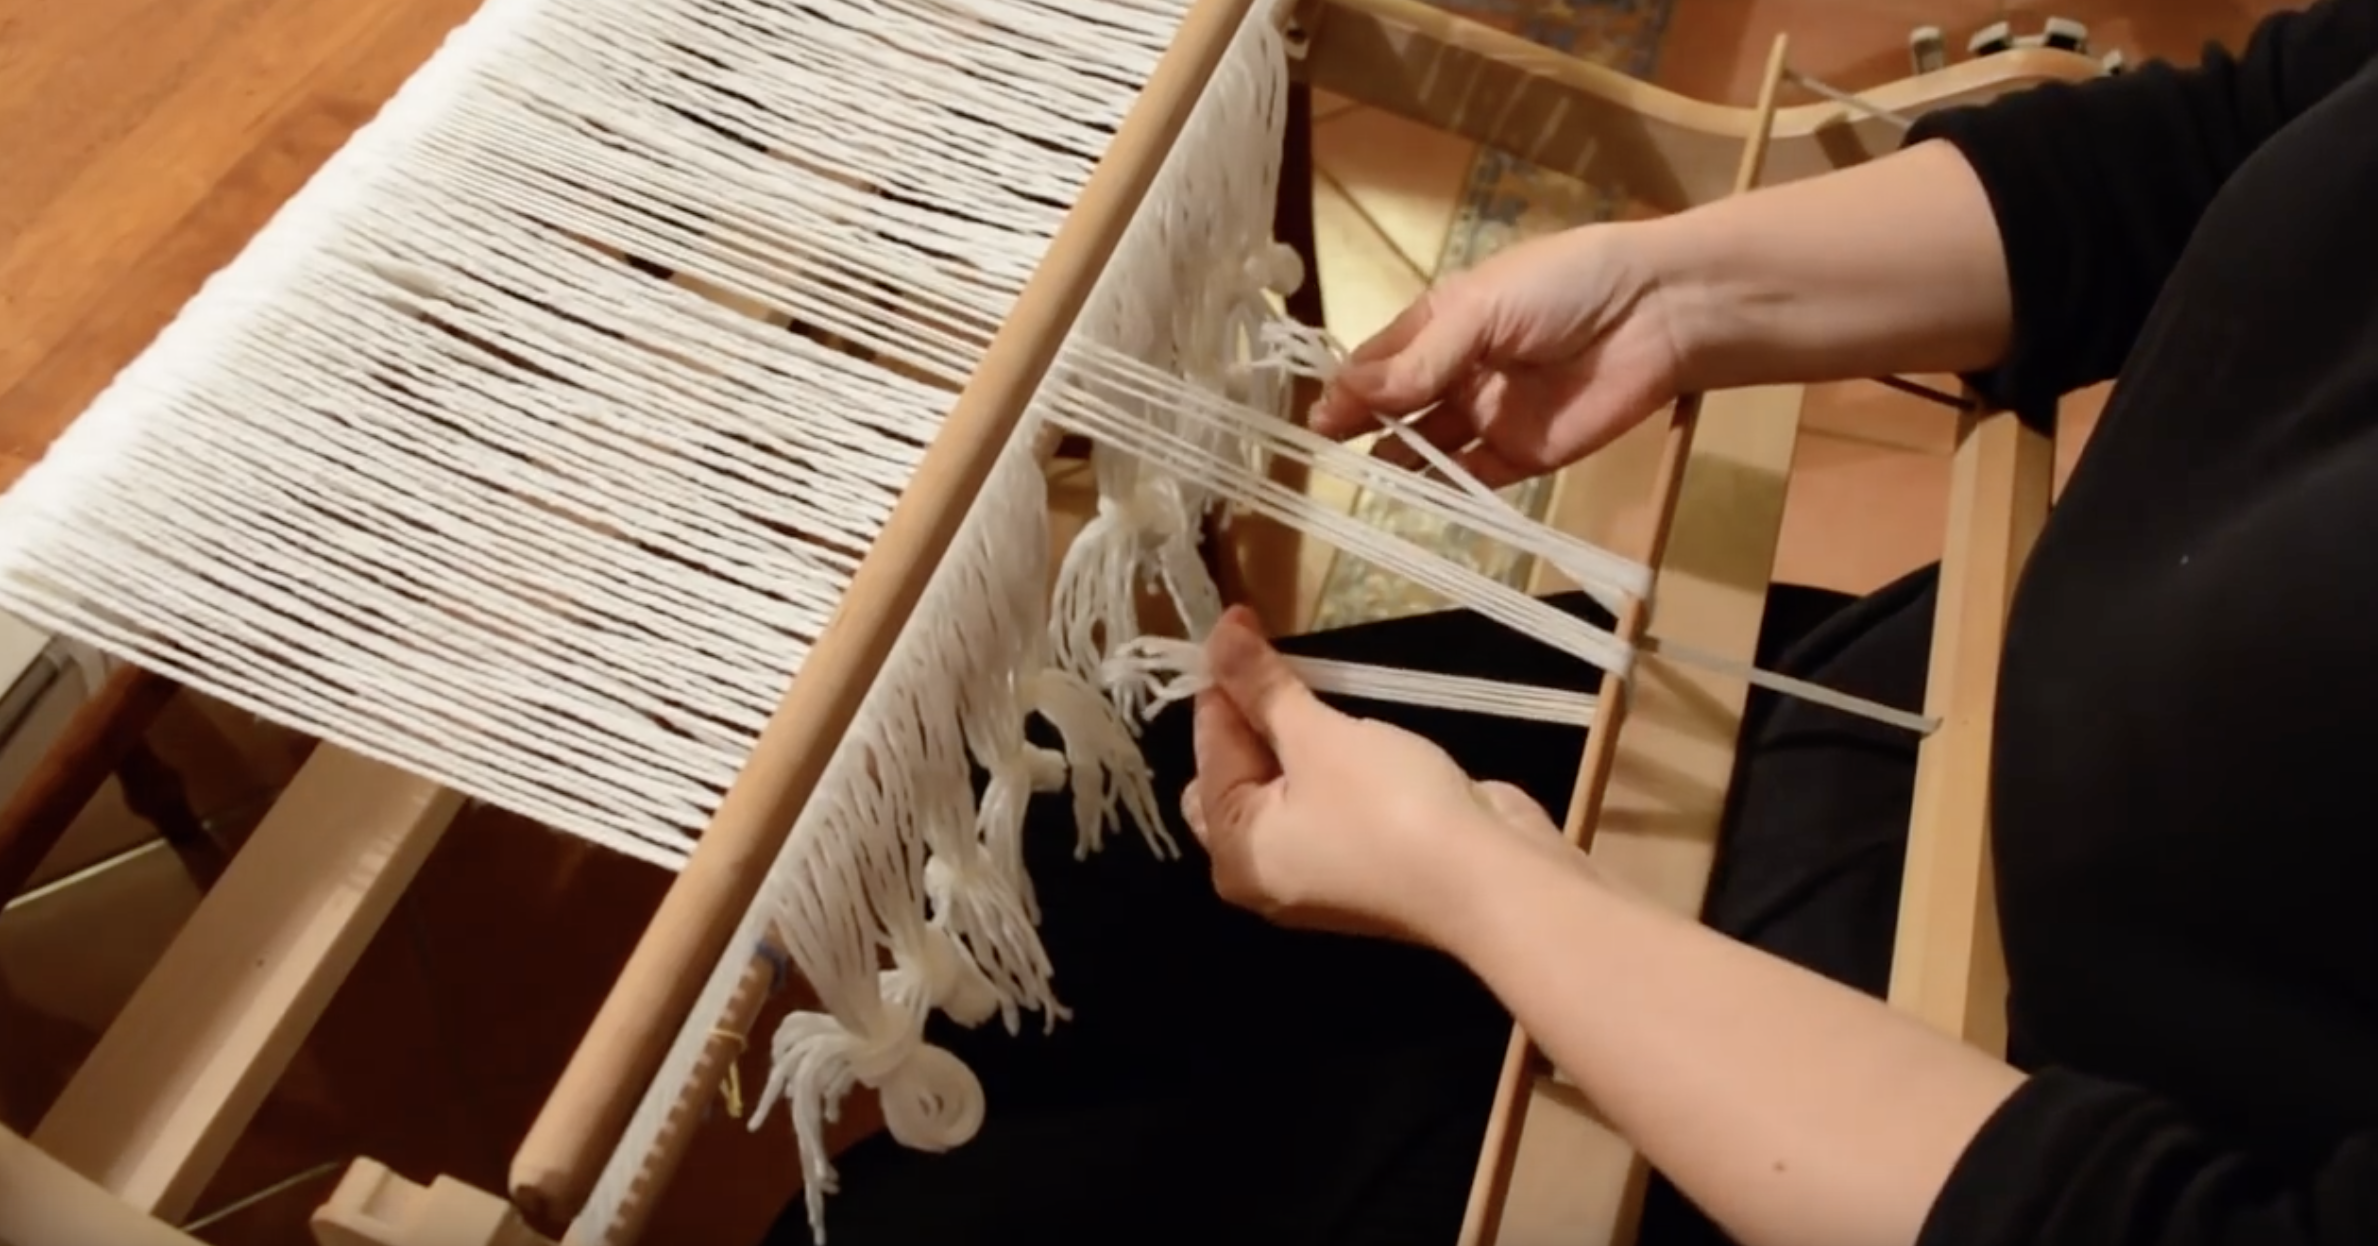
You can begin warping on the left or the right side of the loom, it doesn’t matter, but my habit is to start on the right. Tie your first length of yarn onto the apron rod, take it through the first slot and around your warping peg, back through the slot and then around the apron rod again. Alternate so that your thread goes over then under the apron rod each time.

By the time you are finished warping, you should have 2 threads in each slot. Place your yarn gently on the peg – we are not aiming for tight tension at this point, just consistent.

When you are finished warping the required number of ends, cut your yarn and tie off on the apron rod.
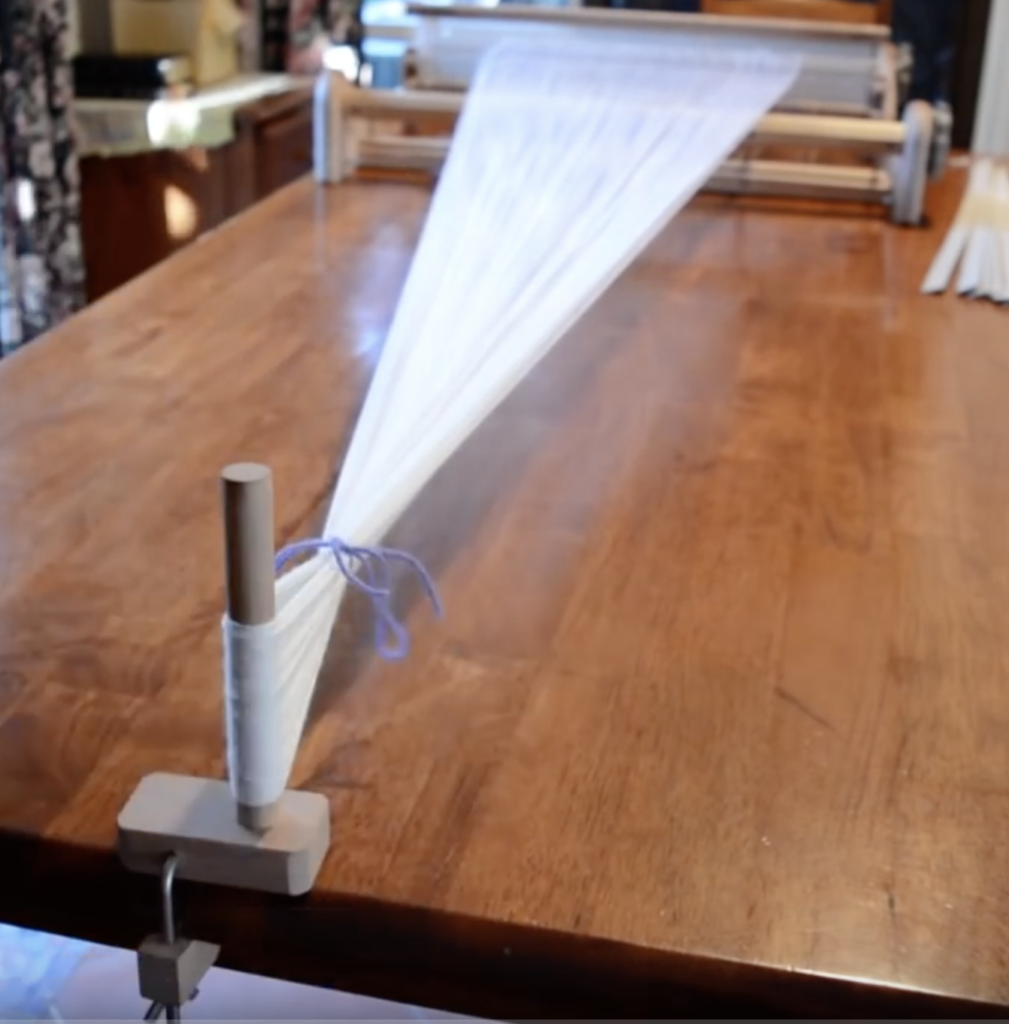
Now you’re ready to place a choke tie around the warp near the peg to keep it all together as you wind the warp onto the back beam. A piece of waste yarn in a bow is perfect for this.
The step by step video instructions for this lesson are available for free.
If you need the basic equipment to get started on this project, here are my suggestions:
I have a 24″ Ashford Rigid heddle loom (most looms will come with a 7.5 or 8 dent reed, a threading and reed hook, one stick shuttle and a direct warping peg.
Ashford also have a 16″ rigid heddle loom that is appropriate for this project.
A sewing machine is really invaluable for making bags or any other sewing you want to do with your handwoven fabric. You do not need to spend a fortune on a fancy schmancy machine with all the bells and whistles, just a basic straight and zigzag stitch machine. I have a basic Janome and am very happy with it.
I’m not going to tell anyone that a serger is a must have for sewing hand woven, but the truth is, if you do a fair bit of sewing it will make your life a whole lot easier. I have an old Toyota serger that I bought cheap many years ago as it was an ex demo model. Sergers have actually come down in price since I bought mine, so a new one would set me back the same as what I bought my old one for. I do recommend checking out Janome sergers if you’re in the market for one though.
Yarn suggestions area covered in the last post.
If you have any questions at this stage, please leave them in the comments below.
Next time we will learn how to wind the warp onto the back beam, then thread and tie on in readiness for plain weave.
Happy Weaving!
[…] Tote Bag Weave Along – Warping, Lesson 2 […]