• Skip to main content
  • Skip to primary sidebar

Kelly Casanova Weaving Lessons

  • Hi! I’m Kelly!
    • Disclosure
  • Online Weaving School Class Index
    • Common account issues
    • Common technical issues
    • What do I get with a membership?
  • New to rigid heddle weaving? Start here!
    • Never heard of the rigid heddle loom?
    • How to weave neat edges on the rigid heddle loom
    • Rigid heddle weaving
    • Rigid Heddle Weaving Patterns
  • Patterns
  • Subscribe

learn to weave

My biggest ever mistake in weaving

by Kelly 29 Comments

Quite a few years ago now, we bought our first family DSLR camera. I loved photography when I was in high school and spent as much time doing it as I was allowed. I think one thing I loved about it was it was the only subject in which I felt free and unrestricted.

I could take one of the school’s SLR (pre- digital days!) cameras home when I wanted. I was given access to the school dark room in my spare time, and thankfully, my parents paid the bills for the photo paper and chemicals without grumbling.

*This post contains affiliate links. For further information, please see my disclosure policy.

So, getting our first entry level DSLR was like reliving a bit of that favourable part of my teenage life. It wasn’t long before I decided I wanted to take a course to learn the camera inside out. I enrolled in an online course, which was quite an investment for our single income family at the time, and started learning.

I became completely engrossed. I lived and breathed photography for the best part of a year. I loved the assignment challenges and started making my own challenges. Thankfully, I had 4 beautiful children who were my willing subjects. I started to dream up themes for photos. I made costumes, visited beautiful locations and used interesting props.

So, what does all this have to do with weaving?

Well, I was already a weaver when I started the photography course. But I was in a “not so positive place” with it. I was trying to learn new and interesting techniques, but it was really hard. I was putting pressure on myself to make perfect, Instagram worthy pieces that I just wasn’t ready to undertake.

Homeschooling, mothering, attempting to supplement our income didn’t leave much time for creative pursuits. Photography fit well, because the children were very often my subjects and were always with me when I was doing it, so it fit well.

As time went on, I wondered whether weaving was really the right thing for me. My rigid heddle loom sat empty month after month. My husband had bought it for me as a gift. I felt guilty that I wasn’t using it.

Most of all, I felt that I wasn’t capable of learning all I wanted to on this loom, and so my motivation lagged completely.

The frustrations that I’d been having with weaving built up in my mind and sat upon my shoulders as a heavy burden. Guilt, annoyance, frustration, lack of motivation – all these negative emotions around weaving were just penned up. I didn’t share this with anyone, and so it went on, and so the loom continued to sit empty.

And this was my biggest mistake.
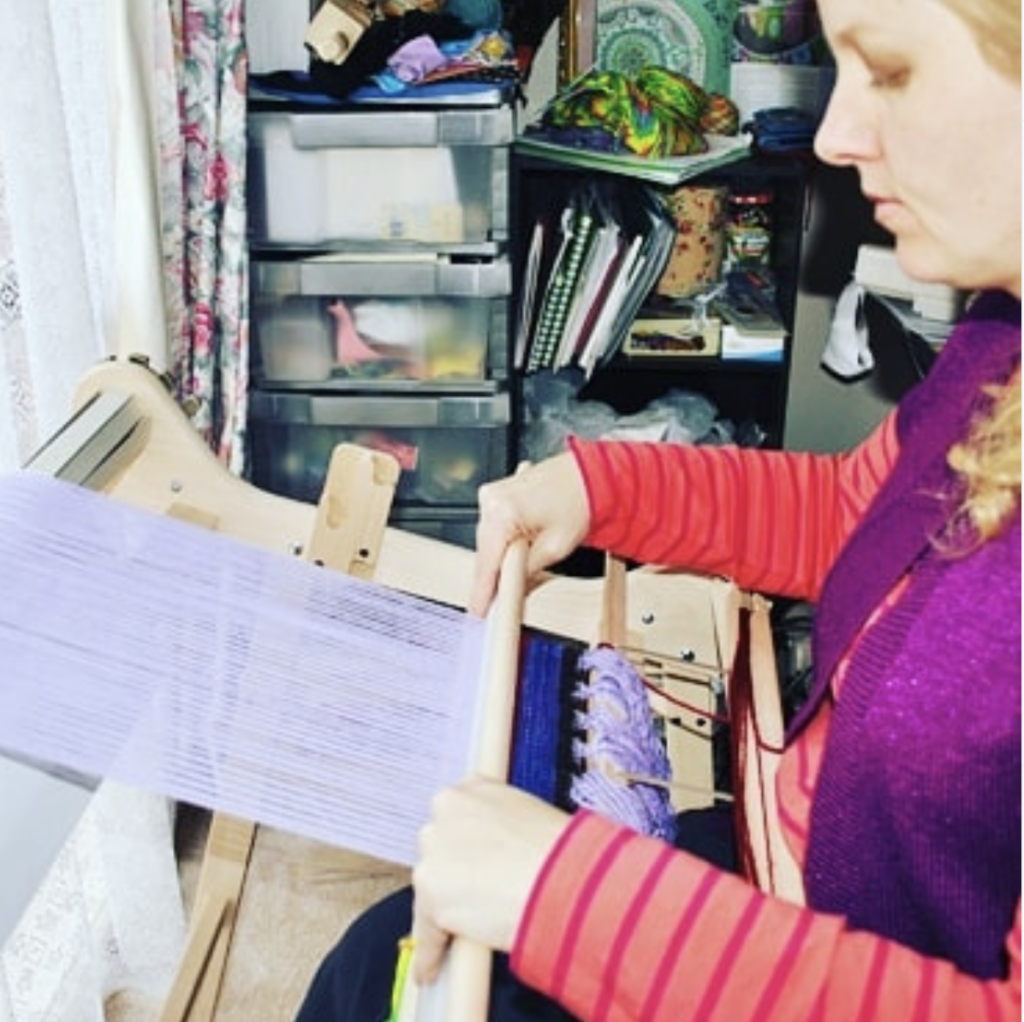
So, what happened? Well, eventually the novelty of lugging that somewhat heavy camera around, countless hours of making costumes and finding new locations began to wear off. I started to remember what had attracted me to weaving in the first place, and why I felt compelled to make my own cloth. I started to notice beautiful yarns again. Ideas began to bubble up in my mind.

But the most important thing that happened is that I just put a warp on the loom.

I took a step. I don’t remember what it was that I made. Maybe it was just a simple, fun, non committal, explorative weave. Maybe it was something to wear or something for my kids to use in their play house. I really don’t remember, and it doesn’t really matter. The point is that I just did it.

I do still get weaver’s block to this very day, especially when I’m challenging myself to learn something new, but the difference is in how I handle it. I ensure that whenever those negative weaving feeling start creeping back in, I do something about it!

I have many resources that can help you get past the frustrated weaver point and on to weaving beautiful things. Here are a few suggestions:

  • Keep a weaving journal. Document your projects and how far you’ve come. Add in your future weaving plans, include pictures, colours, snippets of yarn. Use your past projects to build on.
  • Make a creative space. This is not possible for everyone, but even just a corner of a room, somewhere you can set up your loom and some yarns can help. If you don’t have to lug out all your materials every time you want to weave, you will be more likely to do it.
  • Make time for regular weaving – even if it’s 15 minutes at a time. You will make progress if you keep at it.
  • Make a Pinterest board or a mood board for inspiration. This can be as loose or as planned as you like.
  • Immerse yourself in the weaving community. Join groups (online or face to face), watch Youtube videos, listen to podcasts. These will help keep you motivated and prevent feeling isolated.
  • Join the Online Weaving School. When you purchase a membership, not only do you get access to the class library full of courses for all different weaving levels, you also receive an invitation to join a wonderful weaving community.

You may also be interested in these relevant videos:

Have you ever felt paralysed in your weaving journey? What helped you out of it? Or, if you are in a rut, what are you going to doing about it? Let me know in the comments below so we can keep the discussion going.

I hope this post inspires you to warp up your loom and get weaving!

Oh, and I do still indulge in photography from time to time, but I must admit that my newer Canon DSLR is used a lot more for filming classes than anything else! The big plus from all my photography practice is that I’m now capable of taking some pretty decent photos of my weaving.

If you’re interested in improving your photography for weaving purposes, check out my Photography for Weavers class. All you need is a phone and some of your hand weaving to get started!

Until next time…

Happy Weaving!

Filed Under: Inspiration, Online Weaving School, Weaving Tagged With: inspiration, learn to weave, weaving mistakes

What is your excuse?

by Kelly 20 Comments

Many years ago, there was a beautiful little yarn and embroidery shop in an upmarket seaside suburb around 30 minutes drive from my home. Visiting was a treat, as the shop was in an historic stone building, had several rooms and was wonderful just to look at.

I couldn’t afford to spend much on yarn or supplies back then, but I once splurged on some beautiful cashmere yarn to knit a hat for my newborn, and I even once went to the extravagance of buying a pretty floral handkerchief for each of my girls, just because I wanted them to have something pretty.

*This post contains affiliate links. For further information, please see my disclosure policy.

One time, my husband drove past this shop with a new work colleague. She pointed at the shop and said “that’s for people with too much time on their hands”.

My husband was slightly bemused, knowing that I was a customer of the shop. He also knew that, at that moment, I was at home, caring for and homeschooling our 4 young children. On a good day, I was able to take 30 minutes to 1 hour to work on a craft project. Many days, I was either too busy or too exhausted to even consider doing something creative. I certainly didn’t fit the profile of someone with too much time on her hands!

Time is a funny thing. Our ideas and beliefs about time are funny too. Often when people say they “don’t have time” to do something, it is really just a bit of a cover up. An excuse.

An excuse to not have to exert effort in order to learn something new. Maybe they know they have to save some money to buy the necessary materials to start learning and that is something they don’t want to do. Maybe (and I think perhaps this is the most common reason people make excuses) is to hide the fact that they are afraid of failing.

Since I started my Online Weaving School almost 4 years ago, I’ve heard from thousands of weavers all over the world from all walks of life. Many are brand new to weaving, some have been weaving for some time, and others have not yet begun but have a desire to start.

I’ve heard frequently from people who say they have been wanting to learn to weave for 20, 30, 50 years! Overwhelmingly, new weavers have told me that they wish they had started earlier instead of waiting for “the right time”.

You see, the majority of people live their lives in a box of societal expectation.

Finish school. Go to college. Get married. Have a family. Somewhere in amongst all of that, buy a house. A couple of cars. Work. Raise your family. Keep working. Kids are grown up and left home? Now you have more time to work! Accumulate more stuff with the money you earn from working. Indulge in expensive holidays in an attempt to recuperate from working. Go back to work, after all, someone has to pay for the lifestyle I’ve just described. And then…. one day, finally, you get to retire! THEN you have the time to do all the things you have been really wanting to all these years. You’re likely in your early 70’s by this stage.

None of the above are bad things, they are good things. It is good to get married and raise a family (in fact, I think it’s one of the best things anyone can do!) It is good and necessary to work. Holidays are lovely. Having things you want is nice. But these things are not exclusive, and they don’t have to be compartmentalised.

I have not approached my life as a checklist of things to be done before I can invest in myself and my passions. I am raising children right now, still homeschooling, caregiving and providing. My role as a wife and mother are very important to me. And yet, it is also very important that I get time to be creative and work on things I love. Doing so makes me a better wife, mother and person. It’s part of who I am.

When I began weaving, we had small children and very little money. Yes, I too had my mental excuses as to why I couldn’t learn to weave. Not enough time. No spare money. I needed to wait for the right time. I might not be smart enough to do it.

But, with my husband’s help, I became convinced that it was a good thing to do, and we worked past the excuses to make it happen. To say that the decision to save for and purchase my first rigid heddle loom has been life changing would be putting it very mildly!

And it’s not just me, only yesterday a student told me that learning to weave has been “life affirming” for her.

If you have been wanting to learn to weave, but for “some reason” have not started, I encourage you to look at your situation realistically. Are your reasons actually excuses? Are they a cover up for something else?

I want to talk just a little more about time. We all have the same 24 hours in a day. We also have choices about how those hours are used. Do you work all day, get home and collapse in front of the tv? This might seem a little harsh to some, but I am sure that if you have time to watch tv, you have a lot more free time than you might think. Do you spend hours surfing the internet or on social media? Then, guess what? You have time to learn something new!

Overrun with little kids? Yep, I’ve been there and I would use their nap or sleep times in order to do something creative. If that didn’t work out, I would involve them in what I was doing in order to get that time for myself. Sometimes that would be having a child sort through my button or ribbon collection, which they thought was awesome fun. Sometimes it would be having a child sit on my lap while weaving to “help” me beat.

Last year, I wrote a post about planning and prioritising in your days so that you could make time to do the things you really wanted to. I included a printable daily planner that I hope some of you might use to make some plans and goals.

What I want you to get out of this post at the very least is that you don’t know what you don’t know. You need to take that first step of trying and then another step, and then another. The point is to make a start, because retirement could be a long time away!

……………………………………………….

One more story that struck me when I read it in a magazine and has stayed with me for years. An older woman was sitting in a doctor’s waiting room. She was knitting while she waited.

A man who was also waiting and had been observing her, suddenly asked “Why do you waste your time doing that?”

The woman replied “When I leave here, I will have half a dish rag, what will you have?”

……………………………………………………

What I want you to get out of this at the very most is that you are worth it. You’re worth the time, money and effort investment and I know that if you truly want to, you can do it!

If you would like to view this post in video format (and watch me weave), I invite you to watch here-

Until next time…

Happy Weaving!

Filed Under: Weaving Tagged With: encouragement, learn to weave, weaving, what is your excuse

How to make the most of your membership

by Kelly 2 Comments

Have you ever purchased a gym membership?

Let me guess, when you signed up you imagined yourself on the treadmill or pumping iron regularly. A few days a week, if not every day! You took out a 12 month membership because everybody knows that this will be the clincher – once you’ve paid you have to get your money’s worth!

A gym membership (you thought) was just the motivation you needed to get going and finally get fit and stay fit.

Young woman exercising at the gym with weight

What happened next? One of two things:

  1. The first day you went was great, you felt awesome and on top of the world. Day 2, rolling out of bed early to fit in a session, you didn’t feel so crash hot about the whole thing. Day 3, you decided you really needed that sleep in, but you would definitely get back to the gym tomorrow. That was 6 months ago.

2. You made a plan and started slowly. You decided that 3 sessions a week was realistic for you and that you needed some guidance to start with. You wanted to build gradually towards a good level of fitness, free of injury or exhaustion. 6 months later, you maintain this plan and feel really great about your health and the steps you took to achieve your goals.

All of this is hypothetical of course, especially considering that I myself have never so much as stepped inside a gym – the very notion makes the hairs on the back of my neck stand up. Give me a healthy walk in the fresh air any day!

But I wanted to use the gym analogy today because it coincides pretty well with what I want to say about my Online Weaving School.

What does working out have to do with learning to weave? Quite a bit, actually.

  • Both require a commitment. And not short term, just as you don’t achieve fitness overnight, you don’t become a great weaver overnight.
  • Both take effort and patience.
  • Both involve goals setting and time investment.
  • Both are extremely rewarding and produce wonderful results if all of the above are adhered to.

I will be the first to admit that I absolutely love the fact that memberships in my Weaving School are thriving at currently over 800 students. I’m amazed and so grateful that so many new and seasoned weavers want to learn with me.

But, I have to tell you that the figure of over 800 students is only a vanity metric if most of those students are not actually engaged, making the most of their memberships and learning exciting new techniques.

Because this is not all about how much money I can make from the volume of students I have. That is not why I started all of this (you can read more about my story here and a more recent version here) and it’s not why I work so hard to make my school the best it can be.

The thrill and enjoyment that I get seeing a student have a lightbulb moment, weaving something beautiful or falling hopelessly in love with this craft, is why I do what I do. You really can’t put a price on that.

If you are already a member, please, use the tools that I’ve provided to make your membership the very best learning experience I can provide. Join the membership community, interact with the other students, plan your class list and start working though them.

Know that if you are having trouble, there is support available. Members receive personal support from me when needed, and also from the community of other members.

So, what will you get with a membership?

You will get a HUGE variety of weaving classes to choose from that you can work through in your own time, in your own way. You can stop the videos any time you need to and rewatch again and again. There are countless printable PDF information sheets.

You will get to join a friendly and helpful community of weavers at all different levels. Some are absolute beginners, others have been weaving for years. And they will all cheer you on!

What won’t you get with a membership?

You will not get a babysitter. I don’t mean that to sound harsh, but just like a gym membership, the results are up to you. You will see improvement and success if you put in the time and effort it takes. But you have to show up, have a positive attitude and be ready to learn.

If you are interested in taking out a membership or perhaps checking out one of the free classes available at my weaving school, here are so links for you to have a look at:

Gold Membership

Yearly Membership

Monthly Membership

6 Monthly Membership

Free classes:

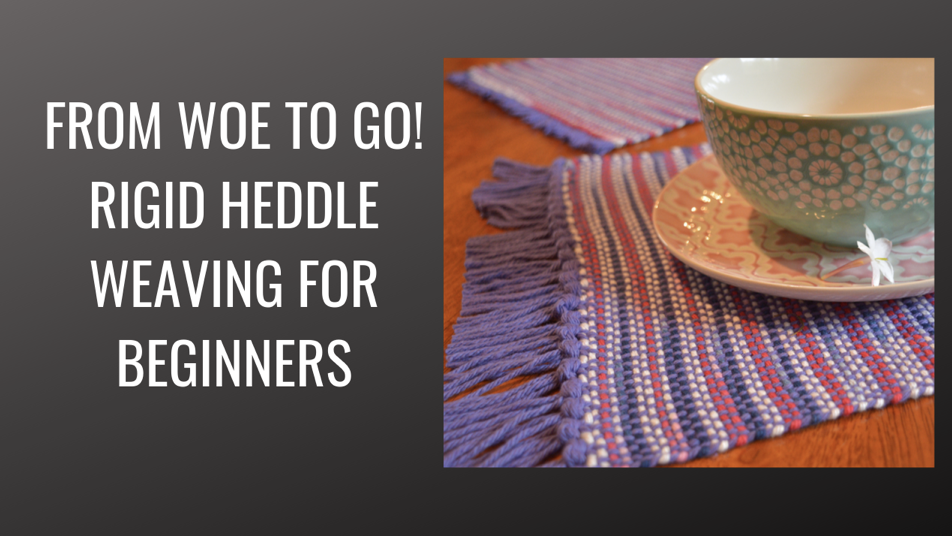
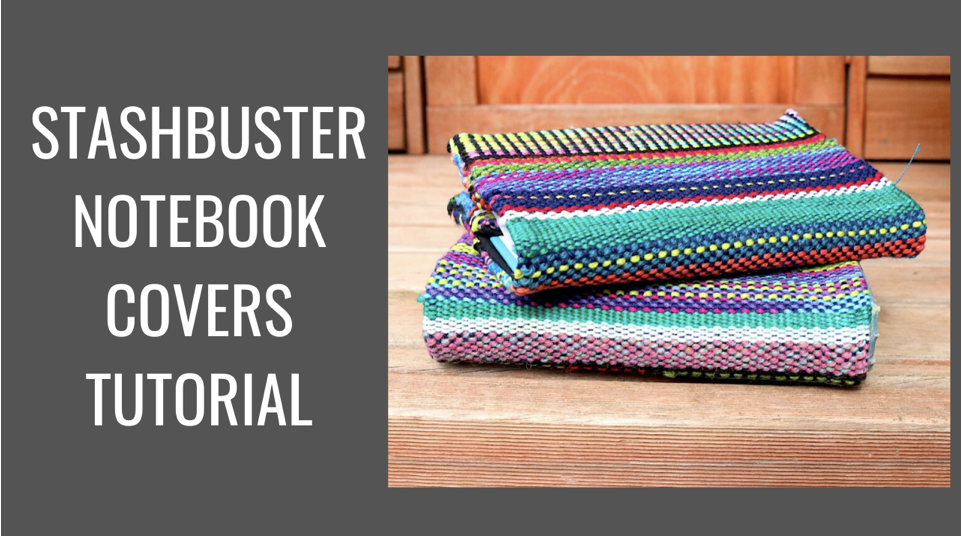
Stashbuster Notebook Covers

Kitty Cats on a rigid heddle loom

Waffle Weave for rigid heddle loom

Wave and Zigzag shuttle weaving

Heart wallhanging

Calculating Warp for the rigid heddle loom

Honeycomb on a rigid heddle loom

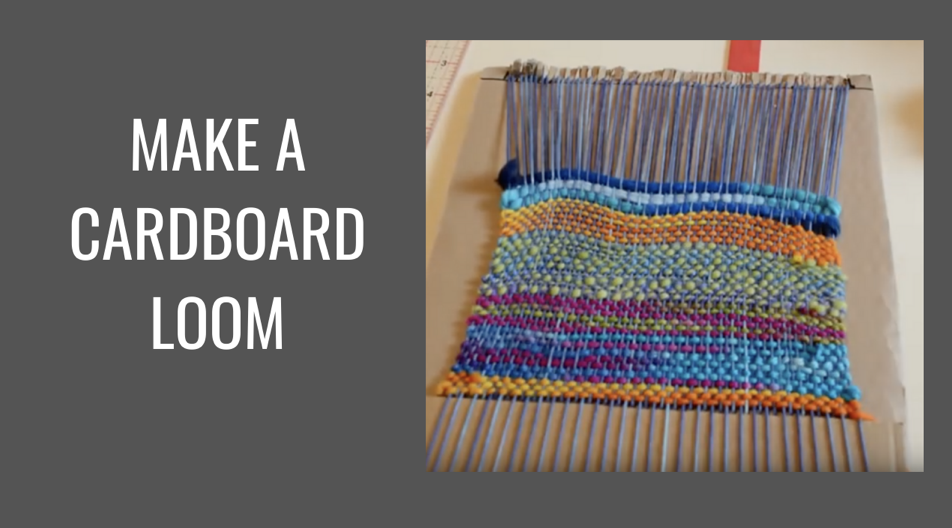
Cardboard Loom tutorial

Honeybee Cushion

Do you have a membership already? What are your strategies for ensuring you make the most of it? Share in the comments below, I would love to hear from you!

Until next time…

Happy Weaving!
Filed Under: 4 shaft weaving, Floor Loom Weaving, Inspiration, Online Weaving School, Rigid heddle weaving, Tutorials, Weaving Tagged With: learn to weave, membership, online learning, online weaving school

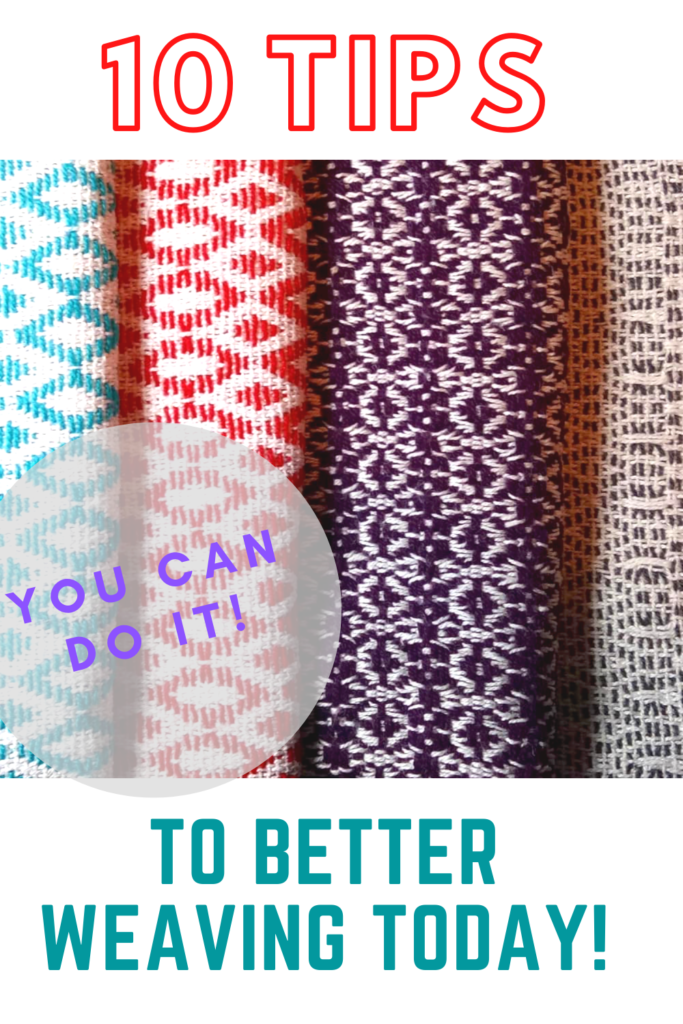
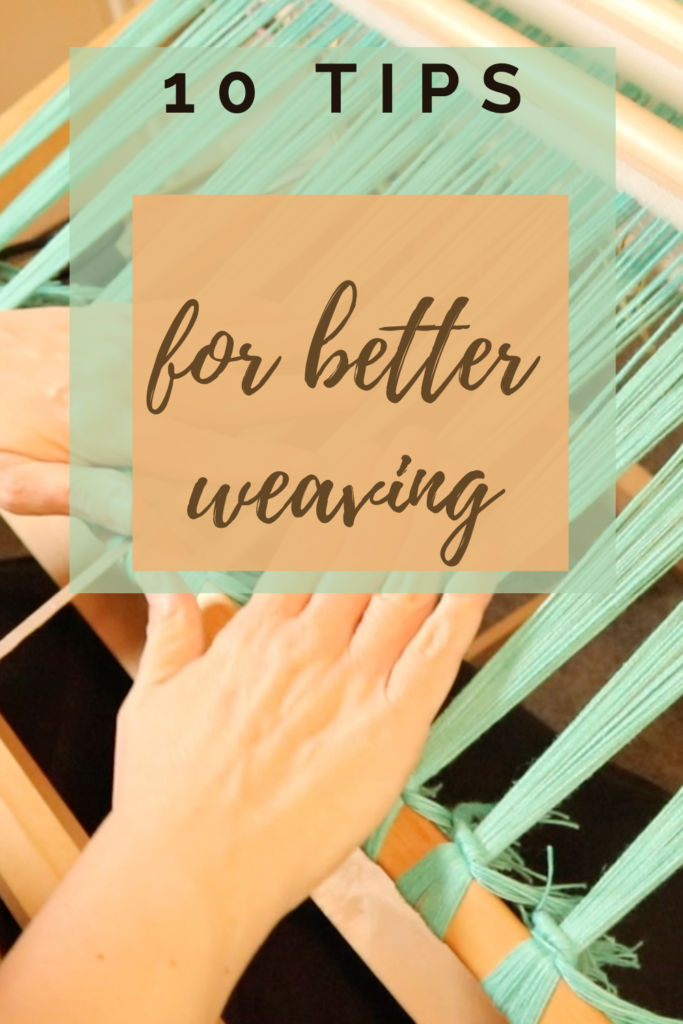
10 Tips to improve your weaving today

by Kelly 19 Comments

Learning to weave is a real journey and it takes time. There is no magic potion or secret ingredient to becoming a better weaver. It takes persistence, time and dedication.

I’ve written a post addressing these facts already – 5 Steps to Successful Weaving, but today I want to give you some short and simple tips that you can do today to improve your weaving.

*This post contains affiliate links

Let’s launch right in!

  1. Don’t run before you walk.

It’s easy to look too far ahead in your enthusiasm. Enthusiasm is great, in fact, it’s essential, but don’t let it blind you. Start at the level you’re at and work your way up. If you choose something too difficult for your weaving level, you may be setting yourself up for frustration.

2. Don’t choose the best yarn for your first project

The temptation of a gorgeous yarn with a big price tag is real. A beautiful yarn can be the perfect inspiration for a new project. But not as a beginner. And not until you’re confident that the picture you have in your head of your next project is likely to turn out how you want it to. Once again, the frustration will kick in if all doesn’t go as smoothly as you hoped. You have the extra pressure of the yarn price tag hanging over you. Keep the fabulous yarn for when you’re ready.

3. Begin with yarns that have some elasticity

It just makes beginner weaving life so much easier. A yarn with some elasticity (a woollen knitting yarn is perfect) will stretch just enough and is so forgiving that you should not have real issues with tension. Rigid yarns eg. cotton is much harder to tension on a rigid heddle loom. Wool, on the other hand, works with you, rather than you feeling like you’re working with (or for) it.

4. Start with thicker yarns – knitting yarns are perfect.

A thicker yarn (I recommend a light worsted/dk/ Aussie 8 ply) is great to begin with for a couple of reasons. The thickness is usually the perfect match for your standard 7.5 – 8 dent heddle/reed that came with your loom. So, no need to purchase extra sized heddle/reeds right away. It also weaves up much faster, and I think it’s important to make your first few projects very achievable and not be a massive time commitment. This will make you feel better about tackling the next project.

5. Commit regular time intervals to learning by doing

If your loom sits in a cupboard or your garage, guess what? You’re not going to learn how to weave. You’re not going to improve. And you will probably feel bad about it. If you are a busy person (let’s face it, who isn’t?!) then you may even find it beneficial to plan and schedule your weaving time so that it’s enough of a priority that you will weave regularly. I’m of the opinion that it is more beneficial to your learning journey to weave little and often than a big chunk of time occasionally. You’re training your brain to do new things, so consistency is important! Also, if you can have a dedicated space or at least not have to completely pack up everything after every weave session, that will be a great help and motivator.

6. Expect little – you might surprise yourself.

Hope for the best, but don’t place unrealistic expectations on yourself. Learning new skills takes time and patience, there is no way around that. Yes, some will learn quickly and some will take longer and that’s completely normal. If you haven’t seen my Slow Learning video, you should check it out:

7. Record your project information

You’re not being your own best weaving friend if you don’t take the time to record information from your projects to refer back to. You may think you will remember all the details, but chances are you won’t. I learned early on to write things down before, during and after my project. It is so worse the time. It helps you to not repeat annoying mistakes but also allows you to repeat the things that were desirable. My Weaver’s Toolkit downloadable e-booklet is a great help for recording purposes, it includes warping and weaving calculations sheets plus a project record sheet.

8. Sample.

It took me a while to become a true sampling convert. I do it often now. It’s a guaranteed way to know that your project will turn out well. You have to invest a little yarn and time, but it is very satisfying beginning a project with that kind of confidence.

9. Find the right resources for you.

If you need help, find help. The kind of help will be different depending on your needs. You may find weaving books really helpful, (check out my Amazon shop for my favourites) you may want to access some online lessons, or you may be lucky enough to either live near to face to face classes or know someone who weaves already.

10. There is almost always a fix

If you mess up, it’s not the end of the world! Most mistakes can be rectified. You may need to find extra resources when you encounter a problem but that is a positive part of your learning process. I always say that if I hadn’t made so many mistakes I wouldn’t have learned as much as I have. Make sure you’re subscribed to my Youtube channel where I have many, many videos that can help you out of a tricky situation.

11. Do not use sticky yarns if you are a beginner. I repeat, Do not use sticky yarns if you are a beginner!

I know, I said “10 tips” and this is number 11. But I must make this point, it’s that important.

Please! Just don’t do it!! You wouldn’t believe the number of emails I get from students stuck (pun intended) in their project because of a sticky yarn that won’t let them get a clear shed and causes all kinds of angst and hair tearing activity. Even bad language, so I’ve heard.

So, just don’t do it. No fluffy, sticky yarns (just forget all about that mohair for now). Save the stickies for later (if you really want to – I just generally prefer to avoid them!) and plan the project carefully.

If you need more information on choosing appropriate yarns, check out these other articles I’ve written on the topic:

Choosing and Using Yarns in Weaving…

3 Yarns Beginner Weavers should NEVER use!…

What is Superwash Woollen Yarn?…

I hope these tips are useful to you! If you have any questions, please leave me a comment, I love to hear from you.

Until next time…

Happy Weaving!

Filed Under: Inspiration, Online Weaving School, Rigid heddle weaving, Weaving Tagged With: how to weave, learn to weave, rigid heddle weaving, weaving tips

Tote Bag Weave Along – Warping, Lesson 2

by Kelly 4 Comments

In today’s Tote Bag Weave Along post, we will cover warping. The last post containing details about materials can be found here.

You can download the PDF with essential project information below.

tote-bag-weave-along-essential-infoDownload

Prior to warping for any project I find it very useful to mark out the width of the project with some waste yarn to avoid having to count and re-count slots, which can be a bit tedious! I just thread the waste yarn through the slot and tie it at the bottom of the reed. Easy peasy.

*This post contains some affiliate links, meaning that if you click and purchase, I receive a small commission at no extra cost to you.

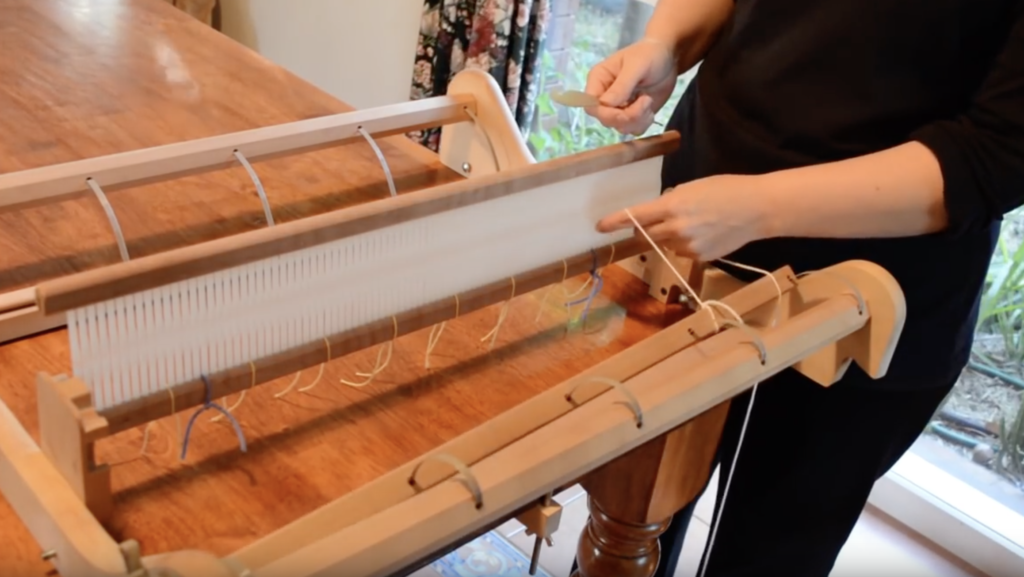
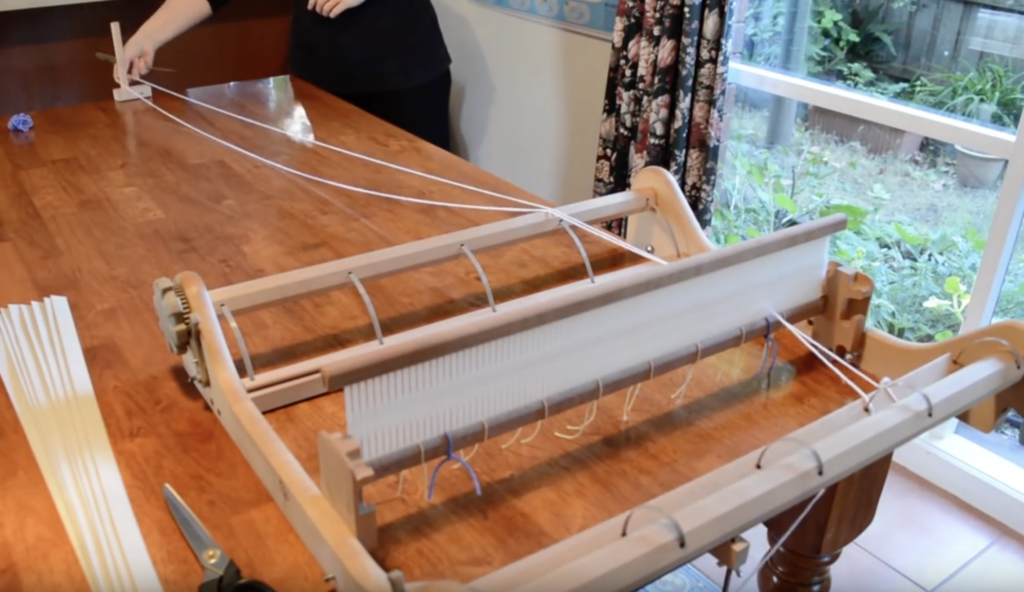
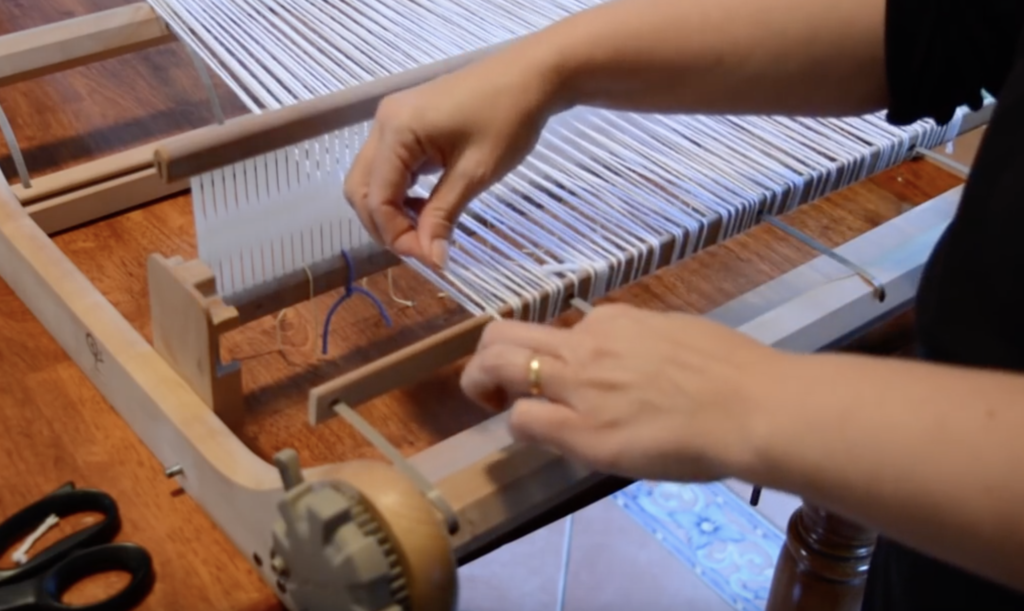
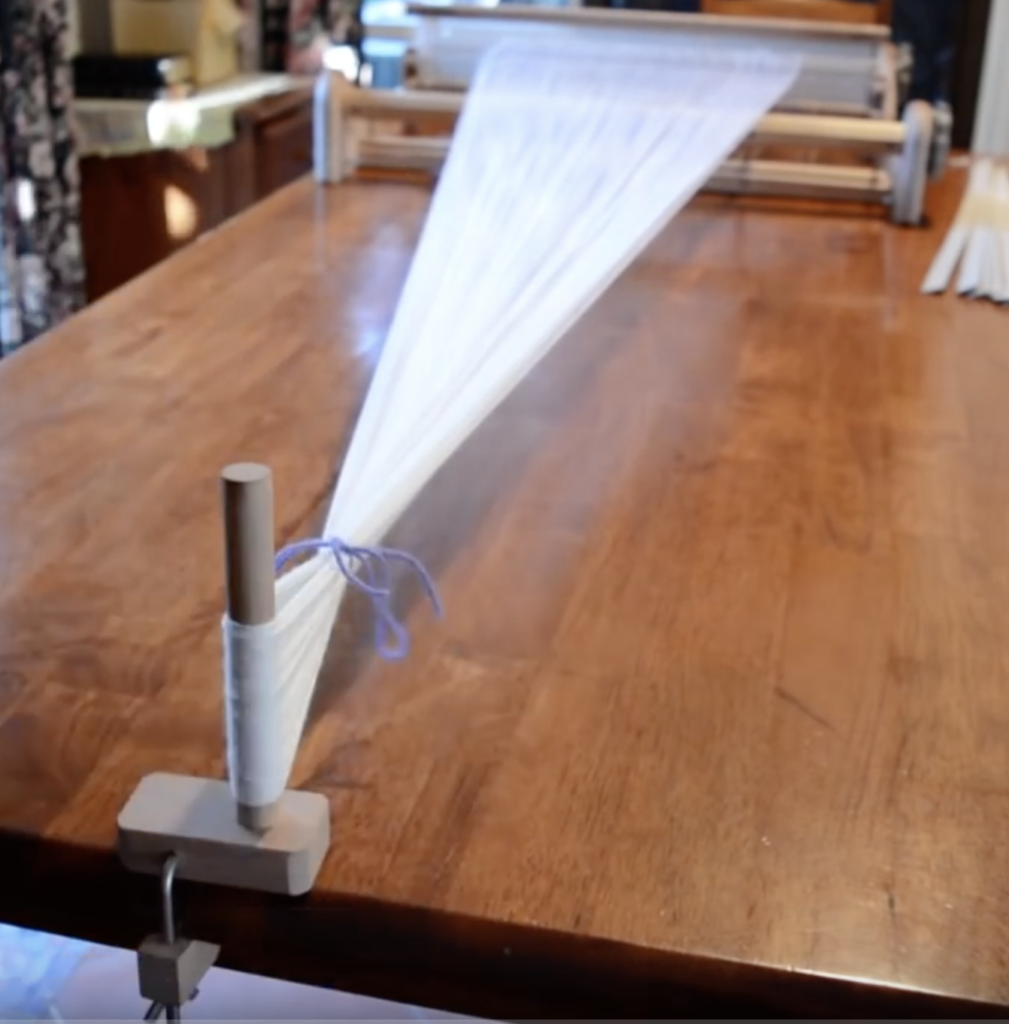
You can begin warping on the left or the right side of the loom, it doesn’t matter, but my habit is to start on the right. Tie your first length of yarn onto the apron rod, take it through the first slot and around your warping peg, back through the slot and then around the apron rod again. Alternate so that your thread goes over then under the apron rod each time.

By the time you are finished warping, you should have 2 threads in each slot. Place your yarn gently on the peg – we are not aiming for tight tension at this point, just consistent.

When you are finished warping the required number of ends, cut your yarn and tie off on the apron rod.

Now you’re ready to place a choke tie around the warp near the peg to keep it all together as you wind the warp onto the back beam. A piece of waste yarn in a bow is perfect for this.

The step by step video instructions for this lesson are available for free.

If you need the basic equipment to get started on this project, here are my suggestions:

I have a 24″ Ashford Rigid heddle loom (most looms will come with a 7.5 or 8 dent reed, a threading and reed hook, one stick shuttle and a direct warping peg.

Ashford also have a 16″ rigid heddle loom that is appropriate for this project.

A sewing machine is really invaluable for making bags or any other sewing you want to do with your handwoven fabric. You do not need to spend a fortune on a fancy schmancy machine with all the bells and whistles, just a basic straight and zigzag stitch machine. I have a basic Janome and am very happy with it.

I’m not going to tell anyone that a serger is a must have for sewing hand woven, but the truth is, if you do a fair bit of sewing it will make your life a whole lot easier. I have an old Toyota serger that I bought cheap many years ago as it was an ex demo model. Sergers have actually come down in price since I bought mine, so a new one would set me back the same as what I bought my old one for. I do recommend checking out Janome sergers if you’re in the market for one though.

Yarn suggestions area covered in the last post.

If you have any questions at this stage, please leave them in the comments below.

Next time we will learn how to wind the warp onto the back beam, then thread and tie on in readiness for plain weave.

Happy Weaving!

Filed Under: Rigid heddle weaving, Sewing, Tutorials, Weaving Tagged With: learn to weave, rigid heddle weaving tutorial, tote bag, tote bag weave along

Weaving kitchen cloths

by Kelly 7 Comments

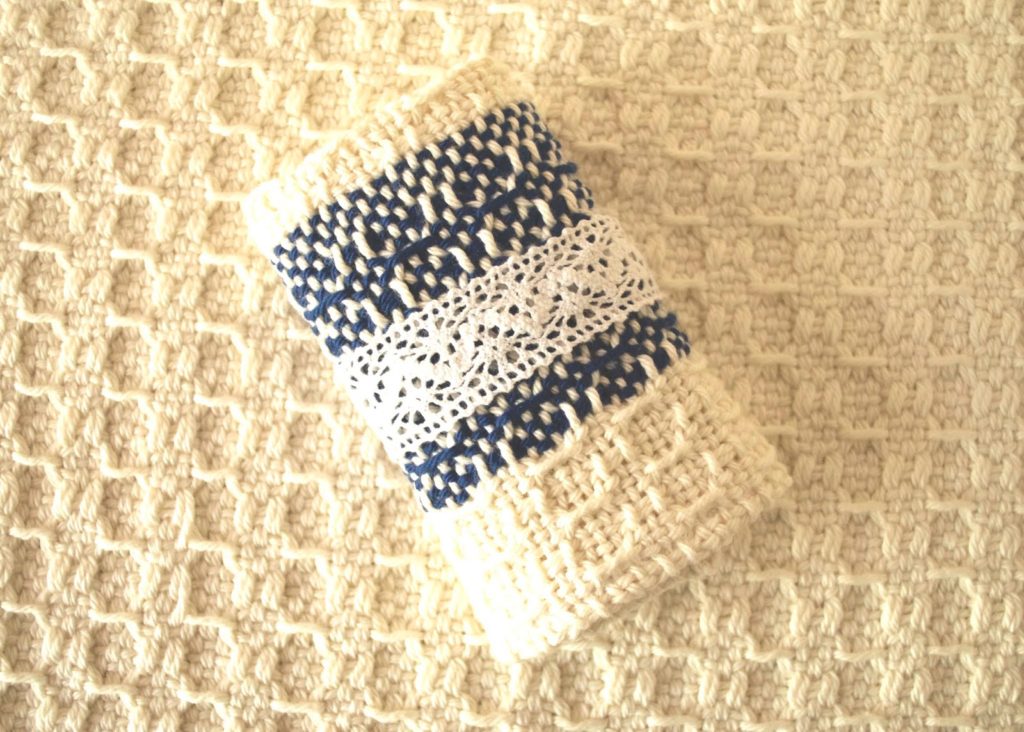
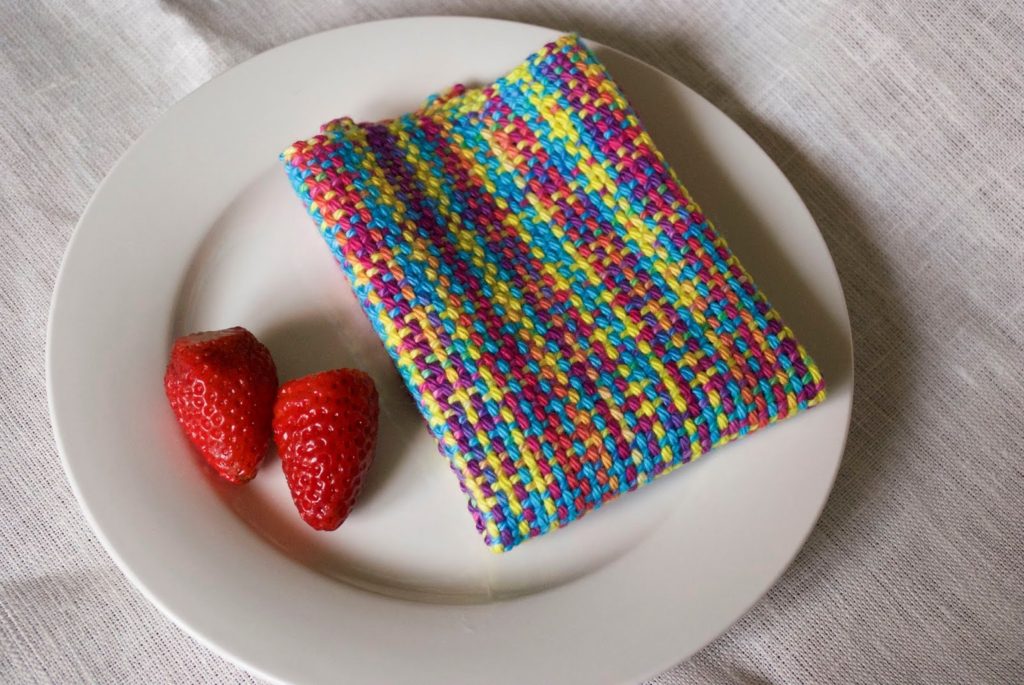
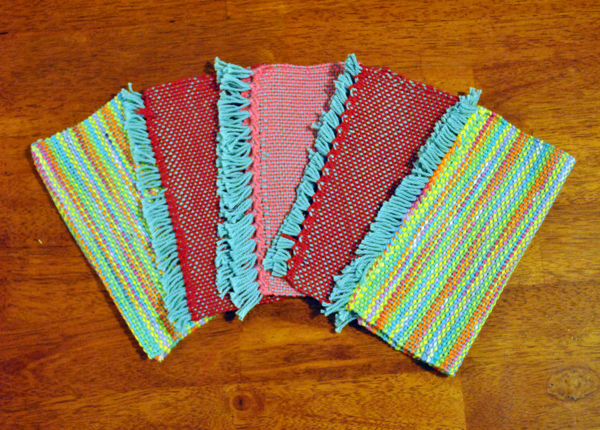
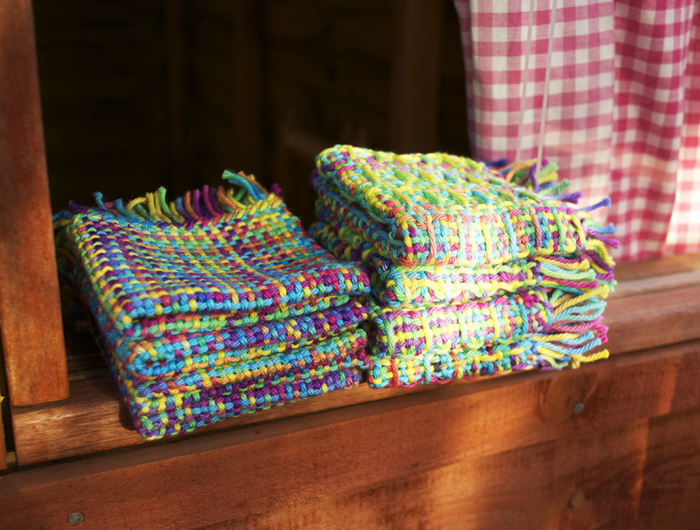
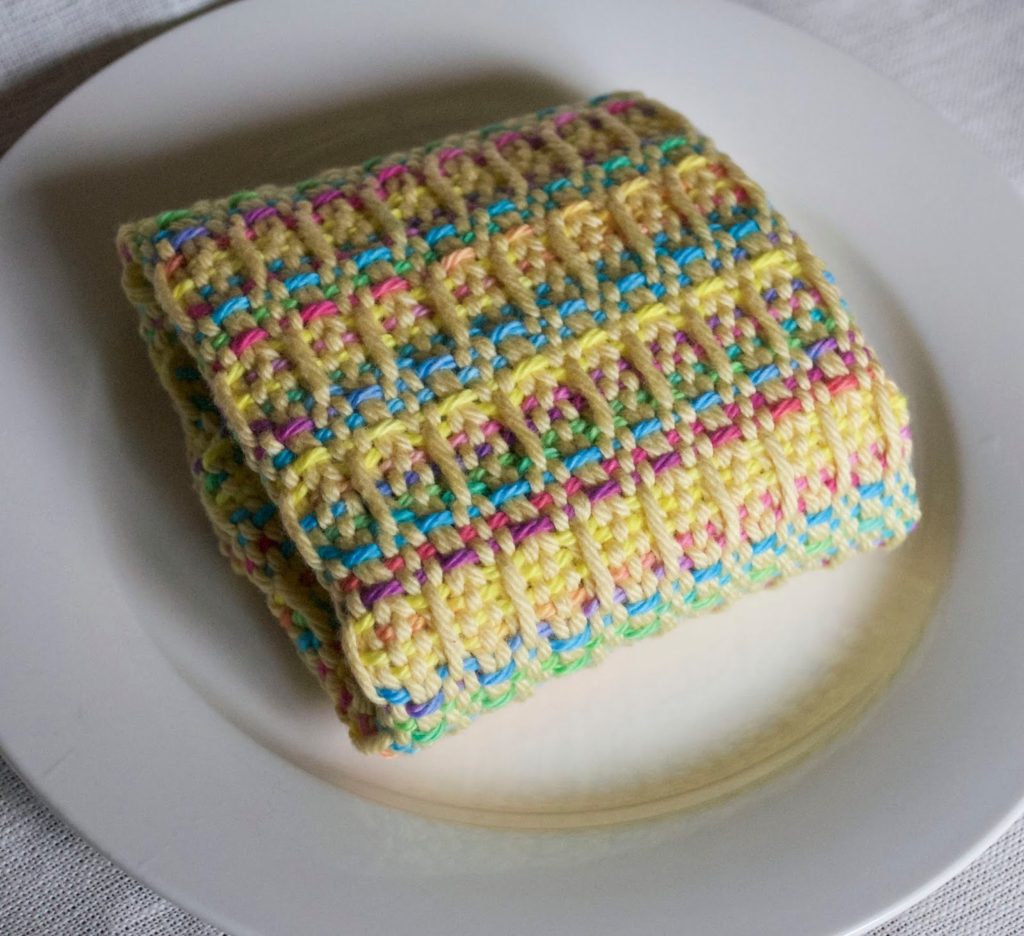
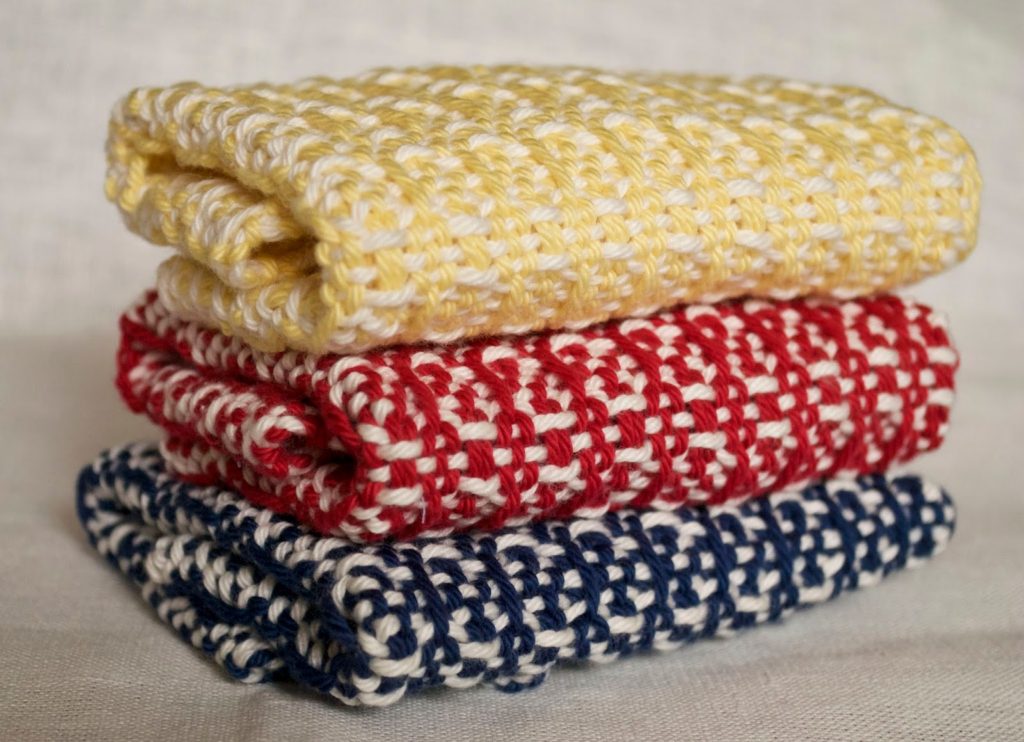
Kitchen cloths were one of the first weaving projects I ever attempted. They are really perfect for beginner weavers, as at their most simple they can be just a square of plain weave. And, at the end, the weaver has a beautiful and functional woven piece.


*Please note, this post contains affiliate links. For more information, please see my disclosure policy. 
If the weaver wants something a little more challenging, adding pick up sticks adds interest to the weave and functionality to the cloth, making the cloth not only very attractive but more absorbent with the added texture.
I am often asked the question “Which yarn is best for kitchen cloths?” 
 
In my opinion, thick cotton is the absolute best fibre for kitchen cloths. It is soft, absorbent, easy to wash and care for, unlikely to harbour bacteria if treated properly and yarns come in many different colours.
 
My favourite cotton to use for my cloths is from a mill not too far from me. It is a gorgeous cotton, so it makes sense for me to buy and excellent Australian owned and locally produced product.

I also recently tried Yarns and Colors EPIC cotton, purchased from Adelaide Hills Yarn Company. It’s a lovely soft but sturdy cotton in a great range of colours. It’s also available directly from the Dutch company website.

But, what about those of you who can’t access this yarn due to location? Well, there are plenty of alternatives! 

A very popular cotton is the American made Sugar n Cream. It is just the right weight for kitchen cloths, is affordable and comes in many bright and variegated colours.

There are some beautiful organic cottons out there too, such as Babytoly, which comes in natural as well as bright, happy colours.

I have heard excellent things about the I Love This Cotton brand, though I’ve not tried it myself.

I have also successfully used a bamboo cotton blend for cloths. The end result is a little different, the cloth is heavier when wet and does not tend to wear as well over time. Still, it make a beautiful, soft and absorbent cloth. If you’re interested in trying a blend, something like this Lion Brand Blend, which is 50% bamboo and 50% cotton would work well.


I have also had fun buying white or natural cotton to dye in variegated colours, using fibre reactive dyes. You can either use the variegated as warp and a solid, contrasting colour as weft or vice versa – both give wonderful results.
My kitchen will always have handmade cloths now, I can’t go back to the disposable cloths I once used!
 
If you are a member of the Online Weaving School, I have a Kitchen Cloths Class available to get you started. 
 
My Textured Cloths pattern only needs a small loom to weave, the Sampleit is perfect for this project.
 
I should also mention my Waffle Weave tutorial on Youtube, which gives great texture for kitchen cloths.
 
I hope that you will experience the joy of weaving and using your very own kitchen cloths.
 
Until next time…
 
Happy Weaving!


Filed Under: Rigid heddle weaving Tagged With: cotton, kitchen cloths, learn to weave, rigid heddle loom, rigid heddle weaving

What tools do I need for rigid heddle weaving?

by Kelly 13 Comments

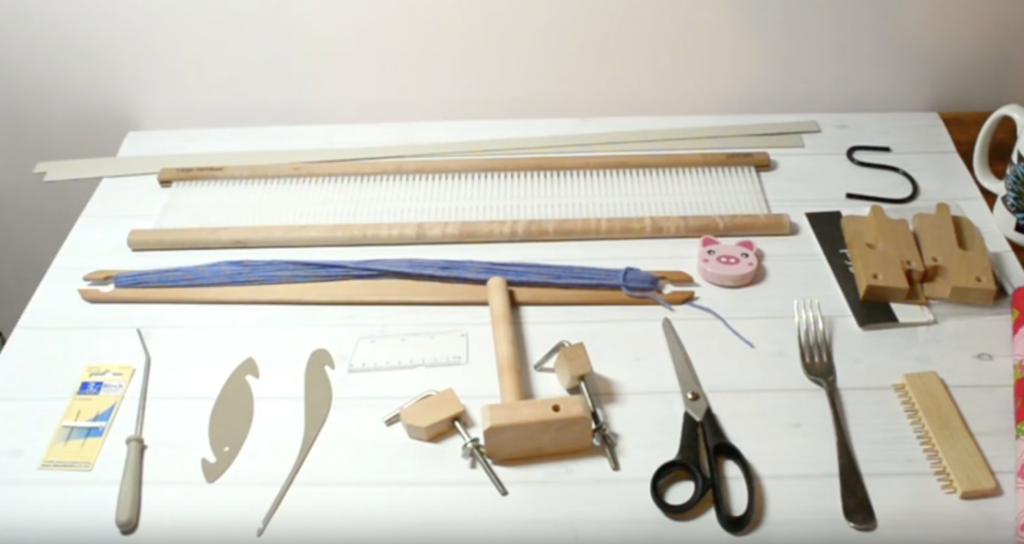
When you buy a rigid heddle loom, it should come with a few standard tools, which usually include:
 
*This post contains some affiliate links, which means if you click and buy, I receive a small commission at no extra cost to you.

*A heddle/reed (usually 7.5 or 8 dent)
* A warping peg and clamp for direct warping
* A clamp for holding the loom to a table while warping
* A stick shuttle
* It may include a threading and reed hook
* Cardboard warp separators (may not come with all looms)
** Some looms now come with a double heddle block built in


Apart from the standard tools, there are extra things that are either essential or come in handy.
 
Other essentials:
 
*Scissors – sharp scissors will save you a lot of frustration
*Tape measure
*Warp separators (if not received with your loom)
*Yarn
*Inch ruler (for figuring out the sett of your yarn)
*Project journal for recording all your project information
*A big mug of tea (or is that just me?!)


                                    Handy optional extras:


*Tapestry needle
*Extra heddles
*Fringe twister
*Sewing machine 
*Serger
*Loom stand
*Tapestry beater, comb or household fork
* “S” hooks or other weights
*Calculator
*Instructional books (the  Book Depository (affiliate link) has a huge range of great weaving books and this post will help you to determine which book/s might be right for you).
*Online lessons are an awesome tool to get started. You can check out my Youtube channel and my Online Weaving School for further help. 


This post is a companion post to this Youtube video, so pop over and watch if you want to see the tools and hear my explanations.


Something to remember when you’re just starting out with rigid heddle weaving is that you don’t need All.The.Things right away! The tools that come with a newly purchased loom are sufficient to get you started, and you can gradually build from there.

If you have any questions, don’t be shy, leave me a comment below.

Until next time…

Happy Weaving!
Filed Under: Rigid heddle weaving Tagged With: learn to weave, rigid heddle loom, rigid heddle weaving, weaving tools

5 Steps to Successful Weaving!

by Kelly 13 Comments

It is my belief that anyone can be successful in weaving if they really want to. It is important to break the learning process down into achievable steps. Remember that you can’t begin at someone else’s finish!
Here are my 5 steps to successful weaving!

This post contains an affiliate link. I only recommend products I use and love.


1. Basics first.
Start out simple. Acknowledge that, as a beginner, leaping into a difficult project straight away is probably not the best way for you to get started. If you do, you may end up feeling discouraged and that you’re “no good at weaving”. When learning something new, it is rare for anyone to jump into an advanced level, you need to take the baby steps, then walk, then run!


2. Patience.
You see the images from weavers on Pinterest and Instagram. They look so fabulous that they inspire you to try weaving for yourself. That is natural, that is how I started. But to get to the point of being able to weave anything like the beautiful images, it may take quite some time, and it may not be easy. Mistakes are an important part of the learning process. Know that you will improve, if you practice and give it time.


3. Persistence.
Would you believe me if I told you that I have almost given up on weaving a number of times? There were times that I was so frustrated and had no one to help, that I thought surely I must be just too stupid to learn this, or that I felt I was wasting my time. I’m so glad I never did give in though! Imagine where I would be now – a beginner level weaver with too much equipment gathering dust, and a feeling that I had failed. Keep going. Get stuck? Go back to the basics. Find help. Buy that new book you need, some online classes, or find people in your area with similar interests. There is a way. You can do it!


4. Resources.
I could say that I am a self taught weaver, but realistically that is not really true. I have learned this craft through reading many books, studying articles, drafts and discussions online, and by taking online classes. When I got my first loom, I had no idea where to start. I didn’t know any weavers. I was too busy caring for my family to be able to attend a guild. So, I found the right resources that helped me get going. As I improved, I found more resources to help me level up. Resources are out there – lots of them, you just need to find the right ones for you. 


5. Community.
Funny for an introvert like myself to have “community” as one of the keys to success. I’m the type who avoids social settings wherever possible and hates the idea of group meetings or activities. Like many other typical introverts, social occasions are physically draining and just mostly not enjoyable. However, that doesn’t mean that I hide in a hole and don’t see or speak to anyone! 
I never would have realised the importance of community until I started weaving. My community is online and I am so grateful for it. I have daily contact with hundreds, if not thousands of weavers across the globe and of all different levels of ability. We teach and learn through one another, share information and discoveries, and most importantly, we inspire one another. It’s a beautiful thing to have the support of others who are just as passionate about weaving as you are. 
So, whether you love real life interaction or virtual interaction, find the people who are going to help you succeed in weaving!


I hope this article was helpful to you! Perhaps you are looking for some new resources? Here are a few to get you started:


My Youtube Channel


My Online Weaving School


My Weaving Lessons Facebook Group


Filed Under: Inspiration, Weaving Tagged With: learn to weave, weaving, weaving success

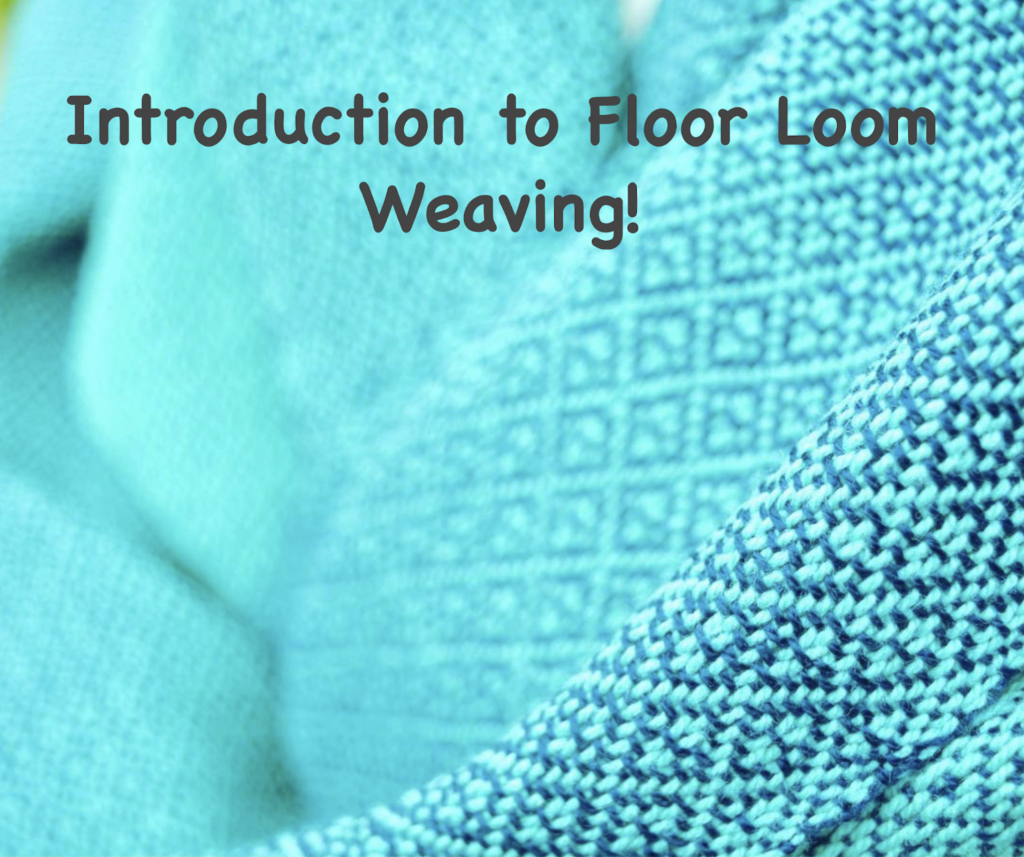
New Introduction to Floor Loom Weaving course

by Kelly 5 Comments

I am so excited to bring you the news that this course is now available! The Introduction to Floor Loom Weaving course is my biggest class yet, with almost 4.5 hours of video instruction plus printable PDFs.


I designed this course for new floor loom weavers, or those who simply want to “make friends” with their loom and gain confidence weaving. 
The topic list is huge, but includes loom anatomy, calculations, reading drafts, warping, dressing the loom, the mechanics of weaving, and much more! 


The course is project based so participants will end up with a beautiful 3 shaft double cowl scarf. 

I hope to make follow up classes to take students through 4 and 8 shaft projects in the near future.

If you’re interested in this course, visit my Online Weaving School, where you can watch a preview for the class. It is available as a single purchase, or, if you are a subscriber, this course is included in your subscription, simply login to view.

Happy Weaving!
Filed Under: Floor Loom Weaving, Weaving Tagged With: floor loom weaving, Kelly casanova weaving lessons, learn to weave, online weaving class, scarf

Primary Sidebar

Categories

Archives

Meta

  • Log in
  • Entries feed
  • Comments feed
  • WordPress.org

Copyright © 2025 Kelly Casanova Weaving Lessons on the Foodie Pro Theme