• Skip to main content
  • Skip to primary sidebar

Kelly Casanova Weaving Lessons

  • Hi! I’m Kelly!
    • Disclosure
  • Online Weaving School Class Index
    • Common account issues
    • Common technical issues
    • What do I get with a membership?
  • New to rigid heddle weaving? Start here!
    • Never heard of the rigid heddle loom?
    • How to weave neat edges on the rigid heddle loom
    • Rigid heddle weaving
    • Rigid Heddle Weaving Patterns
  • Patterns
  • Subscribe

weaving success

Help! My edges are wonky!!

by Kelly 12 Comments

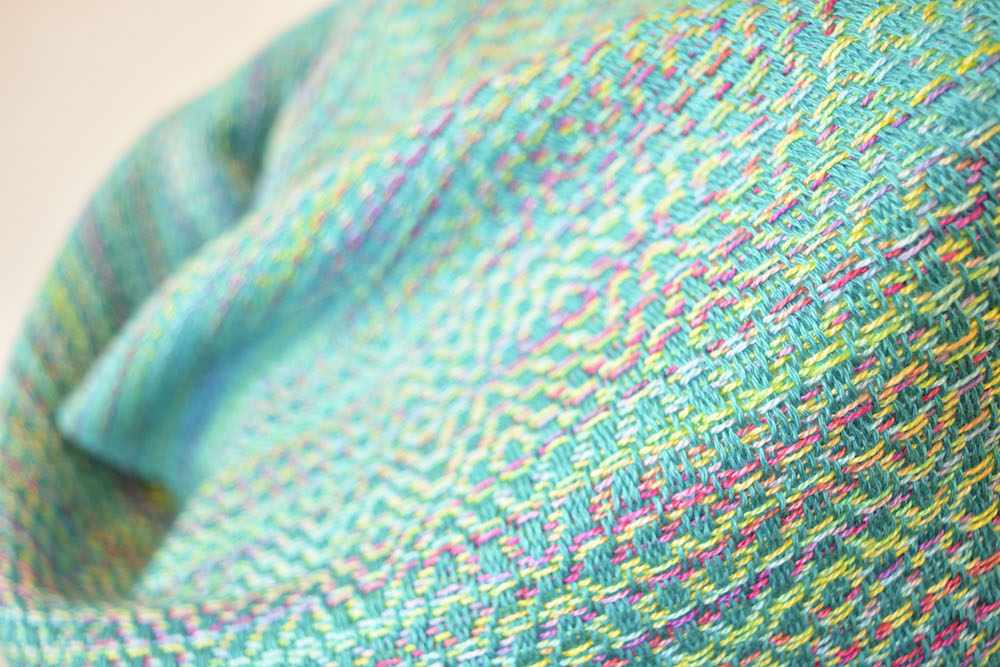
The single biggest focus I’ve noticed that new weavers have is achieving straight edges. And not without reason. Let’s face it, how neat and professional a woven scarf looks depends a great deal on whether the edges are straight and attractive.

Let me start out by saying that I think there is maybe a little too much focus on the edges. I see so many newbies lamenting their weaving because the edges are not perfect. It would be a pretty rare event for a first time weaver to achieve near perfect edges. For most weavers, the problem improves very quickly with a bit of practice and knowledge of a few handy techniques.

There are some essentials to achieving neat edges.

  1. Correct warp tension
  2. Correct weft tension

Let’s talk about the warp tension first. Something that is quite common is that the weaver finds the tension is uneven across the warp, and typically the middle of the warp will be looser while the edge warp threads are tighter. If the edge warp threads are either too loose or too tight, the woven edges will be uneven and lumpy looking.

Combatting this problem begins when you are rolling the warp onto your loom. I’m referring here to direct warping a rigid heddle loom. If possible, have a helper to hold the end of the warp while you stand at the back of the loom and roll it on. The helper maintains the tension and makes the process easier. If you don’t have a helper, you can either weight the warp as it is rolled on or, if you are more experienced, hold the warp yourself but pay particular attention to maintaining even tension.

Then, when you come to tying or lashing the warp ends onto the front apron rod, ensure you have as consistent as possible tension across the width of the warp. I always say at this point, it doesn’t have to be tight – just consistent. The warp will tighten up when you advance the warp.

If all of this feels a bit advanced to you, I’m sure you would benefit immensely from my From Woe to Go – Beginner Rigid Heddle Weaving course.

Now, about the weft tension. This refers to how much tension you place on your weft thread as you weave it. Too much tension, and your edges will pull in. Too little tension and you will have loose loops sitting at the edges of your weaving. Neither of these are ideal. Over time, I’ve developed my own technique that I think is just about a perfect balance and that consistently gives me very neat edges. You can view the video for that here:

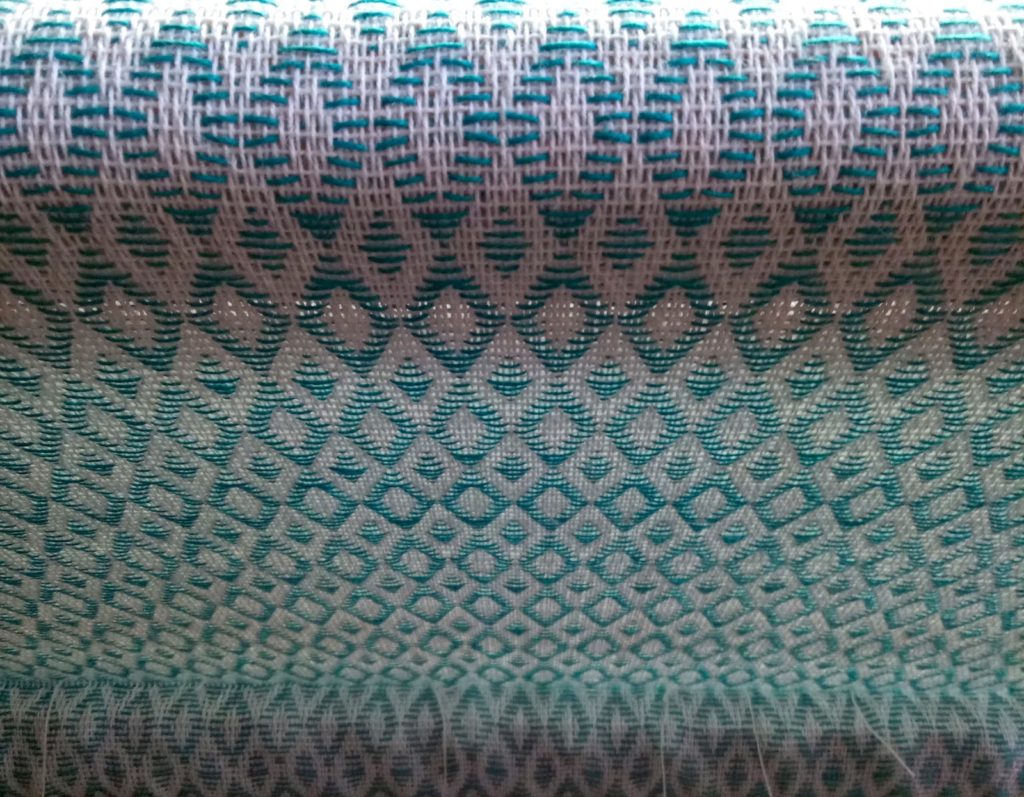
So far I’ve only been referring to edge maintenance for plain weave projects. If you are doing something with pick up sticks (which changes the weave structure) you will need a slightly different approach to neat edges and I talk about that in this post. There is also a companion video so that you can see the technique in action:

Floating selvedges are also an option and basically means that you add an extra end on either side of your warp that is not actually part of your warp, but becomes part of the finished weaving. I always use floating selvedges on my floor loom unless I’m weaving plain weave and it makes a huge difference. I have a member’s only class on how to set up floating selvedges over at my Online Weaving School.

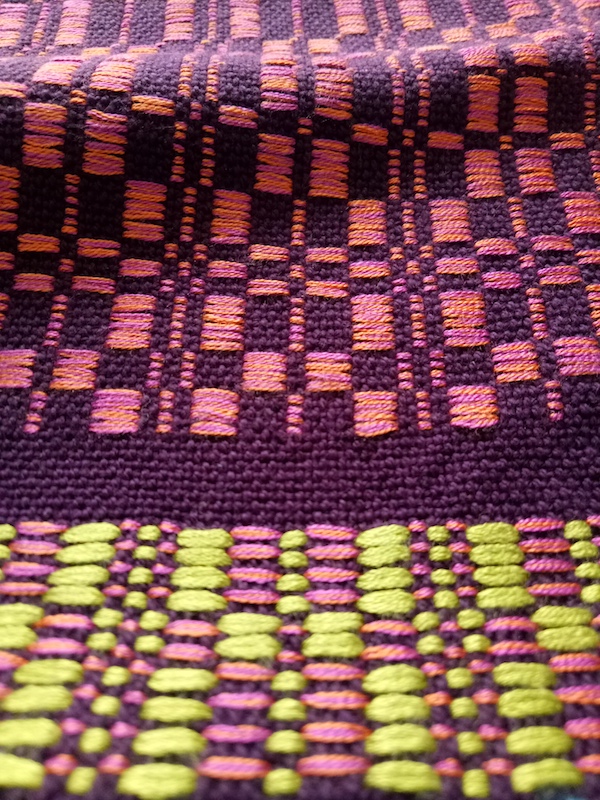
Another instance where you may employ a different technique for your edges is when you are using more than one weft colour and need to decide whether you will cutting each time you change colour or whether you will carry the yarn up the sides. I also have a video demonstration of how to do that!

Another trick to try is to arrange your threading so that both of your edge warp threads are threaded in holes instead of one in a hole and one in a slot. The aim of this technique is to match the tension of the edge threads on both sides for more consistent looking edges.

I have a video tutorial on this method to show you exactly what to do:

And lastly, yet another technique to try (I told you it’s a popular topic!) is what I call my Lifeline technique. This works in a similar way to floating selvedges, except that you use fishing line and remove it when the weaving is finished. I have heard from a lot of happy weavers who say this techniques saved their project. Here is the video demonstration:

I hope this discussion has been a great help to you. Do you struggle with weaving neat edges? Let me know in the comments.

Until next time…

Happy Weaving!

Filed Under: Rigid heddle weaving, Tutorials, Weaving Tagged With: neatedges, weaving success

5 Steps to Successful Weaving!

by Kelly 13 Comments

It is my belief that anyone can be successful in weaving if they really want to. It is important to break the learning process down into achievable steps. Remember that you can’t begin at someone else’s finish!
Here are my 5 steps to successful weaving!

This post contains an affiliate link. I only recommend products I use and love.


1. Basics first.
Start out simple. Acknowledge that, as a beginner, leaping into a difficult project straight away is probably not the best way for you to get started. If you do, you may end up feeling discouraged and that you’re “no good at weaving”. When learning something new, it is rare for anyone to jump into an advanced level, you need to take the baby steps, then walk, then run!


2. Patience.
You see the images from weavers on Pinterest and Instagram. They look so fabulous that they inspire you to try weaving for yourself. That is natural, that is how I started. But to get to the point of being able to weave anything like the beautiful images, it may take quite some time, and it may not be easy. Mistakes are an important part of the learning process. Know that you will improve, if you practice and give it time.


3. Persistence.
Would you believe me if I told you that I have almost given up on weaving a number of times? There were times that I was so frustrated and had no one to help, that I thought surely I must be just too stupid to learn this, or that I felt I was wasting my time. I’m so glad I never did give in though! Imagine where I would be now – a beginner level weaver with too much equipment gathering dust, and a feeling that I had failed. Keep going. Get stuck? Go back to the basics. Find help. Buy that new book you need, some online classes, or find people in your area with similar interests. There is a way. You can do it!


4. Resources.
I could say that I am a self taught weaver, but realistically that is not really true. I have learned this craft through reading many books, studying articles, drafts and discussions online, and by taking online classes. When I got my first loom, I had no idea where to start. I didn’t know any weavers. I was too busy caring for my family to be able to attend a guild. So, I found the right resources that helped me get going. As I improved, I found more resources to help me level up. Resources are out there – lots of them, you just need to find the right ones for you. 


5. Community.
Funny for an introvert like myself to have “community” as one of the keys to success. I’m the type who avoids social settings wherever possible and hates the idea of group meetings or activities. Like many other typical introverts, social occasions are physically draining and just mostly not enjoyable. However, that doesn’t mean that I hide in a hole and don’t see or speak to anyone! 
I never would have realised the importance of community until I started weaving. My community is online and I am so grateful for it. I have daily contact with hundreds, if not thousands of weavers across the globe and of all different levels of ability. We teach and learn through one another, share information and discoveries, and most importantly, we inspire one another. It’s a beautiful thing to have the support of others who are just as passionate about weaving as you are. 
So, whether you love real life interaction or virtual interaction, find the people who are going to help you succeed in weaving!


I hope this article was helpful to you! Perhaps you are looking for some new resources? Here are a few to get you started:


My Youtube Channel


My Online Weaving School


My Weaving Lessons Facebook Group


Filed Under: Inspiration, Weaving Tagged With: learn to weave, weaving, weaving success

Primary Sidebar

Categories

Archives

Meta

  • Log in
  • Entries feed
  • Comments feed
  • WordPress.org

Copyright © 2025 Kelly Casanova Weaving Lessons on the Foodie Pro Theme