• Skip to main content
  • Skip to primary sidebar

Kelly Casanova Weaving Lessons

  • Hi! I’m Kelly!
    • Disclosure
  • Online Weaving School Class Index
    • Common account issues
    • Common technical issues
    • What do I get with a membership?
  • New to rigid heddle weaving? Start here!
    • Never heard of the rigid heddle loom?
    • How to weave neat edges on the rigid heddle loom
    • Rigid heddle weaving
    • Rigid Heddle Weaving Patterns
  • Patterns
  • Subscribe

weaving tips

2 Hacks for Clear Sheds on a rigid heddle loom

by Kelly 10 Comments

Threads that tend to stick to one another when you change sheds can be so frustrating!

Some yarns are prone to doing this more than others, and it also commonly occurs when you’re weaving with more than one heddle or are using additional aids (like pick up sticks and heddle rods) to create extra shafts on your rigid heddle loom.

For more information on threads that are notoriously sticky, visit this post.

*This post contains affiliate links. For further information, please see my disclosure policy.

Why is it a big deal if not every thread is exactly where it should be?

Well, it’s going to mess up your pattern. Your weaving pattern is created by the interlacement of threads – the weft going over some warp threads and under others. Now, if the weft ends up going over one or more threads that it should be travelling under, and vice versa, then you have a problem.
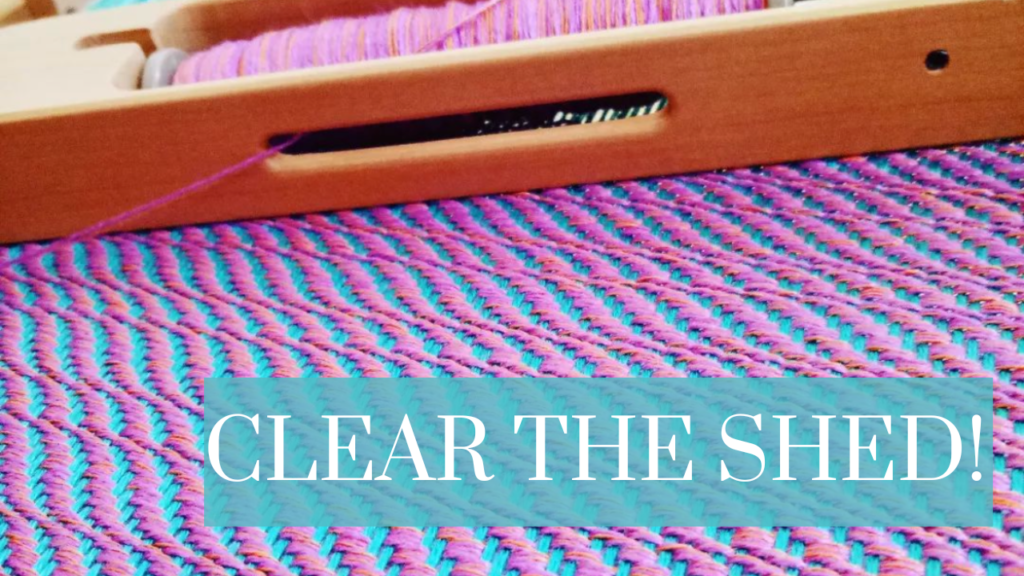
Floats will be created where they are not meant to be and this will show as a mistake in your pattern. If you have already checked that your threading and weaving sequences are correct, you don’t have crossed threads or anything else weird going on, the problem is very likely to be caused by unclear sheds and sticking threads.

Before looking at using clearing methods, ensure you have adequate warp tension. If your tension is too loose, threads may sag and interfere with your sheds. If your threads are loose on just some sections, you may need to try some wedging techniques to help your warp tension to be more consistent.

There are 2 main methods I use to ensure a clear shed when sticky threads are proving to be an issue.

The first method involves the use of a pick up stick, extra stick shuttle or even a paint stirring stick will do the trick! Basically, a flat, smooth stick.

Before inserting the stick into the shed, ensure that all of your threads are in their correct places. The easiest way to do this is to understand where all threads should be at all times according to your threading and heddle/weaving sequence. For example, in this picture my first heddle is up and my pick up stick is forward. For the way that I threaded, this means that all the hole threads on heddle one should be up, and all the threads on top of the pick up stick will also be up. The rest of the threads will be down, forming the bottom layer of the shed.

Once you understand where all the threads should be and you are sure they are correct, you can insert your pick up stick into the shed. Be sure to insert close to your heddle, where the shed space is at it’s widest.
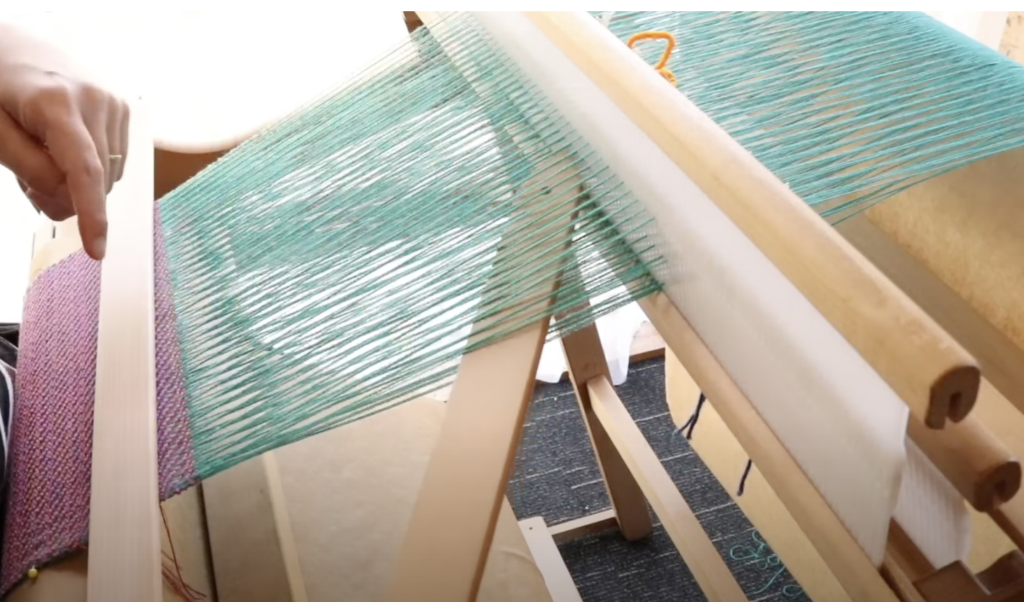
Once the stick is in the shed, hold it on either side.
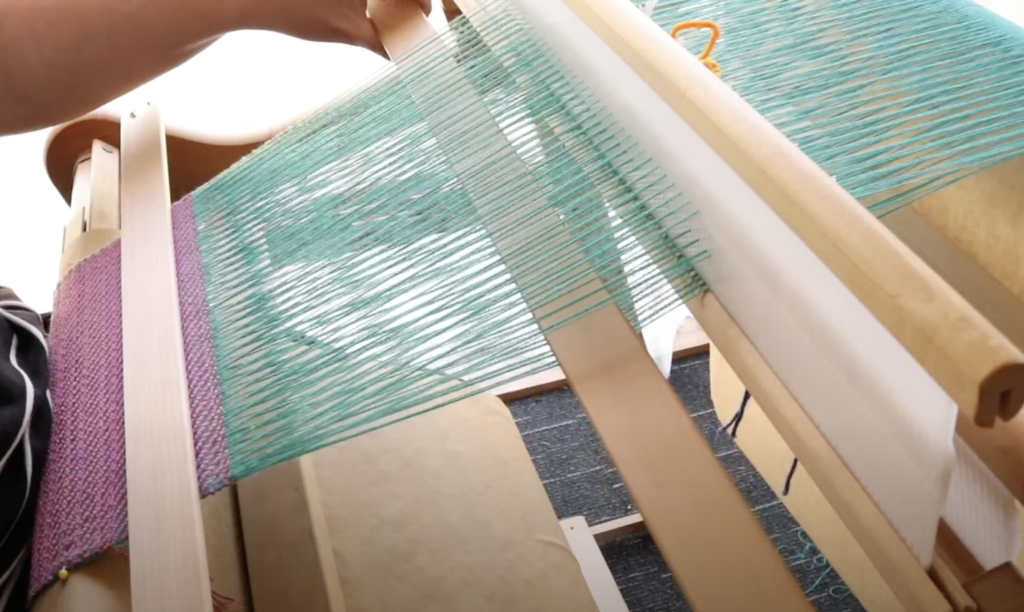
Pull the stick towards you, and towards the fell (edge) of your weaving and bounce it off the woven edge.
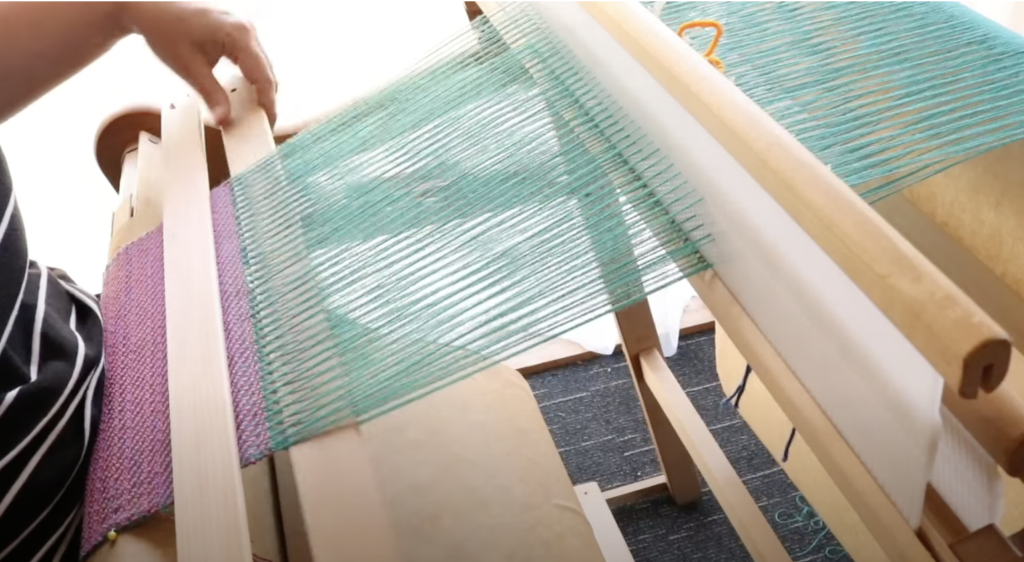
This action is firm and decisive, but doesn’t have to be a super hard whack. If there were any threads that were sagging or tending to want to stick together, this will shock them back into place.

If you prefer to see a video of this technique in action, you can view that here-

Now let’s have a look at the second shed clearing technique I mentioned.

This technique is so simple and easy. No extra tools are needed, just your trusty hands and fingers. I call this “strumming the warp”, but it doesn’t have anything to do with playing the guitar!
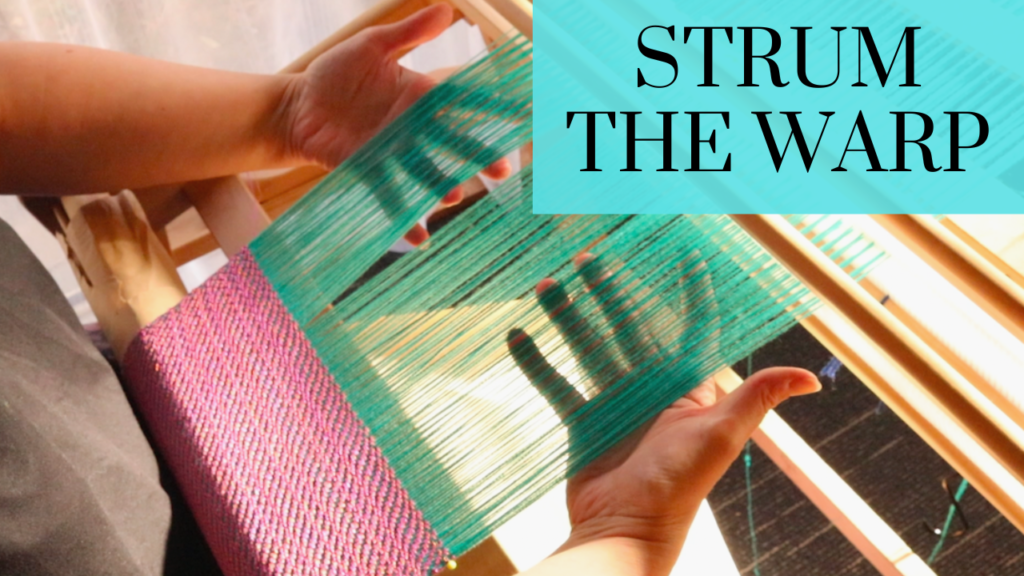
Again, the first step is to ascertain whether the problem lies with your threading, sequence or tension.

Next up, place your heddles/rods/sticks in the correct position for the shed you want to weave. Once again, I’m using the front heddle up, pick up stick forward combination as this combination frequently has sticking threads.

Place both hands, from either side of the warp, into the shed so that your fingers roughly meet around the middle of the warp.
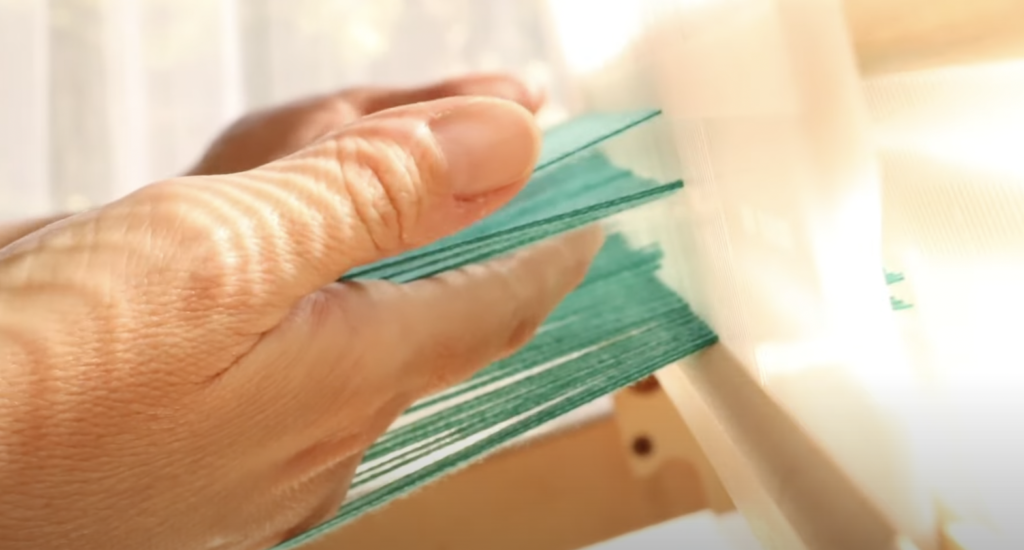
Tilt your fingers slightly upwards as you pull your hands apart and out of the shed. You want your fingertips to “strum” the threads on the way out.
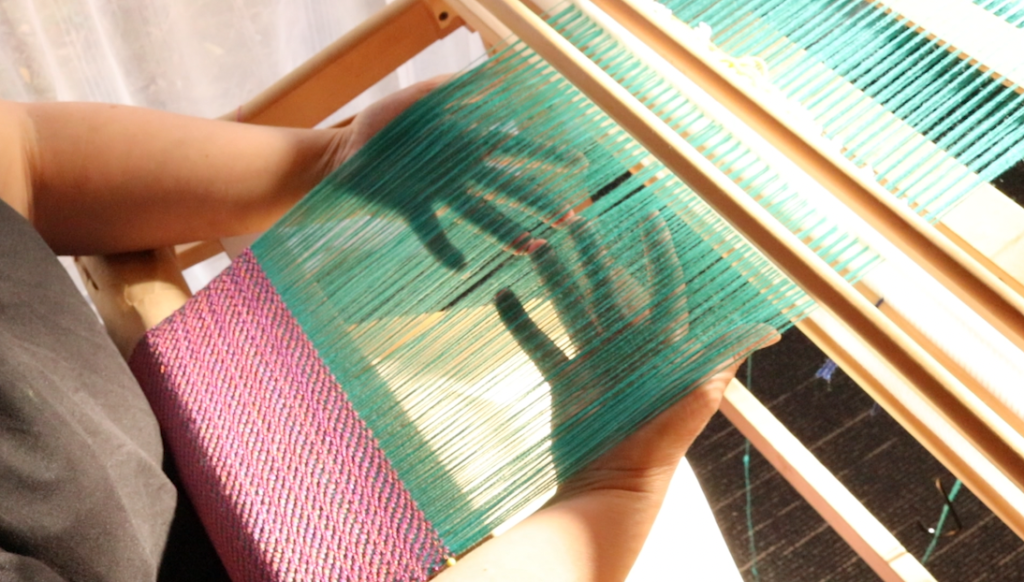
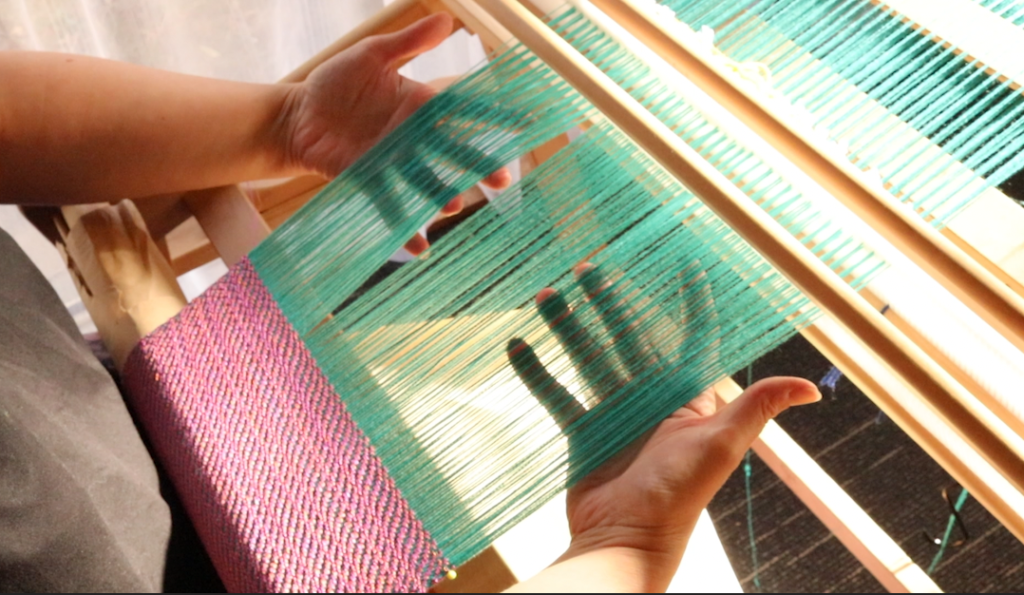
This is such a great technique for snapping threads into place with no ill effects on your warp. Give it a try!

If you would like to see this technique in action, check out this video:

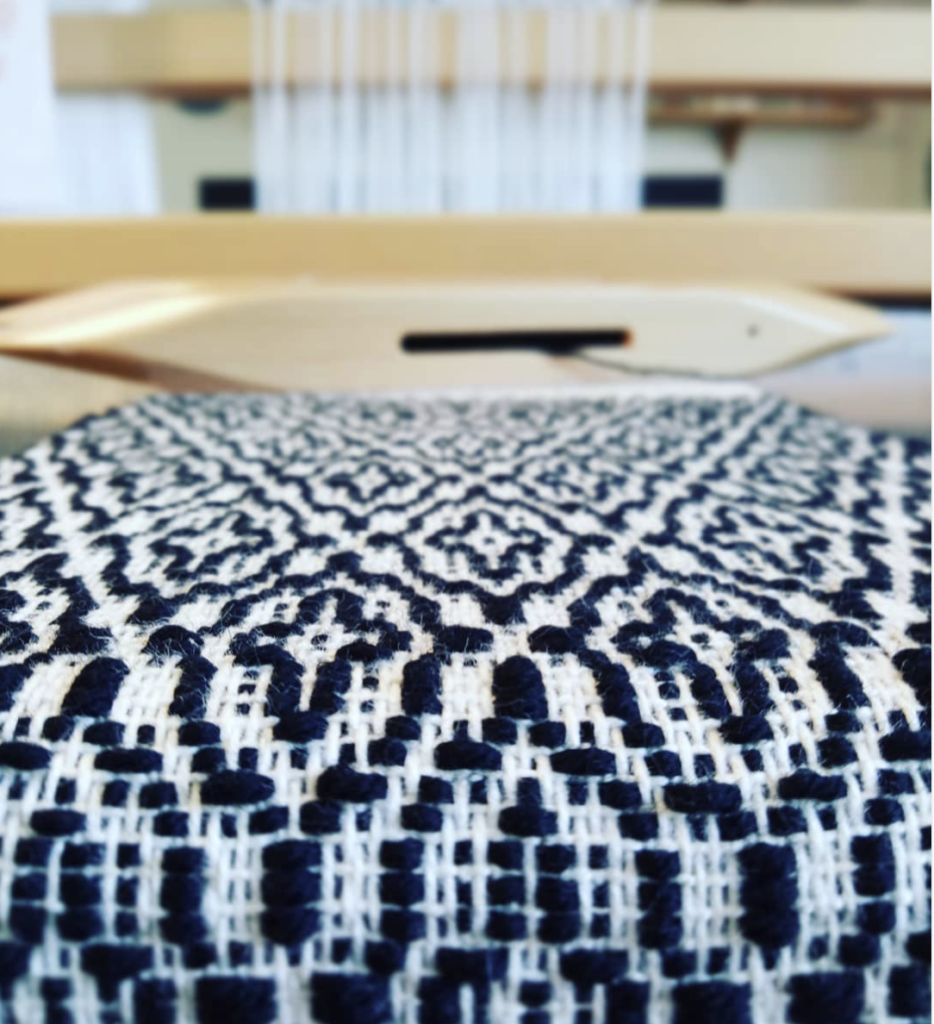
You may have noticed the beautiful piece of weaving I have on the loom in these examples. You can find the PDF pattern for The Ripple Scarf in my Etsy shop. It’s a wonderfully luxurious scarf for rigid heddle weavers, you will love it!

I hope this article has been helpful to you, be sure to leave comments or questions down below, I love to hear from you.

Until next time…

Happy Weaving!

Filed Under: Free tutorial, Rigid heddle weaving, Tutorials, Weaving Tagged With: clear sheds, rigid heddle weaving, weaving hacks, weaving tips

Do I need to pack the front beam?

by Kelly 17 Comments

When warping our rigid heddle looms, we are careful to pack the back beam as we wind on the warp. This may be done with a variety of materials, and some are more effective than others. It can be a personal preference too!

What a lot of weavers don’t seem to be so familiar with is the idea of packing the front beam. Quite often, when I’m troubleshooting with a student and I ask if they’ve packed the front beam, they seem surprised by the question. Packing the front beam? I’ve never heard of that!

*This post may contain affiliate links. For more information, please see my disclosure policy.

So, why would you want or need to pack the front beam? And what exactly do I mean by that?

Let’s start with the definition so we’re all on the same page!

Packing the front beam is simply introducing something extra to separate the warp as you weave and it begins to roll around the front beam.

Now we can look at the why. There are a couple of reasons as to why packing the front beam is a really good idea.

When you have finished warping and threading, you then need to tie or lash on your warp onto the front apron rod. Doing this results in knots or bumps on the apron rod.

As you begin to weave and advance your warp, you will reach the point where your warp is rolling around the front roller beam and onto itself. As this advancing of the warp happens, the knots, plus the apron rod ties can begin to have a detrimental effect on your weaving.

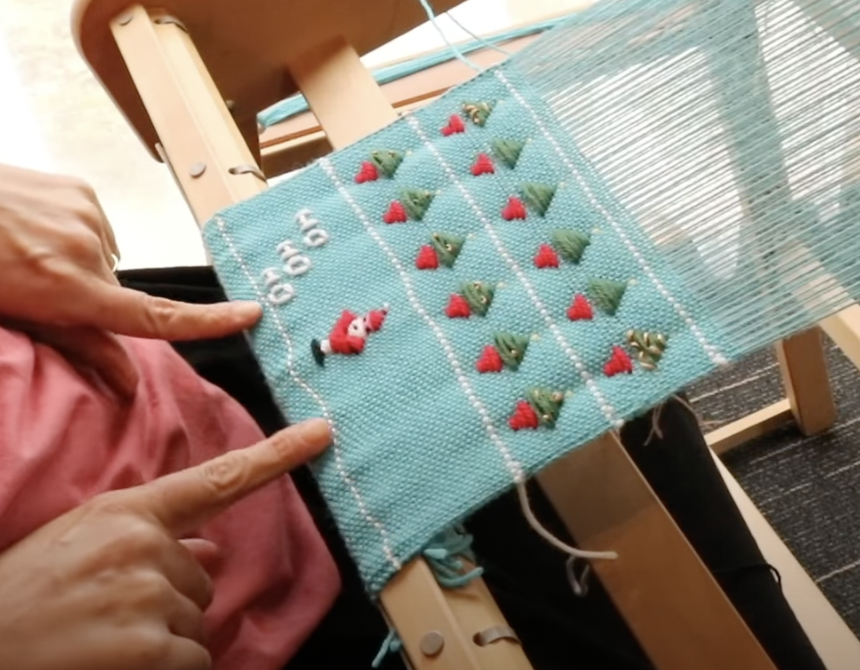
Firstly, you will likely begin to see some lumpiness at the bottom of your weaving (note that the white line of weaving that was previously straight is now a bit wavy!)

This is caused by the knots or apron ties pushing against your weaving from the underside. There are two problems with this happening:

  • The raised and lowered parts cause a change in the warp tension. The bumps tighten the tension and the dents lower the tension, so you end up with slightly uneven tension.
  • The worse case scenario is that your weaving is irreparably damaged because the knots or ties push the weaving apart. This can be more likely to happen when using a slippery thread like tencel, silk or bamboo, where your woven threads can move more easily, rather than something like wool, which is more “grabby” and unlikely to move out of place.

Fortunately there is a really simple solution to the problem, and that is to pack the front beam, or insert something that will separate those layers of fabric and act as a barrier between your weaving and the knots and ties.

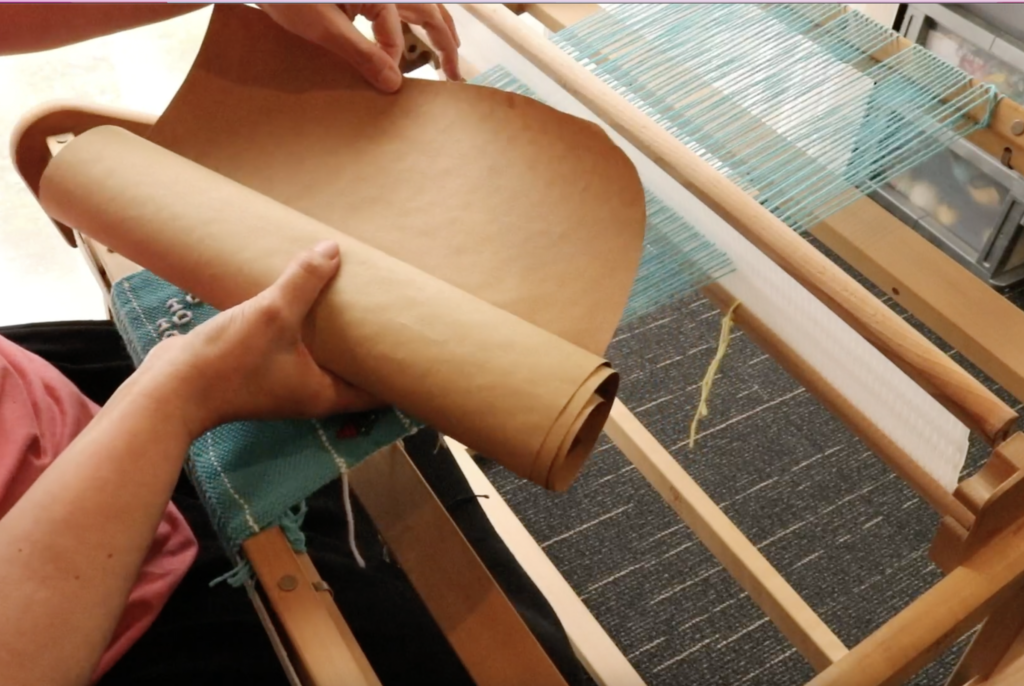
Weavers use a variety of materials for packing, and it can really be a personal preference or what you find most effective. Initially I used the cardboard separators that came with the loom, and while they do work well, I find that the brown craft paper on a roll that I now use to be the superior choice.

What I love about the paper on a roll is that it’s thick and sturdy (a thinner paper will not work in the same way as it tends to crumple while you’re trying to advance your warp), you can purchase it to the width of your loom (or if the same width is unavailable, it’s easy to cut pieces to size) and you can use it over and over, so it’s very economical.

The roll that I bought years ago is still going strong and there is still a huge amount left.

An additional benefit of packing your front beam as you advance the warp is that your overall tension will vastly improve, and will continue to do so as you continue to weave.

I pack the front beam, whether I’m weaving on my rigid heddle, table or floor loom, it is beneficial for many types of weaving.

If you would like to see how I insert the paper roll at the front beam of my rigid heddle loom, please watch this video-

Until next time…

Happy Weaving!

Filed Under: Rigid heddle weaving, Weaving Tagged With: pack front beam, rigid heddle weaving, weaving, weaving tips

Tips for weaving overshot

by Kelly 9 Comments

One of the great things about having been a blogger for 12 years (did I actually just admit that?!) is that you occasionally get to look back and see how very far you’ve come.

Over three years ago, when my David Louet floor loom was still somewhat new to me, I wrote this post on overshot. If you read it, you will discover that my initial relationship with overshot was not a very positive one.

This post contains affiliate links. For more information please see my disclosure policy.

Back then, I was a little harder on myself as a learning weaver. By now, I’ve realised that weaving, just like life, is a journey that has a beginning but no end. Back then, I thought that my ultimate goal was to be a “master weaver”.

Honestly, I don’t even really know what that means but it no longer matters to me. I just want to be the best weaver I can be, but even more importantly, to continue to be fulfilled, challenged and rewarded by doing it.

Hang on, am I here to talk about overshot or not? Yes, I am!

The happy ending to the initial overshot sob story is that I can weave overshot now. Quite well, in fact! And I also teach it. And I happen to love it, very, very much. Don’t you love a happy ending?

I don’t think there was any particular moment where I thought to myself “I can weave overshot now!” I didn’t even weave any overshot for quite some time after that initial attempt. But slowly it tempted me back, and we started over. It was just a matter of sticking with it, employing some specific techniques and practice, practice, practice until it feels like an old friend.

My love of overshot has only increased with my more recent discovery of American Coverlets. I loved the look of the coverlets and the history behind them before I realised that so many of them were woven in the wonderfully humble 4 shaft overshot.

I’ve put a lot of research time into coverlets this year and have made it a big weaving goal of mine to weave my first coverlet, which is quite an undertaking, but I relish the thought.

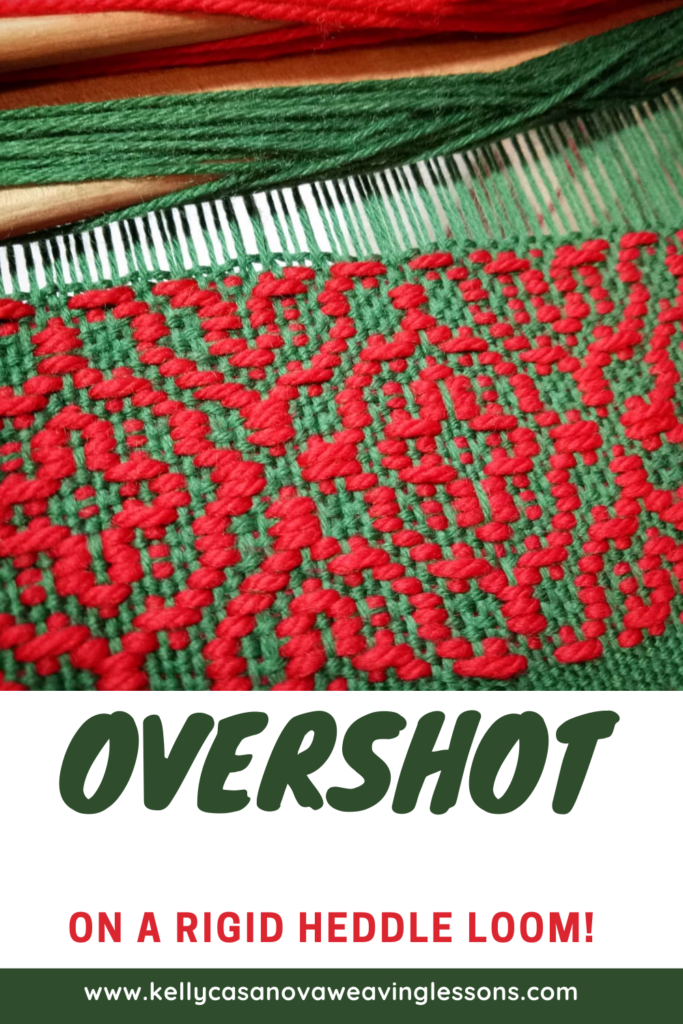
I’ve also spent a lot of time actually weaving overshot this year. I released the very successful Overshot on a Rigid Heddle Loom class not long ago.

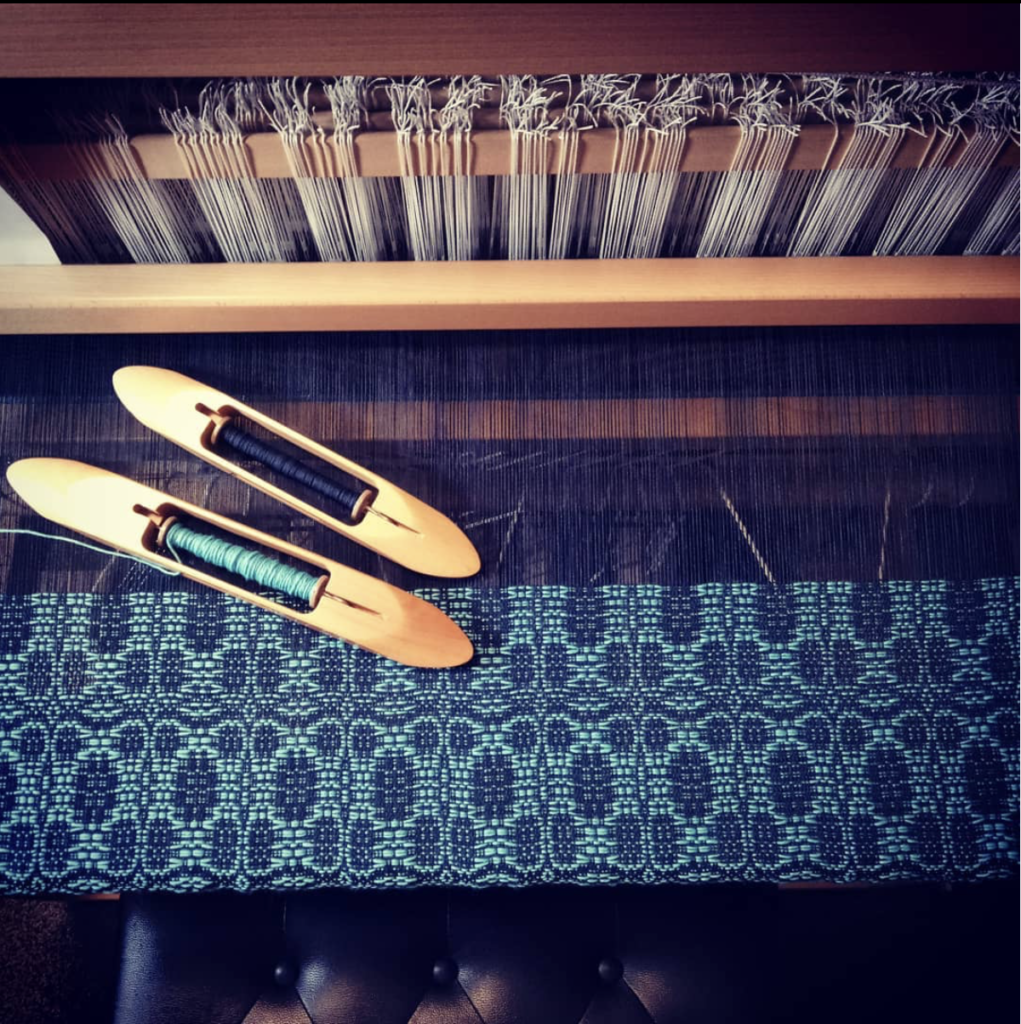
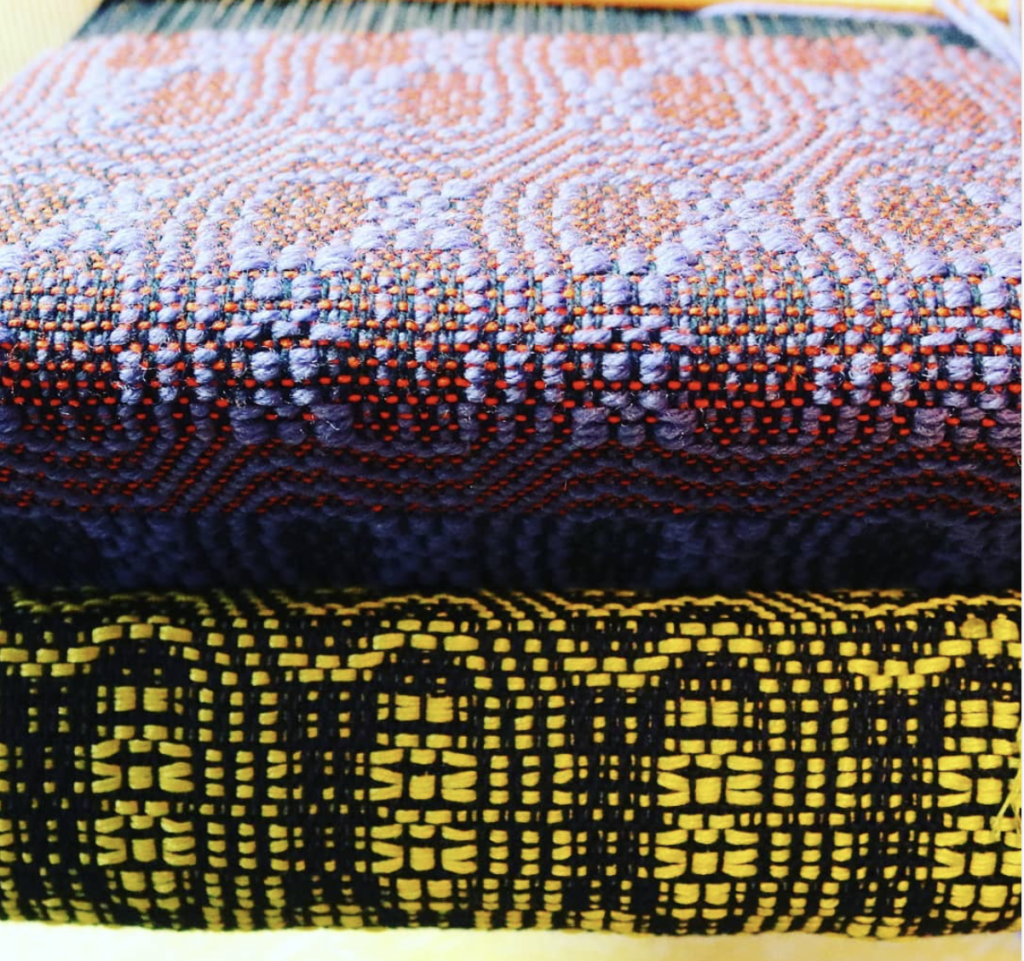
I’ve just completed this magnificent piece on my floor loom for my brand new Overshot on a Floor Loom class.

Incidentally, this photo is now one of my most popular posts on Instagram! I guess other people love it as much as I do.

Now that I have quite a lot of experience weaving overshot, I want to share my best overshot tips with you in hope that you too will fall in love with this wonderful weave structure.

Tip 1 – Take the time to sample

I know, I know, sampling takes time and yarn, it’s true. But it teaches you so, so much. It can also be more economical, as you can test your yarns out for suitability before committing to a larger project. Trust me, sampling is so well worth the time!

Tip 2 – Use appropriately sized yarns

To weave overshot you need a warp yarn, a tabby yarn and a pattern weft yarn. Using the same yarn for warp and tabby works perfectly. For the pattern weft, I like to use a yarn that is twice the size of the tabby/warp yarn. I have experimented with using doubled strands of tabby/warp yarn in a contrasting colour, but it just doesn’t look as good. A thicker pattern yarn is the way to go.

As an example, my current favourite yarn combinations for weaving overshot are:

Warp – 8/2 cotton

Tabby – 8/2 cotton

Pattern weft- fingering weight wool

There are certainly other combinations you can use, and once again, I recommend sampling to find what you love.

Tip 3 – Consider the scale of the pattern

What will the size of your item be? A miniature overshot pattern may get lost in a blanket, but may be perfect for a scarf. As a general rule, a good way to estimate the size of one repeat of your pattern just by looking at the draft is to see how many repeats are in one threading repeat. Also consider the thickness of your yarns and the sett you intend to weave.

Just to give you an idea, my current project is woven at 20 ends per inch with 8/2 cotton for warp and tabby and fingering weight wool for the pattern weft. The weaving draft has 50 threads in one threading repeat. My design repeats on the loom are around 2.5″ wide and just under 5″ long, which is a great size for the 30″ x 99″ throw I’m weaving.

Tip 4 – Give your weft picks plenty of room

I throw my picks gently to avoid drag on the selvedges and therefore preventing excessive draw in. I give a generous angle to the weft pick and keep it soft at the edges. I do adjust the picks at the edges before beating when necessary, but mostly I prefer to leave them alone and let them settle into place on their own.

Tip 5 – Floating selvedges are a must!

This is a non negotiable for overshot if you want neat edges and less headaches! You get used to using floating selvedges very quickly, so don’t stress if you have no experience with them.

Tip 6 – Don’t twist weft threads

This is another selvedges tip. I’ve experimented with crossing the two weft yarns at the selvedge to see whether it gives a neater edge, but it doesn’t, at least for me. So, instead of twisting the two wefts at each selvedge when throwing a new pick, I just let them follow one another sequentially and my edges are much neater that way.

Tip 7 – Will the pattern weft bloom?

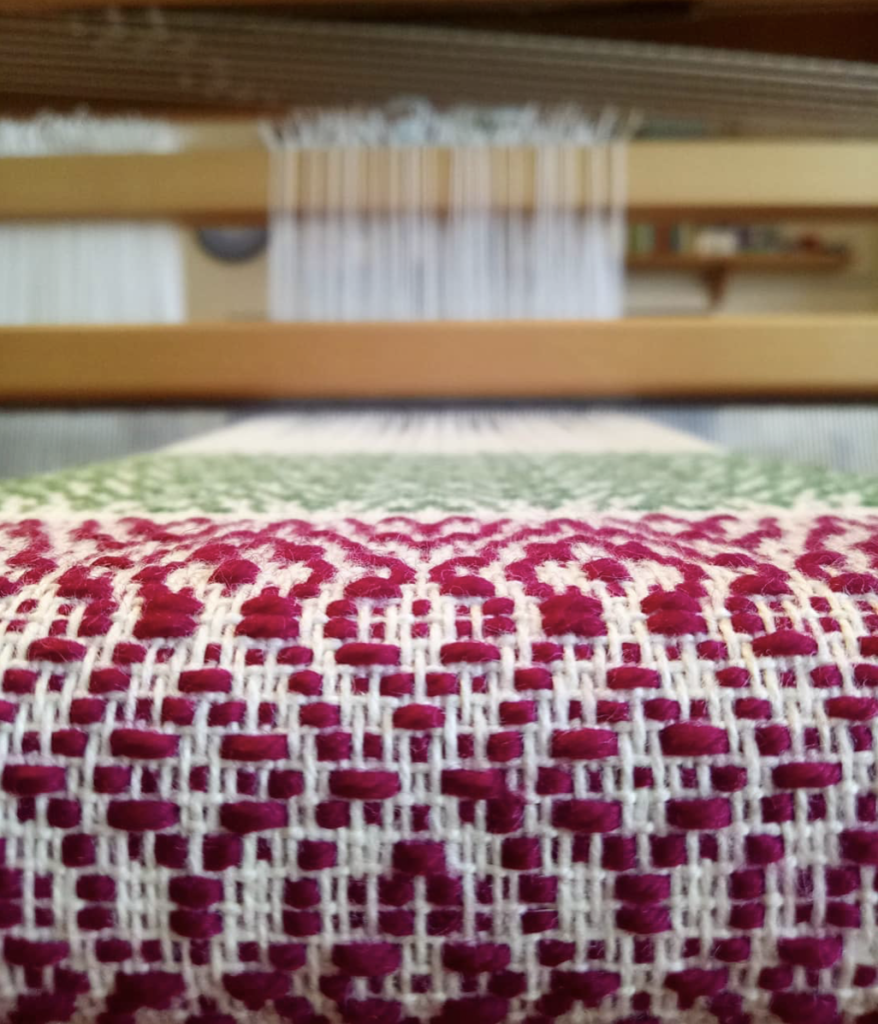
Besides the thickness of the pattern weft yarn, you will also want to consider what kind of bloom it may have after wet finishing. For example, I know that my fingering weight wool blooms beautifully, whereas a cotton of the same size would not bloom in the same way. I very much like the contrast of the 8/2 cotton background with the plump wool pattern weft.

I’m going to sound like a broken record, but once again, a sample will show you everything you need to know about how your yarn will behave as a finished piece.

Tip 8 – Beware running colours

I’m often surprised by the potential of yarns to leach dye in the wet finish process. I’ve had certain yarns that I’ve used frequently that will leach dye sometimes and not others.

This is a particular problem if your colours and white on red or navy on white – you want to preserve that white and not have it come out of the wash as a pink or light blue!

The best way to avoid this is through vigilance, especially in the first 10-15 minutes of your woven piece making contact with water. If you see dye beginning to run, take it out of the warm wash and rinse in cold water until the water runs clear. Place back in the warm water and maintain your watch on it. Repeat the rinsing process if needed.

Tip 9 – Set up the treadles ergonomically

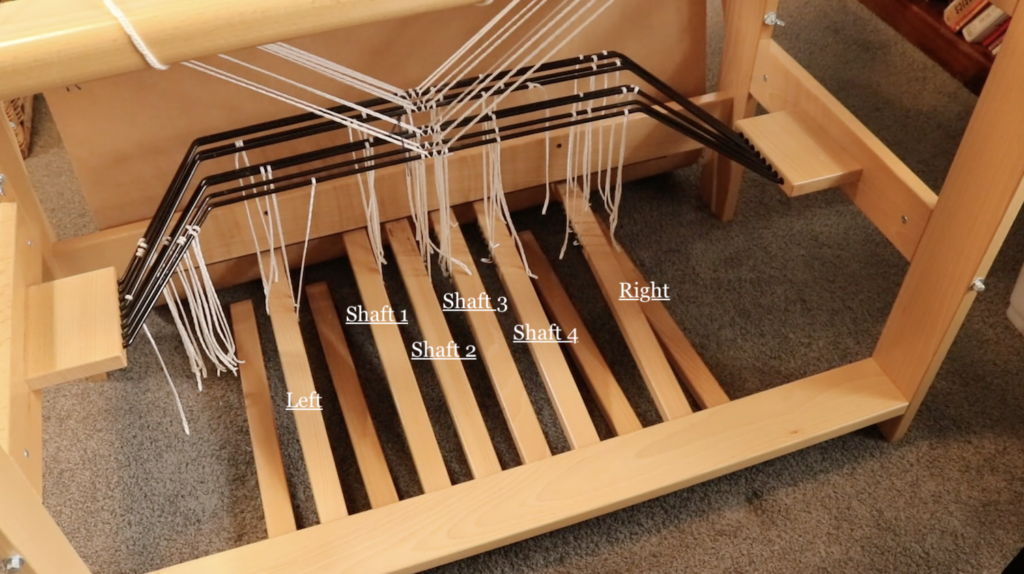
There are 6 treadles needed for overshot, even though you weave on 4 shafts. The two extra treadles are for the tabby weave. I always set up my pattern treadles in the centre of the loom – two on the left and two on the right. Then I set up a “left” tabby and a “right” tabby treadle. To do this on my 8 shaft loom I leave a gap between the pattern treadles and the tabby treadles so that my feet can “see” and differentiate between a pattern and tabby treadle.

Tip 10 – Advance the warp often

I like to advance little and often. You will find your own preference or “sweet spot” for weaving, but I find that with overshot I advance a lot more frequently at a much smaller amount than I do usually.

Tip 11 – Experiment with the beat

The firmness of beat will depend on a few things. Your chosen yarns, the weave structure, the width of the project and the tension your warp is under are all important considerations. I let the project dictate.

An example of this is that I wove an overshot sampler right before Is started my main project (the throw). It was a narrow warp (around 8″) and a different overshot threading and treadling than I’m using for the project.

I found that the sampler required a light beat, where I was pushing or placing the weft into position.

But for my throw project, I am beating harder and sometimes having to beat twice. Because of the width of the project, I need to be careful that I’m beating evenly, and that is easier to do if I’m beating more firmly.

Tip 12 – To temple or not to temple?

I personally do not use a temple. Some weavers will say they won’t weave without one. I’ve tried using a temple on many of my projects, particularly if I’m getting broken edge warp threads (signs of tension problems and too much draw in). But I will avoid using one wherever I can get away with it, and I don’t use one for weaving overshot.

I find that if I’m careful with weft tension and warping evenly, I do not get excessive draw in. It is something I’m constantly aware of while weaving and remind myself of tip 4 so that my weft picks are not pulling in at the edges.

I hope these tips have been helpful to you! If you are interested in overshot, here are some additional resources for you to check out:

Overshot on a rigid heddle loom class

Overshot on a floor loom class

Talking overshot (free video)

The Handweaver’s Pattern Directory, Ann Dixon

A Handweaver’s Pattern Book, Marguerite Davison

Next Steps in Weaving, Pattie Graver

Miniature Overshot Designs, Bertha Graysons Hayes (as a disclaimer, I do not own this book yet, but have heard very good things about it).

Until next time…

Happy Weaving!

Filed Under: 4 shaft weaving, Books, Floor Loom Weaving, Inspiration, Online Weaving School, Overshot, Weaving Tagged With: weaving tips

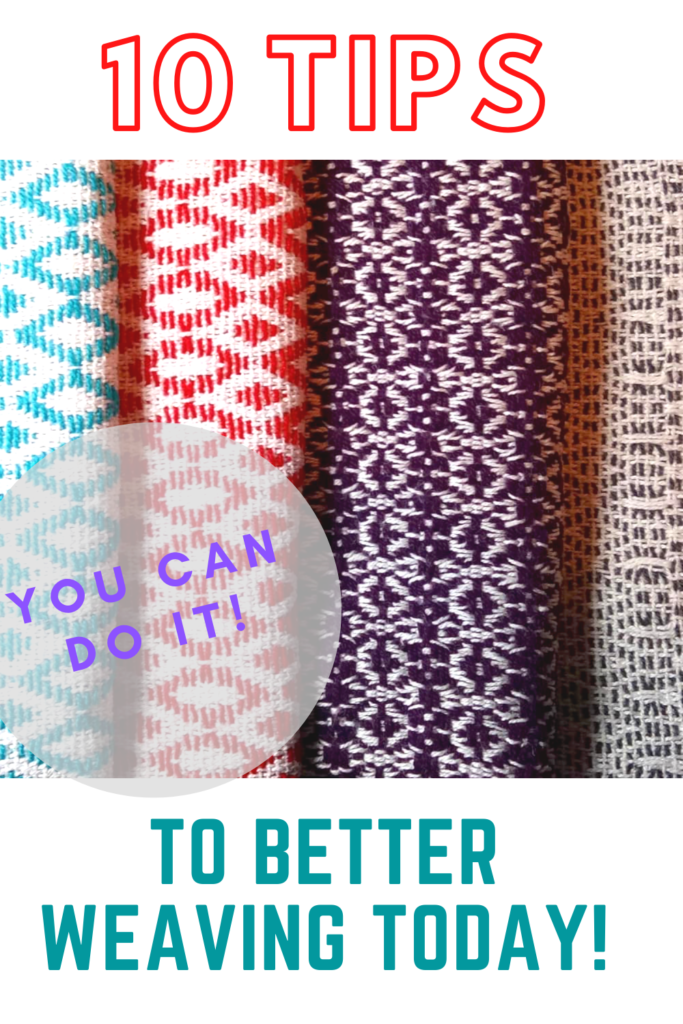
10 Tips to improve your weaving today

by Kelly 19 Comments

Learning to weave is a real journey and it takes time. There is no magic potion or secret ingredient to becoming a better weaver. It takes persistence, time and dedication.

I’ve written a post addressing these facts already – 5 Steps to Successful Weaving, but today I want to give you some short and simple tips that you can do today to improve your weaving.

*This post contains affiliate links

Let’s launch right in!

  1. Don’t run before you walk.

It’s easy to look too far ahead in your enthusiasm. Enthusiasm is great, in fact, it’s essential, but don’t let it blind you. Start at the level you’re at and work your way up. If you choose something too difficult for your weaving level, you may be setting yourself up for frustration.

2. Don’t choose the best yarn for your first project

The temptation of a gorgeous yarn with a big price tag is real. A beautiful yarn can be the perfect inspiration for a new project. But not as a beginner. And not until you’re confident that the picture you have in your head of your next project is likely to turn out how you want it to. Once again, the frustration will kick in if all doesn’t go as smoothly as you hoped. You have the extra pressure of the yarn price tag hanging over you. Keep the fabulous yarn for when you’re ready.

3. Begin with yarns that have some elasticity

It just makes beginner weaving life so much easier. A yarn with some elasticity (a woollen knitting yarn is perfect) will stretch just enough and is so forgiving that you should not have real issues with tension. Rigid yarns eg. cotton is much harder to tension on a rigid heddle loom. Wool, on the other hand, works with you, rather than you feeling like you’re working with (or for) it.

4. Start with thicker yarns – knitting yarns are perfect.

A thicker yarn (I recommend a light worsted/dk/ Aussie 8 ply) is great to begin with for a couple of reasons. The thickness is usually the perfect match for your standard 7.5 – 8 dent heddle/reed that came with your loom. So, no need to purchase extra sized heddle/reeds right away. It also weaves up much faster, and I think it’s important to make your first few projects very achievable and not be a massive time commitment. This will make you feel better about tackling the next project.

5. Commit regular time intervals to learning by doing

If your loom sits in a cupboard or your garage, guess what? You’re not going to learn how to weave. You’re not going to improve. And you will probably feel bad about it. If you are a busy person (let’s face it, who isn’t?!) then you may even find it beneficial to plan and schedule your weaving time so that it’s enough of a priority that you will weave regularly. I’m of the opinion that it is more beneficial to your learning journey to weave little and often than a big chunk of time occasionally. You’re training your brain to do new things, so consistency is important! Also, if you can have a dedicated space or at least not have to completely pack up everything after every weave session, that will be a great help and motivator.

6. Expect little – you might surprise yourself.

Hope for the best, but don’t place unrealistic expectations on yourself. Learning new skills takes time and patience, there is no way around that. Yes, some will learn quickly and some will take longer and that’s completely normal. If you haven’t seen my Slow Learning video, you should check it out:

7. Record your project information

You’re not being your own best weaving friend if you don’t take the time to record information from your projects to refer back to. You may think you will remember all the details, but chances are you won’t. I learned early on to write things down before, during and after my project. It is so worse the time. It helps you to not repeat annoying mistakes but also allows you to repeat the things that were desirable. My Weaver’s Toolkit downloadable e-booklet is a great help for recording purposes, it includes warping and weaving calculations sheets plus a project record sheet.

8. Sample.

It took me a while to become a true sampling convert. I do it often now. It’s a guaranteed way to know that your project will turn out well. You have to invest a little yarn and time, but it is very satisfying beginning a project with that kind of confidence.

9. Find the right resources for you.

If you need help, find help. The kind of help will be different depending on your needs. You may find weaving books really helpful, (check out my Amazon shop for my favourites) you may want to access some online lessons, or you may be lucky enough to either live near to face to face classes or know someone who weaves already.

10. There is almost always a fix

If you mess up, it’s not the end of the world! Most mistakes can be rectified. You may need to find extra resources when you encounter a problem but that is a positive part of your learning process. I always say that if I hadn’t made so many mistakes I wouldn’t have learned as much as I have. Make sure you’re subscribed to my Youtube channel where I have many, many videos that can help you out of a tricky situation.

11. Do not use sticky yarns if you are a beginner. I repeat, Do not use sticky yarns if you are a beginner!

I know, I said “10 tips” and this is number 11. But I must make this point, it’s that important.

Please! Just don’t do it!! You wouldn’t believe the number of emails I get from students stuck (pun intended) in their project because of a sticky yarn that won’t let them get a clear shed and causes all kinds of angst and hair tearing activity. Even bad language, so I’ve heard.

So, just don’t do it. No fluffy, sticky yarns (just forget all about that mohair for now). Save the stickies for later (if you really want to – I just generally prefer to avoid them!) and plan the project carefully.

If you need more information on choosing appropriate yarns, check out these other articles I’ve written on the topic:

Choosing and Using Yarns in Weaving…

3 Yarns Beginner Weavers should NEVER use!…

What is Superwash Woollen Yarn?…

I hope these tips are useful to you! If you have any questions, please leave me a comment, I love to hear from you.

Until next time…

Happy Weaving!
Filed Under: Inspiration, Online Weaving School, Rigid heddle weaving, Weaving Tagged With: how to weave, learn to weave, rigid heddle weaving, weaving tips

Primary Sidebar

Categories

Archives

Meta

  • Log in
  • Entries feed
  • Comments feed
  • WordPress.org

Copyright © 2025 Kelly Casanova Weaving Lessons on the Foodie Pro Theme