• Skip to main content
  • Skip to primary sidebar

Kelly Casanova Weaving Lessons

  • Hi! I’m Kelly!
    • Disclosure
  • Online Weaving School Class Index
    • Common account issues
    • Common technical issues
    • What do I get with a membership?
  • New to rigid heddle weaving? Start here!
    • Never heard of the rigid heddle loom?
    • How to weave neat edges on the rigid heddle loom
    • Rigid heddle weaving
    • Rigid Heddle Weaving Patterns
  • Patterns
  • Subscribe

Overshot

5 Life Lessons from a Difficult Warp

by Kelly 24 Comments

I started my latest project full of enthusiasm and confidence.

I often feel at the beginning that whatever I’m working on is going to be my best piece yet. This is an important motivating tool for me and I’m sure that many of the projects I’ve undertaken would not have come to life without this initial confidence.

You could say that I felt super confident going into this new project. Experience with the weave structure? Check! Experience with the yarns? Check! Experience with the loom? Check, check, check!!

  • This post contains affiliate links. For further information, please see my disclosure policy.

I thought I was cool with the long and wide warp. First mistake!

I should have asked someone to hold the warp for me so I could focus on winding it on. But no, being the “independent to my own detriment” kind of person that I am, I forged ahead alone.

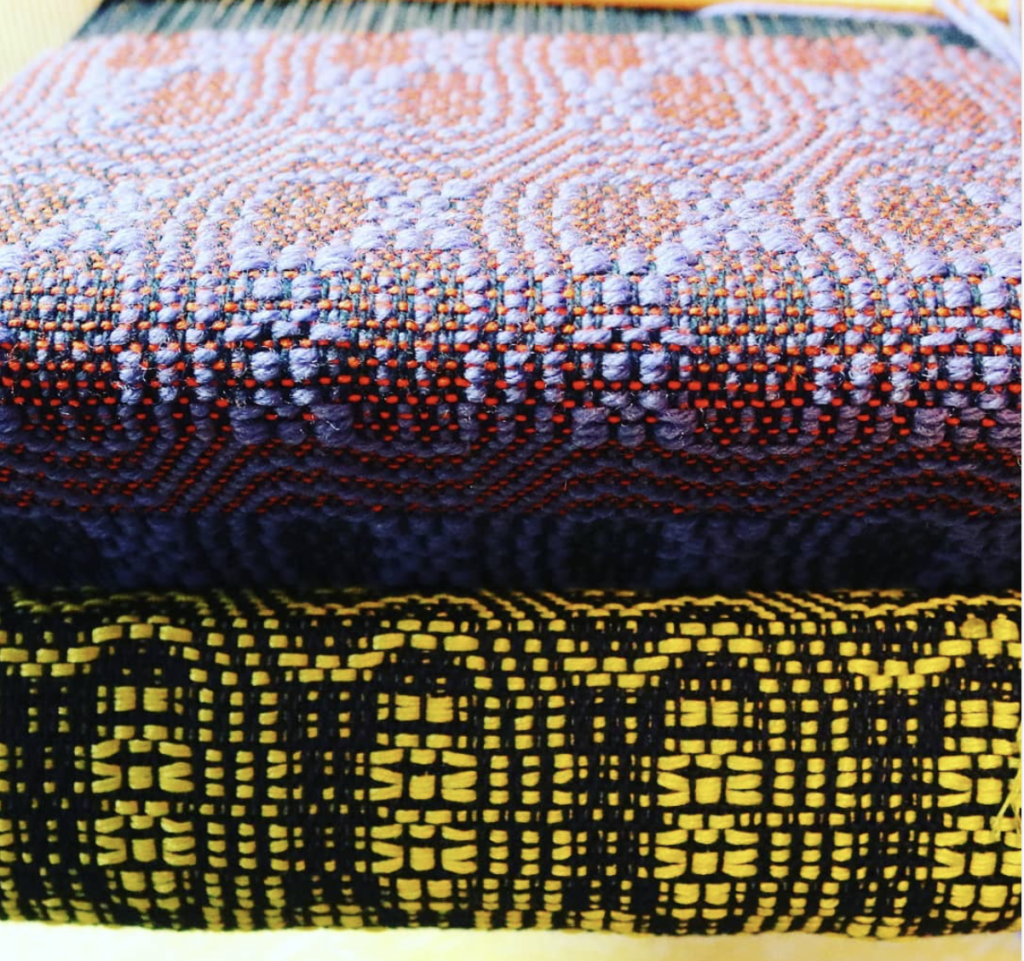
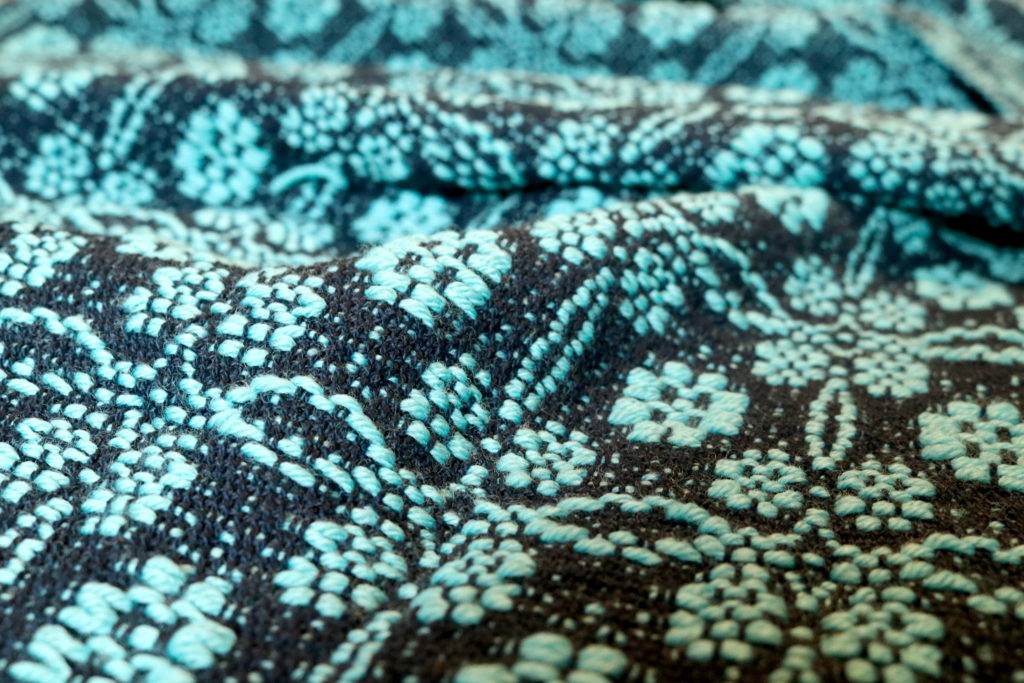
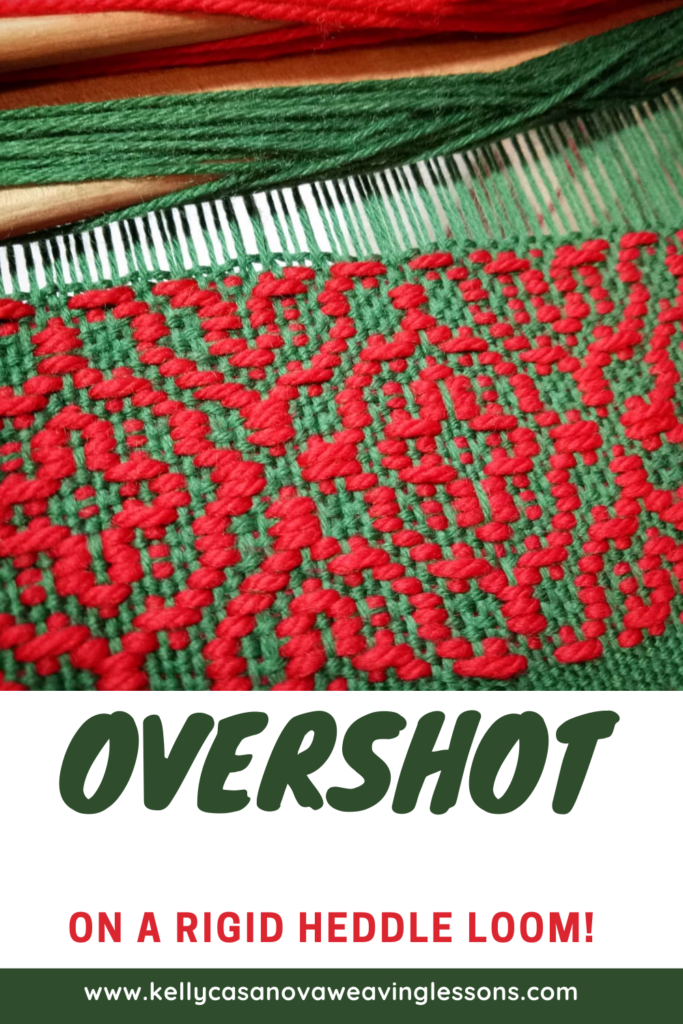
Let me share some more details about this project. Those of you who have been around here for a while will be familiar with my bordering on obsessive desire to weave a full sized overshot coverlet, heavily influenced by the early American Woven Coverlets.

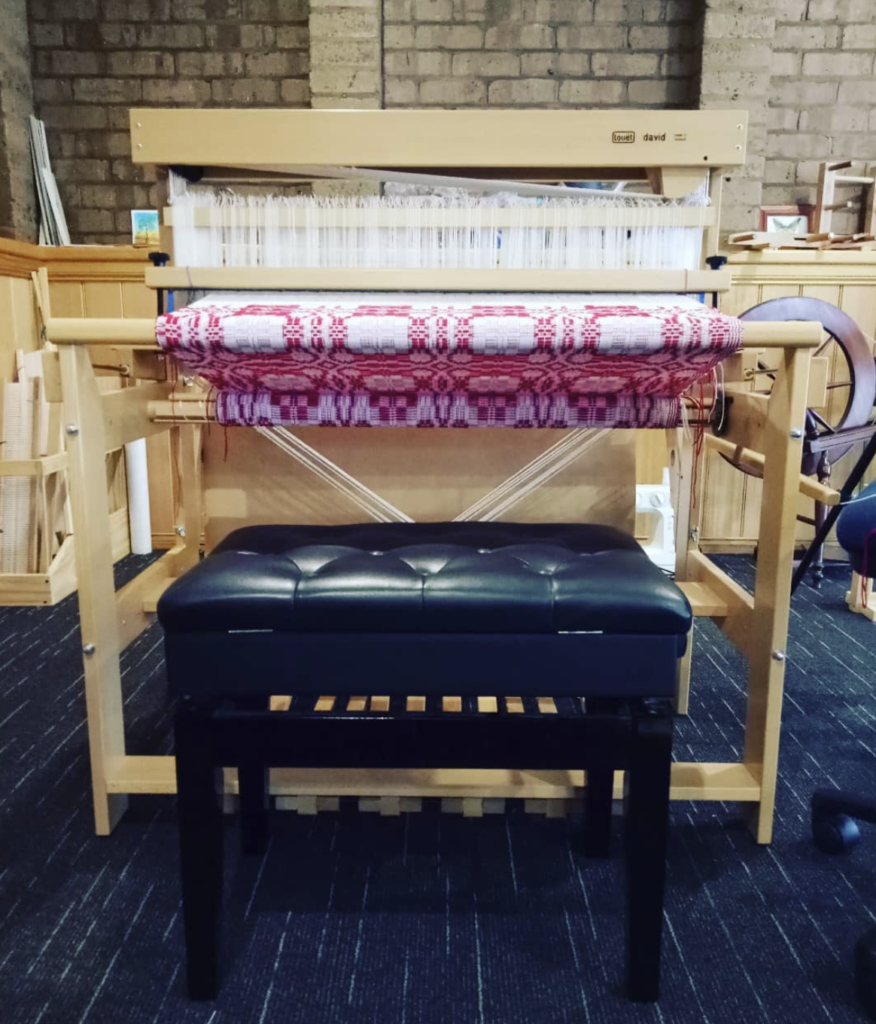
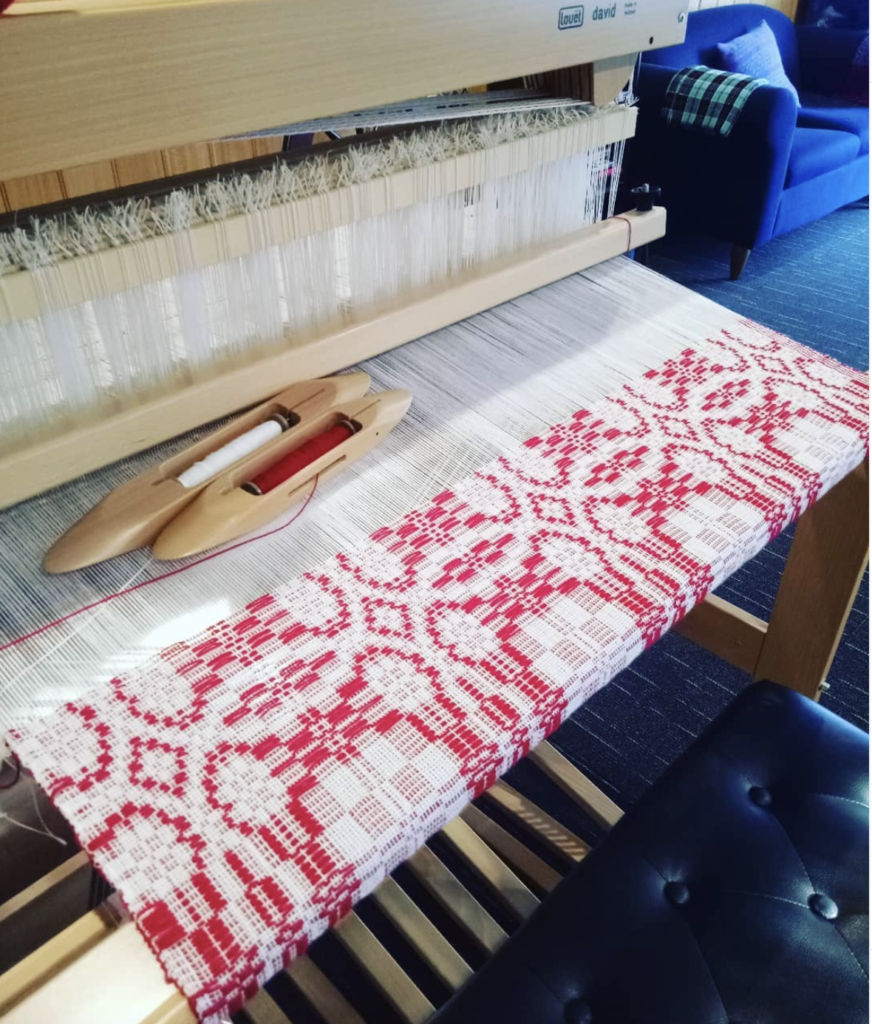
My main stumbling point to weaving my own coverlet is the seaming. Traditional coverlets were woven in panels, usually 2 or 3, then joined. Most looms were not wide enough for the full piece, and my 90cm width Louet David is no different.

The threading for the panels has to be arranged to be able to match up when the seams are joined. This usually consists of a centre panel and 2 panels either side (if weaving 3 panels). Then the seaming method has to be chosen with the view of minimising visibility – a really good coverlet weaver will have almost invisible seams.

Another essential aspect of successfully seaming the panels is to ensure a very consistent beat so that the pattern woven is continuous once the panels are joined. That means measuring picks per inch, something I’m not particularly fond of doing.

So, my idea was to weave just one panel and to practice rearranging threading and weaving a pleasing pattern. I even had the thought initially that I could use the panel to cut into pieces and make a patchwork quilt. I’m not sure the pattern lends itself well to a quilt, but I’m not too fussed about that. I will decide what to do with the piece once it’s off the loom.

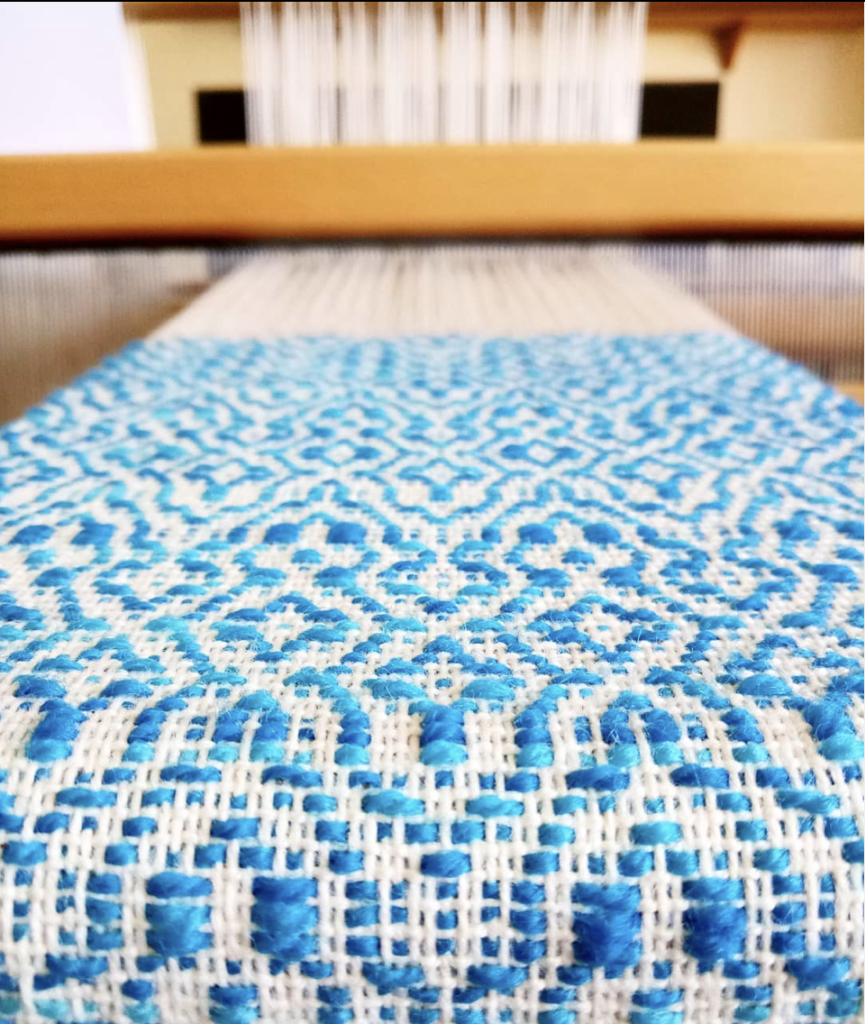
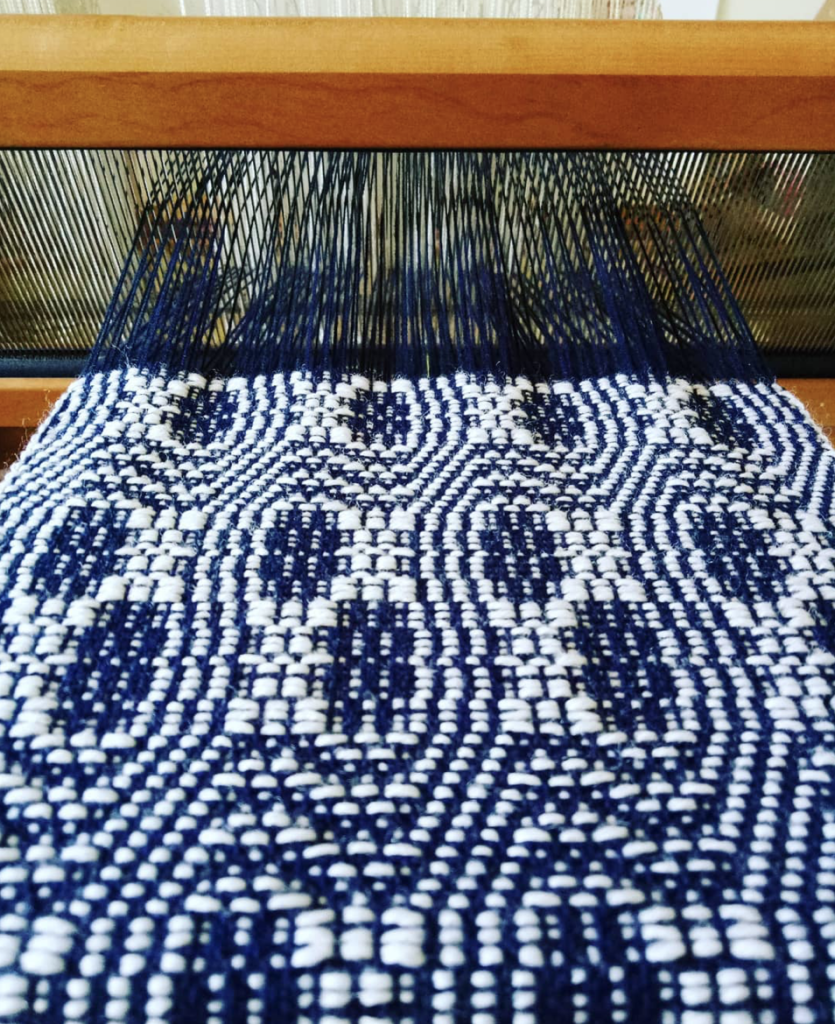
For my warp I chose 8/2 cotton in white. I have a lot of experience with this yarn and have used it extensively in other overshot projects. Normally I pair it with a fingering weight wool for the pattern weft, but this time I decided to try Australian 3ply, which is in between a lace weight and fingering weight. In retrospect, I would have been better to sett a little closer than the 20 ends per inch I chose. There is more space between pattern wefts than I would like.

I found the weaving draft in Carol Strickler’s book “American Woven Coverlets”. I made some adjustments to the draft with plenty of calculations. Yet, when it came to the threading, I found that my warp was 16 threads short! I measured out the extra threads and weighted them over the back of the loom.

After threading and sleying the 650 ends I was looking forward to weaving! But my less than ideally tensioned warp came back to bite me at this point. I had to take the initial weaving very slowly to avoid floats and boat shuttle warp dives.

Initially I felt quite angry about all this. The project was meant to be a happy and relaxing experience. It was supposed to help me progress in my coverlet ambitions.

As I sat there weaving today, I started to think. The anger had subsided to disappointment, and that put me in a reflective mood.

There are so many life lessons in weaving. Challenges, frustrations are all part of the process.

I wanted to share some of my reflections from working on this piece.

Lesson 1 – Things don’t always go according to plan and that’s OK

I once heard someone say “you expected ABC and you got XYZ”. I expected this to be a fun, rewarding project, but it was harder than I thought. It’s my reaction to the unfulfilled expectations that matters. The problem is not the problem, the problem is how I deal with the problem!

You’ve probably heard me say before that there is no perfection in this world. That doesn’t mean that we shouldn’t strive for high standards and excellence, it just means that we should have more hope than we do expectation.

Lesson 2 – Accepting responsibility

My first reaction was to lay blame elsewhere or make excuses. I was tired, I was rushed, I didn’t want to bother one of my family members to help me, I thought I’d be fine to do it myself. While there may be some truth to some of these elements, ultimately it is my project and my decision making lead to a warp that wasn’t adequately tensioned and is now causing me more difficulties in the weaving process.

I have to accept that responsibility and work to overcome and undo the problems that I made.

Lesson 3 – Patience and persistence pay off

I could have given up on this warp. But aside from not wanting to waste all that beautiful cotton that I had paid for, I also didn’t want to let the project defeat me. I know from past experience that if I give up on a project I will feel far worse than if I decide to battle through it.

I guess I have a bit of a stubborn streak, but in weaving that works for, rather than against me. Because it forces me to do uncomfortable things. Things that make me angry and frustrated. If I stop at the angry stage, then I’m suspended in that anger and negativity. If I keep going, I’m forced to work through the frustration and come out the other side, much happier and with a sense of satisfaction that even though it was hard, I did it.

Beautiful things are such a treasure that they should take time and shouldn’t necessarily be easy to achieve. They are worth the time and the effort.

Lesson 4 – Learning is a journey

Learning to weave is a journey of stepping stones, walking, then running, but never stopping and sitting down. The journey is every changing and building. Just as life is a constant striving to be better that doesn’t finish. You don’t just wake up one day and say “now I’m the person I should be”. You wake up and prepare to work and practice all the good things you know will make you better. And you repeat that each and every day, building, changing and adapting.

There may be a tendency in weaving to feel like you should know more by now, you should be producing perfect pieces by now. Instead, try to recognise and enjoy the journey and keep building everyday. I’ve talked about Slow Learning before, you can check out this video to learn more-

Lesson 5 – Adversity is good for us

This is one of those hard life lessons and not one that everyone will agree with me on. But if we spend our whole lives being pampered, having it easy and getting what we want, when we want it, we become soft and spoiled.

Difficulties help us to build character. They allow us to develop empathy. They make us strong. We don’t like hardship, because it doesn’t feel good – but that doesn’t mean it isn’t good for us.

This challenging project has certainly been good for me. Right now, I’m at a better place with it, slowly weaving (slower than I would like, but that’s just how it is) and making adjustments as I go. I feel at peace with my progress. I’ve gained confidence that I can deal with pretty much anything my loom throws at me.

I would still rather that this was the easy and enjoyable project that I originally envisioned, but I’ve shifted to a place of gratitude.

I am grateful that:

  • I have a loom and can use it
  • I have supplies to weave with
  • I can figure out how to fix things when I need to
  • I have the time to devote to this wonderful craft
  • Most of the time, I end up with a beautiful piece of weaving

And lastly, that I learn so much more from weaving than just how to weave.

If you would like to see this post in video format (and see me weaving the project itself!) please click on the video below.

Now it’s over to you. What life lessons have you learned from weaving?

Please share your thoughts or comments down below, I love to hear from you!

Until next time…

Happy Weaving!

Filed Under: Floor Loom Weaving, Inspiration, Overshot, Weaving Tagged With: encouragement, life lessons, overshot

Crazyshot Book Review and Giveaway

by Kelly 408 Comments

Myra Wood is a well known fibre artist with an impressive array of artistic skills and talents. In fact, I’m quite amazed by all her achievements in teaching, writing books and creating. She is a huge inspiration!

*This post contains affiliate links. For more information, please see my disclosure policy.

Myra has just released a wonderful new weaving book that I am so excited to tell you about – “Crazyshot! Creative Overshot Weaving on the Rigid Heddle Loom”. “Crazyshot” is creative overshot weaving for the rigid heddle with bold patterns and colours.

The book provides beautiful colour photo, step by step instructions and explanations. The patterns look extremely complex and yet are achieved with just one heddle and one pick up stick! There are 14 stunning projects included.

You may be thinking “this looks way too advanced for me!”, but that is the beauty of it. All you need is the basics, plus a good dose of patience and an adventurous attitude.

Let’s have a chat with Myra and find out more about her and how the new book came about.

Tell us a little about your background in fibre arts.

“I was a pretty crafty kid. My mom taught me how to sew and crochet and we made tons of Barbie doll and kid’s clothes. I continued crafting through adulthood, adding new crafts every couple of years- more sewing, quilting, embroidery, tapestry and bead weaving, tatting, you name it, always with an emphasis on creative expression. In 2003 I started teaching knitting classes at a local yarn store and within a couple years I began teaching knitting and crochet on the US national circuit for XRX/Stitches, Vogue Knitting, guilds and special events. Along the way, I taught 5 classes for Craftsy and wrote 3 books and published lots of patterns. Up until Covid, I was traveling around the US almost every month. ( I don’t miss the airports but I do miss seeing everybody in person).“

When and how did you first become interested in weaving?

“In 2012, I saw my first rigid heddle loom at a trade show and had to have one. I dove right into the deep end buying a 20” with a stand while I was there and all the rigid heddle books I could find. Needless to say, my yarn stash was already a bit ridiculous so when I found out I could use the same yarns I was ready to go. My loom arrived a couple weeks later and it’s been a love affair ever since. I now own 4 rigid heddle looms, all of which are usually warped with some experiment or another.“

Crazyshot is not the first book you’ve published, but it is your first weaving book. What was the inspiration behind the book?

“In all honesty, your Branoe class blew me away. I kept thinking about Fair Isle and Mosaic knitting and other charted needlework while I was learning. I looked for more info on Branoe and found very little but I did discover a rich history of supplemental weft weaving from all different cultures throughout time. So I started experimenting and this book is the result of combining lots of different ideas from various charted needlework. Many times my books have come out of wanting to see the book I wish was already out there.“

Something that students often ask me about is how to choose colours for a project. I noticed that in “Crazyshot” your project colours are strikingly beautiful and harmonious. Do you have any tips for those who are nervous combining and choosing colours?

“Absolutely! I love color and I’m not afraid to use it but lots of times I find myself in color ruts. Give me some blue, green, aqua and purple yarn and I’m off to the races. When I want to step outside my comfort zone, I like to take a skein of a long color repeat yarn like Noro Kureyon and match up all the solid colors I have in my stash to the colors in the yarn. The dyers are very experienced with color and often put together colors I’d never think of combining. I’ve also used variegated yarns to start with and even printed fabrics I love. Color is the most essential element for me so before I start any project, once my colors are chosen, I stick to that palette. I always say you have to love the colors together before you start or you won’t like the end result. I always start with color.“

With all of the creative pursuits you are involved with, how do you organise your time effectively in order to achieve such variety?

“I tend to get fairly obsessive about one craft at a time. I’m passionate about learning as much as possible and experimenting with all the different ways I can express myself with it.

Eventually something else strikes my fancy and I abandon the previous one for the latest obsession. Many times I’ve rediscovered my love for a particular craft years after I thought I was done with it. I feel like I have a great toolbox to work with and I love combining ideas from different crafts.

I’m so lucky to have a dedicated studio and spend my days in it from morning till night. (I told you I was obsessive). As I’m aging, I find I can’t spend the hours I used to working with my hands before they start aching so I try and take breaks and do other things like clean the house and exercise. I did say try. I spend more time reflecting and relaxing now but my wheels are always turning with new ideas so I’m actually planning another book already!“

********************************************************************************************************************

And now for some more exciting news. Myra has one signed print copy of “Crazyshot” to gift to one of you lucky readers!

To enter, leave a comment below telling me what appeals to you most about this technique.

  • THIS GIVEAWAY IS NOW CLOSED. CONGRATULATIONS TO CATHY MURPHY! THANK YOU TO ALL WHO ENTERED.

You can purchase “Crazyshot” in either digital or print version from Amazon or from Myra’s website.

If you would like a video course on the Branoe technique, check out my Exploring Branoe course at the Online Weaving School.

I also have some free videos on Youtube to help get you started:

Until next time…

Happy Weaving!

Filed Under: Books, Giveaways, Inspiration, Interviews, Overshot, Rigid heddle weaving, Rigid Heddle Weaving Patterns, Weaving Tagged With: book reviews, crazyshot, giveaway, overshot, weaving books

Tips for weaving overshot

by Kelly 9 Comments

One of the great things about having been a blogger for 12 years (did I actually just admit that?!) is that you occasionally get to look back and see how very far you’ve come.

Over three years ago, when my David Louet floor loom was still somewhat new to me, I wrote this post on overshot. If you read it, you will discover that my initial relationship with overshot was not a very positive one.

This post contains affiliate links. For more information please see my disclosure policy.

Back then, I was a little harder on myself as a learning weaver. By now, I’ve realised that weaving, just like life, is a journey that has a beginning but no end. Back then, I thought that my ultimate goal was to be a “master weaver”.

Honestly, I don’t even really know what that means but it no longer matters to me. I just want to be the best weaver I can be, but even more importantly, to continue to be fulfilled, challenged and rewarded by doing it.

Hang on, am I here to talk about overshot or not? Yes, I am!

The happy ending to the initial overshot sob story is that I can weave overshot now. Quite well, in fact! And I also teach it. And I happen to love it, very, very much. Don’t you love a happy ending?

I don’t think there was any particular moment where I thought to myself “I can weave overshot now!” I didn’t even weave any overshot for quite some time after that initial attempt. But slowly it tempted me back, and we started over. It was just a matter of sticking with it, employing some specific techniques and practice, practice, practice until it feels like an old friend.

My love of overshot has only increased with my more recent discovery of American Coverlets. I loved the look of the coverlets and the history behind them before I realised that so many of them were woven in the wonderfully humble 4 shaft overshot.

I’ve put a lot of research time into coverlets this year and have made it a big weaving goal of mine to weave my first coverlet, which is quite an undertaking, but I relish the thought.

I’ve also spent a lot of time actually weaving overshot this year. I released the very successful Overshot on a Rigid Heddle Loom class not long ago.

I’ve just completed this magnificent piece on my floor loom for my brand new Overshot on a Floor Loom class.

Incidentally, this photo is now one of my most popular posts on Instagram! I guess other people love it as much as I do.

Now that I have quite a lot of experience weaving overshot, I want to share my best overshot tips with you in hope that you too will fall in love with this wonderful weave structure.

Tip 1 – Take the time to sample

I know, I know, sampling takes time and yarn, it’s true. But it teaches you so, so much. It can also be more economical, as you can test your yarns out for suitability before committing to a larger project. Trust me, sampling is so well worth the time!

Tip 2 – Use appropriately sized yarns

To weave overshot you need a warp yarn, a tabby yarn and a pattern weft yarn. Using the same yarn for warp and tabby works perfectly. For the pattern weft, I like to use a yarn that is twice the size of the tabby/warp yarn. I have experimented with using doubled strands of tabby/warp yarn in a contrasting colour, but it just doesn’t look as good. A thicker pattern yarn is the way to go.

As an example, my current favourite yarn combinations for weaving overshot are:

Warp – 8/2 cotton

Tabby – 8/2 cotton

Pattern weft- fingering weight wool

There are certainly other combinations you can use, and once again, I recommend sampling to find what you love.

Tip 3 – Consider the scale of the pattern

What will the size of your item be? A miniature overshot pattern may get lost in a blanket, but may be perfect for a scarf. As a general rule, a good way to estimate the size of one repeat of your pattern just by looking at the draft is to see how many repeats are in one threading repeat. Also consider the thickness of your yarns and the sett you intend to weave.

Just to give you an idea, my current project is woven at 20 ends per inch with 8/2 cotton for warp and tabby and fingering weight wool for the pattern weft. The weaving draft has 50 threads in one threading repeat. My design repeats on the loom are around 2.5″ wide and just under 5″ long, which is a great size for the 30″ x 99″ throw I’m weaving.

Tip 4 – Give your weft picks plenty of room

I throw my picks gently to avoid drag on the selvedges and therefore preventing excessive draw in. I give a generous angle to the weft pick and keep it soft at the edges. I do adjust the picks at the edges before beating when necessary, but mostly I prefer to leave them alone and let them settle into place on their own.

Tip 5 – Floating selvedges are a must!

This is a non negotiable for overshot if you want neat edges and less headaches! You get used to using floating selvedges very quickly, so don’t stress if you have no experience with them.

Tip 6 – Don’t twist weft threads

This is another selvedges tip. I’ve experimented with crossing the two weft yarns at the selvedge to see whether it gives a neater edge, but it doesn’t, at least for me. So, instead of twisting the two wefts at each selvedge when throwing a new pick, I just let them follow one another sequentially and my edges are much neater that way.

Tip 7 – Will the pattern weft bloom?

Besides the thickness of the pattern weft yarn, you will also want to consider what kind of bloom it may have after wet finishing. For example, I know that my fingering weight wool blooms beautifully, whereas a cotton of the same size would not bloom in the same way. I very much like the contrast of the 8/2 cotton background with the plump wool pattern weft.

I’m going to sound like a broken record, but once again, a sample will show you everything you need to know about how your yarn will behave as a finished piece.

Tip 8 – Beware running colours

I’m often surprised by the potential of yarns to leach dye in the wet finish process. I’ve had certain yarns that I’ve used frequently that will leach dye sometimes and not others.

This is a particular problem if your colours and white on red or navy on white – you want to preserve that white and not have it come out of the wash as a pink or light blue!

The best way to avoid this is through vigilance, especially in the first 10-15 minutes of your woven piece making contact with water. If you see dye beginning to run, take it out of the warm wash and rinse in cold water until the water runs clear. Place back in the warm water and maintain your watch on it. Repeat the rinsing process if needed.

Tip 9 – Set up the treadles ergonomically

There are 6 treadles needed for overshot, even though you weave on 4 shafts. The two extra treadles are for the tabby weave. I always set up my pattern treadles in the centre of the loom – two on the left and two on the right. Then I set up a “left” tabby and a “right” tabby treadle. To do this on my 8 shaft loom I leave a gap between the pattern treadles and the tabby treadles so that my feet can “see” and differentiate between a pattern and tabby treadle.

Tip 10 – Advance the warp often

I like to advance little and often. You will find your own preference or “sweet spot” for weaving, but I find that with overshot I advance a lot more frequently at a much smaller amount than I do usually.

Tip 11 – Experiment with the beat

The firmness of beat will depend on a few things. Your chosen yarns, the weave structure, the width of the project and the tension your warp is under are all important considerations. I let the project dictate.

An example of this is that I wove an overshot sampler right before Is started my main project (the throw). It was a narrow warp (around 8″) and a different overshot threading and treadling than I’m using for the project.

I found that the sampler required a light beat, where I was pushing or placing the weft into position.

But for my throw project, I am beating harder and sometimes having to beat twice. Because of the width of the project, I need to be careful that I’m beating evenly, and that is easier to do if I’m beating more firmly.

Tip 12 – To temple or not to temple?

I personally do not use a temple. Some weavers will say they won’t weave without one. I’ve tried using a temple on many of my projects, particularly if I’m getting broken edge warp threads (signs of tension problems and too much draw in). But I will avoid using one wherever I can get away with it, and I don’t use one for weaving overshot.

I find that if I’m careful with weft tension and warping evenly, I do not get excessive draw in. It is something I’m constantly aware of while weaving and remind myself of tip 4 so that my weft picks are not pulling in at the edges.

I hope these tips have been helpful to you! If you are interested in overshot, here are some additional resources for you to check out:

Overshot on a rigid heddle loom class

Overshot on a floor loom class

Talking overshot (free video)

The Handweaver’s Pattern Directory, Ann Dixon

A Handweaver’s Pattern Book, Marguerite Davison

Next Steps in Weaving, Pattie Graver

Miniature Overshot Designs, Bertha Graysons Hayes (as a disclaimer, I do not own this book yet, but have heard very good things about it).

Until next time…

Happy Weaving!

Filed Under: 4 shaft weaving, Books, Floor Loom Weaving, Inspiration, Online Weaving School, Overshot, Weaving Tagged With: weaving tips

Primary Sidebar

Categories

Archives

Meta

  • Log in
  • Entries feed
  • Comments feed
  • WordPress.org

Copyright © 2025 Kelly Casanova Weaving Lessons on the Foodie Pro Theme