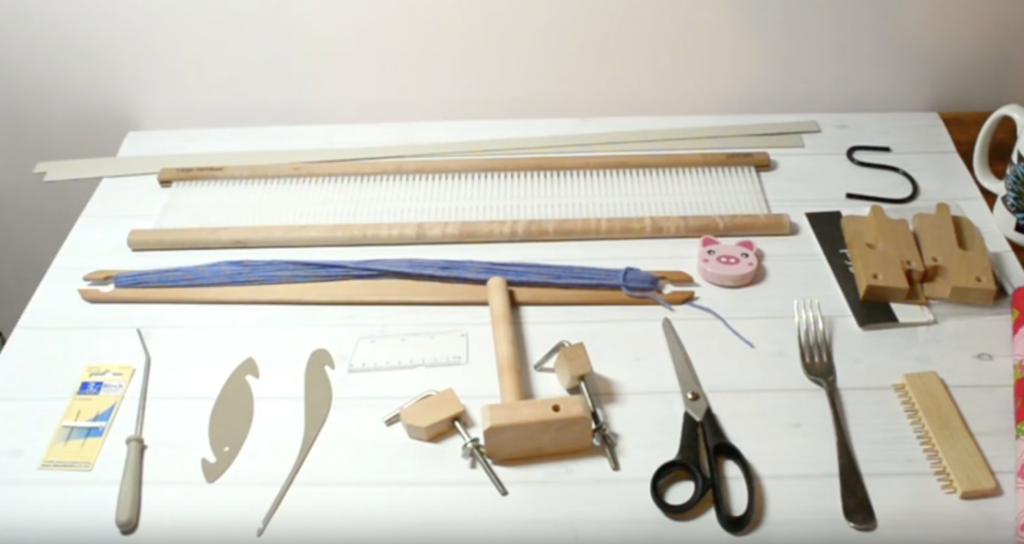
When you buy a rigid heddle loom, it will come with a few standard tools to get you started. Exactly what you get will depend on the manufacturer of your loom, but here are a few of the basics:
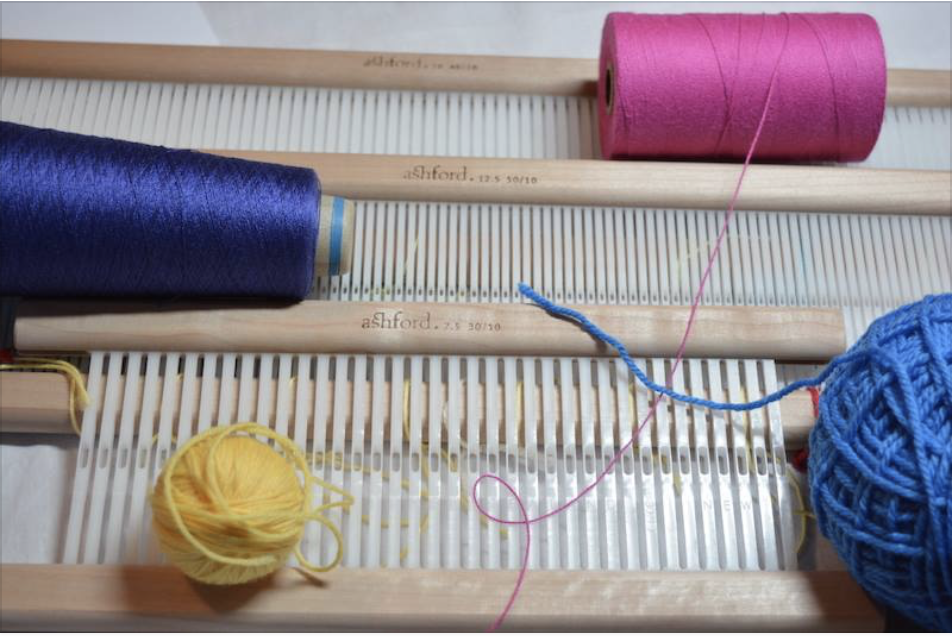
*A heddle/reed (usually 7.5 or 8 dent)
* A warping peg and clamp for direct warping
* A clamp for holding the loom to a table while warping
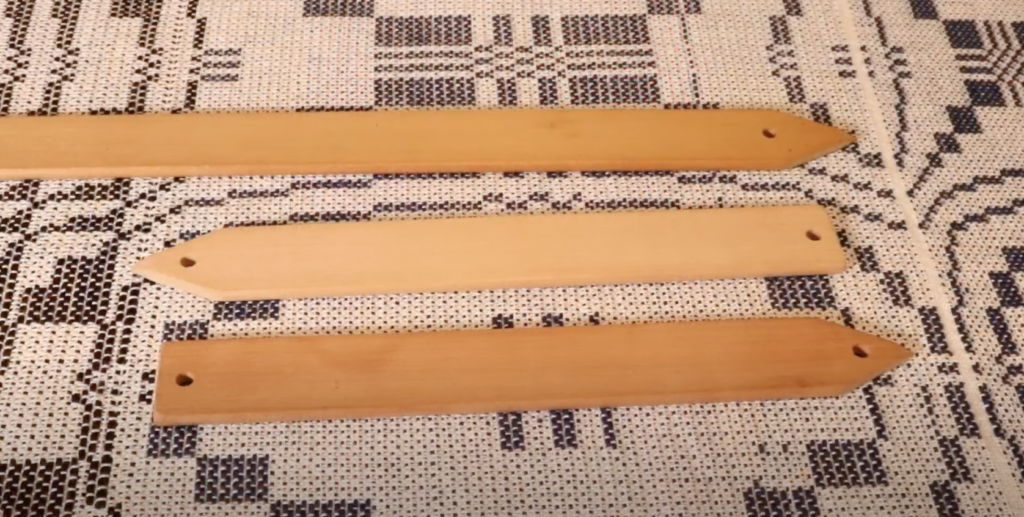
* A stick shuttle
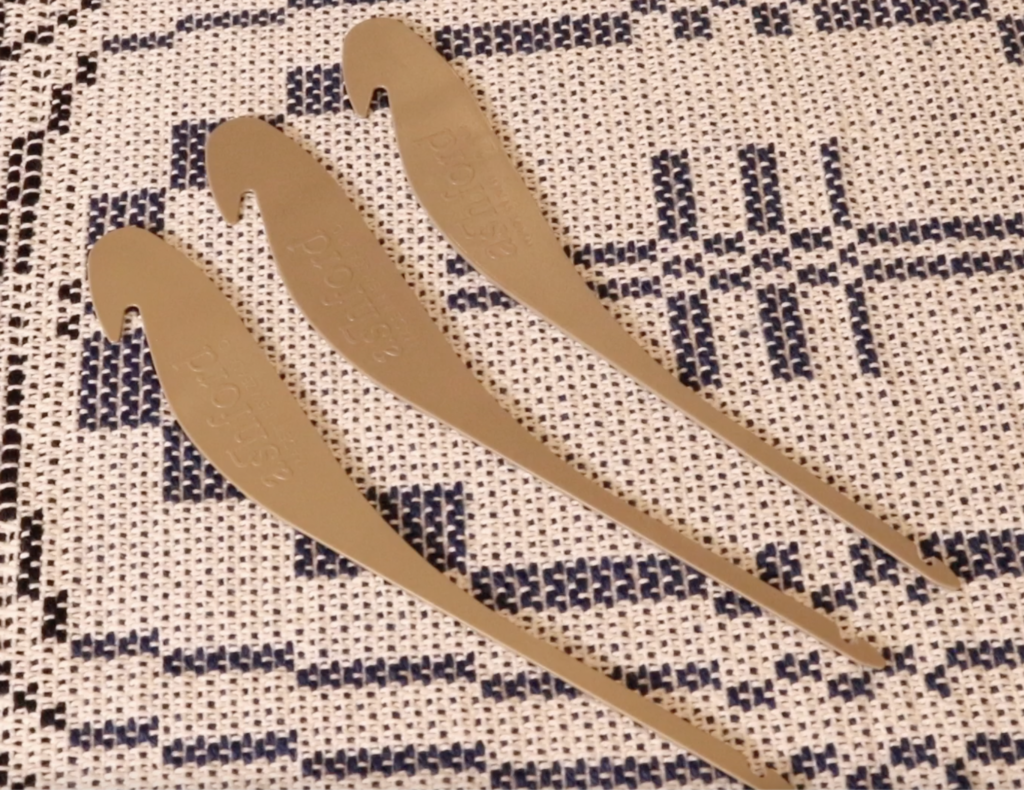
* It may include a threading and reed hook
* Cardboard warp separators (may not come with all looms)
** Some looms now come with a double heddle block built in

Apart from the standard tools, there are extra things that are either essential or come in handy.
Other essentials:
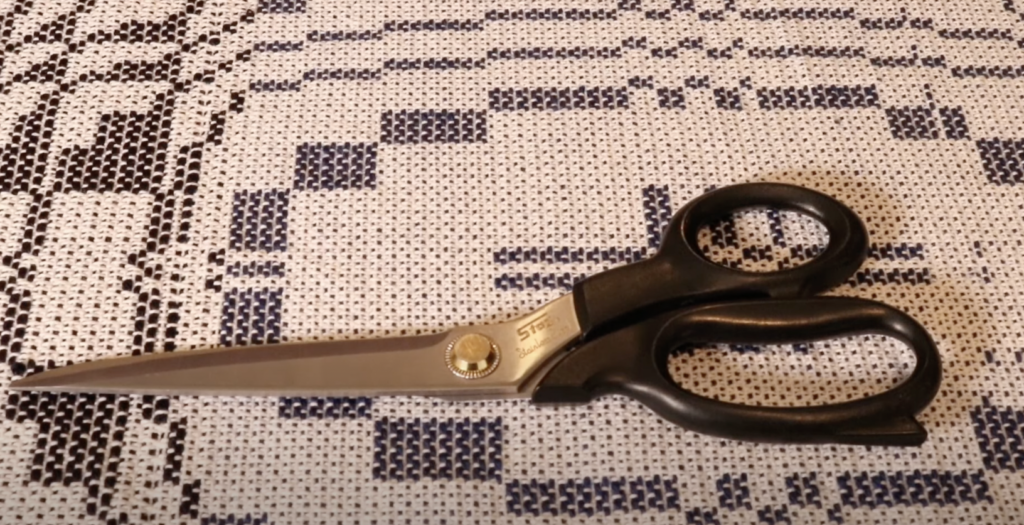
*Scissors – A good pair of dressmaking shears will save you a lot of frustration
*Something to separate your warp when rolling on (I like to use brown craft paper on a roll and cut it to size)
*Yarn
*Inch ruler (for figuring out the sett of your yarn)
*Project journal for recording all your project information
*A big mug of tea or coffee (hey, I don’t judge!)

Handy optional extras:
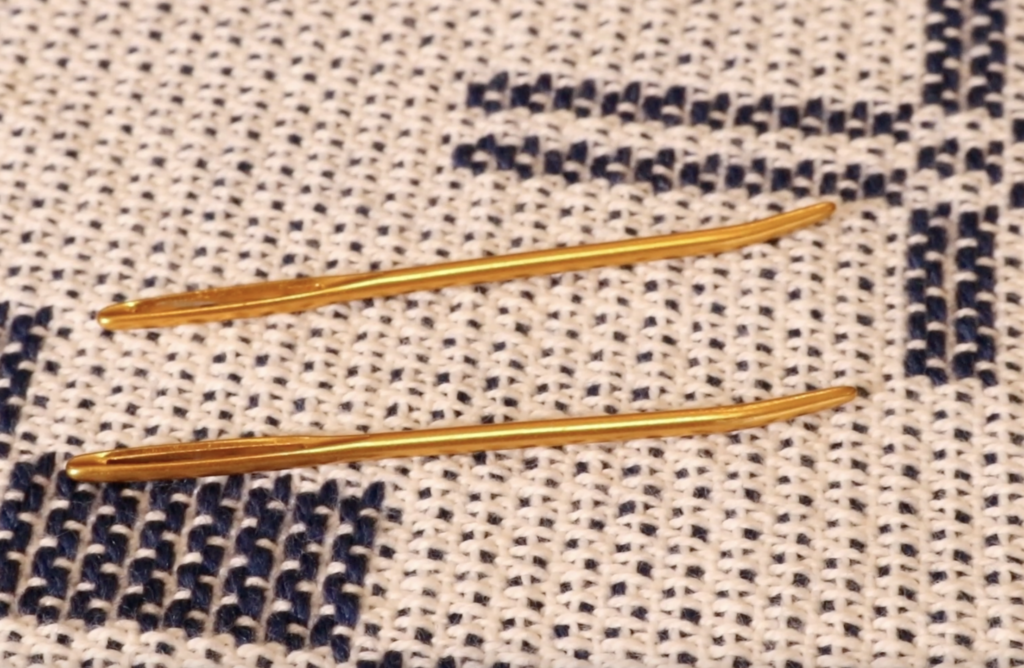
* Tapestry needle
* Extra heddles
* Fringe twister
* Sewing machine
* Serger
* Loom stand
* Tapestry beater, comb or household fork
* “S” hooks or other weights
* Calculator
*Instructional books – this post will help you to determine which book/s might be right for you).
*Online lessons are an awesome tool to get started. You can check out my Youtube channel and my Online Weaving School for further help.
Check out the video below where I discuss these tools in depth:
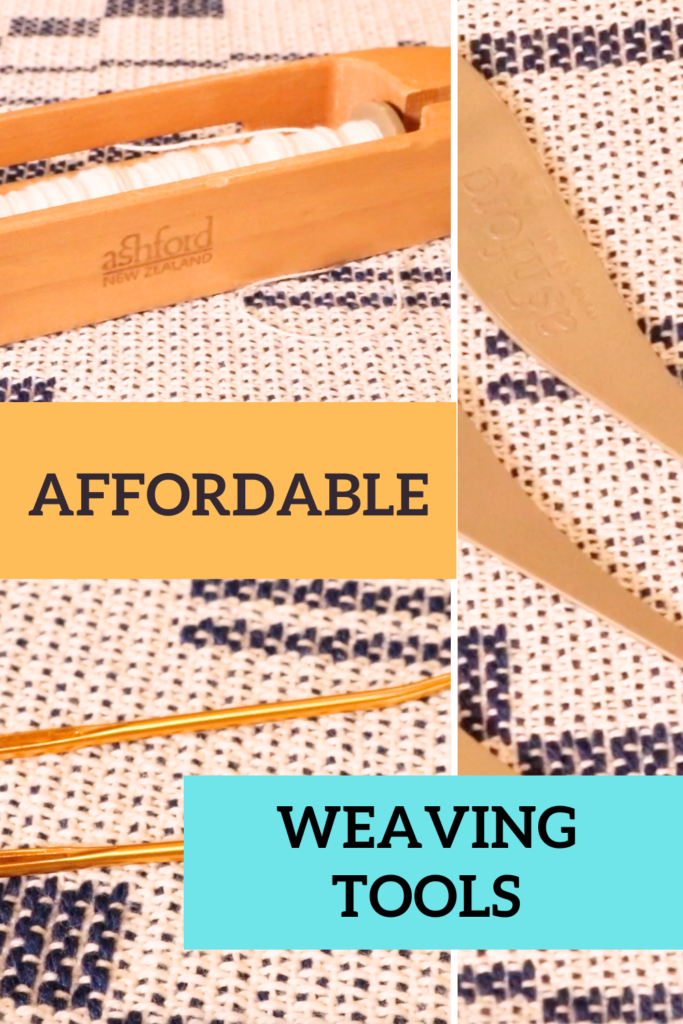
I also have an additional video that talks about affordable tools here:
Something to remember when you’re just starting out with rigid heddle weaving is that you don’t need All.The.Things right away! The tools that come with a newly purchased loom are sufficient to get you started, and you can gradually build from there as you begin to explore the wonderful world of rigid heddle weaving.
*This post contains affiliate links. Please see my disclosure policy for further information.
Until next time…
Happy Weaving!