
Now we’re ready to sew the bag together! If you missed the last post on taking your fabric off the loom and wet finishing, you can take a look at it here.
*This post contains affiliate links, meaning if you click on the link I will receive a small commission at no extra cost to you.
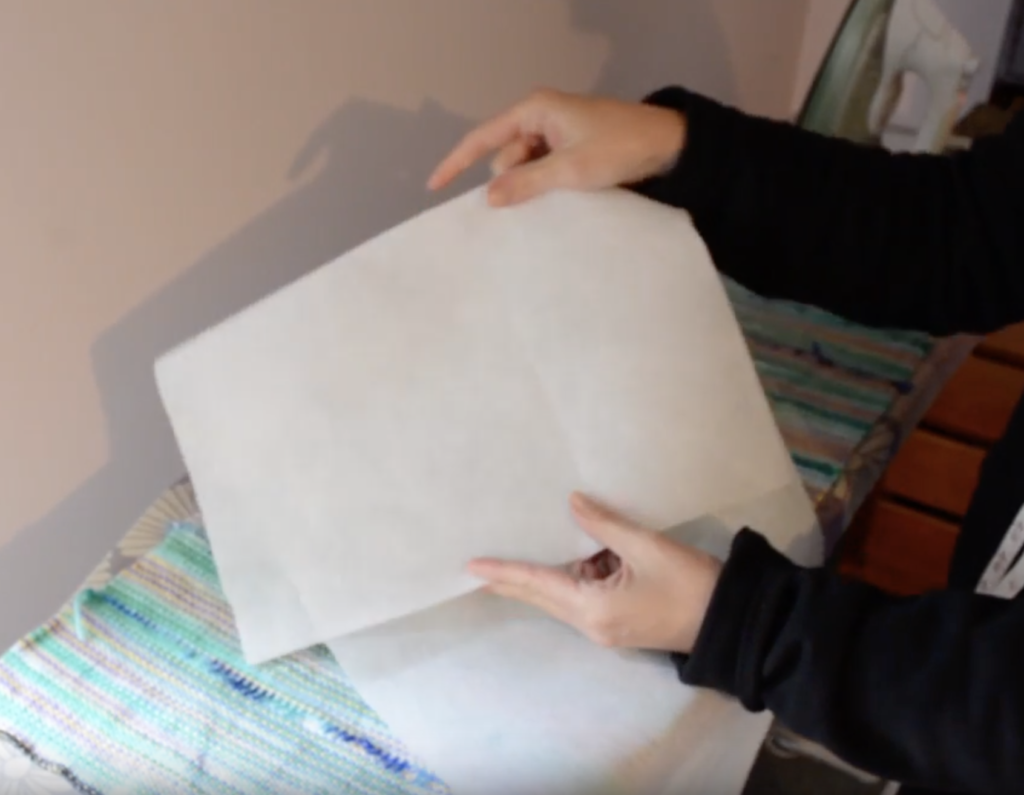
Lay the fabric out on the ironing board with the WRONG side facing up. You will notice that your fusible interfacing has a shiny side and dull side. It’s the shiny side that will fuse to the fabric, so you want to place the shiny side down so that it meets with the wrong side of your fabric. This is worth doing properly. If you place the shiny side up instead, you may find yourself in the market for a new iron!
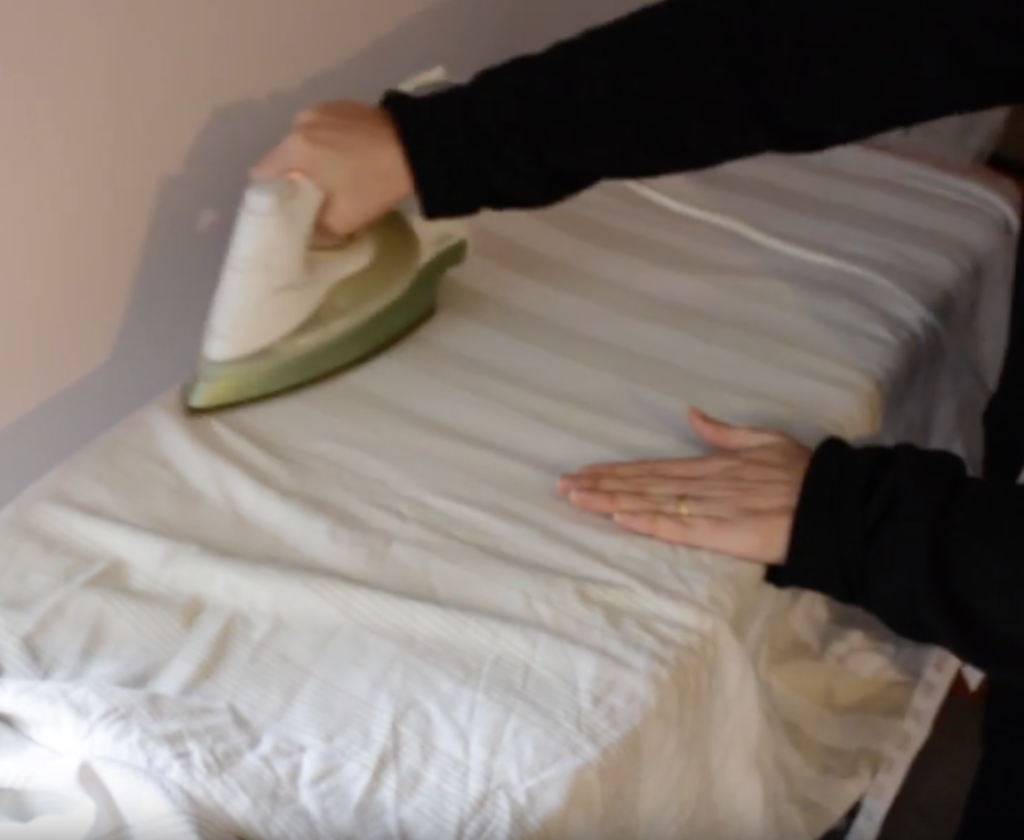
It is best to place a presser cloth over the fabric and fusible interfacing before you begin to iron. I just use an old sheet for protection. Set your iron to “cotton” steam setting a press evenly over the fabric. You can peel back the sheet here and there to check whether you have a good bond happening. Bear in mind that the bonding is not complete until the fabric has cooled.

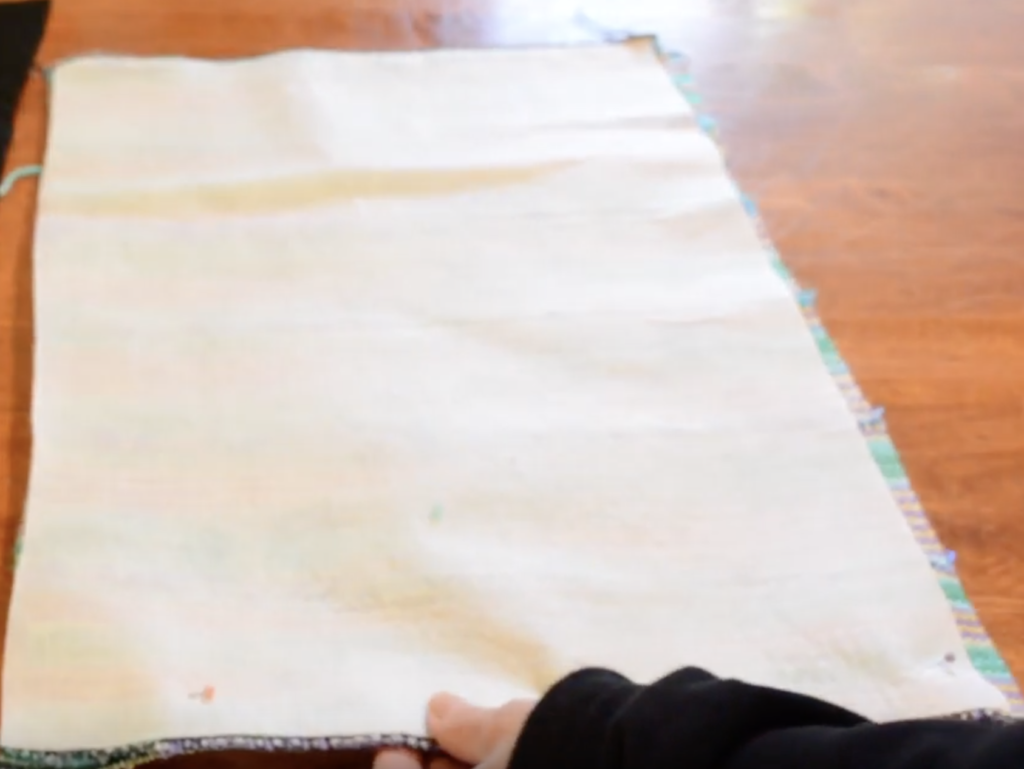
Your piece should look like this when ready. The interfacing is completely bonded to one side of your fabric.
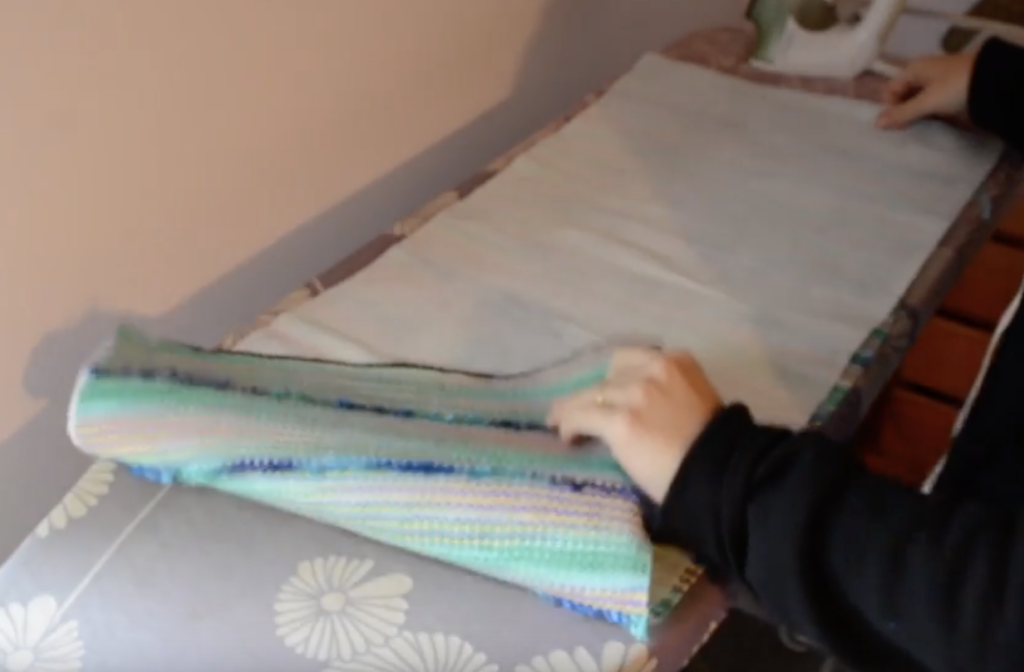
Fold the fabric over on itself so that the sides are all touching. Line up the pieces to fit as best you can.
Press the fold at the bottom of the bag to make a crease. This will become your cutting mark. If you’re a bit worried about cutting your fabric, don’t be! The fusible interfacing keeps it all very secure.
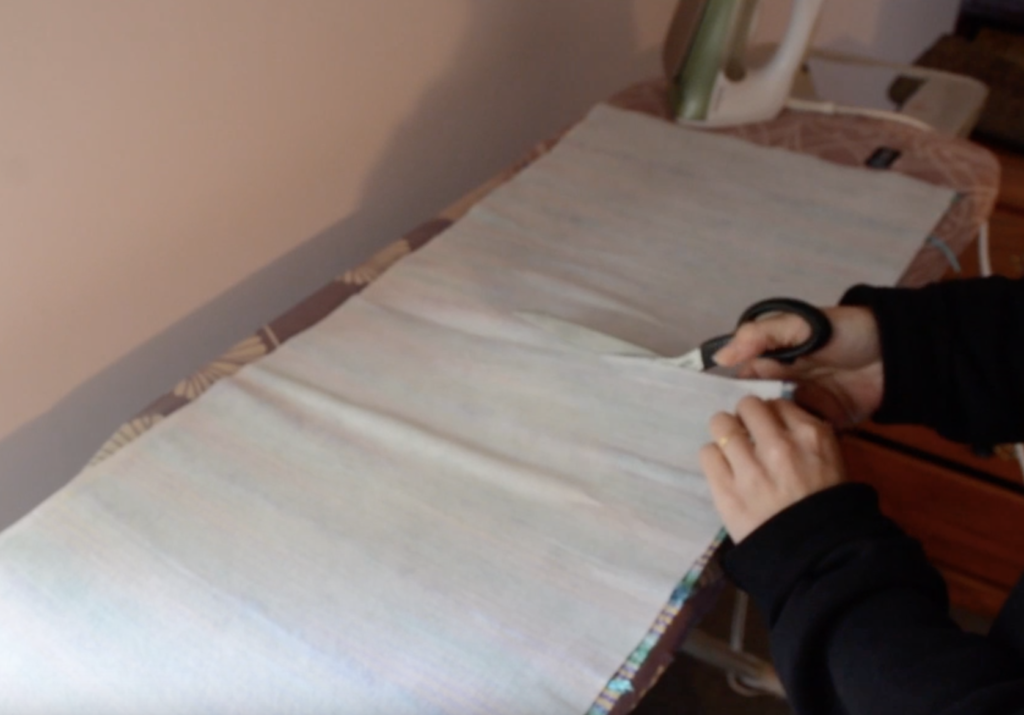
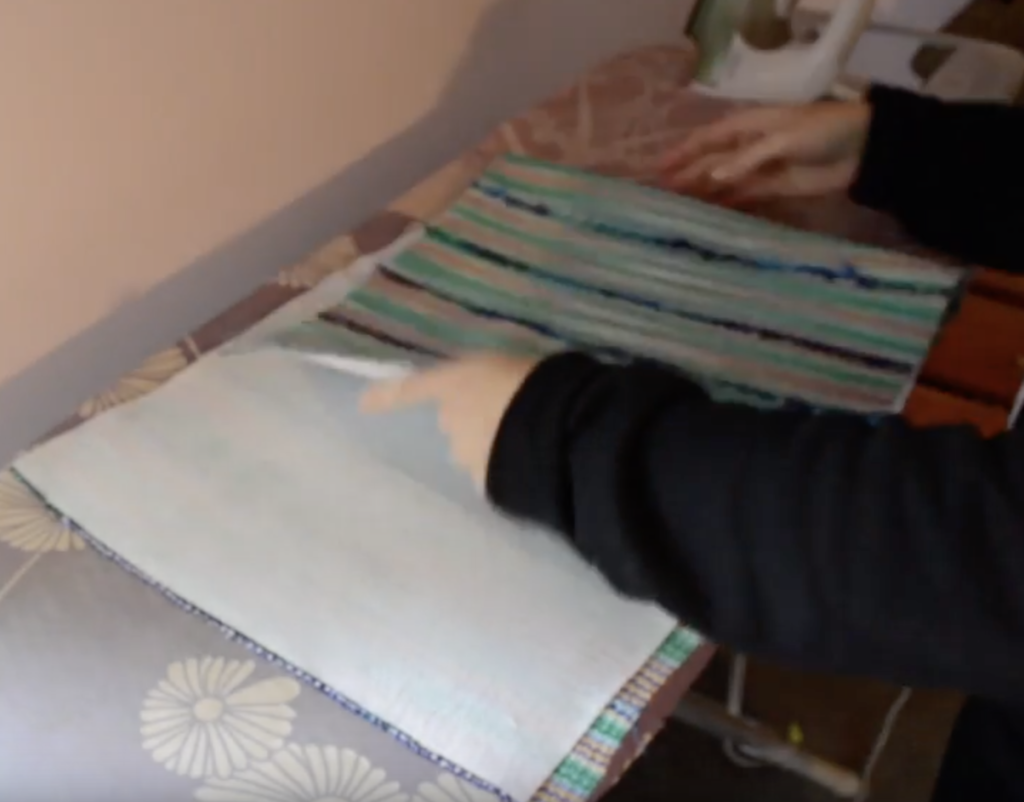
Cut right through the fabric, using the crease mark you just made.

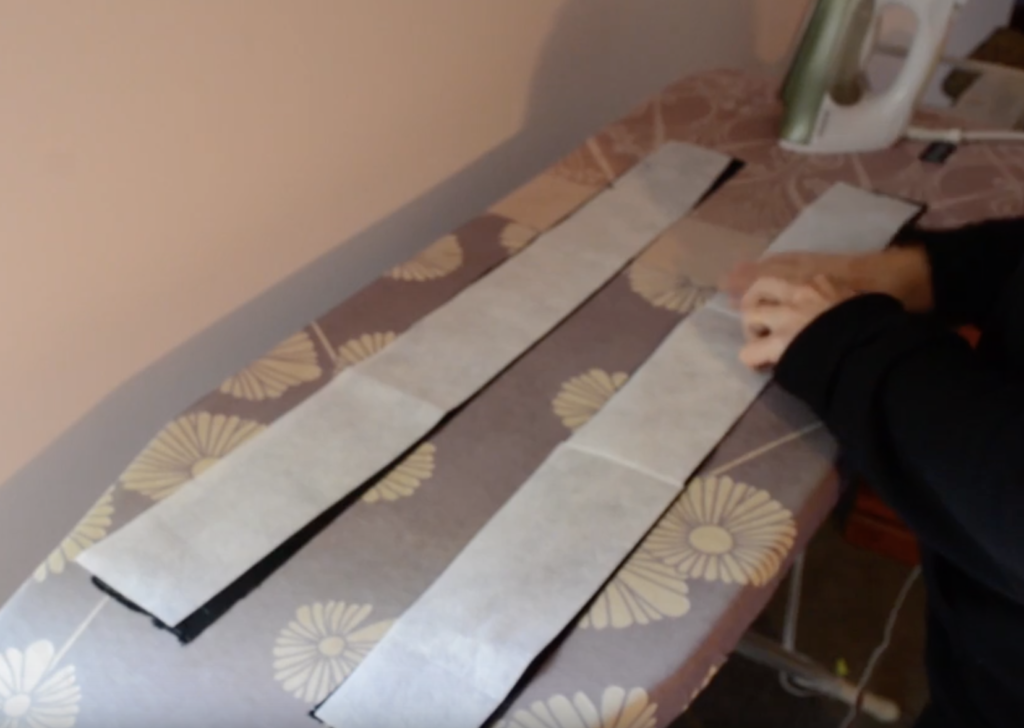
Now you have two separate pieces, or bag panels.
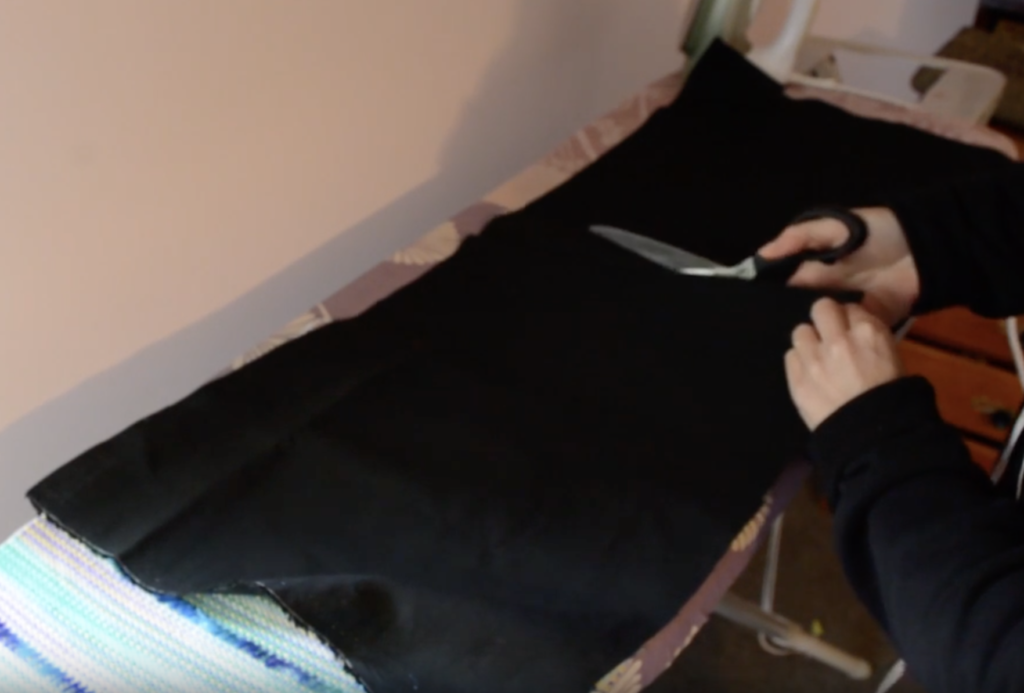
At this point you will also want to cut your lining fabric in half after ironing a crease in it as you did before. There are so many choices you could make for lining fabric but if you’re really not sure, broadcloth is a good option.
If you’re not sure where to find all the measurements, they are in the Essential Info PDF in this post.
The next task is to fuse your interfacing to the bag handles, using the same method that was used for the main bag panels.
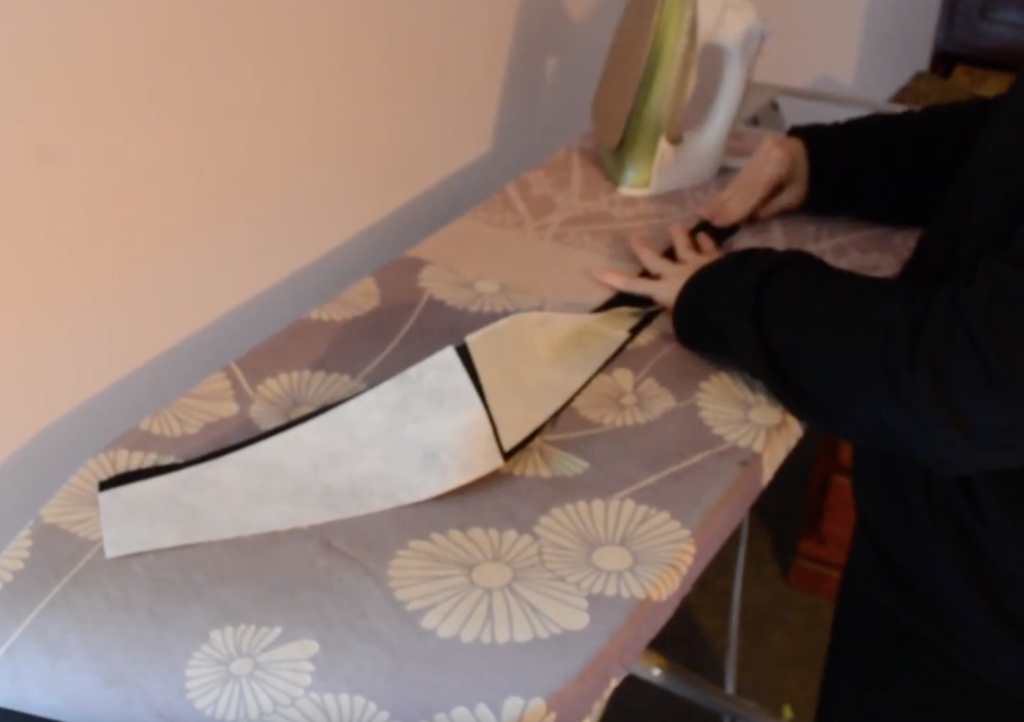
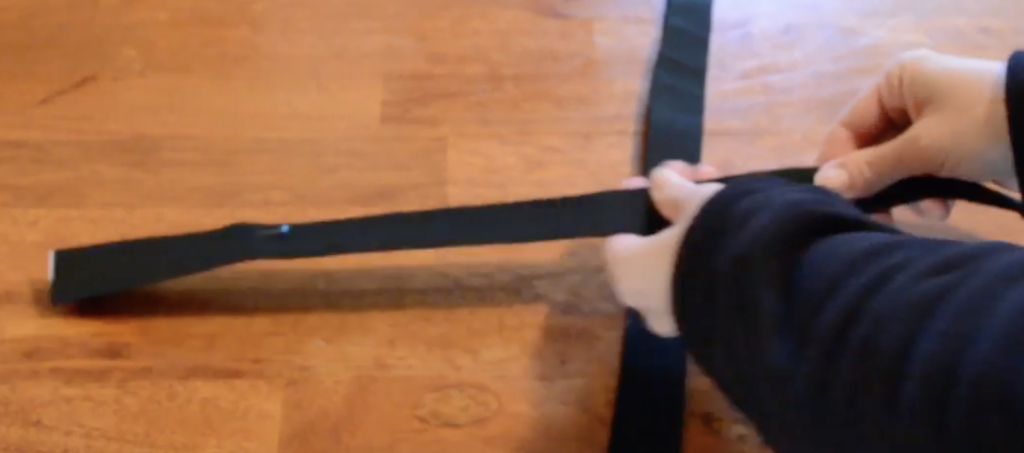
Fold the bag straps in half lengthwise and press. Open out and then fold in each long raw edge by about 1/4 inch and press. Fold the whole piece to the middle and press again. The raw edges will now be encased.
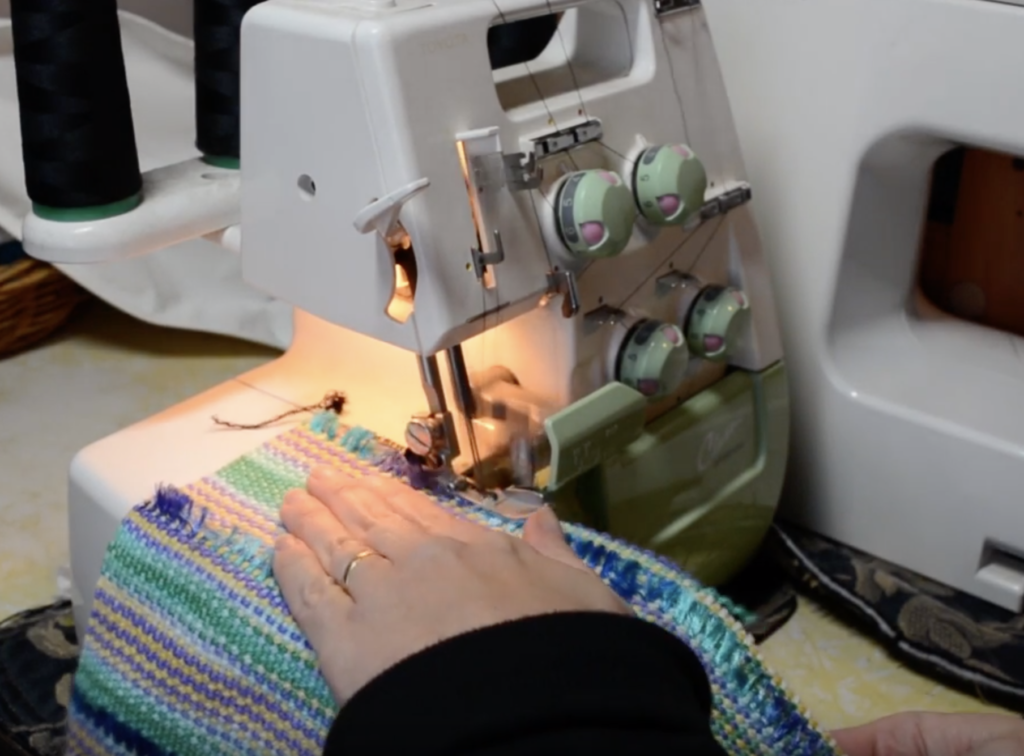
At the overlocker (serger) I run over all the raw edges. You can use a zig zag stitch on a sewing machine if you don’t have a serger.
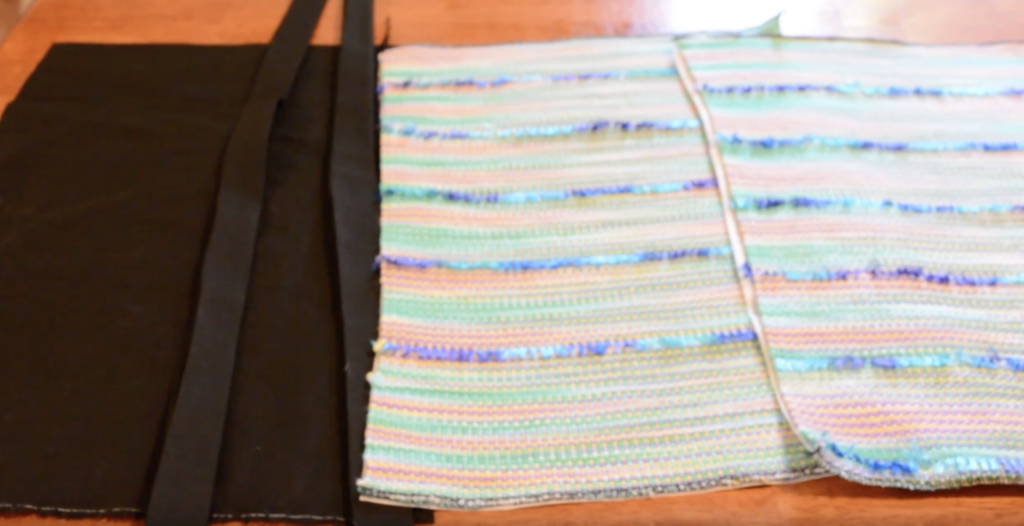
This is what we have now. 2 X serged bag panels, 2 X lining panels and 2 X prepared bag handles.
Place a bag panel on top of the other, with RIGHT sides facing. Pin around all the edges except at the top, where you need to keep and opening. Do the same with the two lining panels, keeping the top open and leaving about a 6 inch gap at the middle of the bottom for turning later.
You can also pin the bag handle pieces together just so that they are held in place when you begin to sew them together.
Now all of our pieces are pinned and prepared for sewing. Stay tuned for the next post where we will sew the bag together!
You can watch the videos for this post:
And if you feel you need to learn more about cutting your hand woven fabric, I have a post for that here as well as videos:
Until next time…
Happy Weaving!
Definitely the yarn, love the color.