
Now you can really get excited about your tote bag project – it’s time to get weaving! If you missed the last post on threading, you can go here to read it.
Just one more teensy thing before you start to weave – the header. The header helps to spread the warp so that you don’t have big gaps at the very start of your weaving. As with most things in weaving, there is more than one way to put in a header.
*This post contains affiliate links.
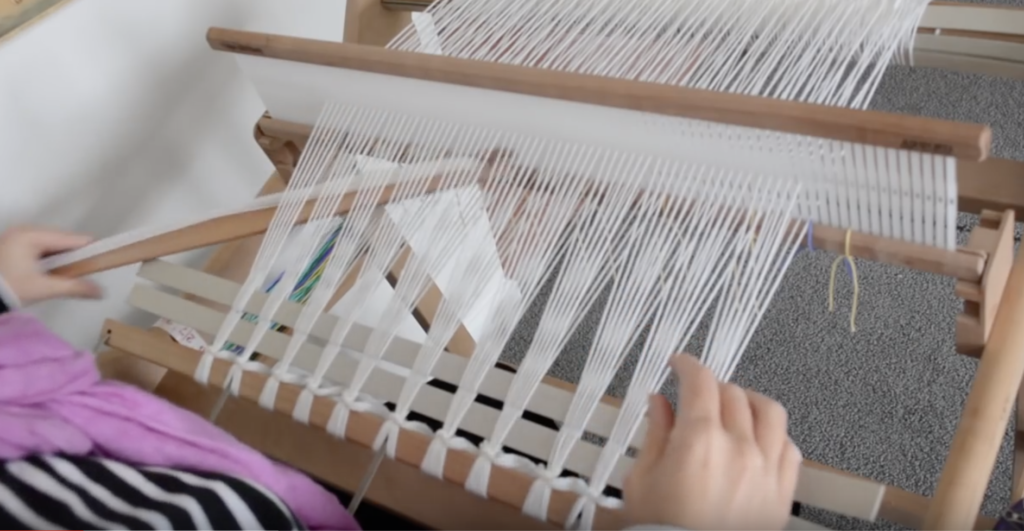
My preference is (I think) the easiest. I use 2 cardboard separators (or warping sticks as they are also called). With the heddle/reed in the up shed I insert one stick, then change to the down shed to insert the second stick. Then beat to push them into place. You may want to weave an additional header with spare yarn if you feel your warp is too gappy (I demonstrate this in the video at 1:10) Pop the heddle into the up position again and you’re ready to weave!
Don’t forget to wind your stick shuttle.
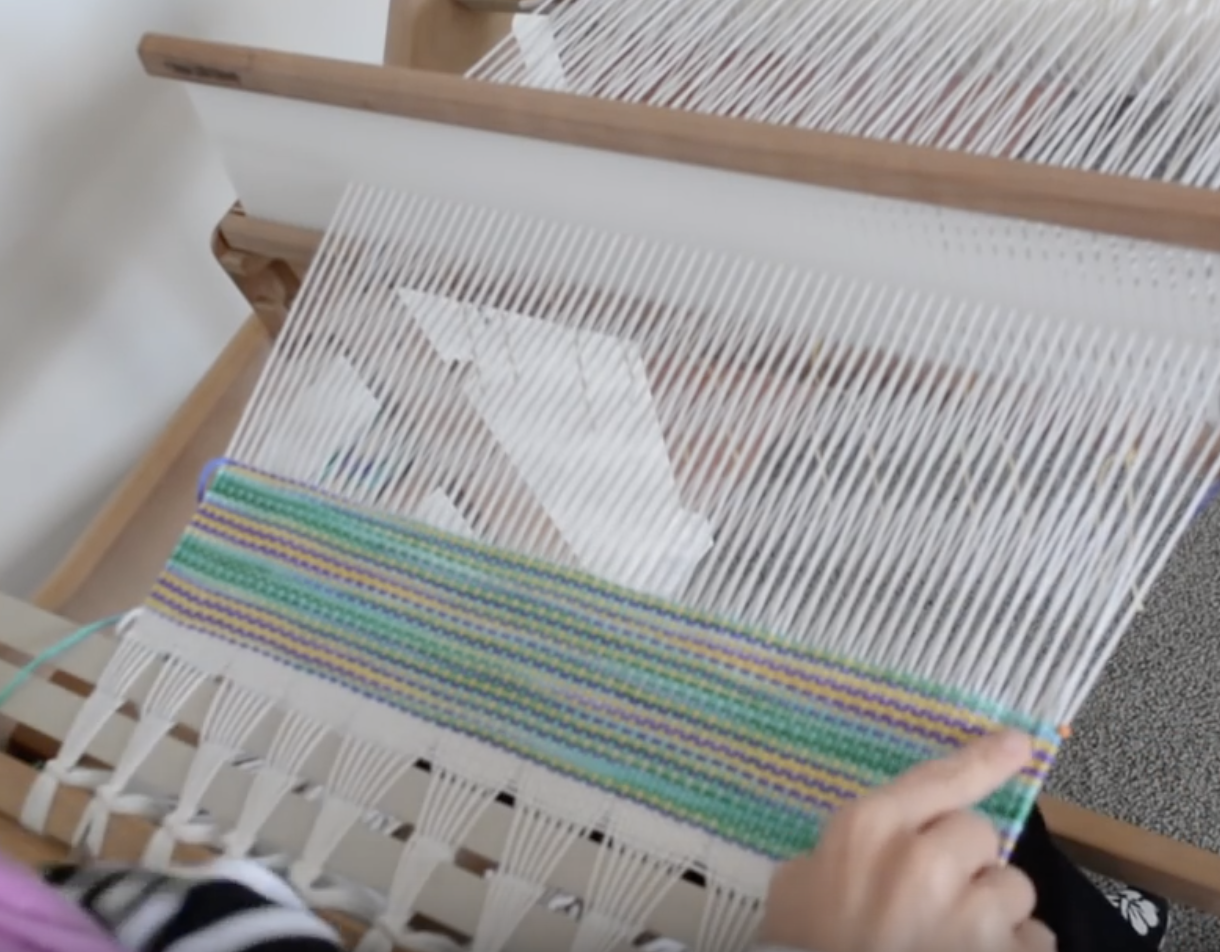
It doesn’t matter which side you enter into the shed with the shuttle, but it is useful to develop a habit when working plain weave to always enter from the same side to avoid any confusion as to which shed you should be in and to easily develop a weaving rhythm.
I give yarn recommendations in this post, but a variegated yarn is particularly effective and makes the plain weave look more fancy than it is. I dyed my own yarn for this project. You can also get a bit fancy by using a novelty yarn as a feature. I used an eyelash yarn as an occasional stripe to accent this bag.
If you are a newer weaver, you may be worried about obtaining neat edges. This is very much a matter of practice makes perfect, but this video shows you my pinching technique that has helped many newbies improve their edges.
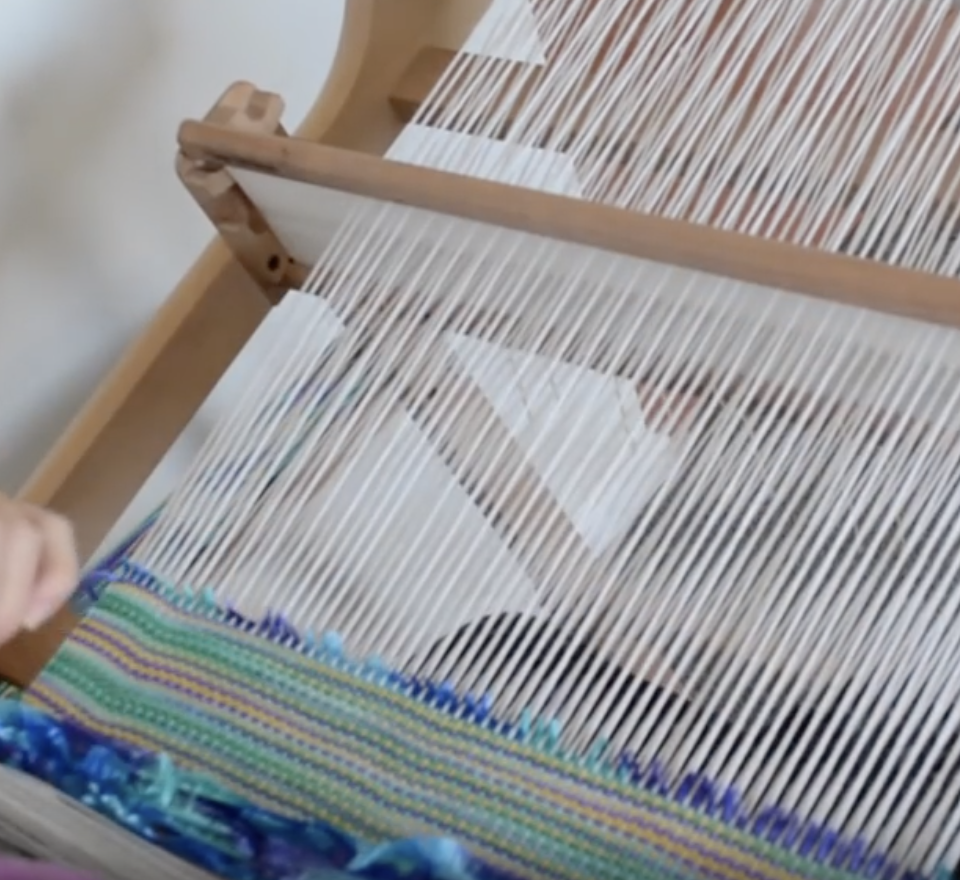
You also want to try to keep your beat consistent and even. One way to see if you’re beating evenly is to stand up and look at your weaving from time to time. You will see quite clearly whether you are beating straight or at an angle.
Don’t forget to measure your weaving as you go. I do this in a simple manner by using a tape measure and marking my last measured place with a plastic or glass head coloured pin. I always write down the measurements as I go so that I don’t have to try to remember!

You will be advancing your warp every so often, and this video will show you how to do that.
Remember to refer back to your essential information project sheet, available as a free download for all the measurements you need to follow.
In the next lesson we will be talking more about continuing to weave and advancing the warp. Be sure to leave me a comment if you need to ask questions or are unsure of anything.
Until next time…
Happy Weaving!
[…] Tote Bag Weave Along, Lesson 4 […]