What on earth is a quechquemitl anyway?!
Well, it’s a traditional Mexican upper body garment for women and it’s the inspiration behind my new class.
From what I understand, it is pronounced something like “kech- ka – mil” (please do correct me if I’m mistaken!)
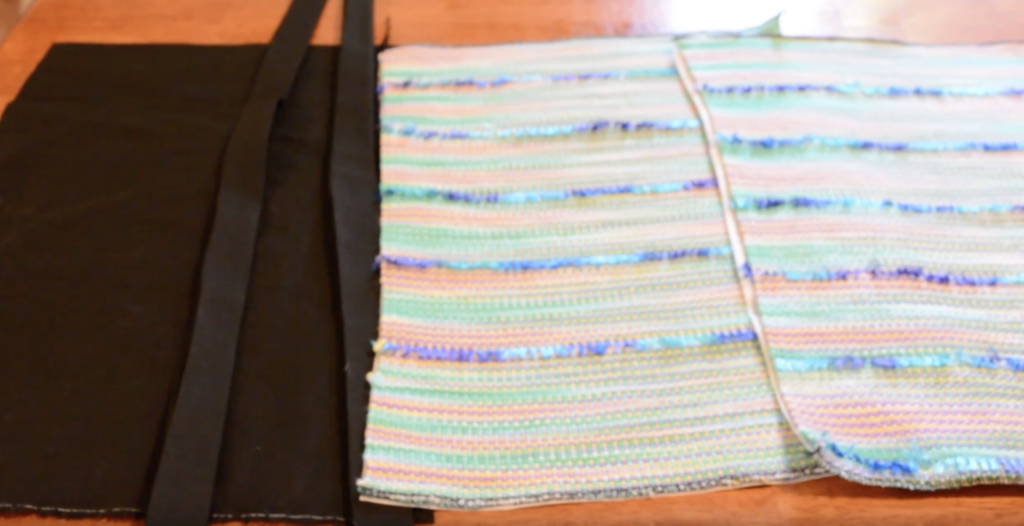
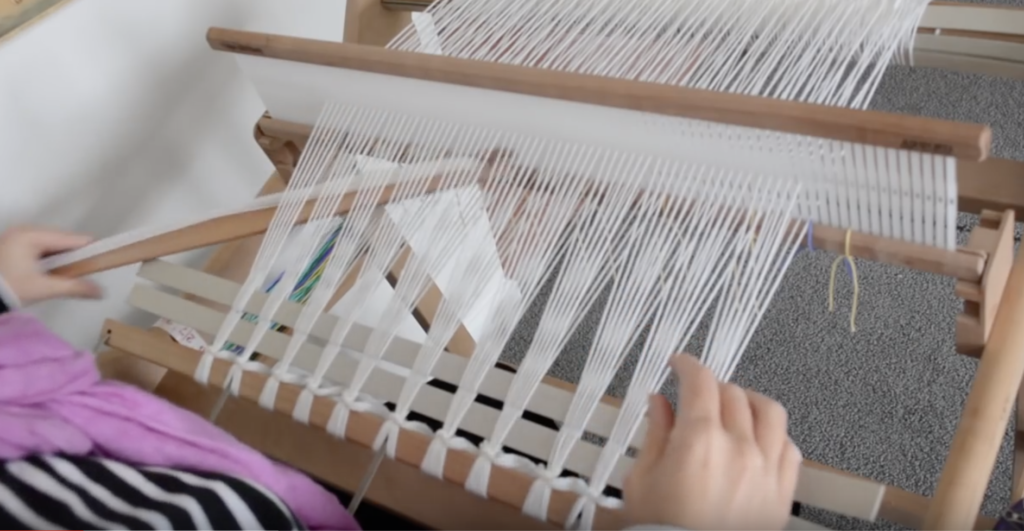
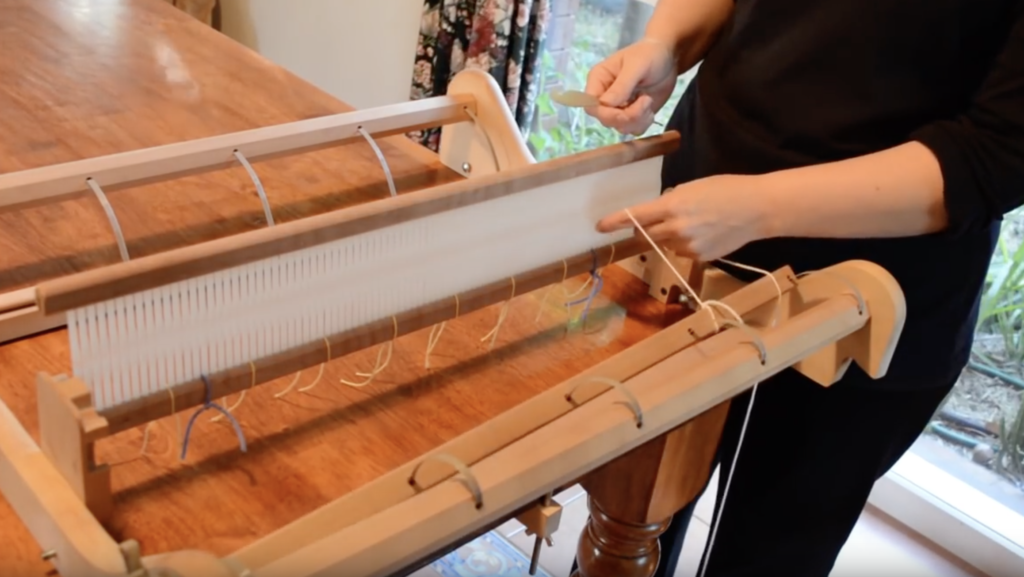
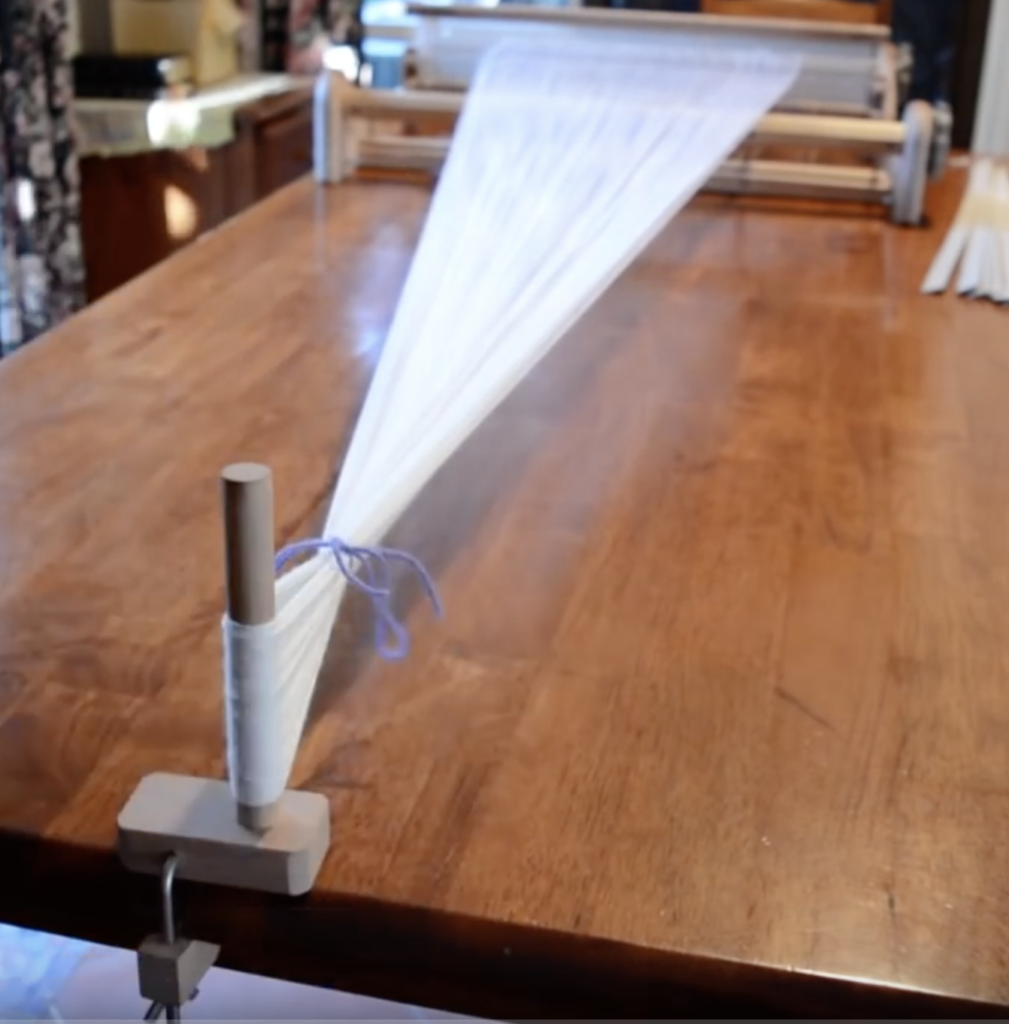
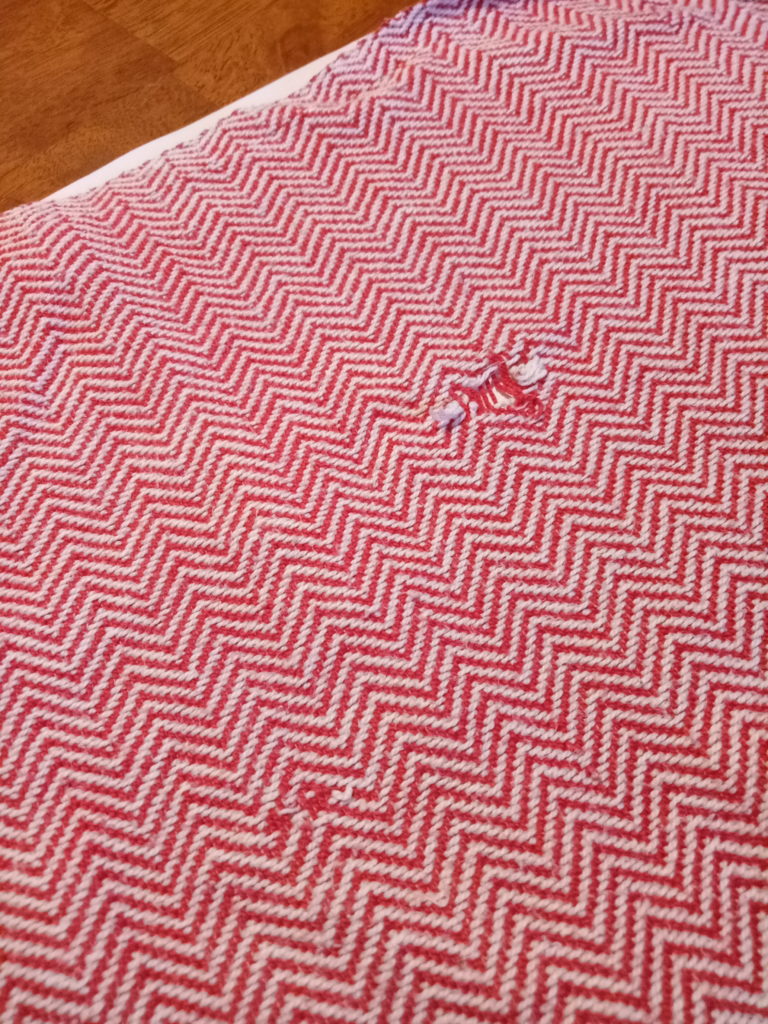
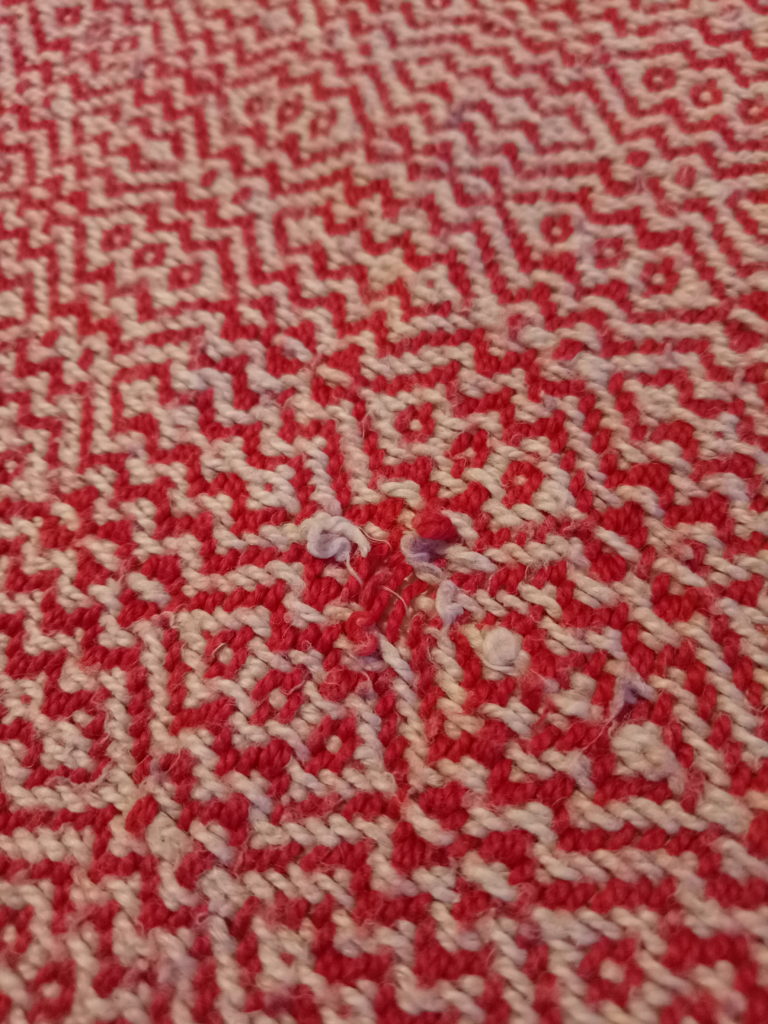
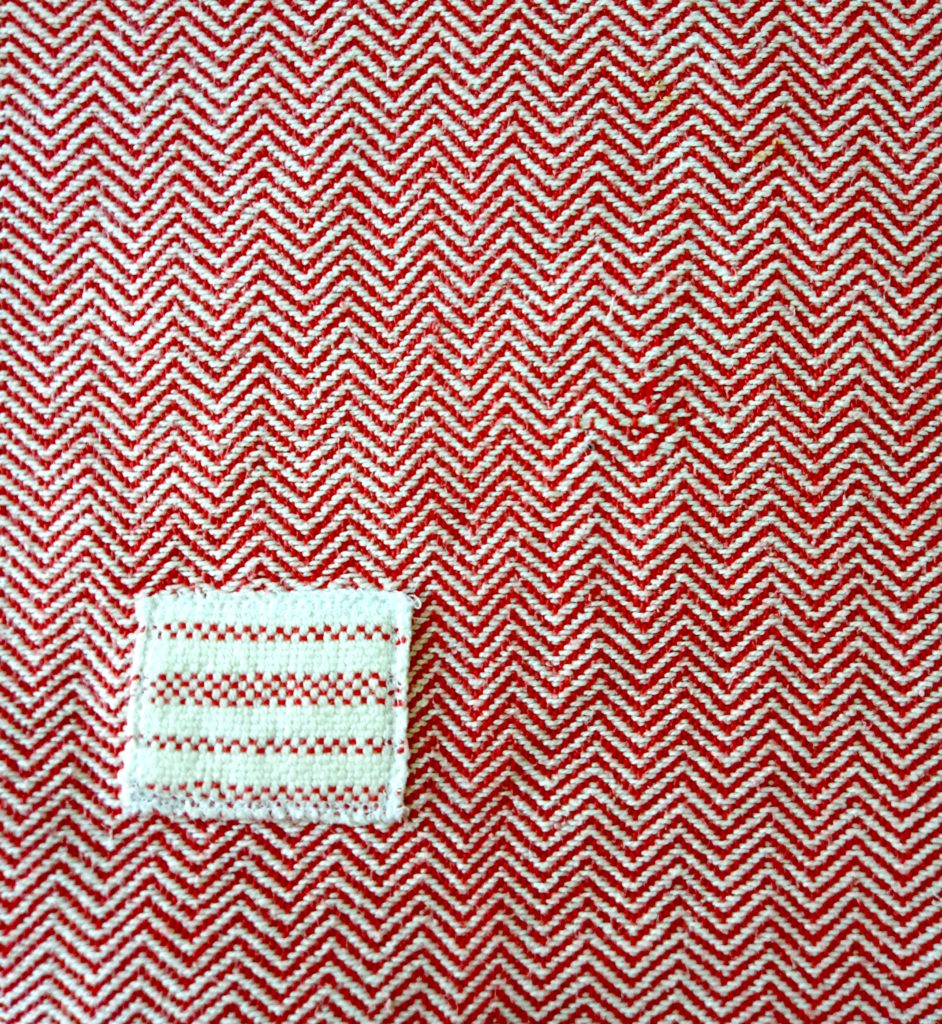
I started researching the quechquemitl because I wanted to find a flattering and easy garment to make with my clasped warp fabric. The clasped warp technique gives a striking appearance to the fabric, and I wanted to utilise that and put it on show.
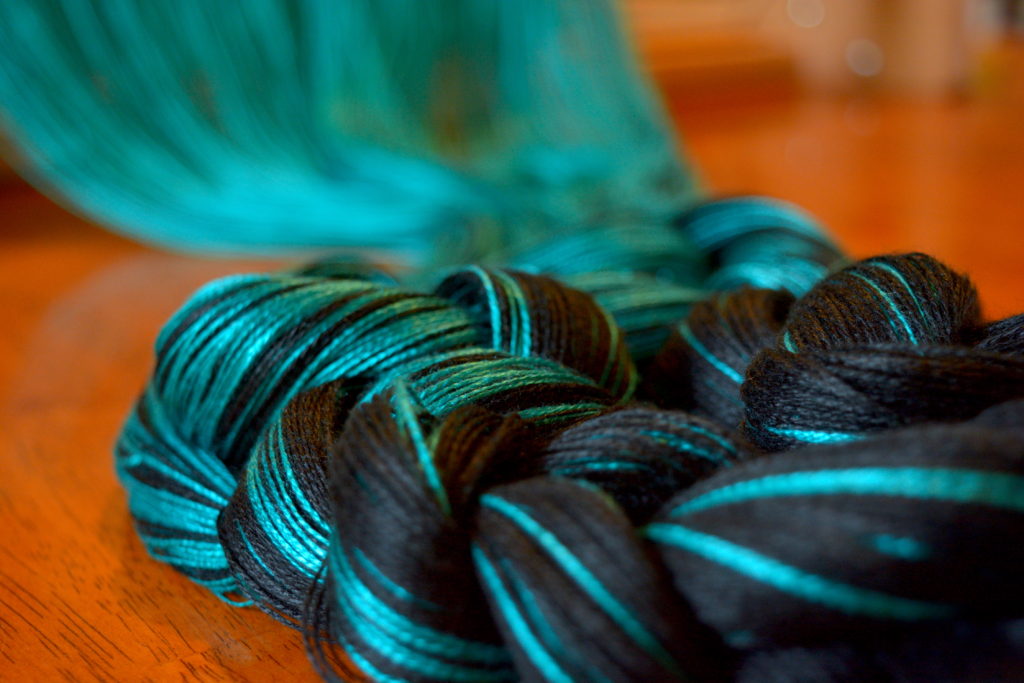
I started (as all projects should!) with some gorgeous yarn. Tencel and bamboo are both soft and light with an amazing sheen. Perfect for this project!
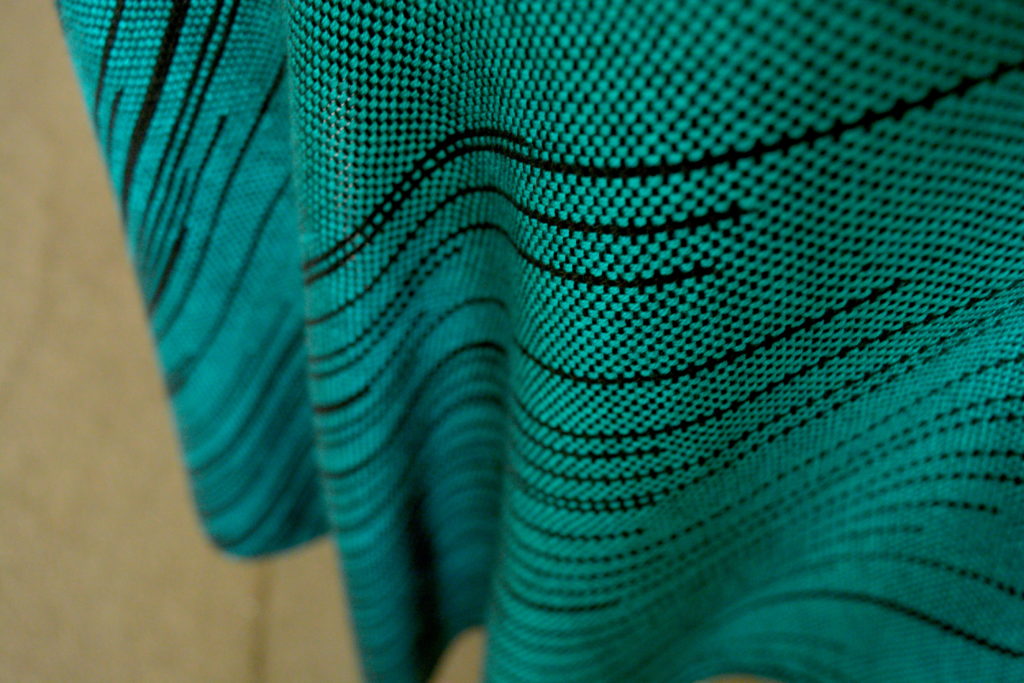
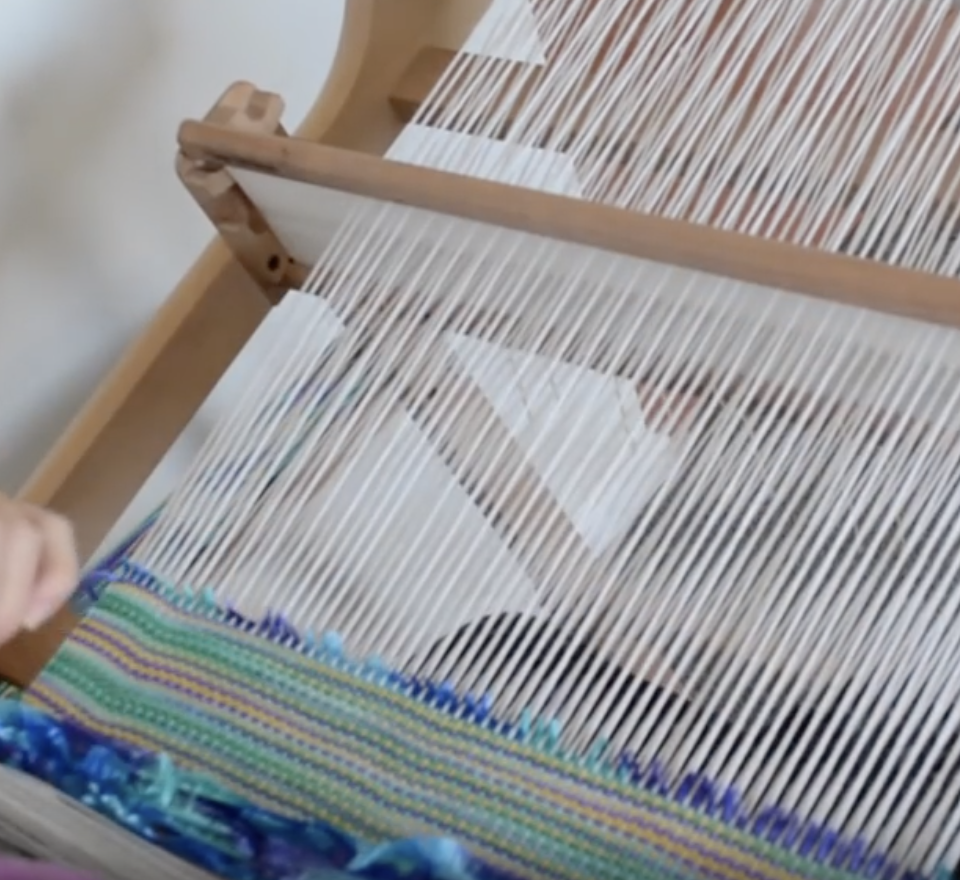
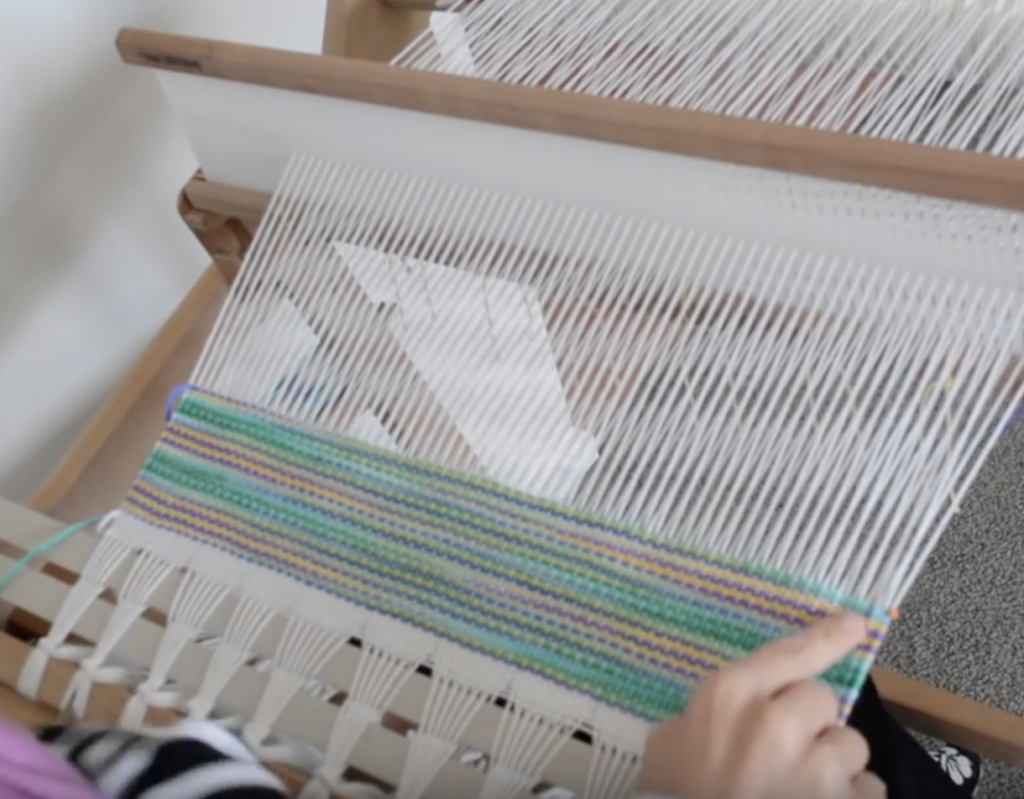
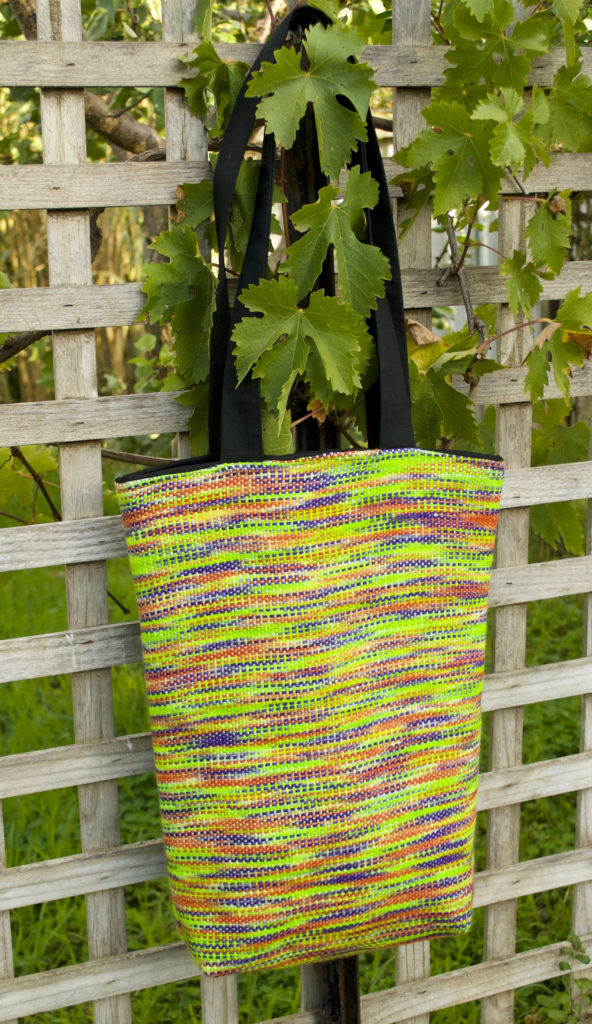
These fibres made a supple and drapey fabric, and the simple yet contrasting colours make the piece really special.
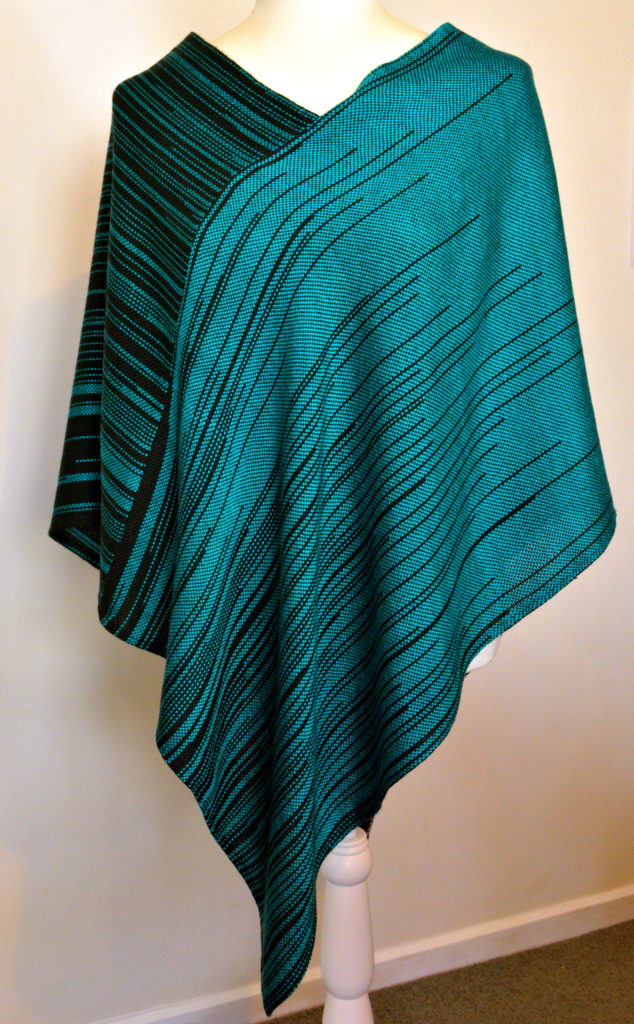
There are two ways to wear this wrap – in a poncho fashion as pictured above or you can swivel it around so that horizontal lines run across the body. Either way is totally beautiful!
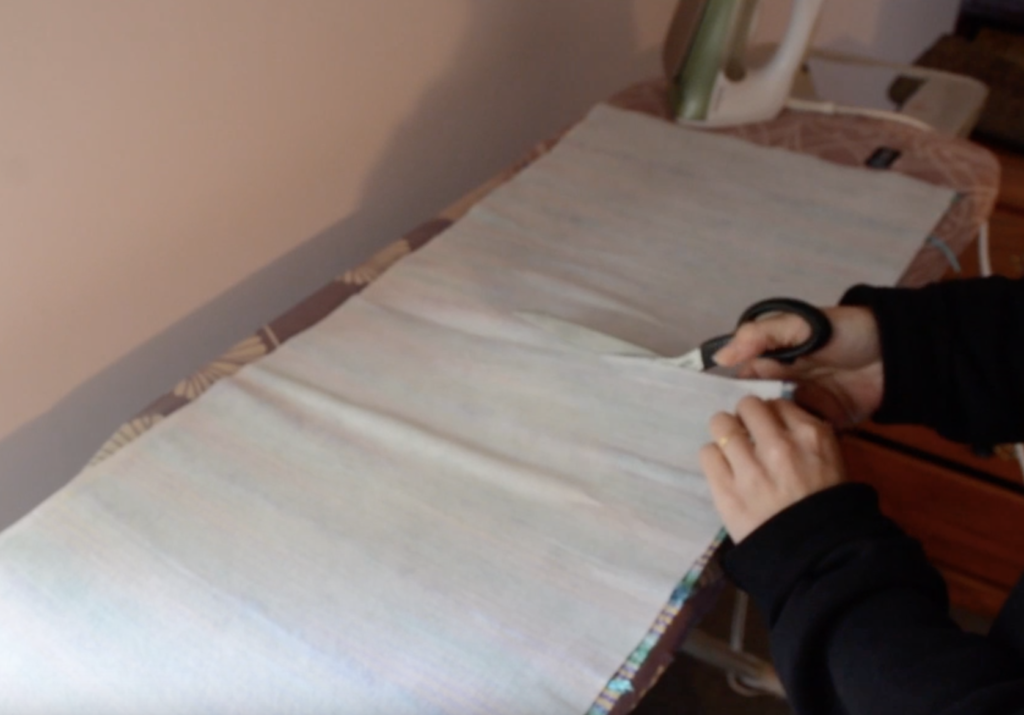
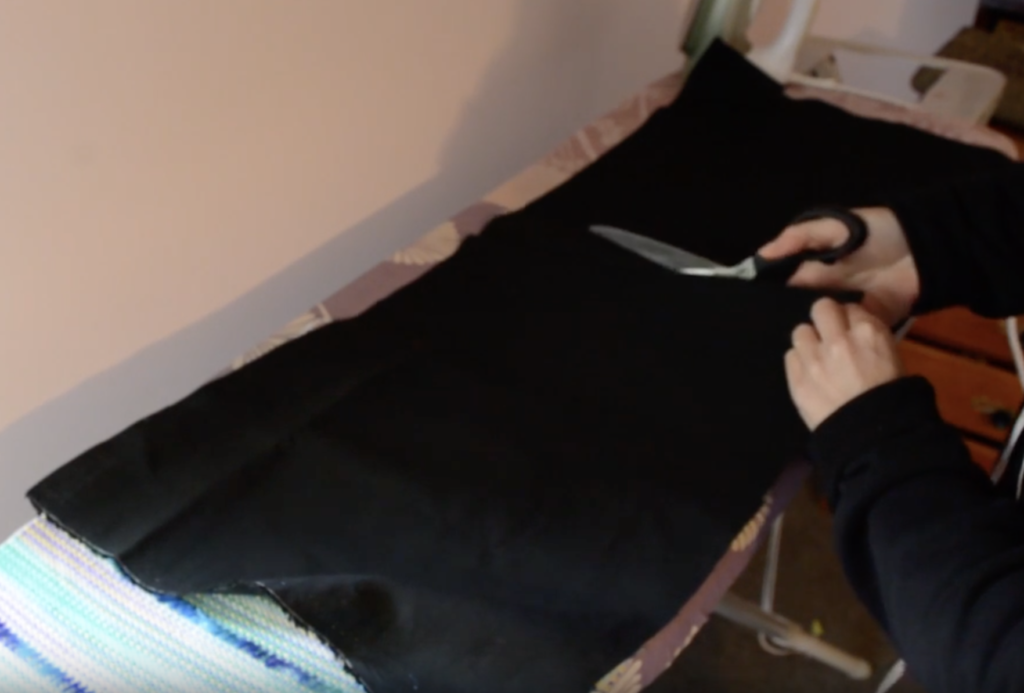
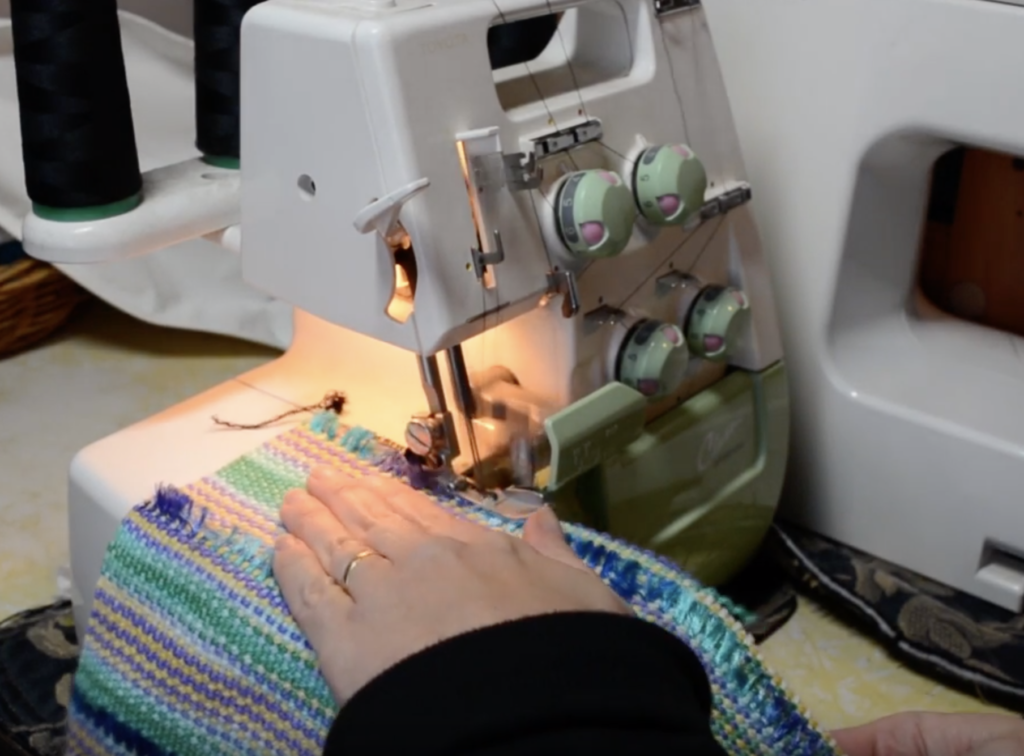
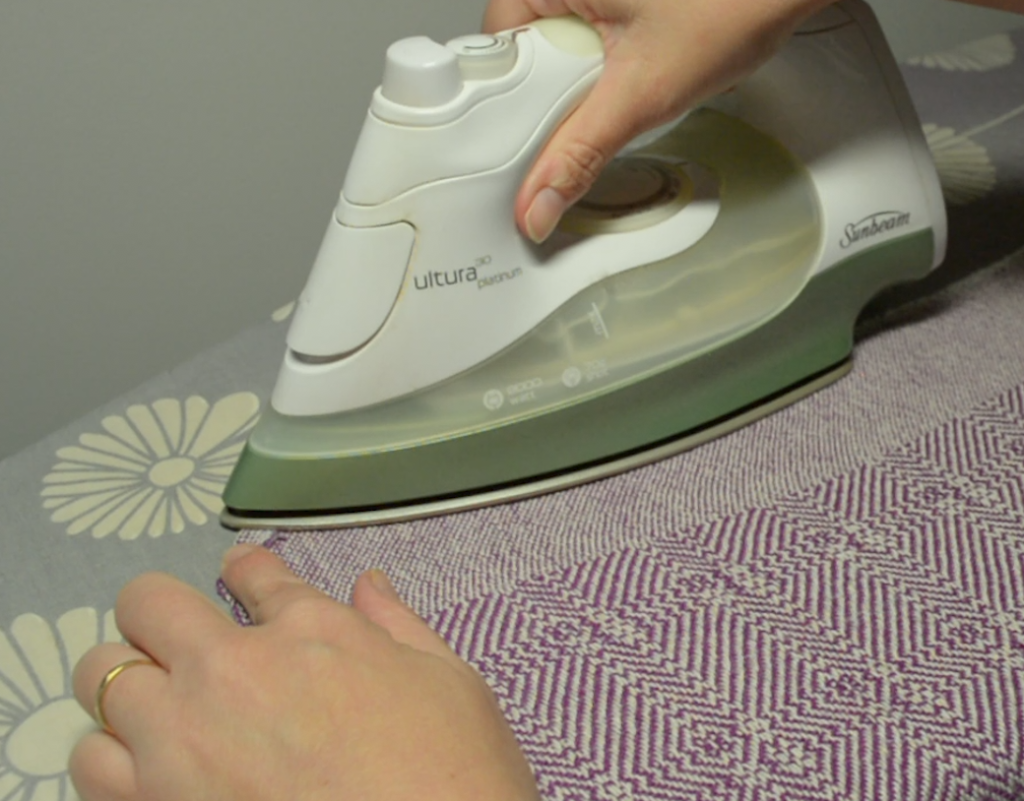
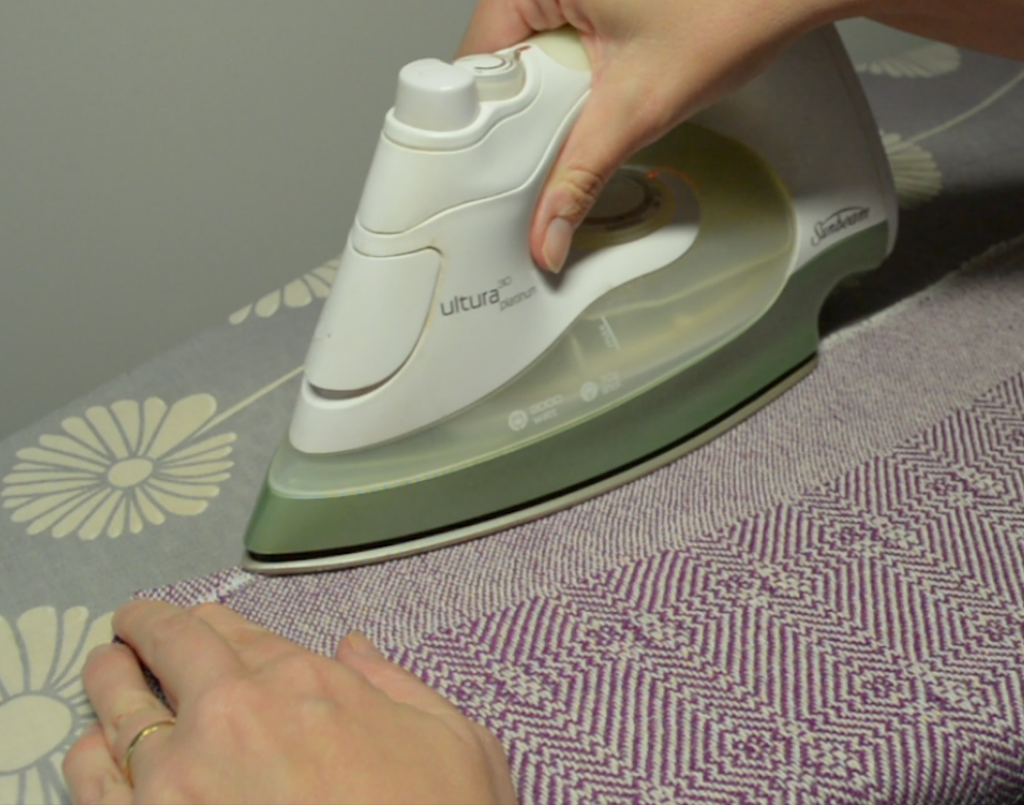
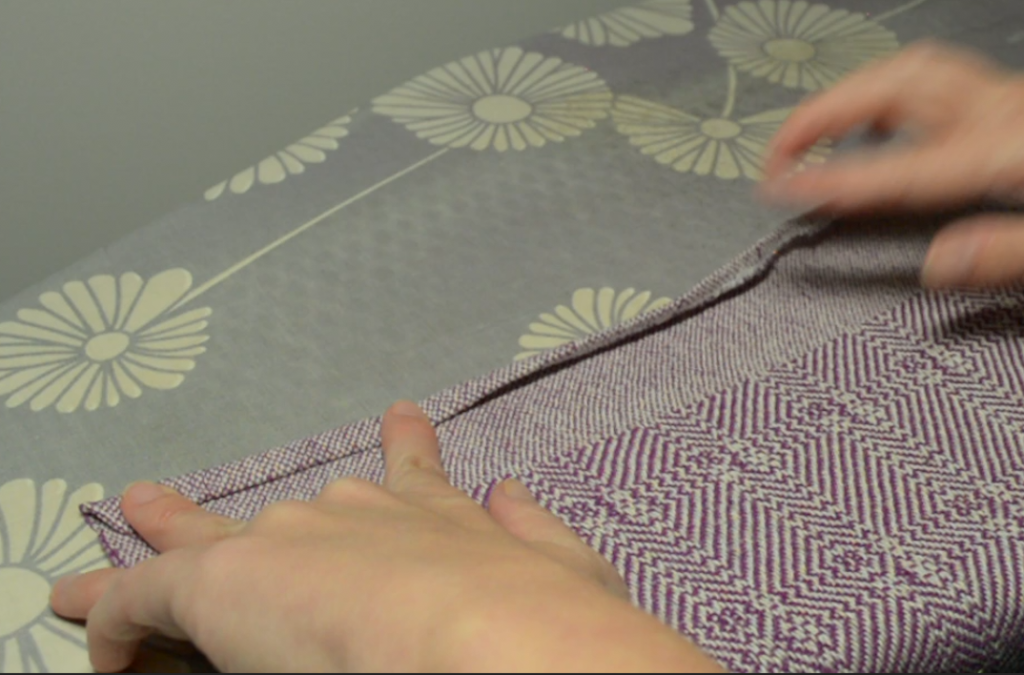
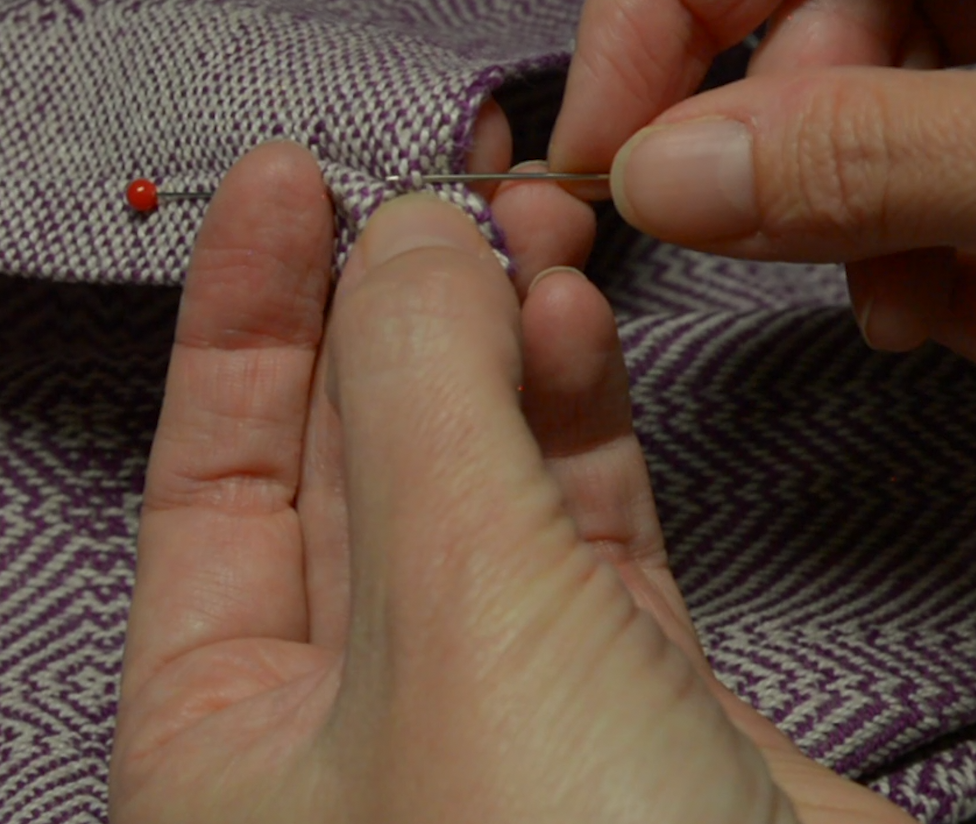
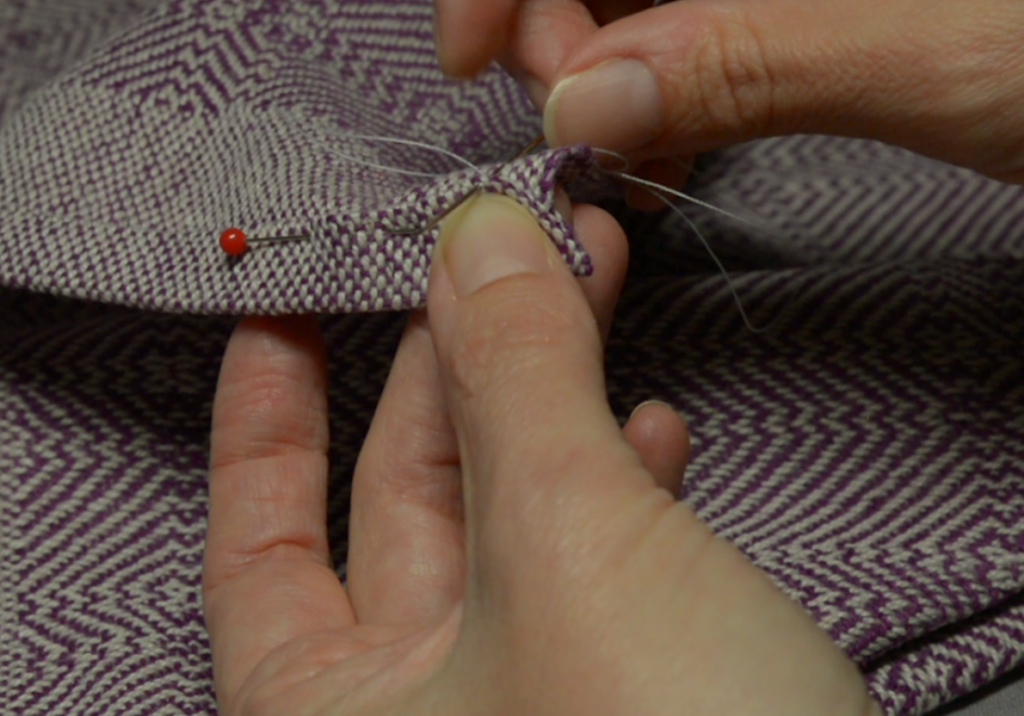
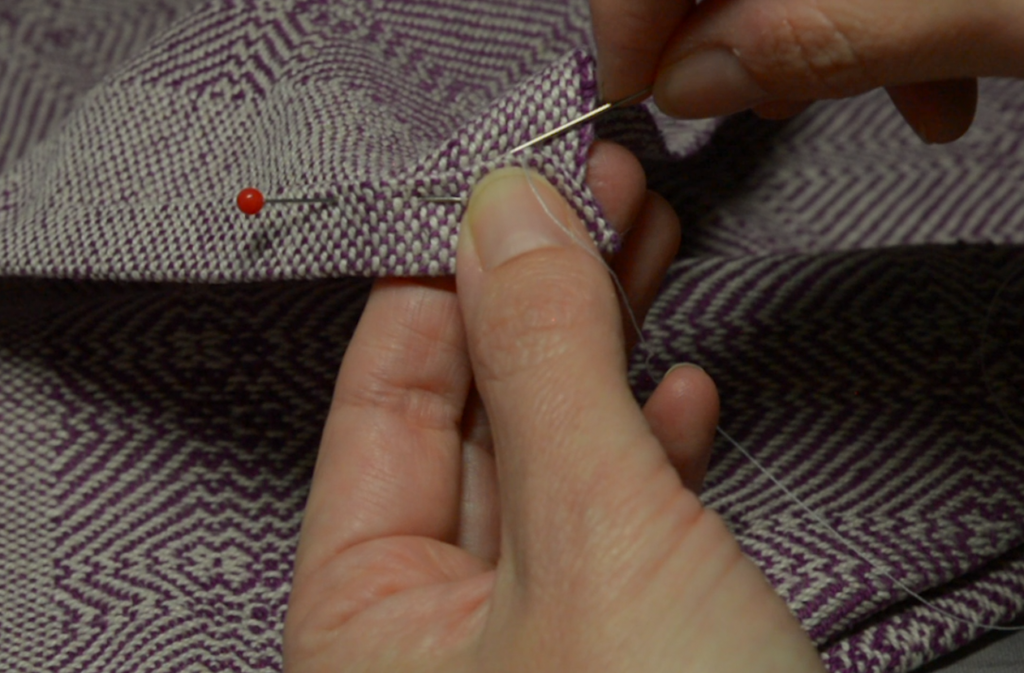
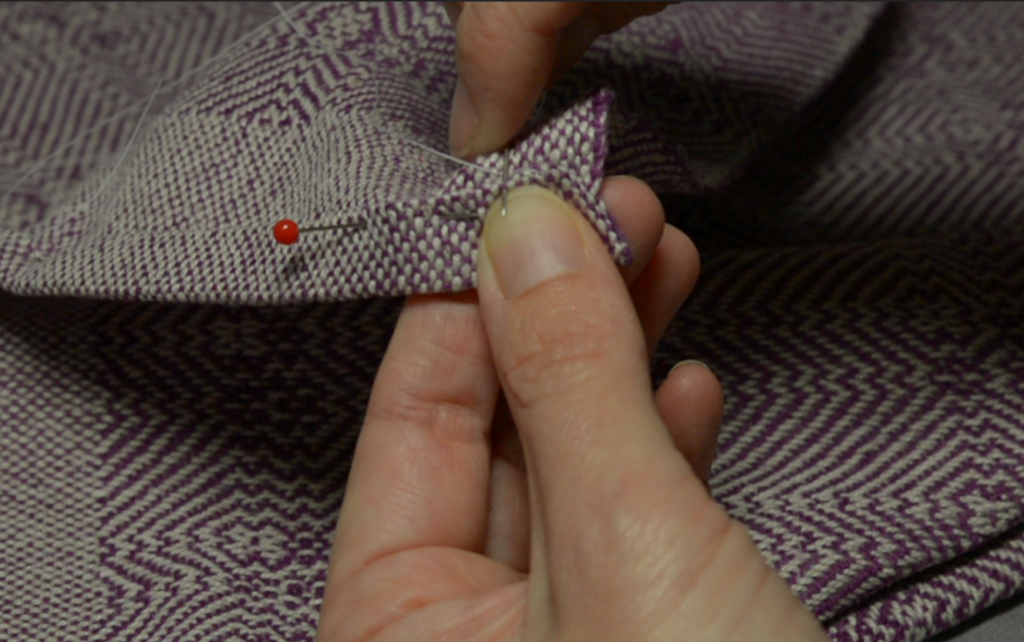
This is a low sew project, so great for those who are dipping their toes in the world of sewing.
This class is available now at my Online Weaving School. You can make a single purchase, or, if you’re already a member you can simply login and enjoy.
Happy Weaving!