Today we’re diving into one of my absolute favourite things to weave: kitchen towels.
This post actually started because of a message I received from a student. She was told by another weaver that you can’t use a rigid heddle loom for kitchen towels because you simply “can’t beat the weft hard enough” to make them durable.
Whenever I hear someone say, “You can’t do that on a rigid heddle loom,“ my ears prick up. I love pushing the limits of these looms! So, let’s look at the evidence, address the “partial truths,” and get you inspired to start your next towel project.
Is it true? The “Hard Beat” Debate
Let’s be honest: Can you beat as hard with a rigid heddle as you can with a heavy floor loom? No. Floor looms often have heavy, swinging beaters and metal reeds that provide more physical force.
The spacing is also different. A rigid heddle is, well, rigid! The beat does not feel the same. However, does that mean you can’t weave a functional towel without that force? Absolutely not.
The “you can’t” statement is a blanket rule that can really discourage beginners. It might make someone think they have to spend thousands on a floor loom when that just may not be the right choice for them. In my studio, the motto is: Where there’s a will, there’s a way. Rigid heddle towels might be different from floor loom towels, but they are just as beautiful, thirsty and do-able.
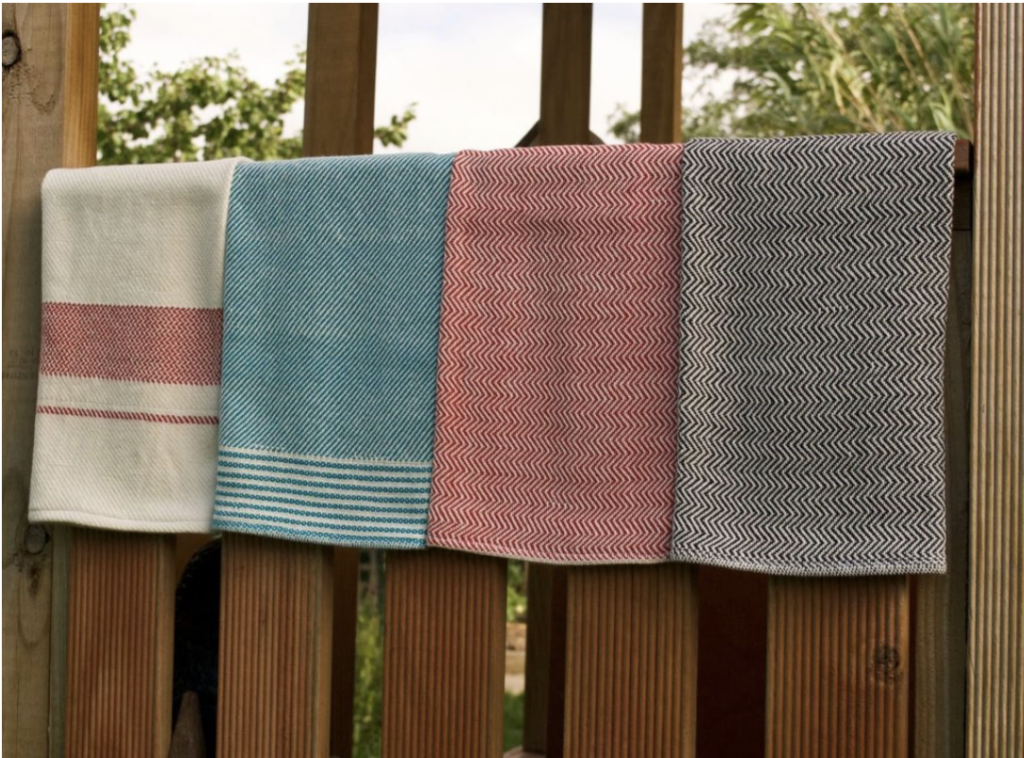
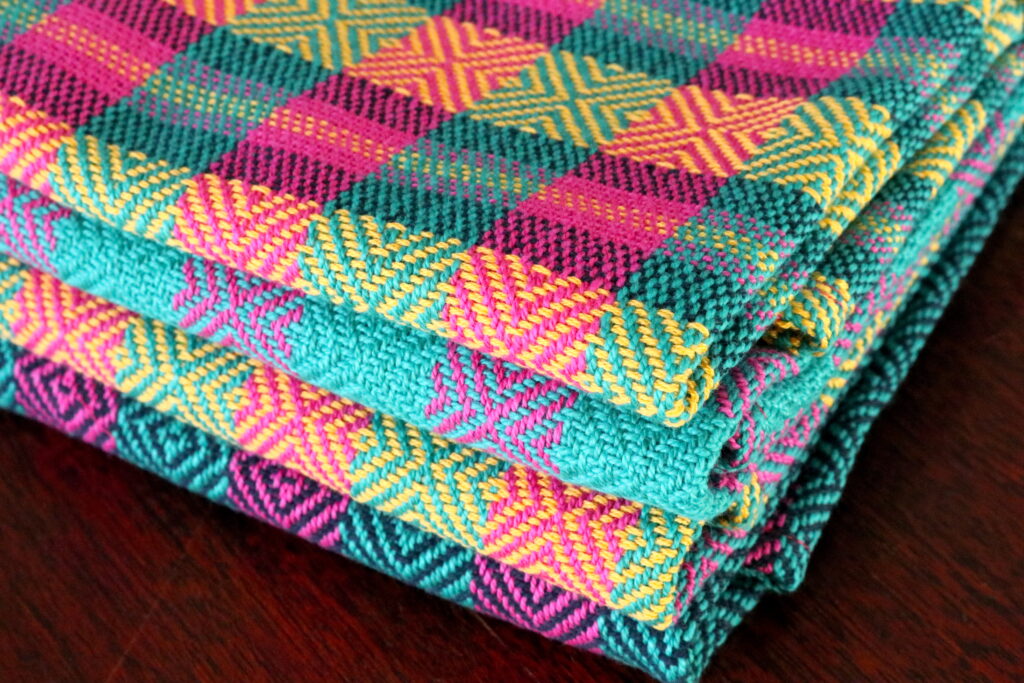
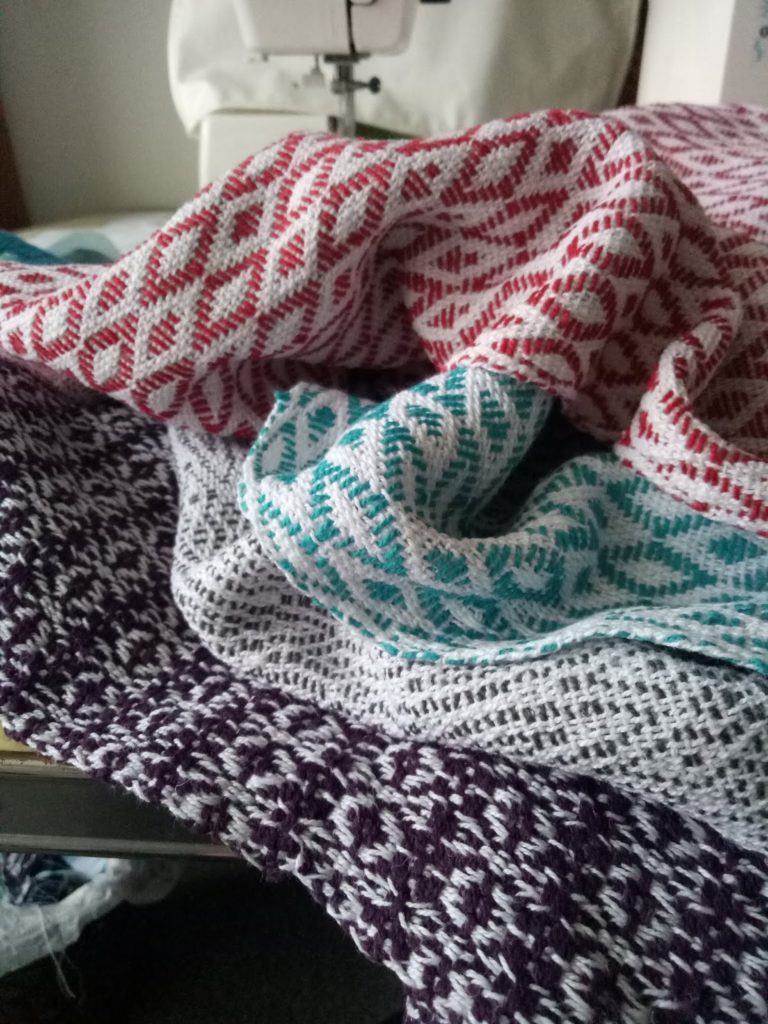
Exhibit A: The Proof is in the Towels
I brought a stack of towels out of my kitchen to show you exactly what is possible. Some are well-loved and “worse for wear,” while others are pristine samples from my classes.

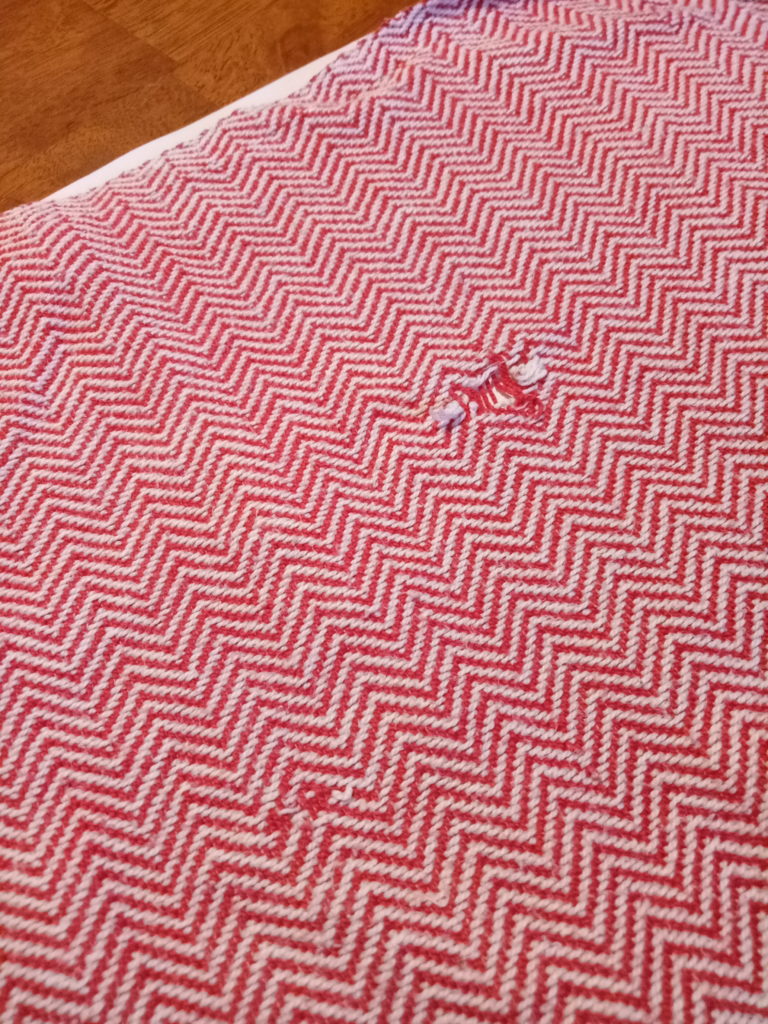
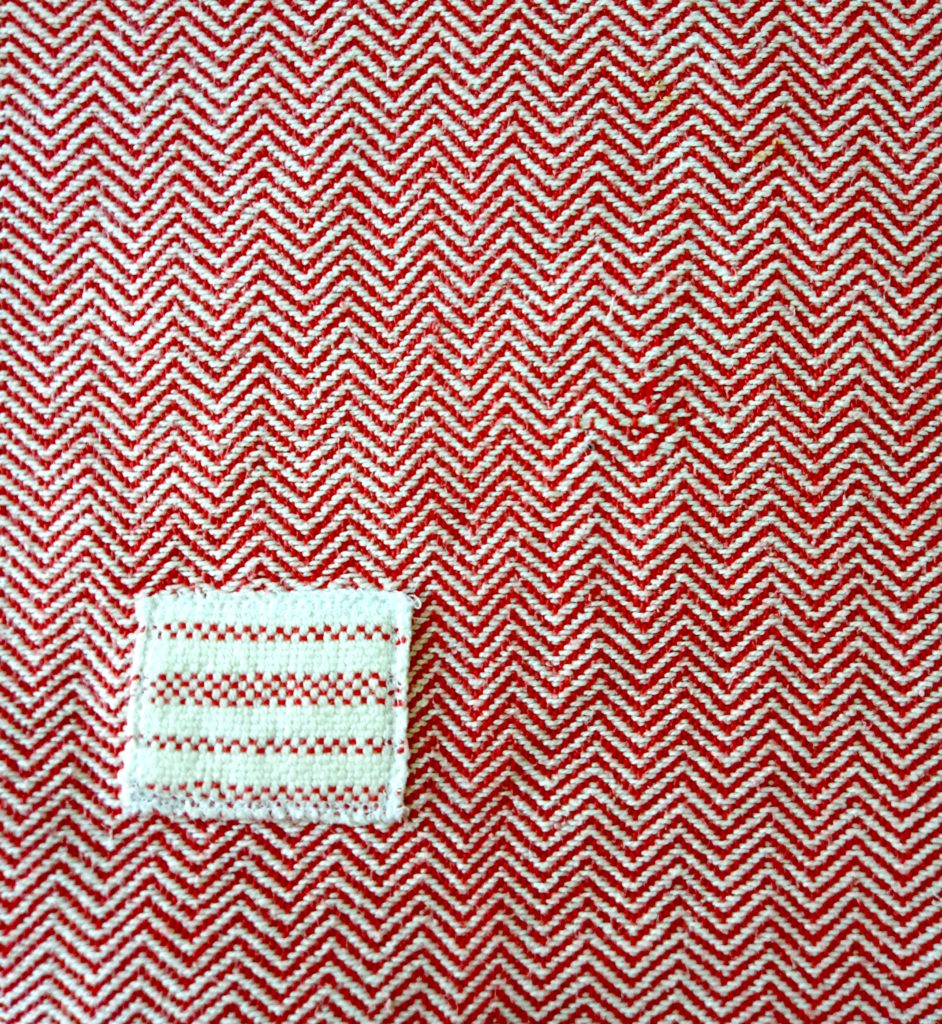
1. The Log Cabin Towel (8/2 Cotton)
This is a classic color-and-weave technique. Looking at the closeup, does it look “gappy” or loose? Not at all! It’s a fantastic weight and has been a workhorse in my kitchen. I wove this on a 50cm rigid heddle loom using standard 8/2 cotton. It’s firm, stable, and looks professional.

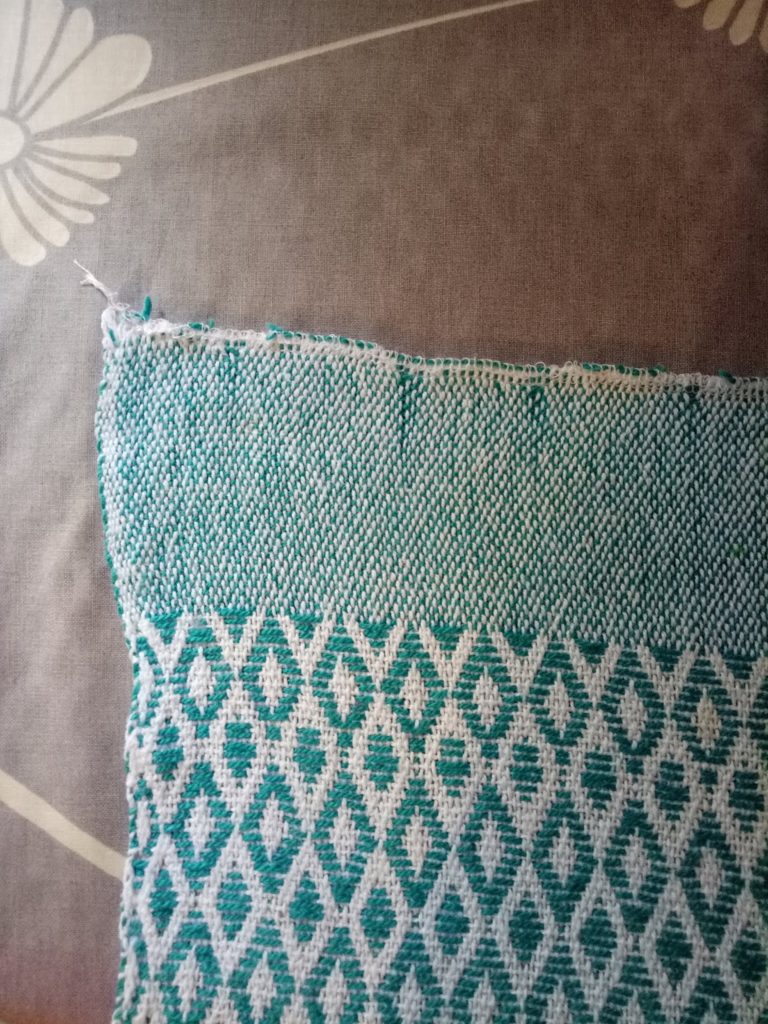
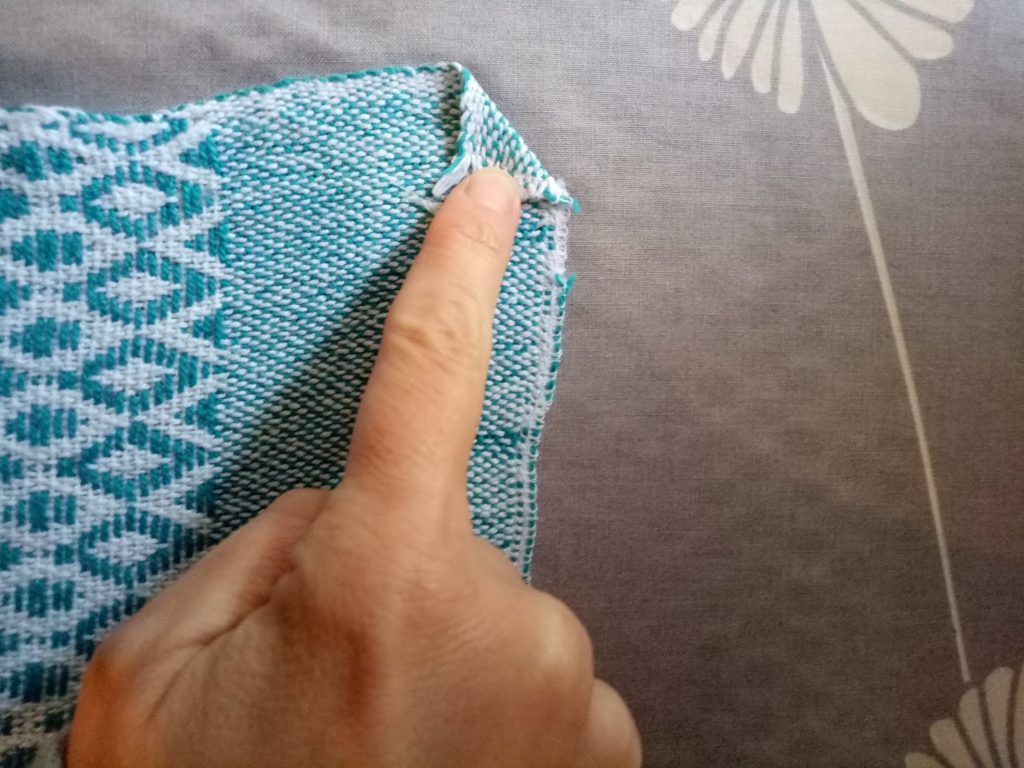
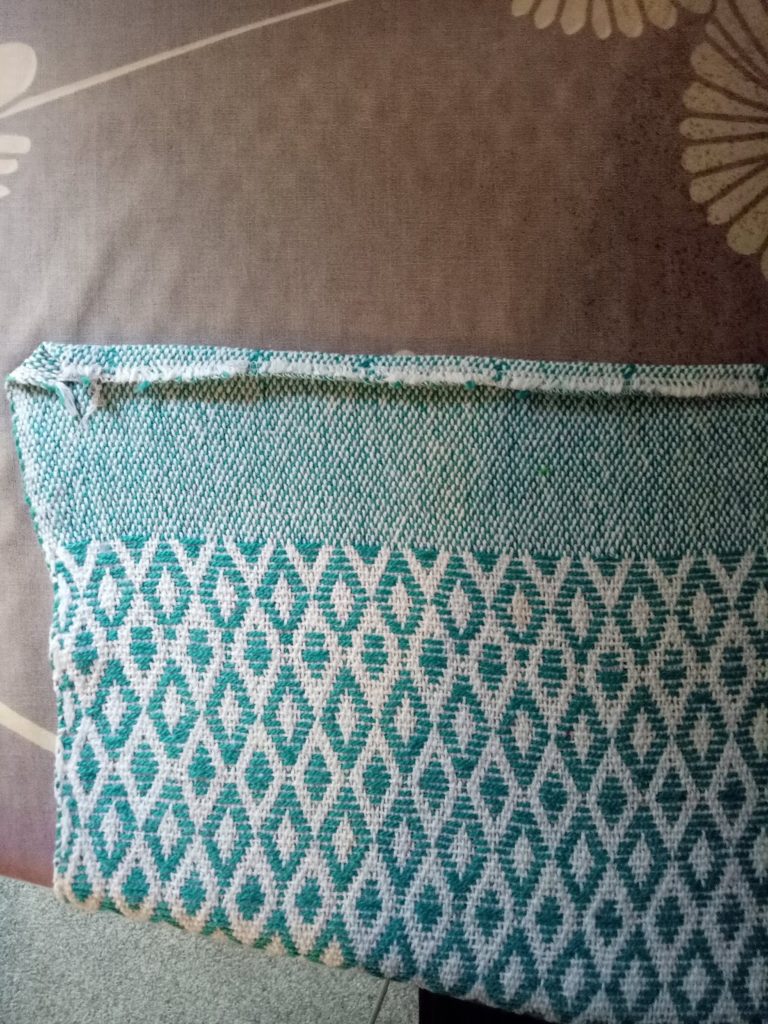
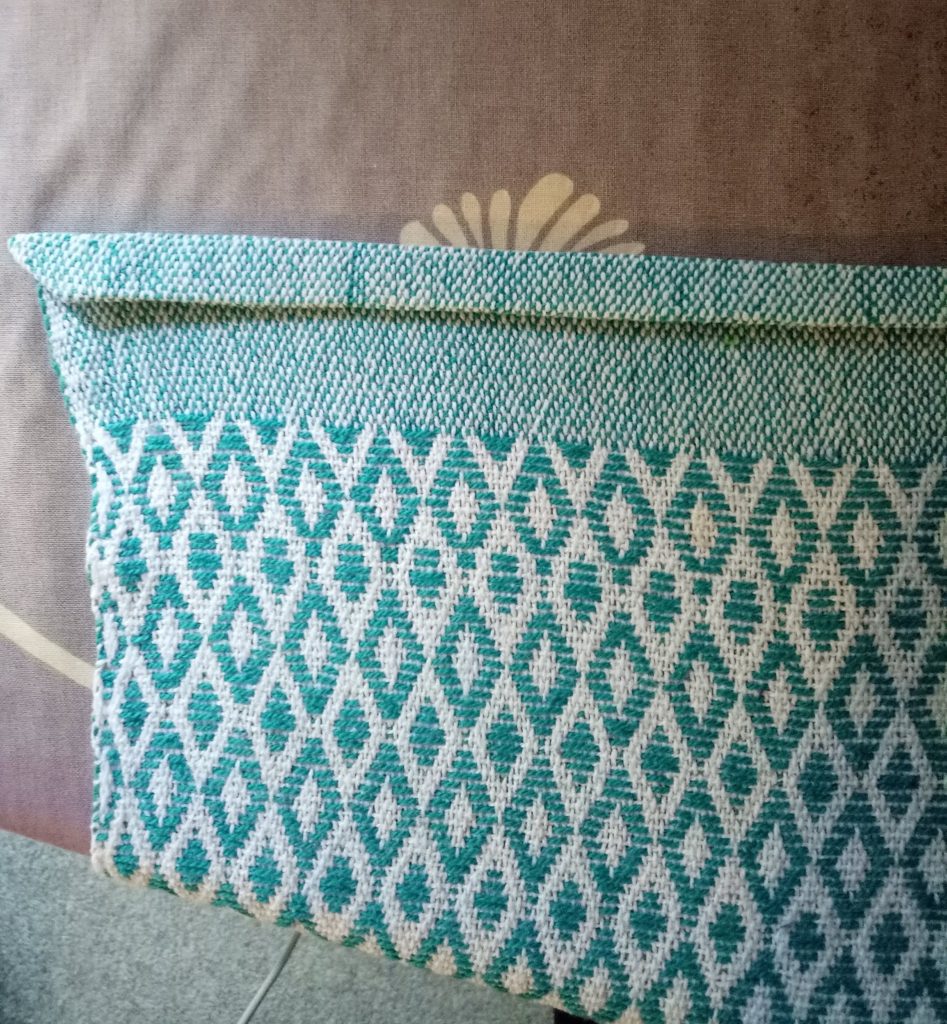
2. Texture & Absorbency: The Fibonacci Set
One of these is a simple plain weave, but the second uses a pickup stick to create a lovely waffle like texture. Using a pickup stick is a simple way to add “surface area” to your towel, which actually makes it more absorbent. Plus, it looks like you’ve done something super clever but it’s actually deceptively simple 😉
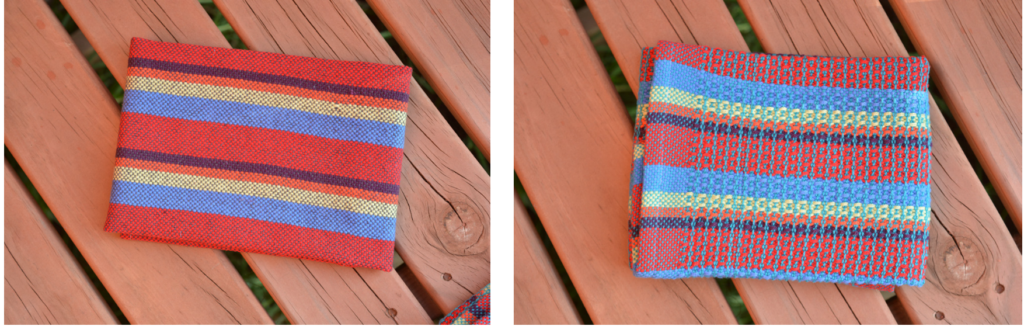
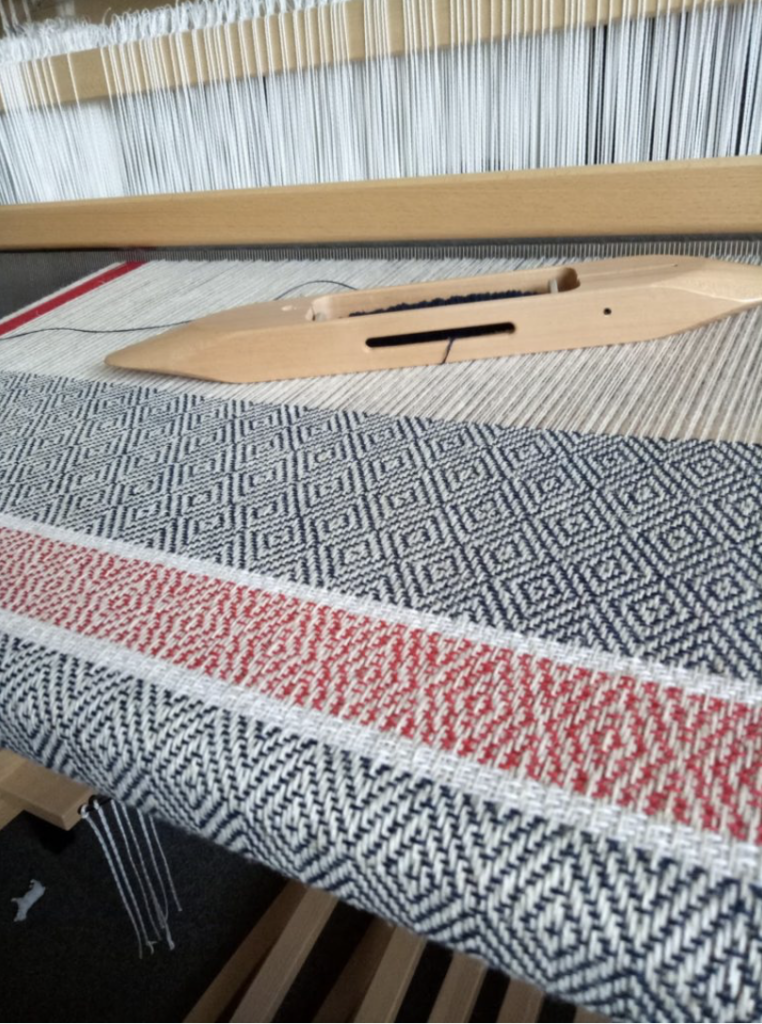
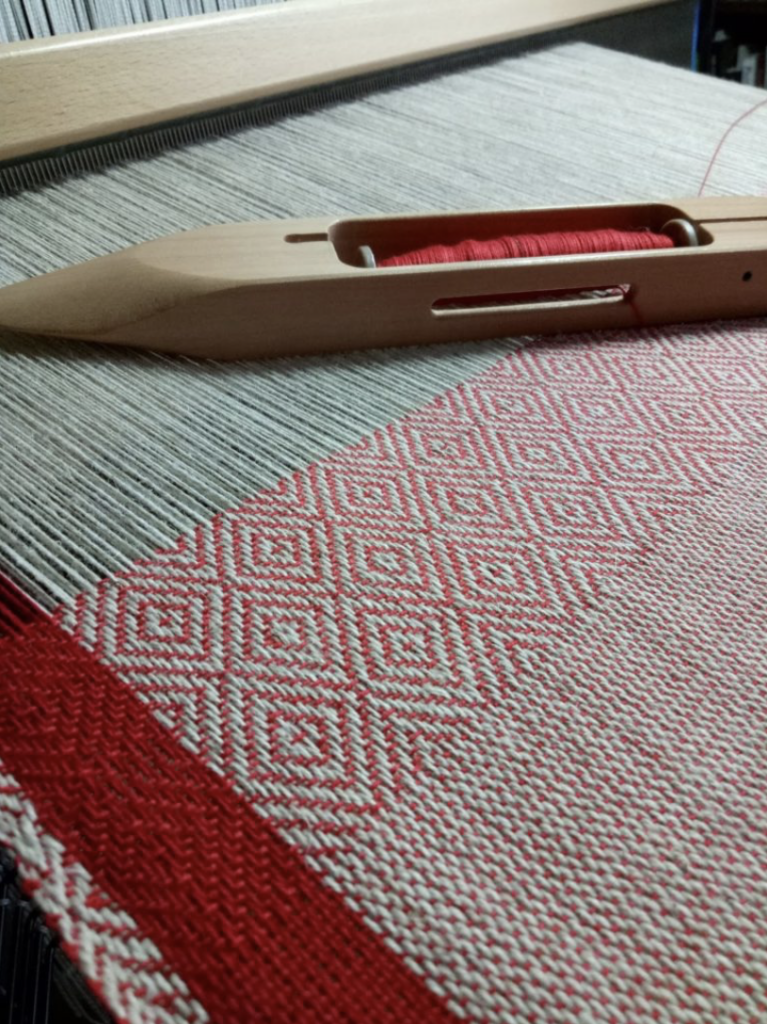
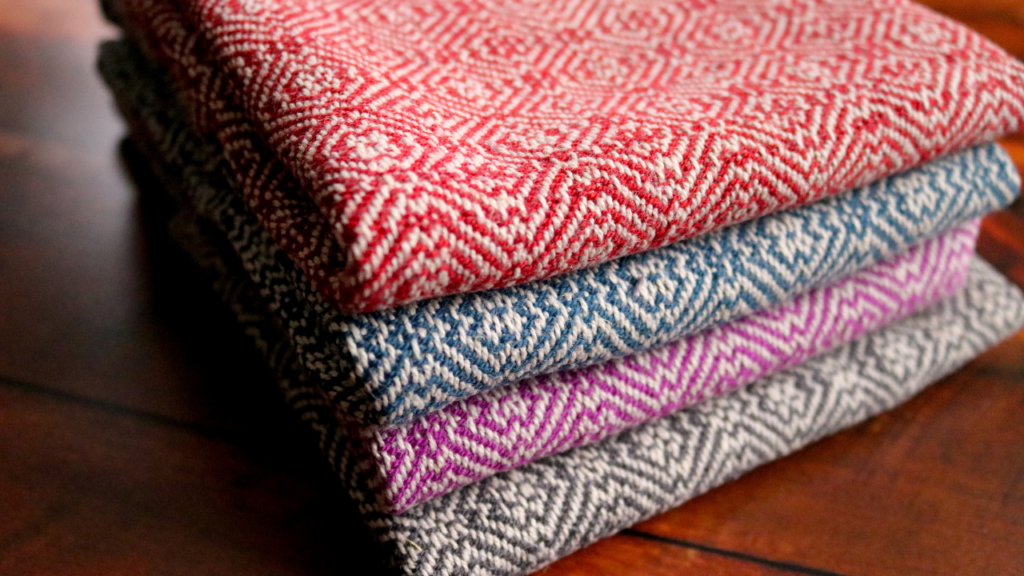
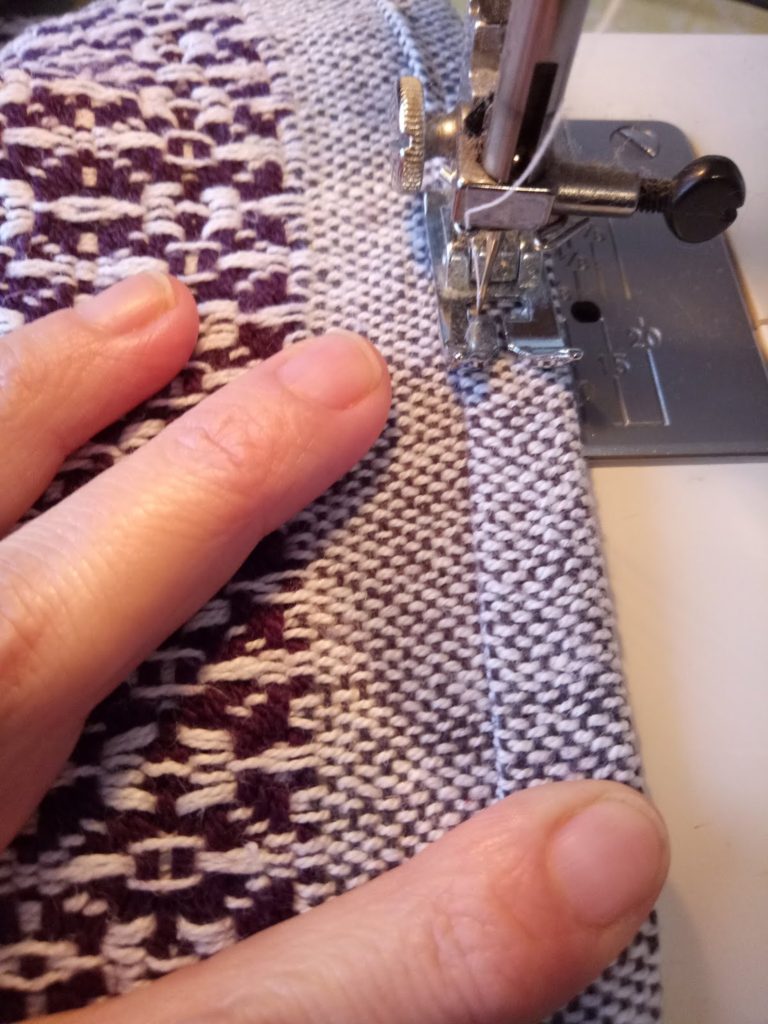
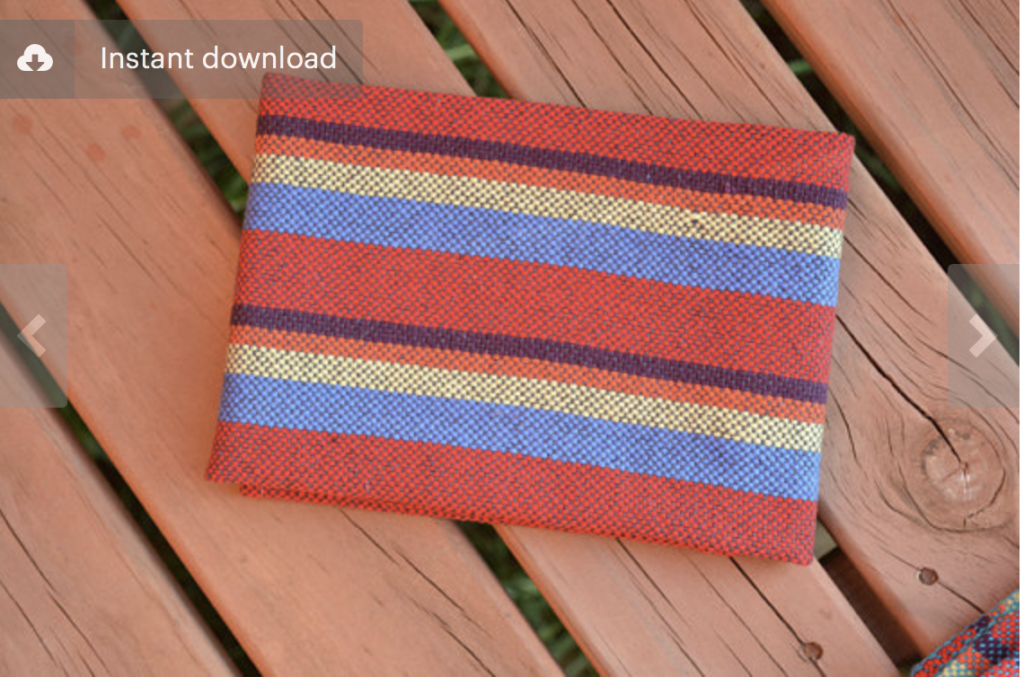
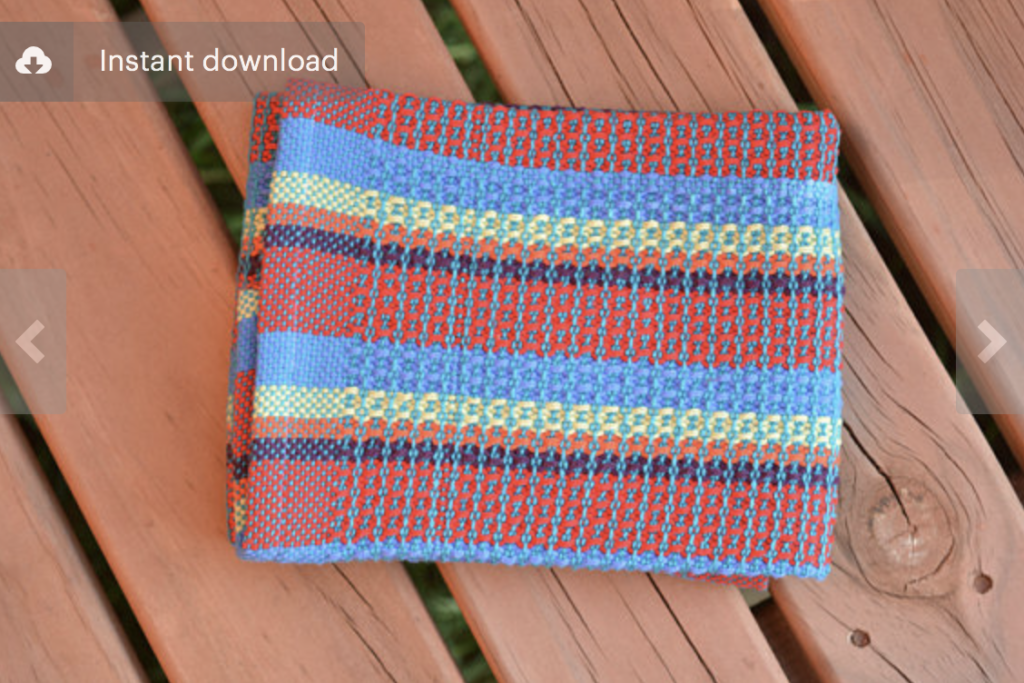
3. The Famous Diamond Stripe (Double Heddles!)
These are some of my most popular projects. They are woven with two heddles, which technically mimics a three-shaft draft. By using two heddles and 8/2 cotton, you get a dense, high-quality fabric that rivals anything made on a “big” loom.

What About Thicker Yarns?
If you’re a beginner, you might want to start with something a bit heavier:
- 8/4 Cotton: These make great, slightly thicker “hand towels.” They are a bit like a fingering weight yarn and are very beginner-friendly.
- DK Weight Cotton: I used this for my “Wash Your Hands” towels (a free pattern on my site!). These are thick, squishy, and perfect for a bathroom or a heavy-duty kitchen spill.
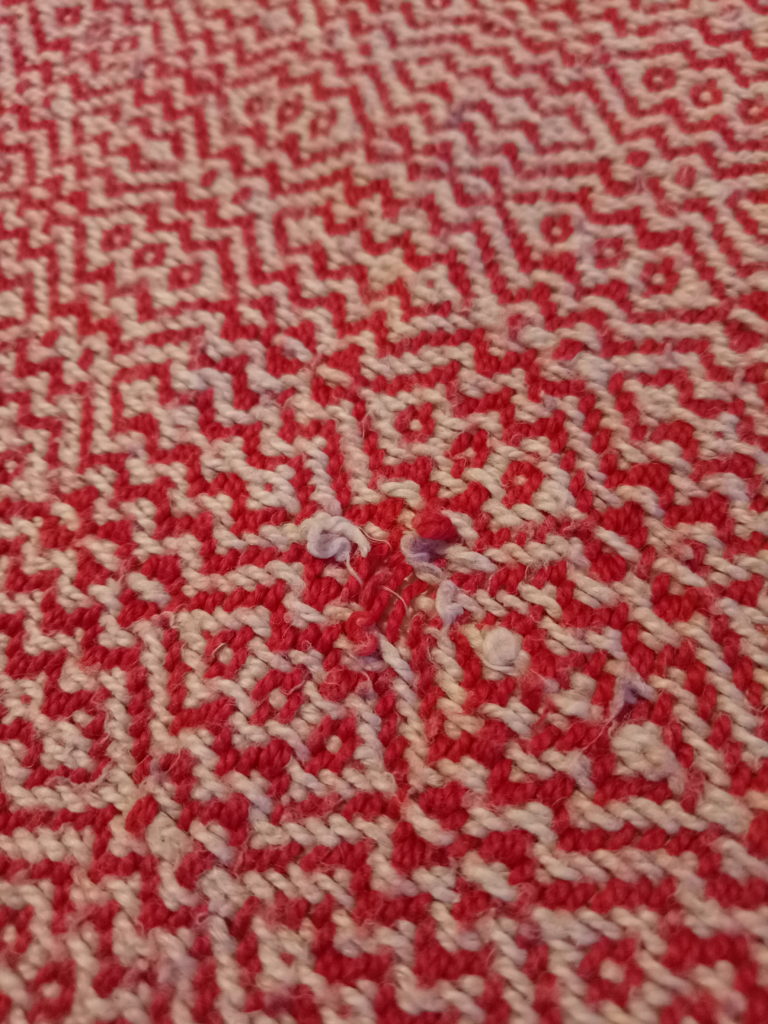
Pushing the Limits: 10/2 Cotton & Beyond
I’ve even woven placemats and fabric for my Japanese Journey Masterclass using 10/2 cotton on the rigid heddle. Is it more challenging to keep an even beat with such fine thread? Yes. Does it take more patience? Definitely. But as you can see from my Sashiko-embroidered samples, the result is a perfect, fine-grid cloth.

The Moral of the Story
Don’t be the kind of person who just accepts “no” as an answer. If someone tells you that your loom has a limit, challenge that idea! Rigid heddle looms may be built simply, but they are simply built for exploration!
Whether you want to try a simple Log Cabin or a more complex Double Heddle Diamond Stripe, your rigid heddle loom is more than capable of weaving beautiful kitchen towels and filling your kitchen with handmade joy.
Ready to start weaving?
Check out these resources mentioned in the video:
- Diamond Stripe Towel Pattern
- Free “Wash Your Hands” Towel Project
- Log Cabin Table Runner Pattern
- Colour and Weave Towels Class
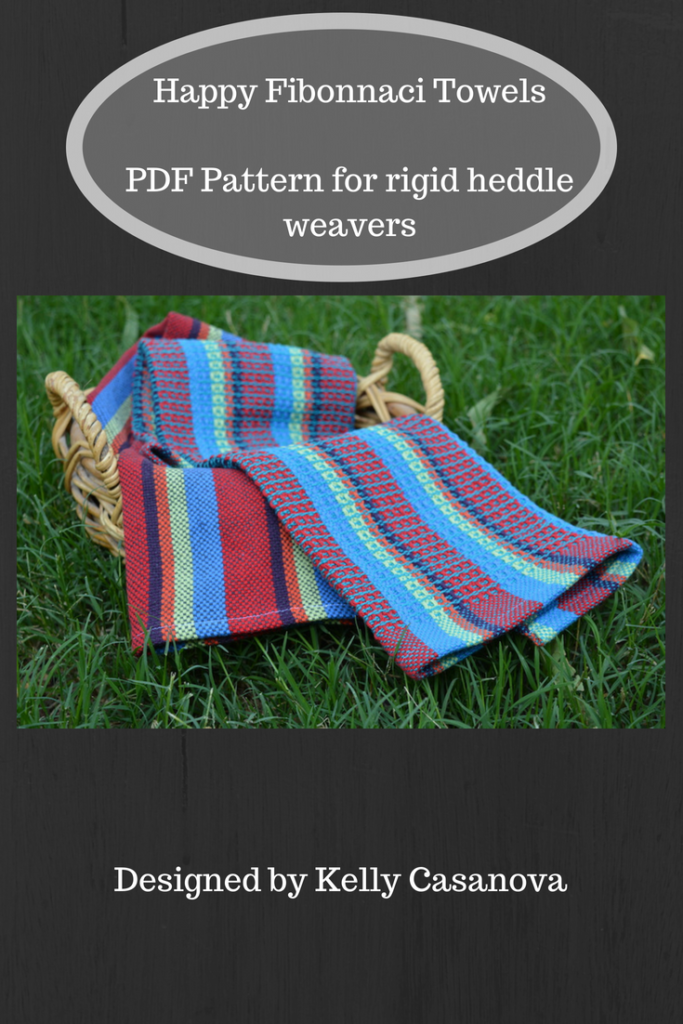
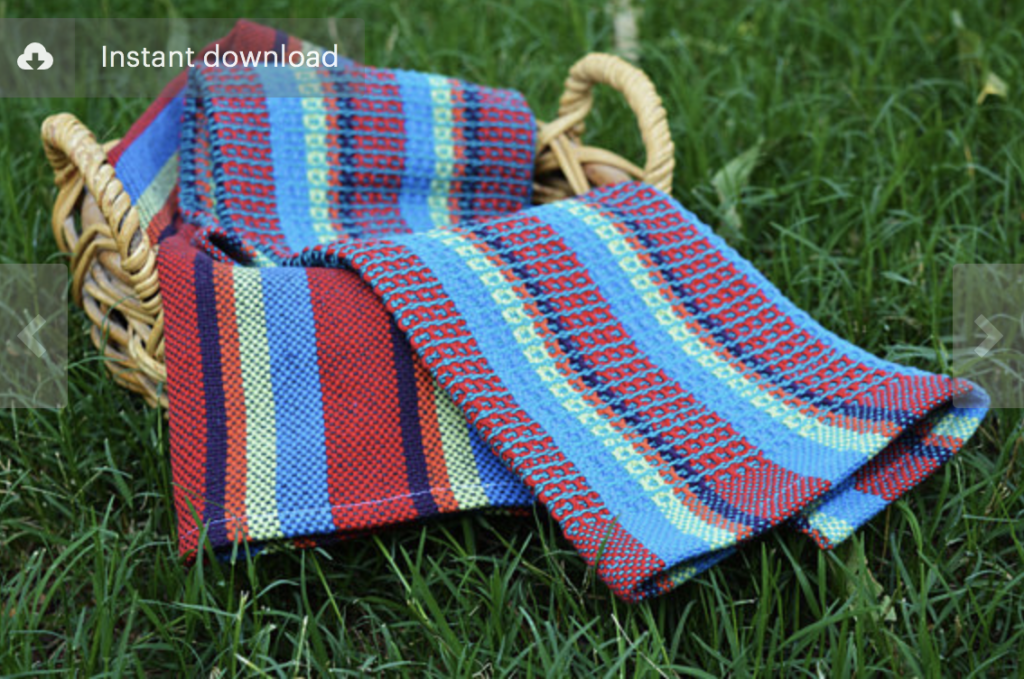
- Happy Fibonacci Towels Pattern
- Bright & Beautiful Towels Pattern
If you would like to see a video where I discuss this topic further, check this out:
Until next time…
Happy weaving!
*This post may contain affiliate links. For more information, please see my disclosure policy.