Sewing
*This post contains affiliate links
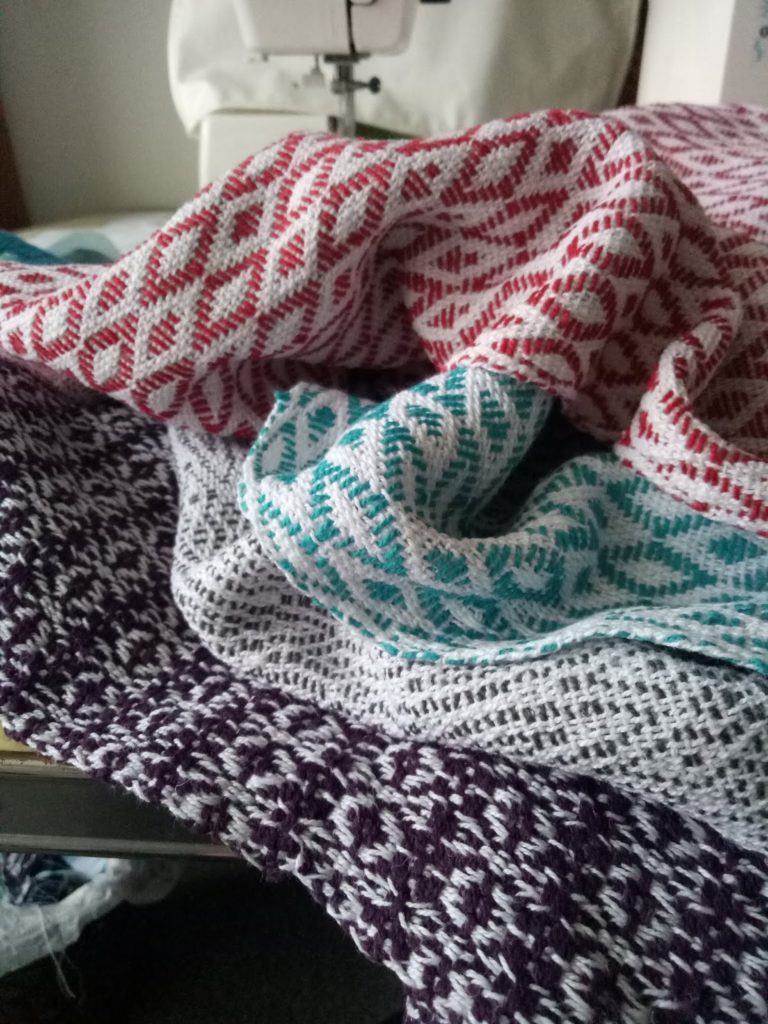
I won’t tell you how long these towels have been sitting on my creative table waiting to be hemmed. What is it with final techniques and me? I go to all that trouble to weave something beautiful and then let it sit there for who knows how long before I get around to hemming!
Anyway, lets focus on the positives. The towels ARE hemmed now, and I’m going to share my simple but effective hemming techniques with you!
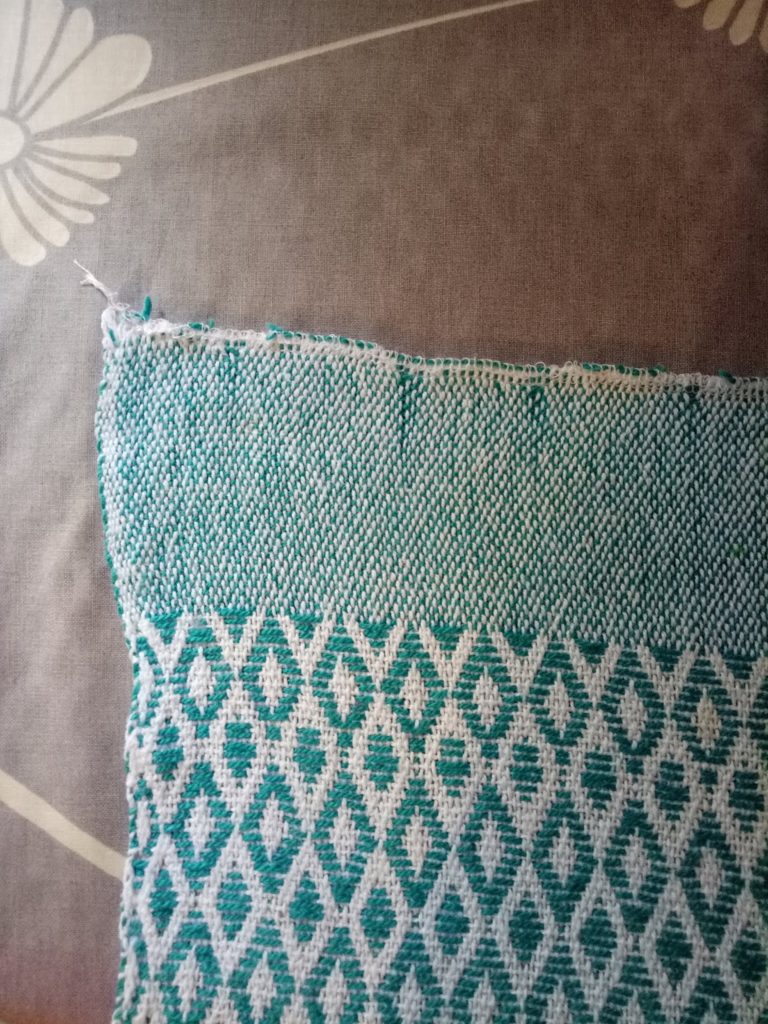
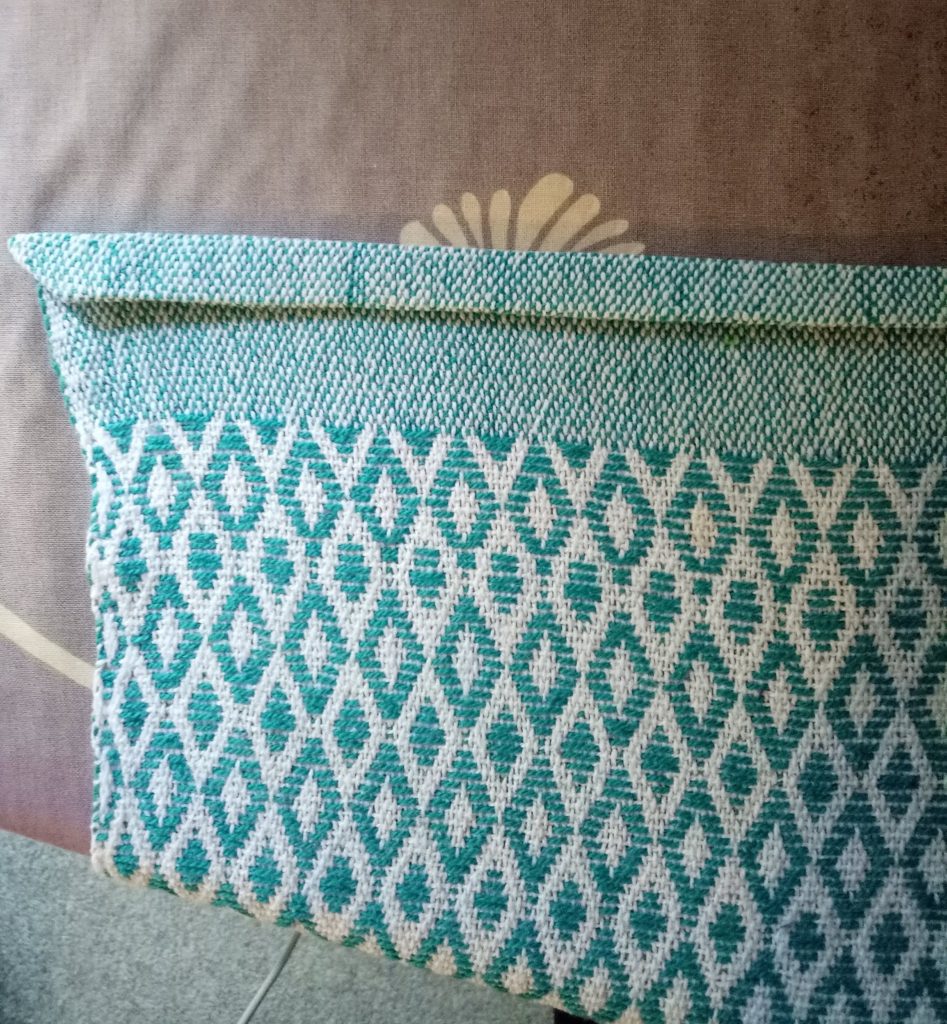
Firstly, always weave a little extra where you intend to hem, and don’t forget to factor in hemming allowances to your overall calculations. I like to make a little contrast weave at the beginning and end of a piece that I’m going to hem. Here I’ve woven plain weave borders at either end. There are 2 advantage to this –
1. The contrast looks nice.
2. The border is less bulky and therefore makes a more crisp and pleasing hem.
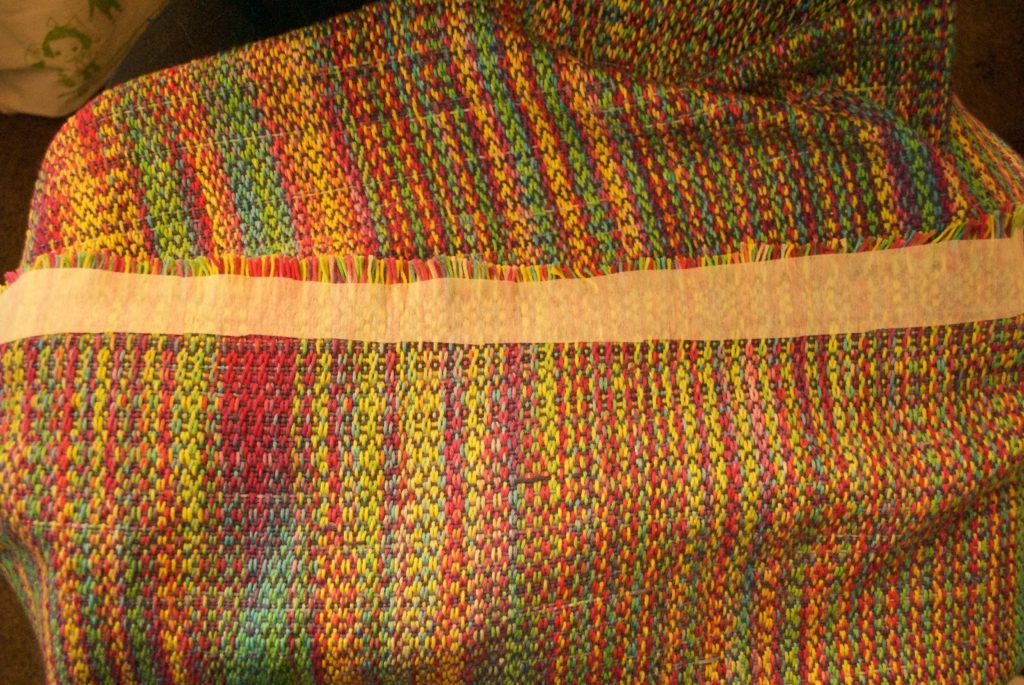
You can see that my raw edge is secured on a serger to prevent any unravelling during the wet finishing process. It is helpful to give the whole woven piece a good press before beginning, it’s always easier to work with pressed fabric.
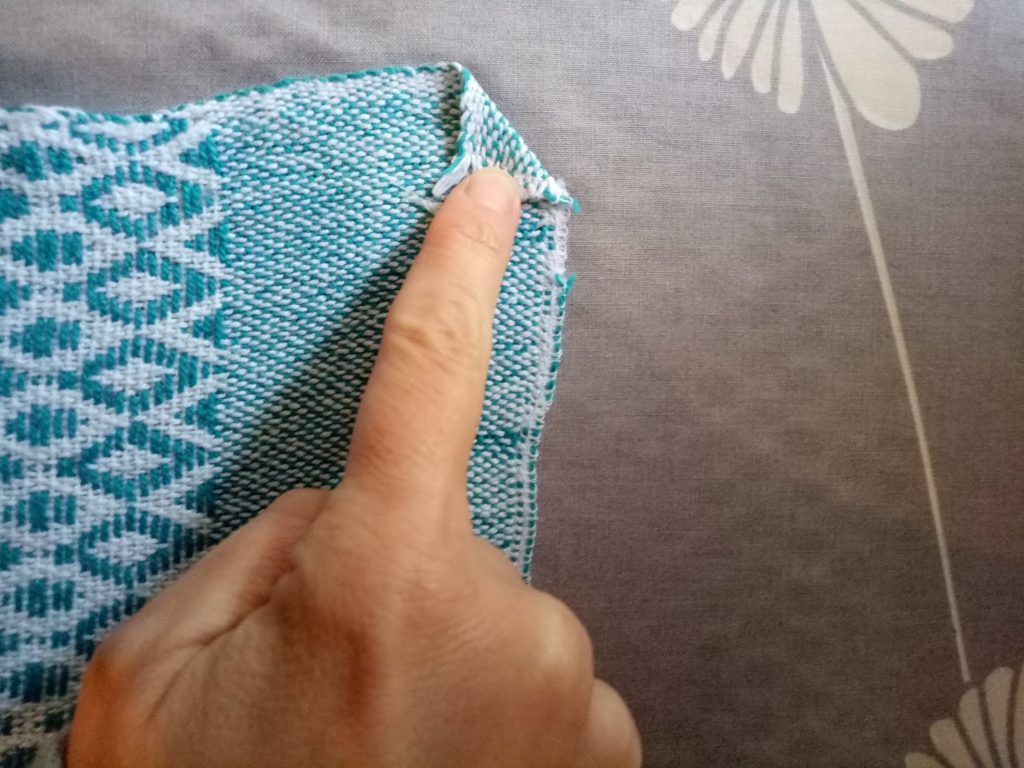
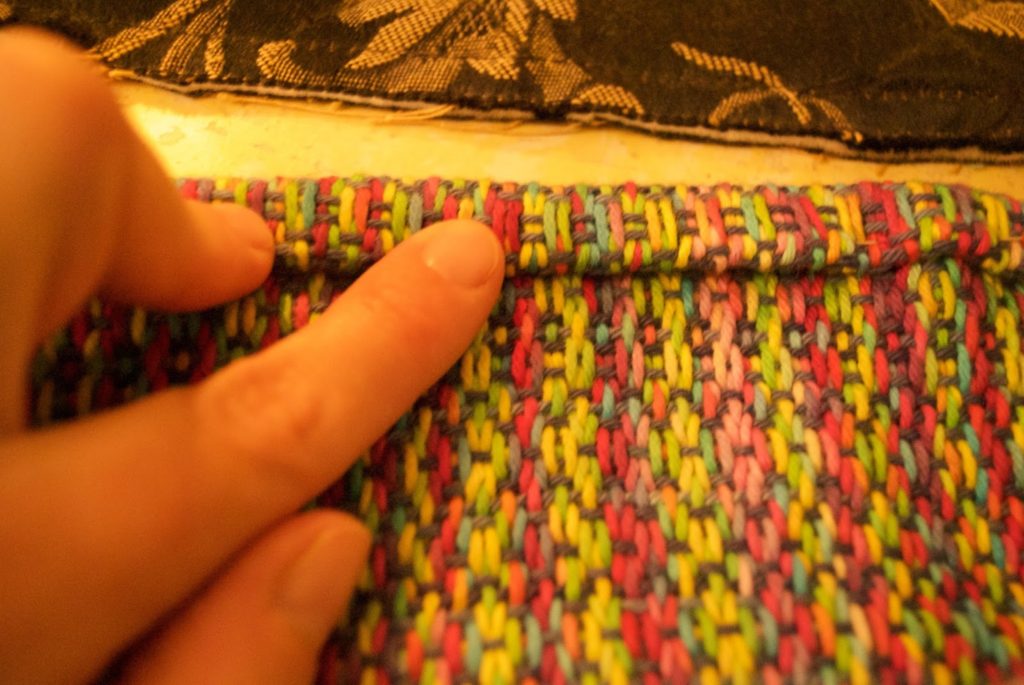
This is what I call my “dog ear” technique. Fold in a corner on each side of the hem and press down with an iron. There are 2 reasons for this also –
1. The corners can get ugly and a bit ragged in the washing process – I want to hide them!
2. Towels have a tendency to be wider at each end. This reduces a little of that “flared out” look.
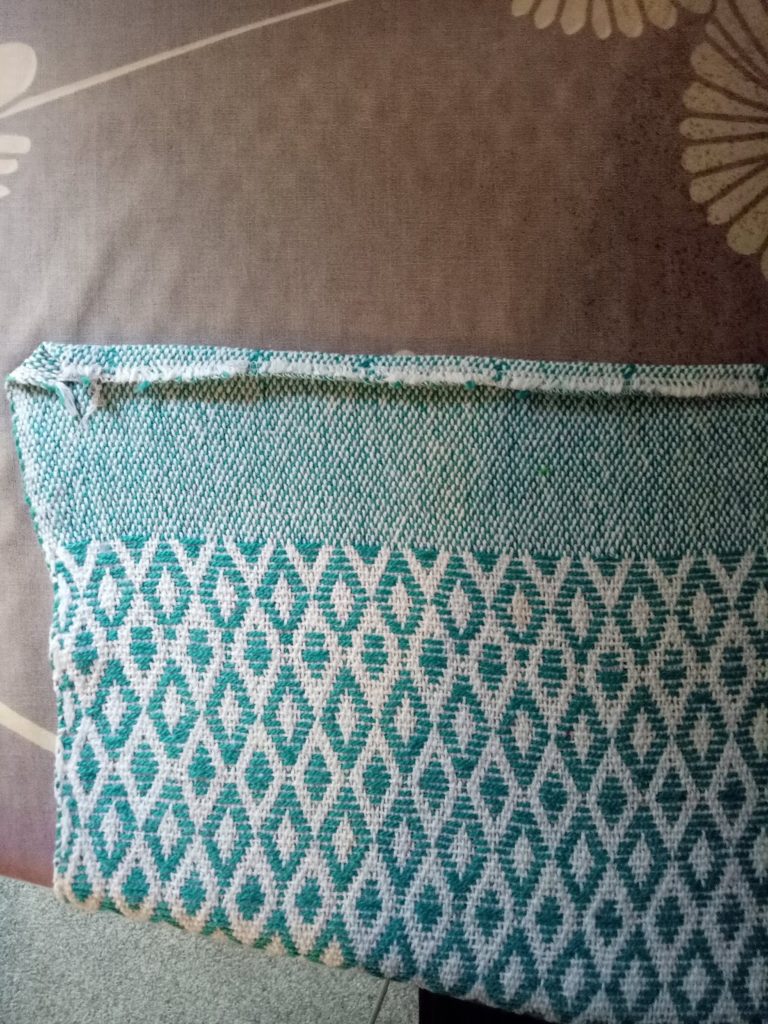
Once my dog ears are pressed down neatly, I take the raw edge and fold it over, usually around 1/4″ but more if it’s particularly raggy. Press with the iron.
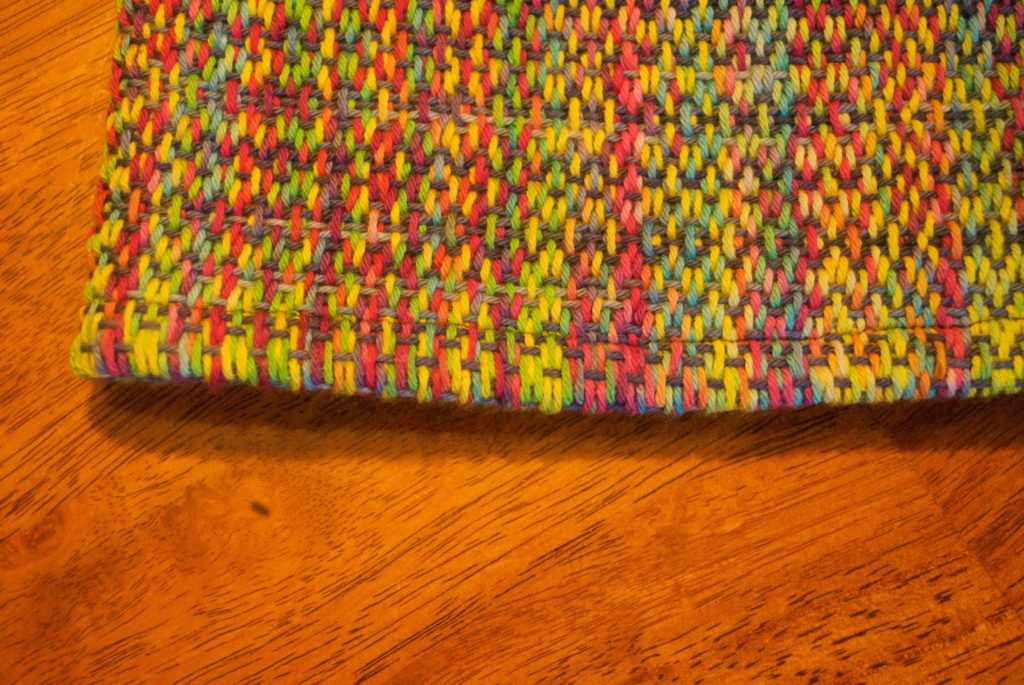
Now I fold again, this time 1/2″ or more and press. Now all raw edges and corners should be completely encased and hidden. Once pressed, you can also place pins along to hold everything in place if you wish.
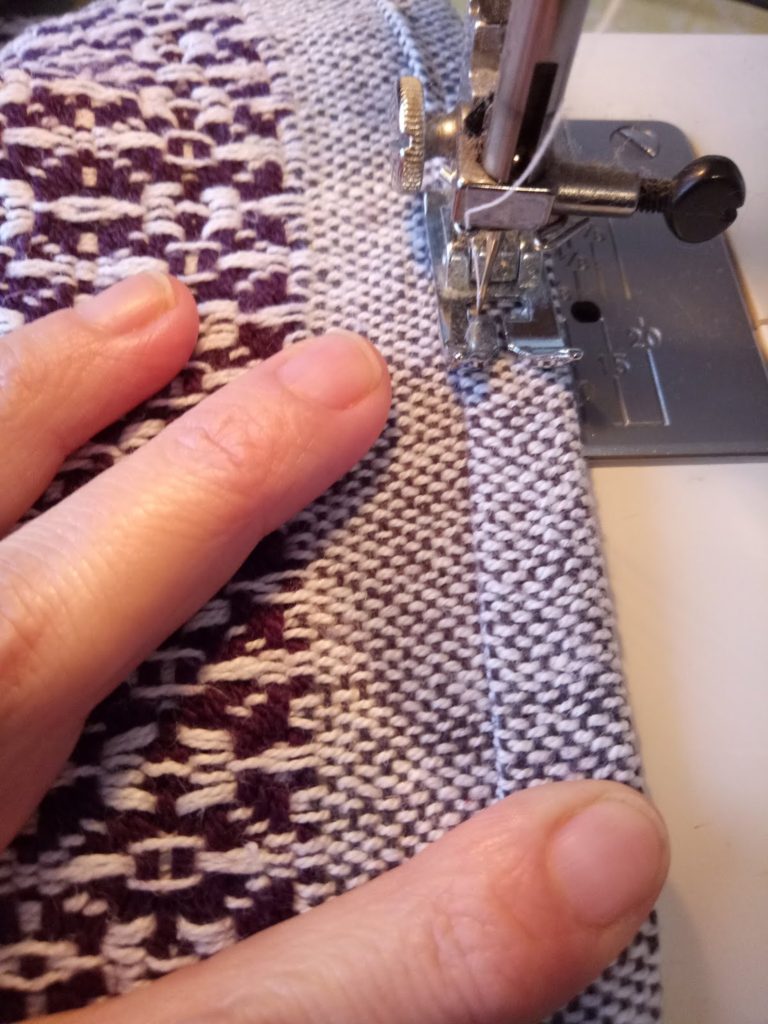
Take it to the sewing machine (different towel in this photo but the same process). I use Gutermann sewing thread. I learned early in my sewing journey that life is too short to sew with cheap threads that will break over and over! Sew with a straight, medium stitch close to the folded edge (roughly 1/4 – 1/8″).
You can use a different stitch if you want to, I just like the professional looking finish a medium straight stitch gives. Don’t forget to reverse stitch at the start and finish.
For an almost invisible finish, you can hand hem with a needle and thread, you can find that tutorial here.
Seeing as we’re on the subject of towels, if you’re on the hunt for your next towel project, you may want to try one of my classes or patterns.
Online class:
Diamond Stripe Towel Weave Along (currently only open to members of the Online Weaving School)
PDF Patterns:
Drop me a comment to let me know if this post has been helpful to you, I love feedback!
Until next time…
Happy Weaving!
Cutting handwoven cloth, one method
*This post contains affiliate links
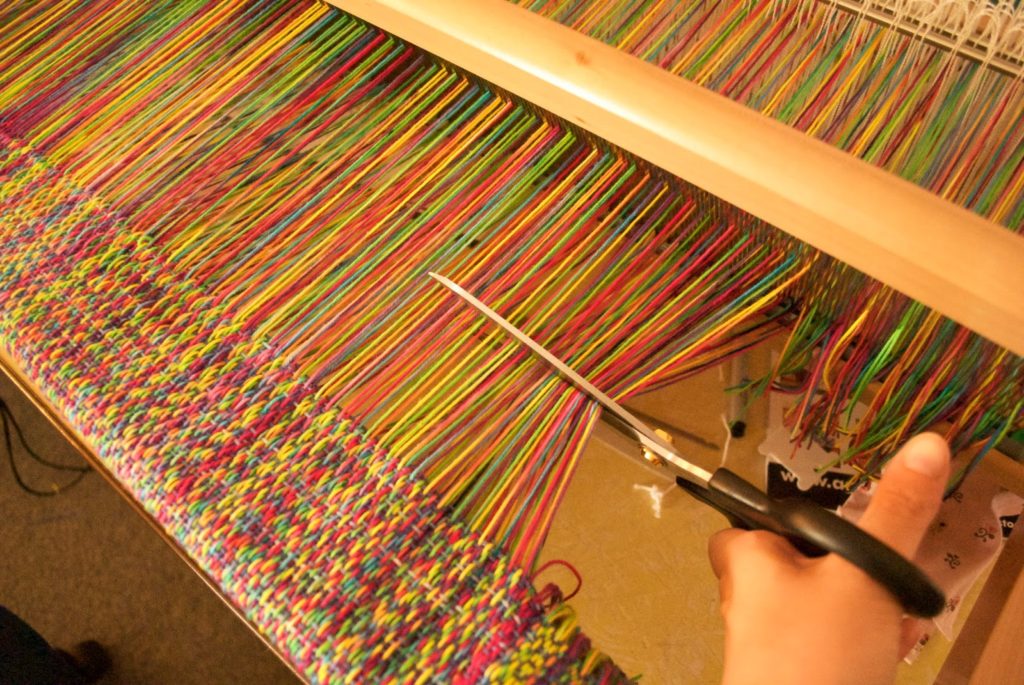
Cutting a length of cloth of the loom is so exciting! But then what? If you’re not leaving a fringe you have to finish the fabric somehow, and if you’re cutting into it you may be afraid of unravelling. This is a great, easy method to use for either finishing to hem or if you need to cut into the fabric.
Firstly, once off the loom, the fabric needs to be wet finished and dried before you consider cutting.
When you’ve determined your cutting line (whether it’s at the end of the fabric or somewhere else) cut a length of light, fusible interfacing the length of the cut and about 2 inches in width. It must be the fusible type or this won’t work. Iron it so that your cutting line is roughly in the middle (so you have half of the interfacing on either side of the cut line). For me, the cut line was where the end of the woven fabric met the beginning of the fringe. Cover with a pressing cloth and iron until fused.
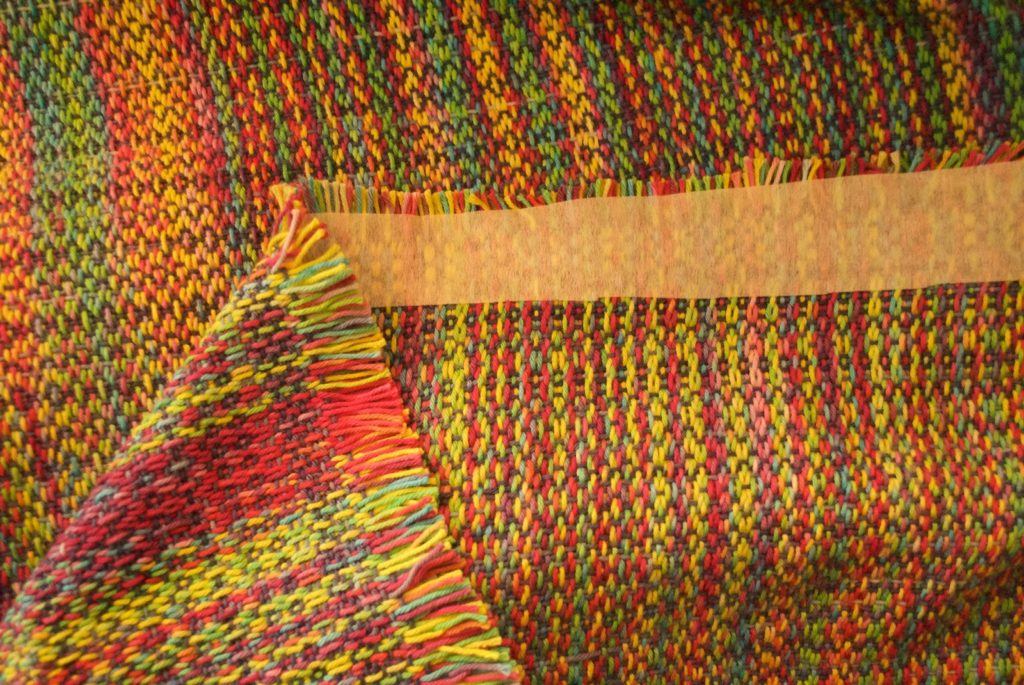
The underside of the fabric now looks like this, nothing is really visible from the front side.
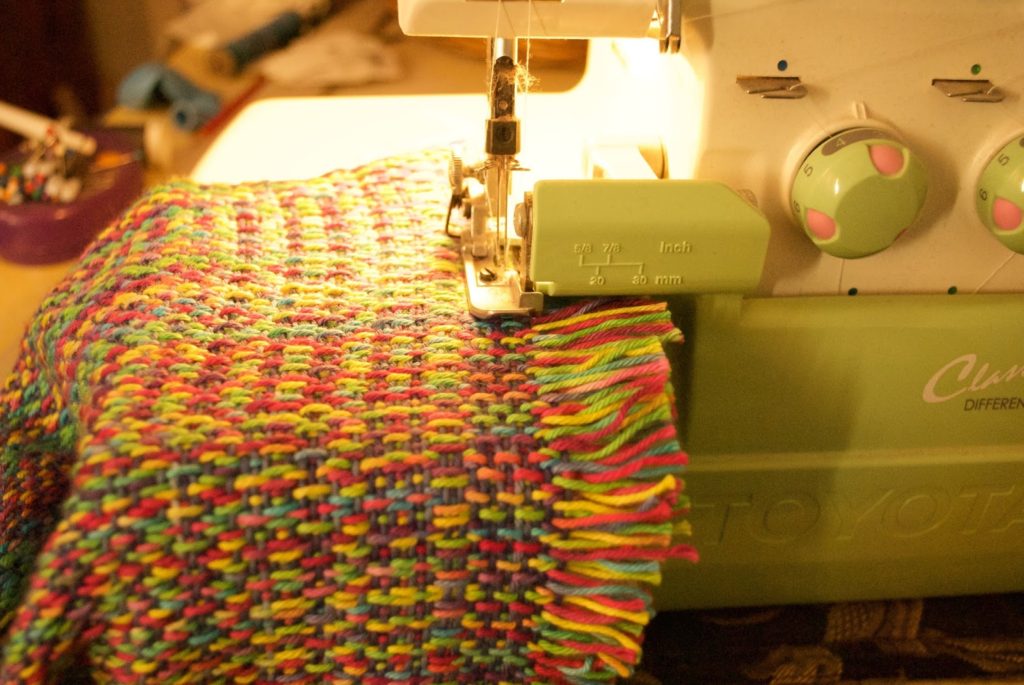 Using your cutting line as a guide, serge right across. Can you see where the fringe begins and woven cloth ends? That was my guideline for serging. If you don’t have a serger, a zigzag stitch on the sewing machine will suffice, but the serger definitely does a superior job. Janome is a reliable brand if you are in the market for a serger.
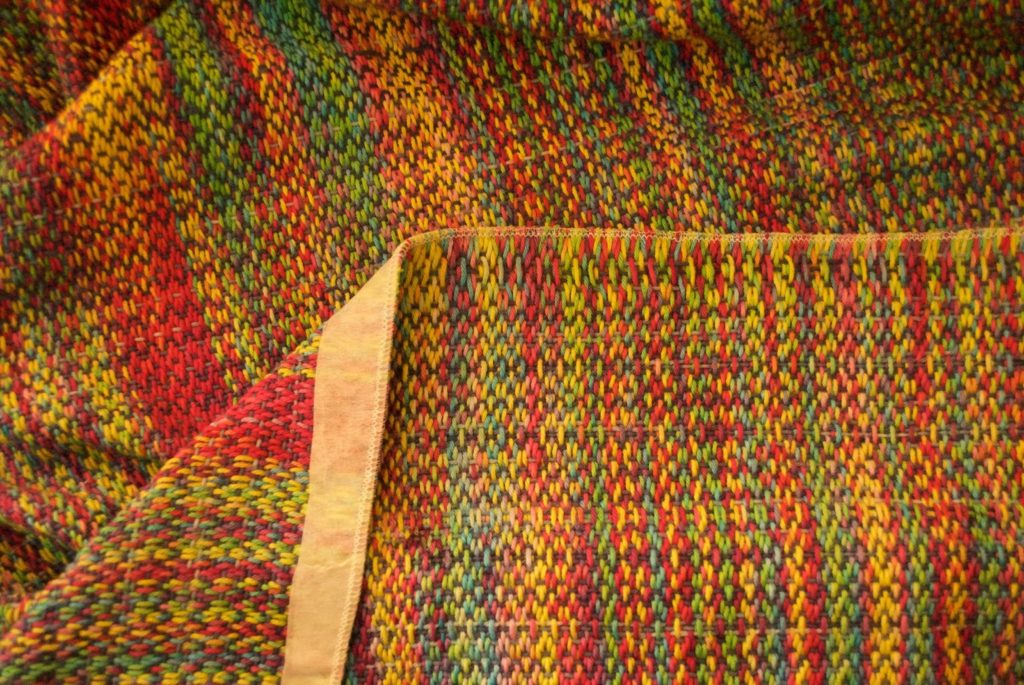
Now you have a neat serged edge. The threads are completely secure and haven’t moved in the serging process due to the interfacing fixed in place. From this point you can go on to use your fabric according to your plans or begin to hem.
To finish the fabric with a hem, I fold over the serged edge once and iron down flat.
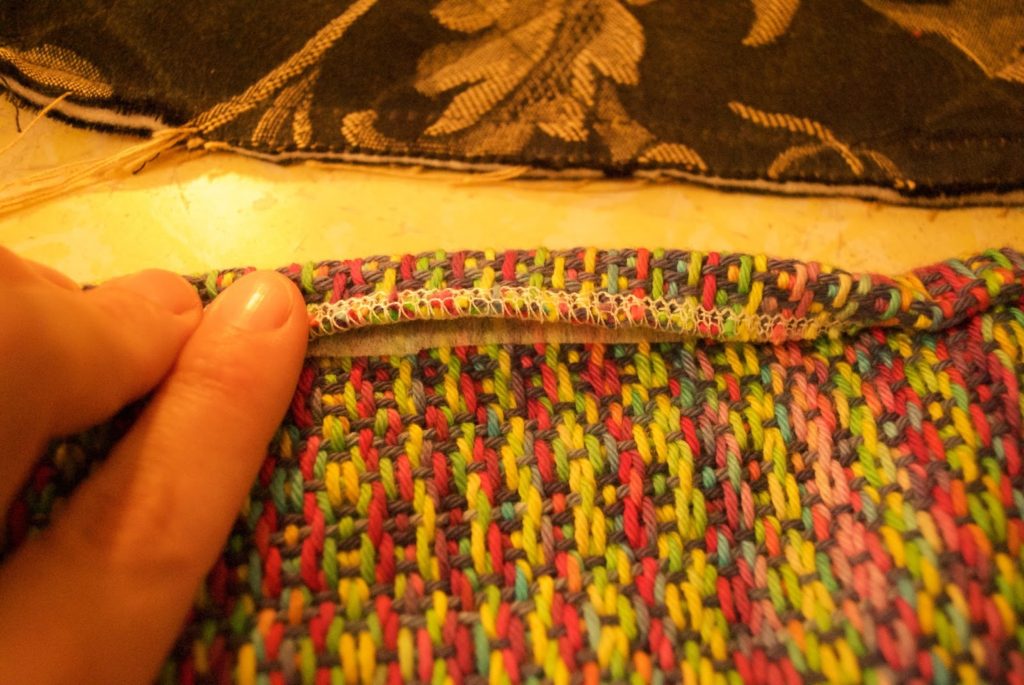
Then a second fold to enclose the serged edge and interfacing, press with the iron once again and pin in place if you wish.
Sewing the hem can be done by machine or hand. I used my machine with a straight stitch, close to the folded edge at the back. My machine is a very simple and straightforward Janome, although mine is an older model you can see something similar here.
Voila! Easy peasy and all secure, no loose or displaced threads and the interfacing gives extra support when hemming!
I have a Youtube video covering this topic for your further research.
I have a Youtube video covering this topic for your further research.
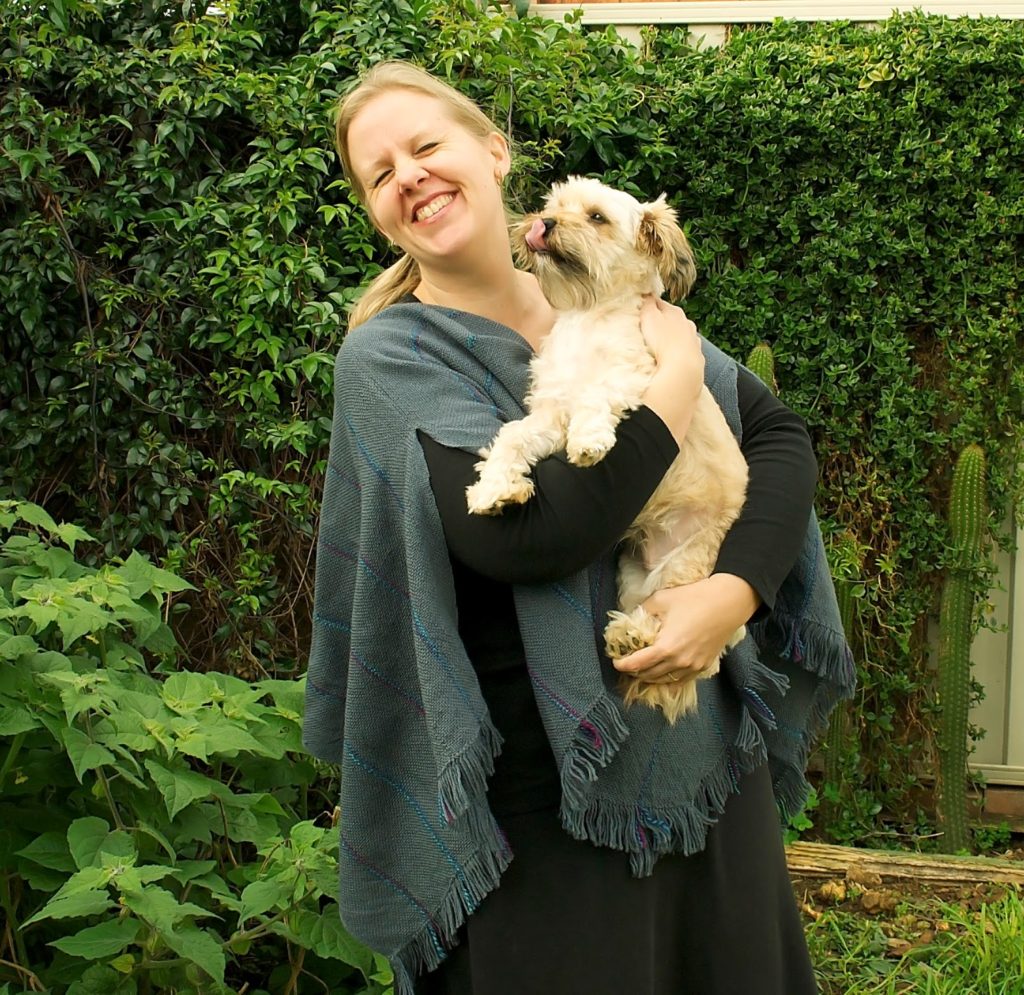
Hand woven shawl, poncho, wrap???
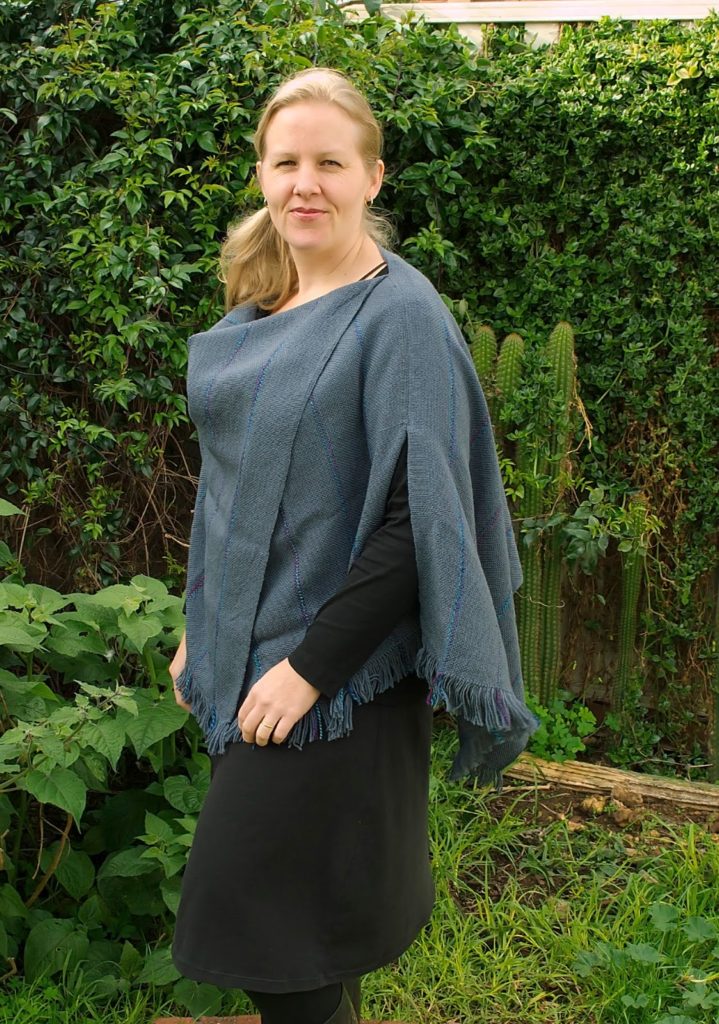
I had this fabric sitting around and wasn’t sure what to do with it. Yesterday, inspiration struck, I tried some pinning, then some sewing and finished up with a beautiful, warm and drapey garment that I’m quite taken with!
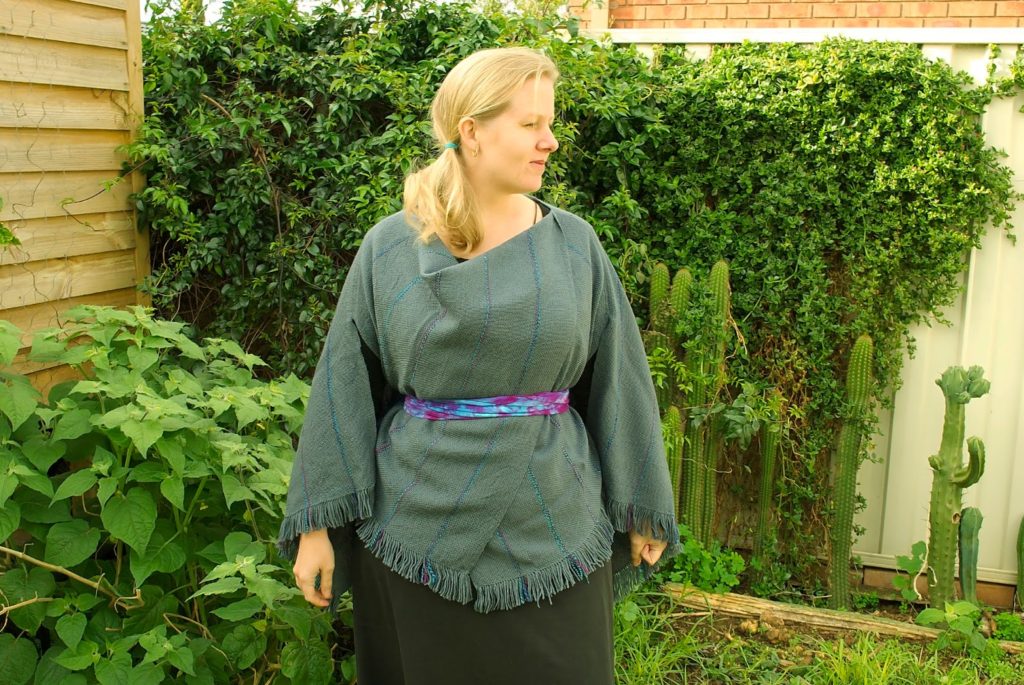
Here is the back view.
I said to my husband “if I was thinner I could wear it with a belt”. He said “wear the belt anyway”. Awesome husband 🙂
It’s a versatile piece – it can be a wrap, a poncho, a shawl, it’s pretty cool!
And what would a photo shoot be without Lou (aka Noodleberry).
I posted the garment on Facebook and a lot of people want details, so I will try to recall what I can!
The cloth: Woven in 2 panels 140cm x 50cm (one panel was slightly longer)
Both panels were hemstitched on the loom.
I used 4ply merino (grey) and my hand dyed handspun in the warp for the stripes.
I used a 10 dent heddle on my rigid heddle loom.
The construction: I lay one panel on top of the other. Taking the top panel, I made a full twist in it (like a mobius scarf). Woven fabric is reversible, so both sides look good, major bonus 😉
Leaving a neck hole, I pinned the panels so that they would be joined for 24cm. I tried it on numerous times, adjusting the pins to get a good fit. Then I sewed the panels together on the sewing machine, pressed the seams open, then topstitched the seams down to strengthen them.
Apart from wet finishing the fabric and cutting the fringe straight with a rotary cutter, that’s about it.
If you have more questions, ask away!
Making for cold weather
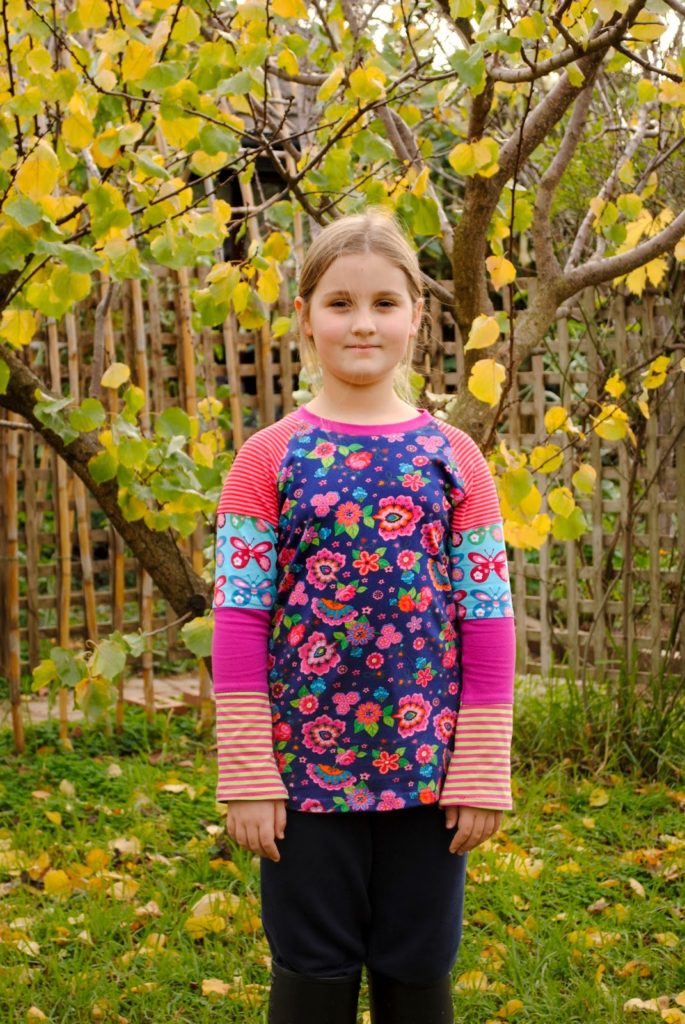
We’ve had a cold snap this week, Winter is really here. My oldest girl has nearly worn out her handmade tops, so it was time for a new one. The beautiful navy floral print is a gorgeous Stenzo knit from Zebra fabrics, it’s so incredibly soft. Other prints from Crafty Mamas.
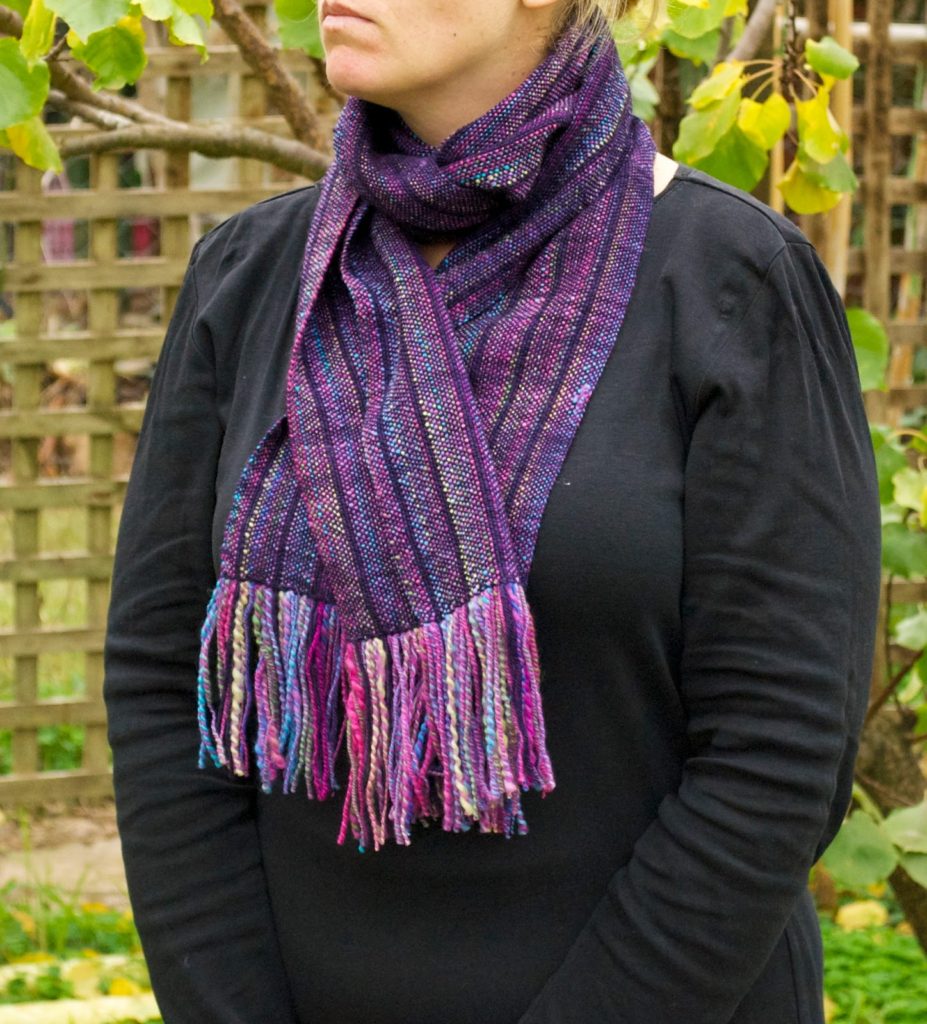
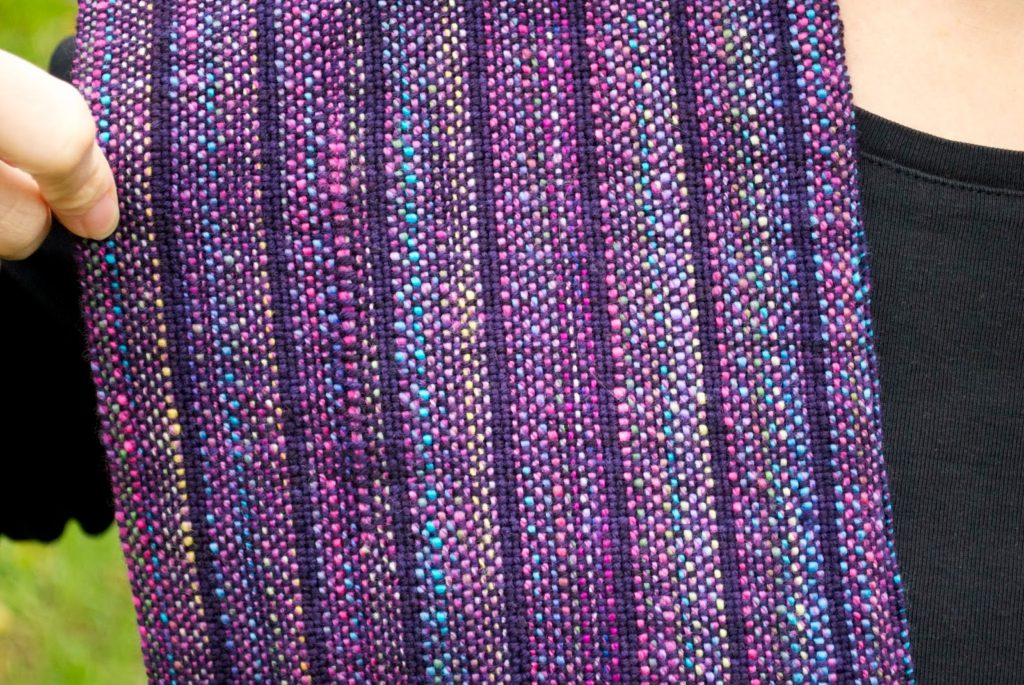
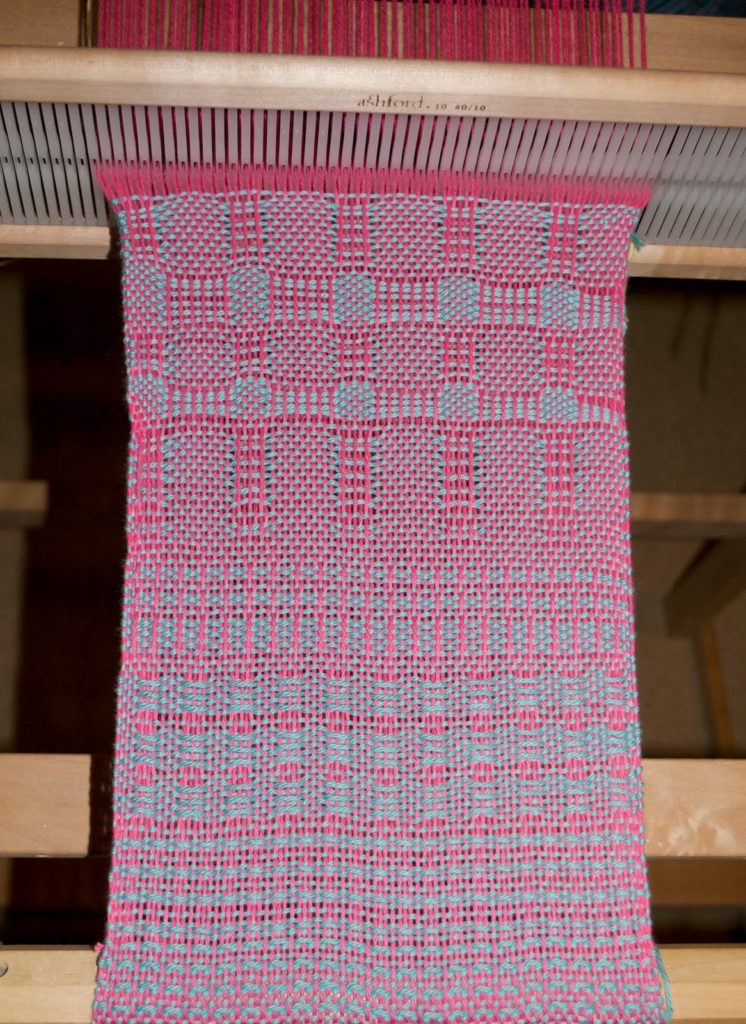
The loom is always dressed these days! For this scarf I used hand dyed merino and also my hand dyed, handspun. Simple placement of colours gives such a great effect!
Thin stripes of solid colour paired with a variegated handspun makes a party of colour dots, I love it.
This is a sampler I’ve been working on. I thought it was about time for me to see what this rigid heddle loom can do, I’ve been lazy with all this plain weave! Using Jane Patrick’s book “The Weaver’s Idea Book” I’ve tried out about 8 different patterns using pick up sticks and it’s really not hard!
I posted this photo on the Facebook rigid heddle weaving group, encouraging members to have a go at making patterns and the response was huge! It seems I’m not the only who was stuck in the plain weave comfort zone.
I’ll be utilising some of these newly learned techniques to weave a scarf to enter in the Royal Melbourne Show weaving section, can’t wait to get started!
Seamstress in the making..
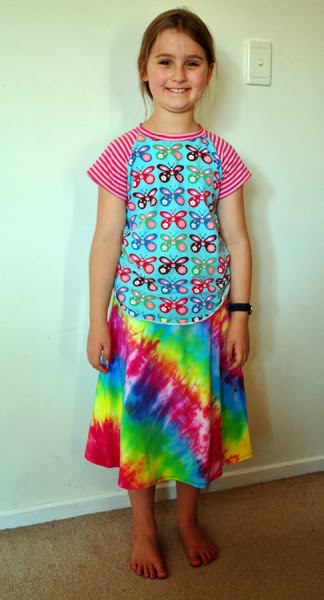
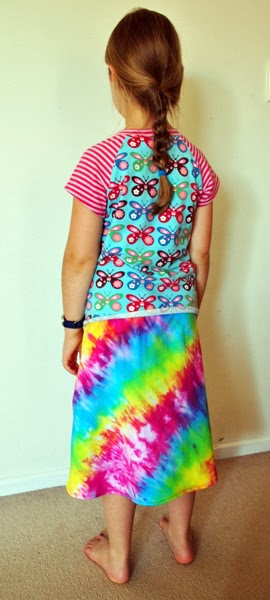
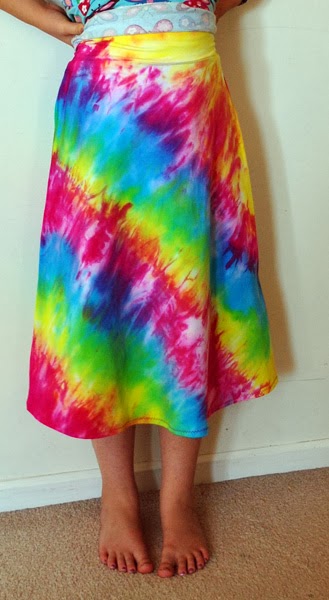
Gem (my 8 year old) made her first skirt! I call it the awesome skirt, can you see why? 🙂
This girls is a big maker (gosh, where did she get that from?) and constantly has something on the go, usually a little wool felt stitchery project of her own design. But she hasn’t made herself any clothing before.
We drafted a pattern together based on the Crafty Mamas hoody skirt. She chose to have a stretchy knit skirt rather than a woven (like Mum wears). So, we started with a white Stella base.
She did most of the sewing on the machine herself, with my guidance. Except the waistband, that’s the tricky part, so I did that for her. The waistband is also made of Stella, so it’s one of those gorgeously comfortable skirts – no elastic.
Next, she had her first experience with dyes. After some discussion and planning, I showed her how to mark and tie the skirt, then apply the colours to get the effect she wanted. She was amazed to see the colours run into each other and mix, creating new colours. I don’t think she understood much of the dye process before, you need to actually do it and see it in action.
After curing overnight (what a painful wait for a young lady!) we cut the ties and rinsed. Then the awesomeness of the colours and patterns was revealed. The look on her face when she realised what she had created was priceless.
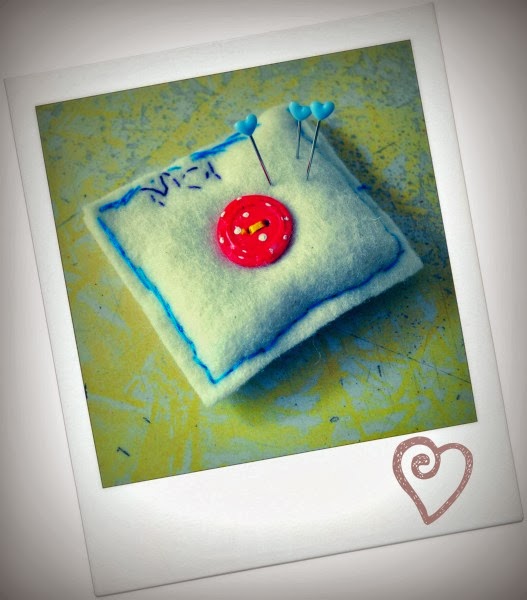
Here is another recent project she came up with as a surprise for me. It’s the best little pincushion I’ve ever used! She embroidered “Ma” at the top and used a polymer clay button I made ages ago.
There is only one downside to all this. I think I’m going to have to hide my fabric stash 🙂
Sewing
Well, my sewing machine still has not returned from servicing (3 weeks and counting!) but last week the sewing centre kindly lent me their resident dinosaur, which despite all it’s protesting, actually does a fine job.
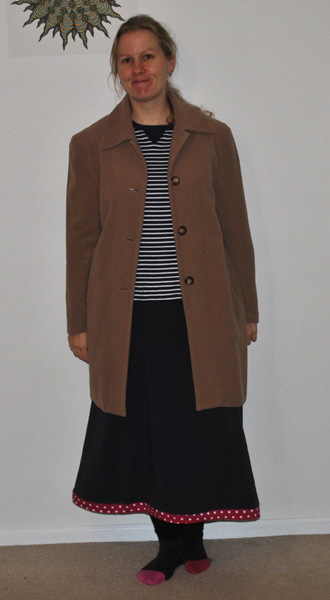
The skirt I’m wearing (you didn’t think I sewed that coat did you, nu uh!) is from Lisa at Crafty Mamas. It’s the Hoody Skirt. I used dark grey Stella and found it a little drab, so jazzed it up with some Stenzo binding on the hem, much better. I can honestly say this is the most comfortable skirt I’ve worn (I’m a big skirt wearer!) and I’ll be making a lot more of them. There are 3 different lengths to choose from.
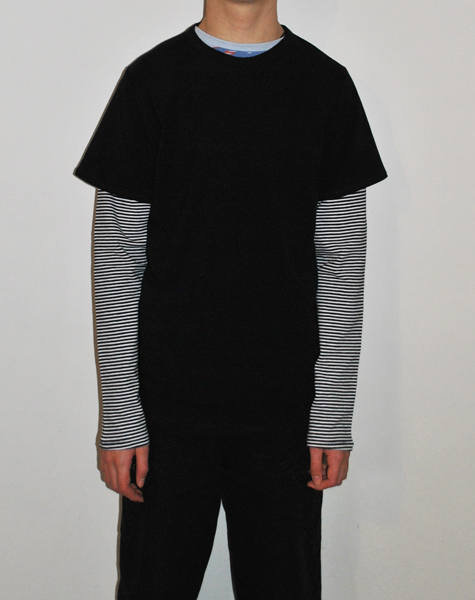
Now, onto the boy who has patiently been waiting for me to sew him some more tops. I used my trusty Jalie Men’s t-shirt pattern which can do no wrong in my eyes, even if I do have to adjust the fit for my guys. Black stella for the body and black and white striped Gitta for the sleeves.
He is very happy with it and I’m so glad to have a 13 year old son who still asks me to make clothes for him!
Don’t forget the giveaway if you haven’t entered yet you have until Friday to do so. If you’re having trouble leaving a message from a mobile device or any other reason please let me know, either through Facebook or email so I can still enter you in 🙂
Busy, making
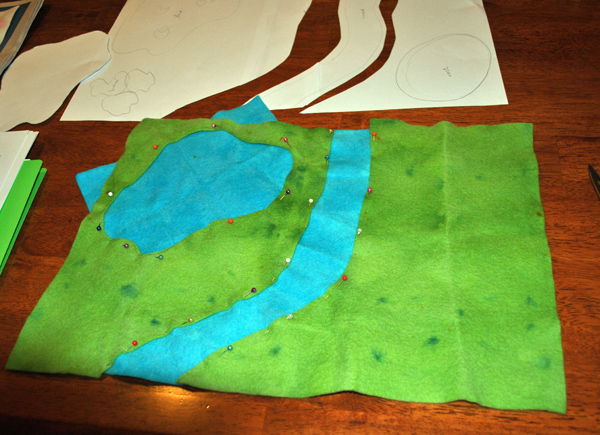
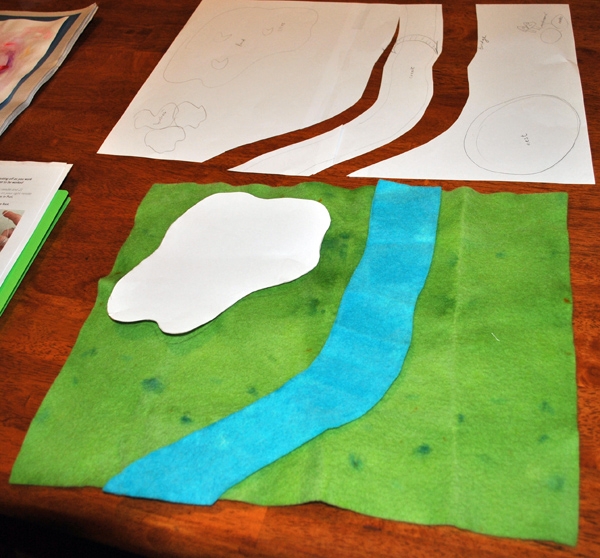
I’ve started on the felt play mat for an upcoming birthday. I hand dyed the wool felt and it came up a bit blotchy, but doesn’t really matter seeing as it’s grass.
I’m not sure what else I’ll add in at this point, I tried some trees but they looked silly. Some mushrooms may be my next attempt.
Needle felting a nest for Mother duck and her ducklings (also in progress, nearly finished).
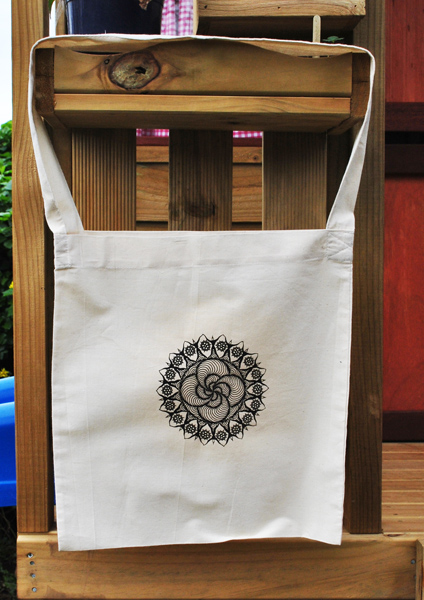
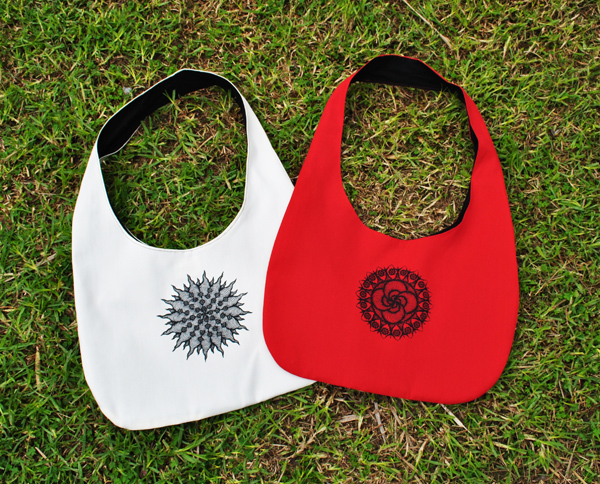
I’ve also turned some of our screen prints into cushions and bags.
I love the way my hobo style bags came out so I’ll probably sew more in this design.
More updates to come, and if you’re interested in a tutorial or how to for how to make the play mat, just let me know 🙂
From the print studio
Some experiments that turned out pretty well!
Hand dyed homespun with husband’s lino prints. Looks kinda oriental don’t you think? I like this one so much I’m going to make myself a bag with it 🙂
Hand dyed cotton lawn with linocut prints. Pretty.
Not sure I like black prints on the blue here, but it was an experiment after all!
I finally finished this UFO. I did the Maisy in wool felt and embroidery over a year ago to go with the quilt and hadn’t gotten around to making it up into a cushion.
It always feels great to finish something you started.
My littlest girl loves having a matching cushion for her quilt!
It was easy to do too – just traced the picture from a Maisy picturebook, cut out all the separate pieces and traced them on to wool felt. Things like the stripes on the pants, whiskers and bicycle spokes were embroidered.
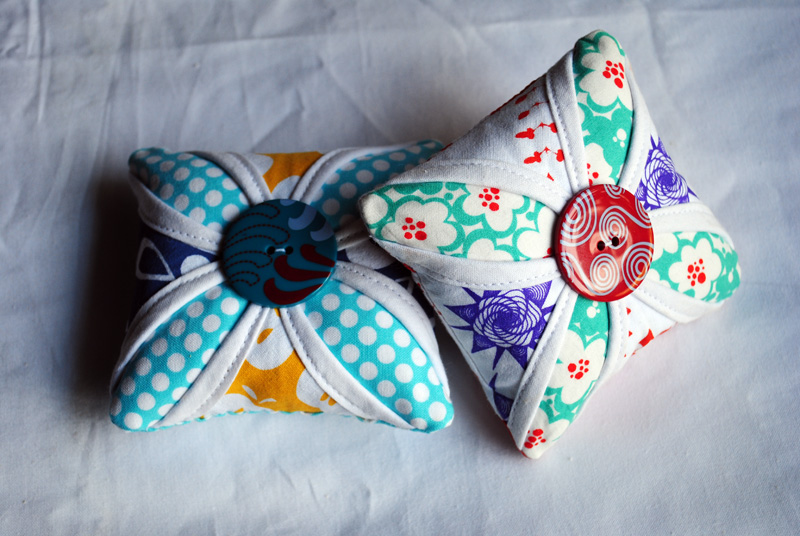
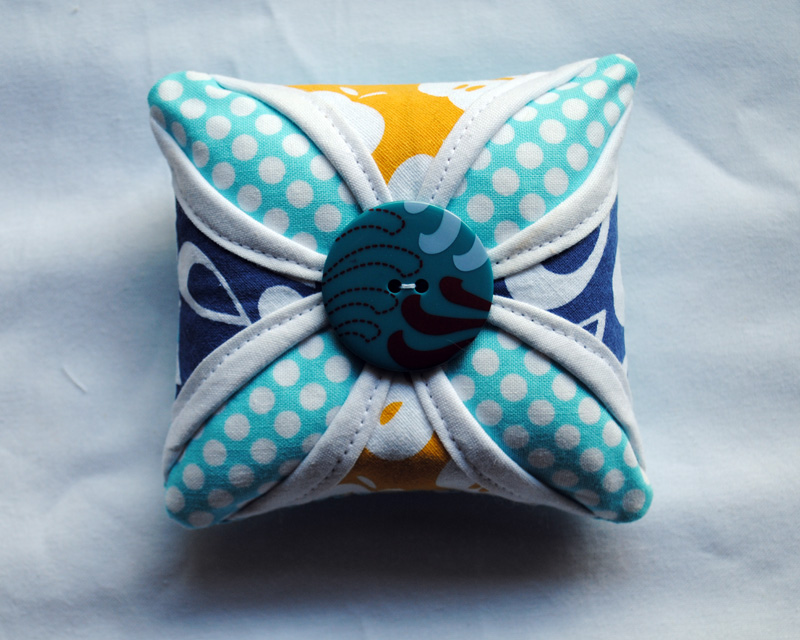
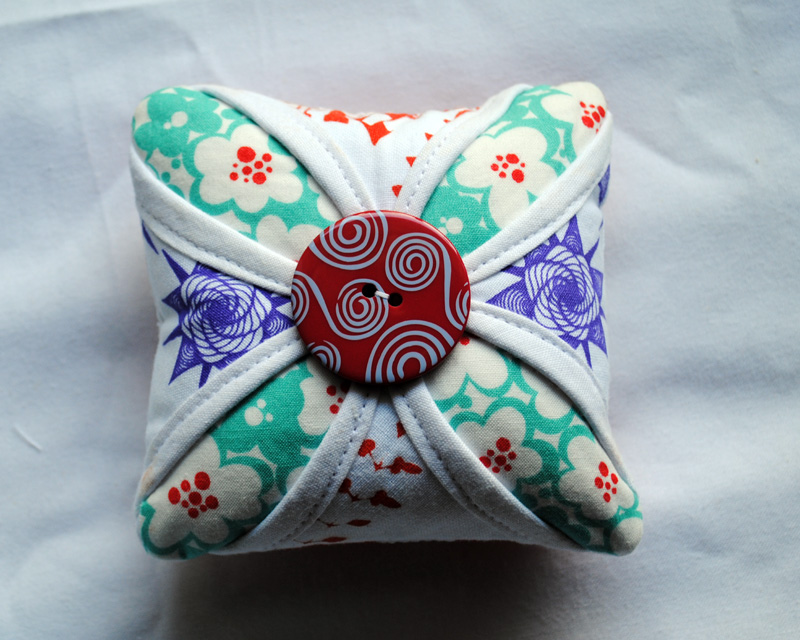
Cathedral windows pin cushions
Odd fact : I’ve never owned a pin cushion. I’ve been sewing and embroidering for years sans one of these cute but practical sewing essentials. I’m glad I decided to remedy that!
Finding this great tute gave me instant ideas on how to use some of the Blueberry Ash fabric I won recently.
And to test out how our screen printed fabric looks in action (see the purple print?)
Pretty darn good if I do say so myself!
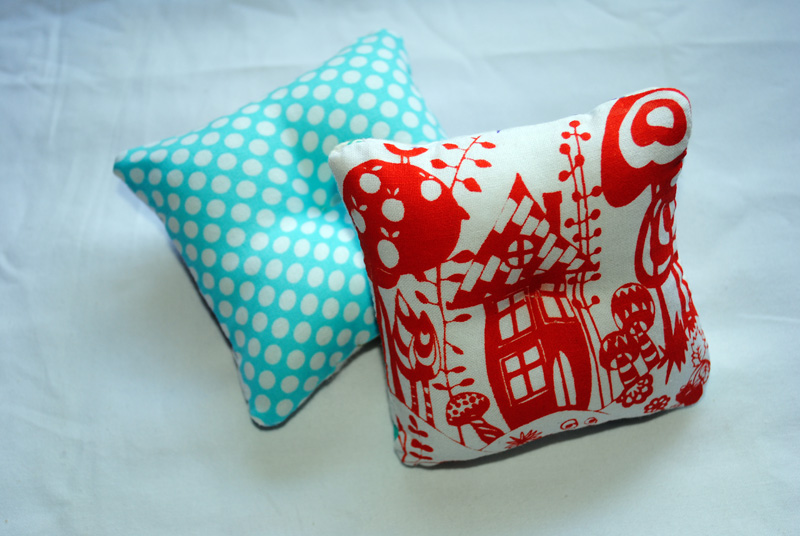
The backs are almost as cute as the fronts! Don’t you love the red and white print (Blueberry Ash screen print).
Now I’m left to ponder several thoughts.
1. Why did I never make a pincushion before?
2. How did I miss the wondrous possibilities of cathedral windows?
3. Who will I give the extra pincushion to? (Actually, I already have someone in mind – someone will be getting some mailbox candy very soon 😉
4. Which one can I bear to part with?…..
Today is..
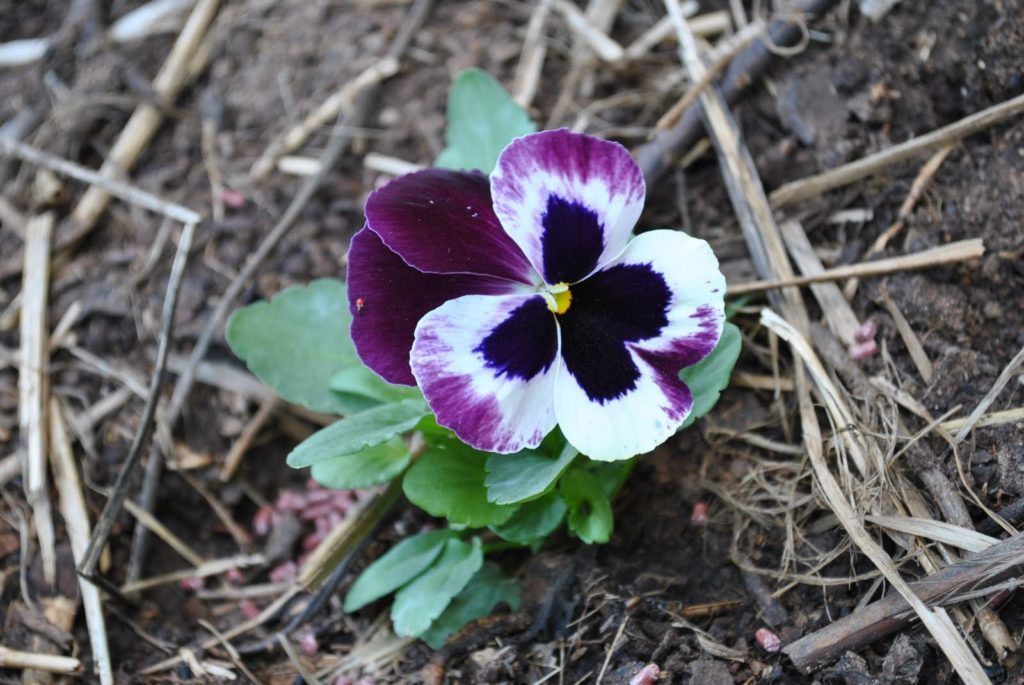
Admiring pretty new blooms in the garden.
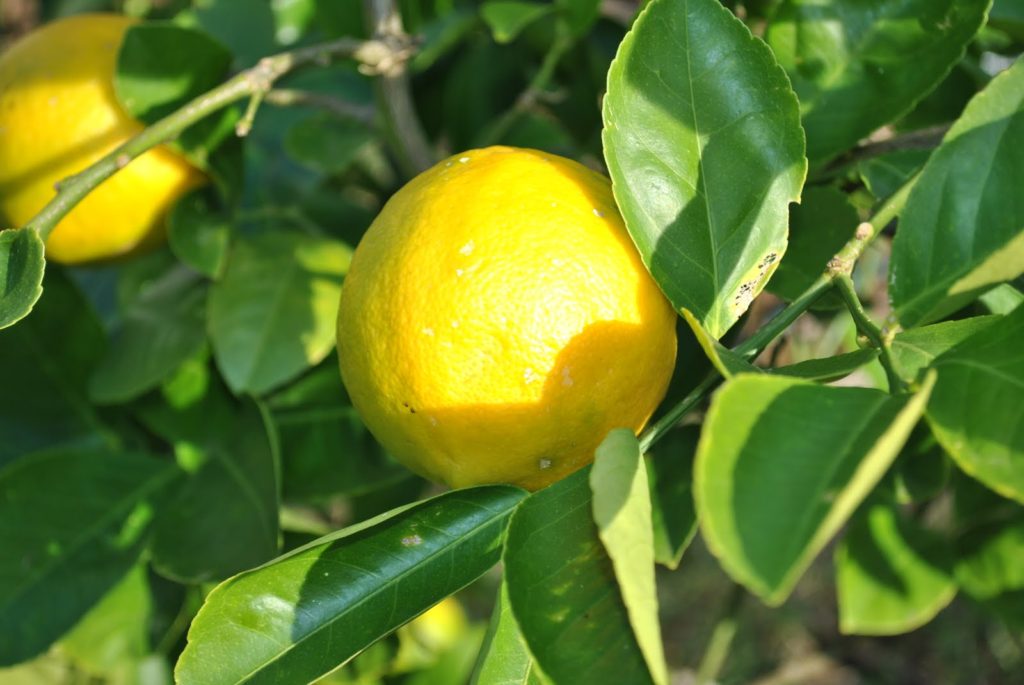
Looking forward to picking our very first lemon. 22 isn’t bad for a first fruiting!
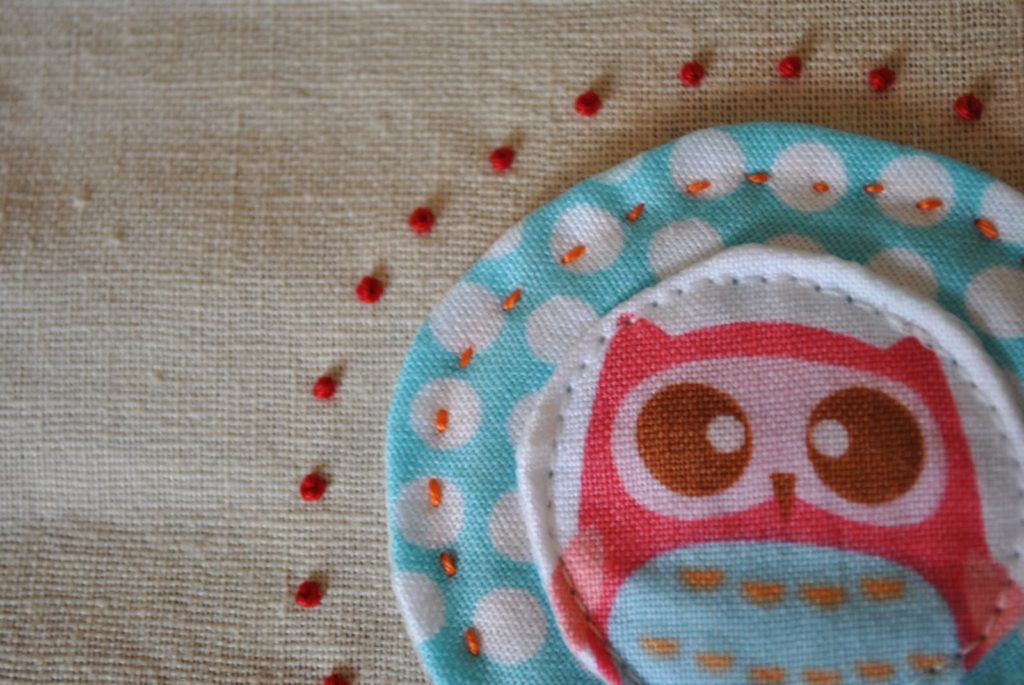
Working on the machine and with a needle for a certain swap.
Love my bias binding maker!
I’m also quite excited that we’re traipsing out to the country on Monday to view some properties. The weather is fabulous here today – I hope the sun is shining wherever you are.
God bless and keep smiling!

