
Just when you think you’ve tried everything in weaving, you come across something different, like Clasped Weft Weaving!
Clasped weft can be a great “next step” for newer weavers with a few plain weave projects completed and who are ready for something a bit more adventurous.
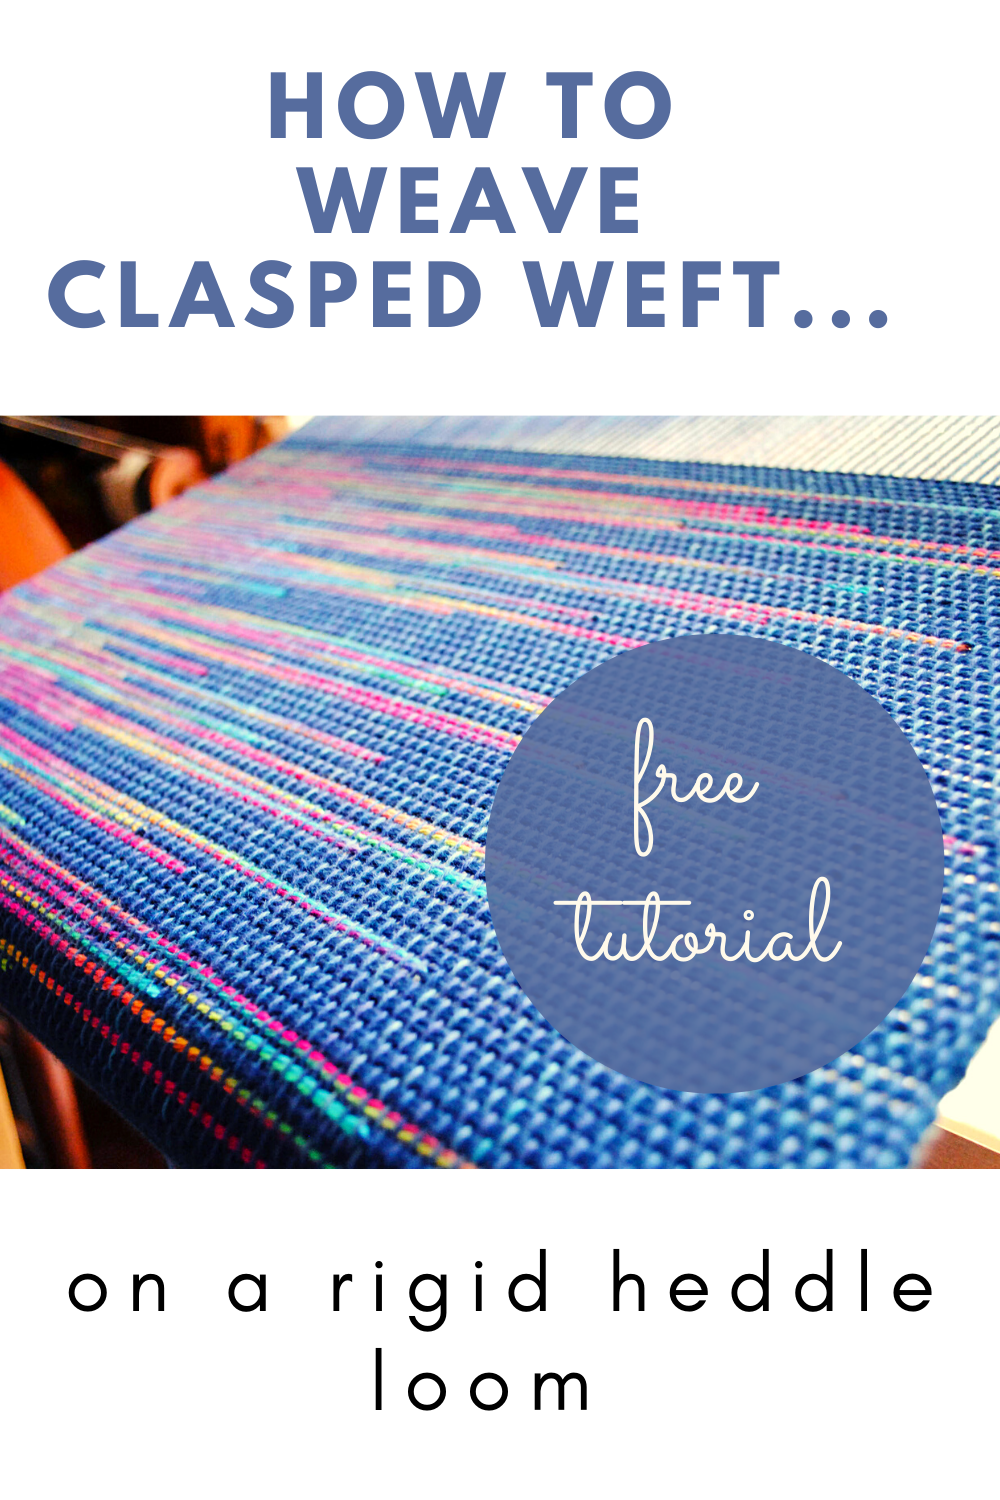
So, What is Clasped Weft Weaving?
The cool thing about weaving clasped weft is that, similar to Colour and Weave, most of the work is in using colours to make your weaving look fancy, when in actual fact it is quite simple.
The clasped weft technique uses 2, 3 or 4 interlocking weft colours. Using 2 colours to begin with is the easiest and least complicated approach. If you have done any tapestry, you may already be familiar with the interlocking technique.
*This post contains affiliate links. for more information, see my disclosure policy.
We mainly use a plain weave structure (though clasped weft can actually be used in other structures, such as twill). It is a perfect technique for a rigid heddle loom, because, although it’s simple, it looks special and has big impact.
The Mechanics of Weaving Clasped Weft
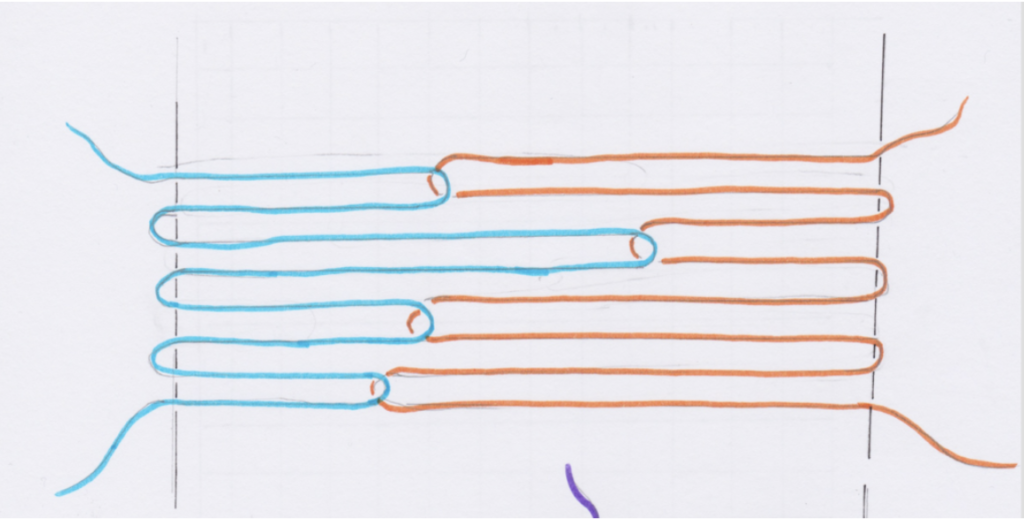
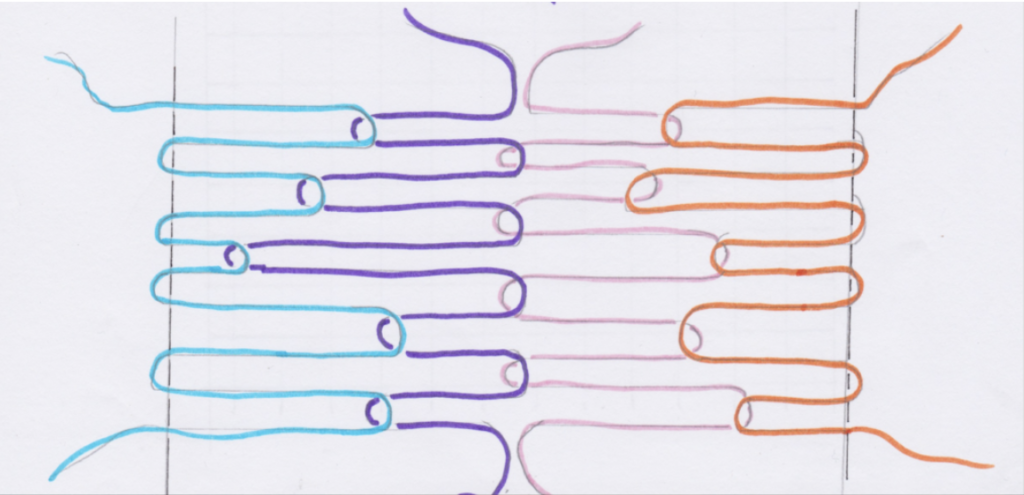
Before we go through the tutorial steps, let’s look at some (rather poorly drawn, sorry about that!) diagrams to get a clearer idea of how this works. The drawings are over simplified, as I haven’t drawn in the warp and weft interlacement, but I have drawn in the edge warp threads:
Clasped weft with 2 weft colours.
Clasped weft with 3 colours.
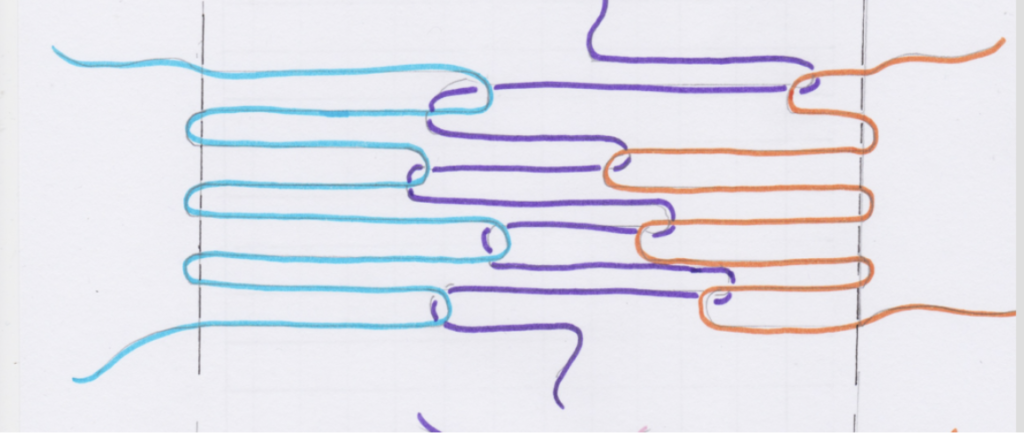
Clasped weft with 4 colours.
Now let’s go through the tutorial steps so that you can get clear on how clasped weft is actually woven.
Clasped Weft with Two Colours
Today, we are just focusing on working the two weft colour technique, as I believe this is the best place to begin if you’re not familiar with clasped weft or haven’t attempted it before.
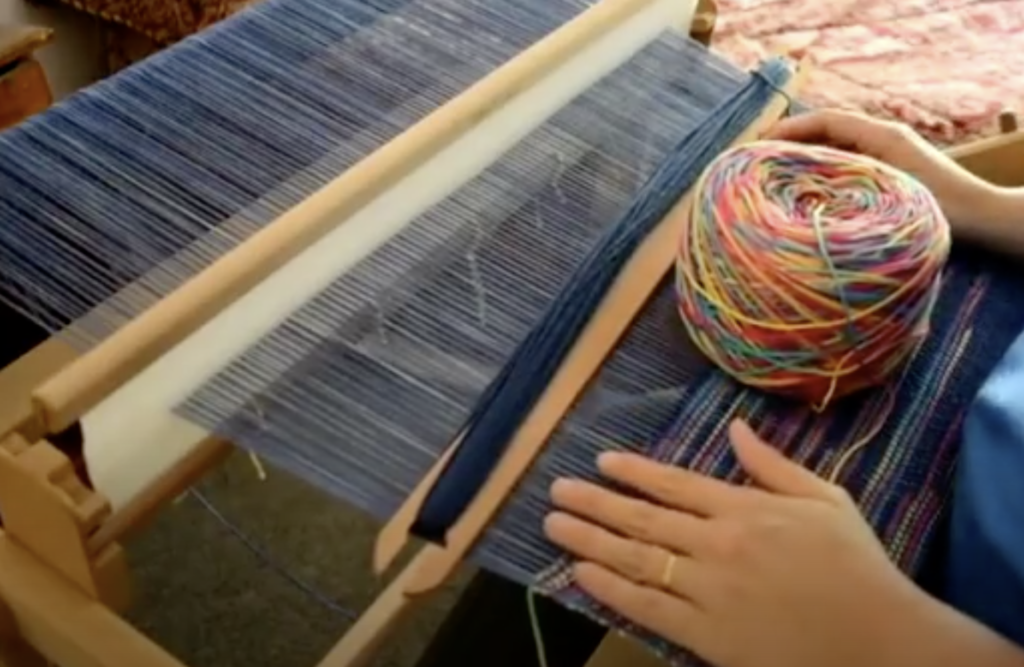
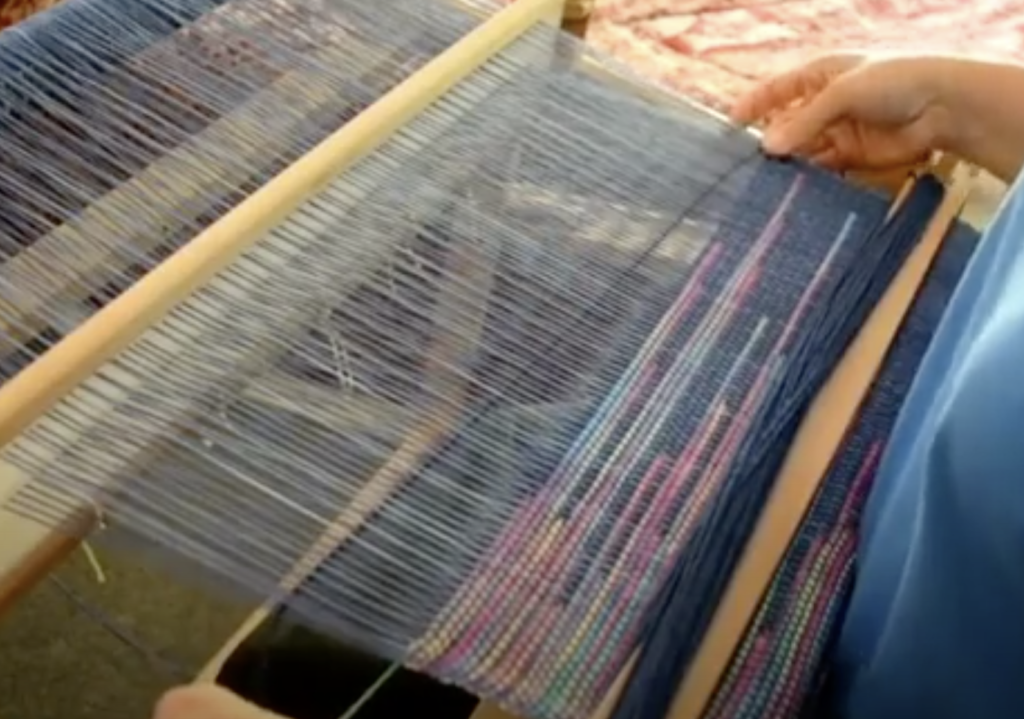
Begin with two contrasting weft yarns of the same weight. I have used one with a dark navy colour and another that is variegated with bright colours. See the tips section below for more on why variegated works perfectly.
My warp and weft yarns were all light worsted/dk/ Australian 8 ply weight. Wool, acrylic or cotton are all fine.
One weft yarn is loaded onto a stick shuttle, in my case this was the dark navy. The other colour is left in a ball or on the cone. My variegated colour was in a skein and so I wound it into a yarn cake with my ball winder.
A yarn cake (also known as a centre pull ball) is particularly good to work with for clasped weft, because it sits nice and flat on the floor and won’t roll away. The yarn also feeds off the yarn cake seamlessly, which makes the whole process that little bit easier. If you have a round ball or a cone, you may want to sit it in a box or basket on the floor to contain it.
Place the ball of yarn on the floor at your left. It doesn’t matter if you place it on the right or left, but for the purpose of this tutorial it’s on the left.
Because the ball (let’s call it the contrast yarn) is on the left, we enter the shed with the stick shuttle on the right. Again, it doesn’t matter whether you are in the up or down shed, but I am beginning in the down shed.
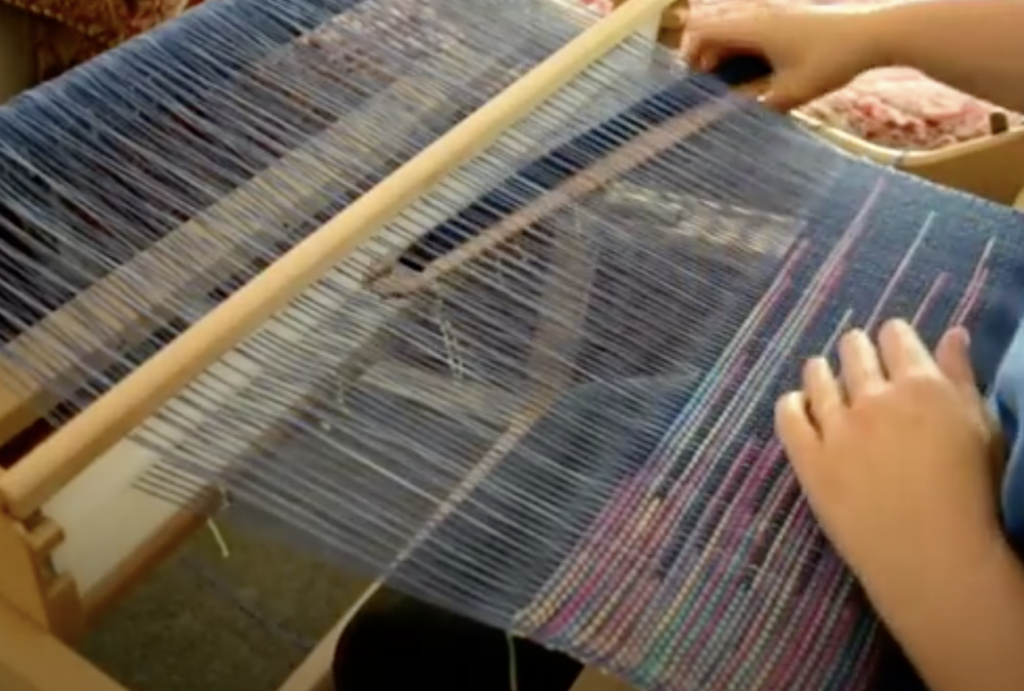
Take your stick shuttle across from the right hand side to the left as though you’re going to weave a regular plain weave pick.
When you get to the left, take your stick shuttle underneath the contrast yarn. An easy way to do this is to pick up the contrast yarn as the stick shuttle exits the shed and place it on top of the shuttle.
On the right hand side (where your shuttle entered), tidy up and prepare your weft yarn at the selvedge as though you’re going to beat the pick in. If you’re not familiar with how to do this, watch my free video on How to Weave Neat Edges. DON’T BEAT.
Take the shuttle straight back into the same shed. Don’t change sheds, and don’t beat! Take the shuttle through, back to the right where you first entered the shed.
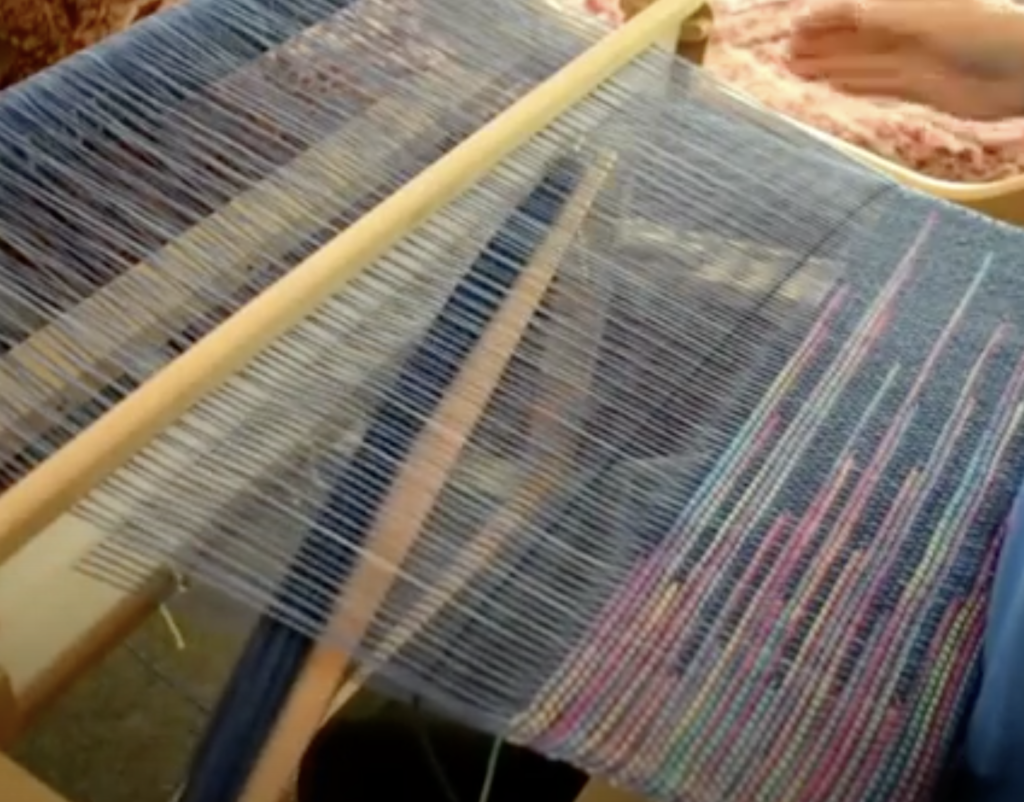
As you return the shuttle to the right, you will find that the navy yarn is linked or clasped with the contrast yarn. This means that the contrast yarn is pulled into the shed. Now you get to decide how far you will pull the contrast yarn into the shed. A little? A lot? Your choice, depending on the effect you want to achieve.
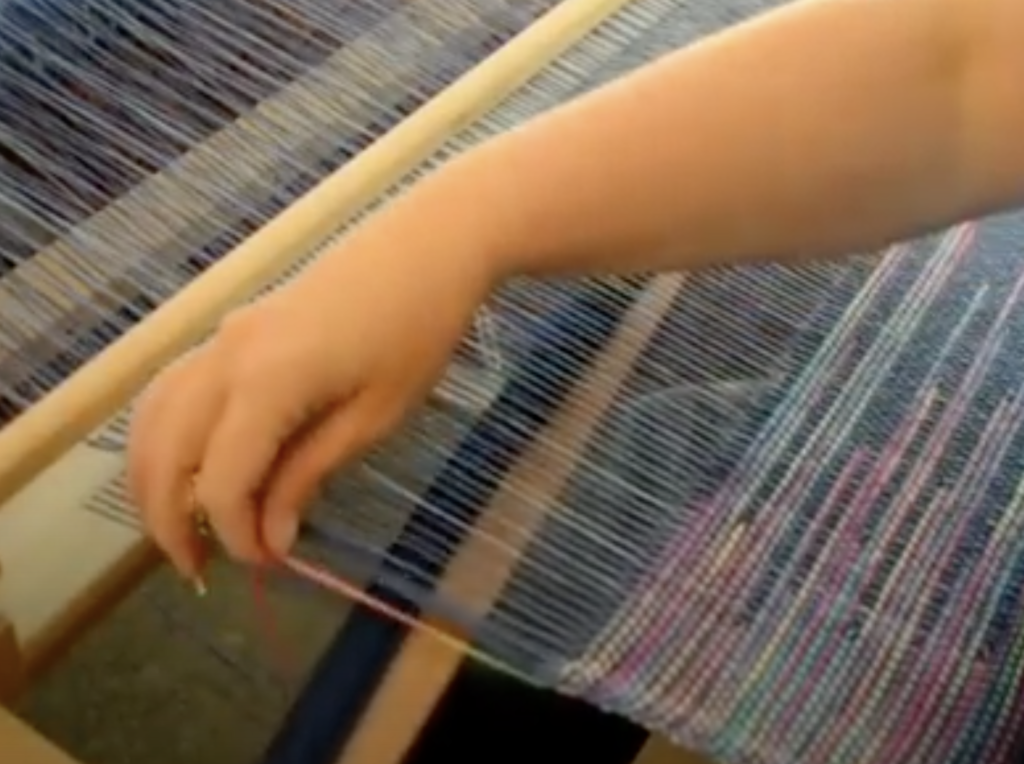
Hold both yarns under tension on either side to manipulate where you want the two yarns to go.
When you’re happy with the yarn positioning, beat the picks into place. You will notice that both yarns are now doubled in the shed.
Change to the next shed (in my case I had been working in the down shed, so I go on to change to the up shed).
Continue weaving in the exact same manner in the new shed and repeat until you’ve finished weaving.
Isn’t your head just swimming with all the possibilities of this wonderful technique?
Clasped weft can be extremely planned or extremely random. It looks wonderful both ways and is just so much fun to weave.
Here are a few recommendations for best results:
1. Use contrasting weft colours.
Light and dark will make the weaving pop.
2. Use the same weight yarn for both warp and weft.
You will get better results and avoid the not so pretty lumps and bumps that can occur at interlocking points.
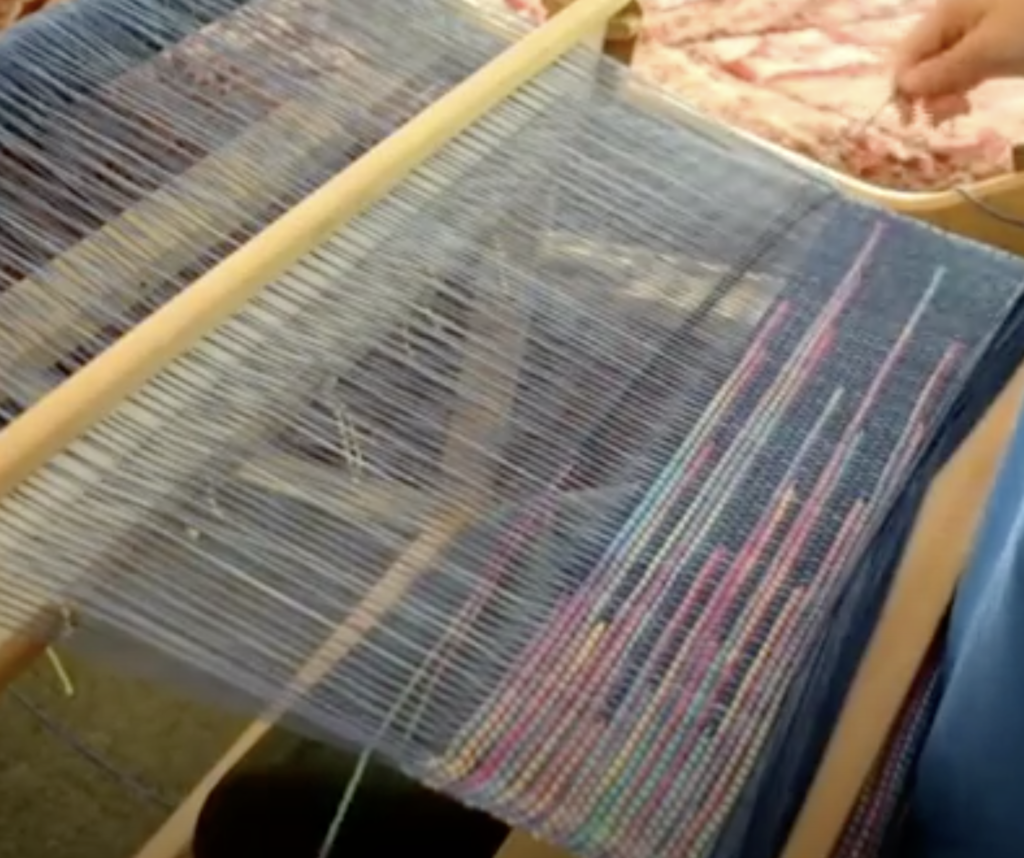
3. Variegated yarn is perfect for this.
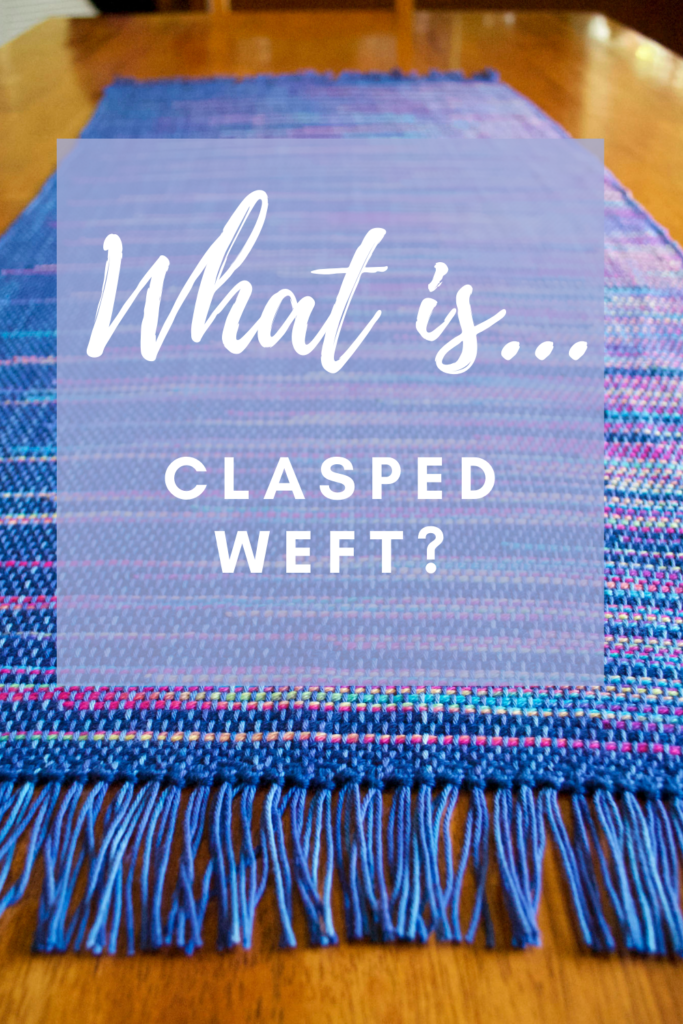
For the 2 colour clasped weft technique, a variegated yarn with a contrasting yarn looks really cool! (See photos below and above).
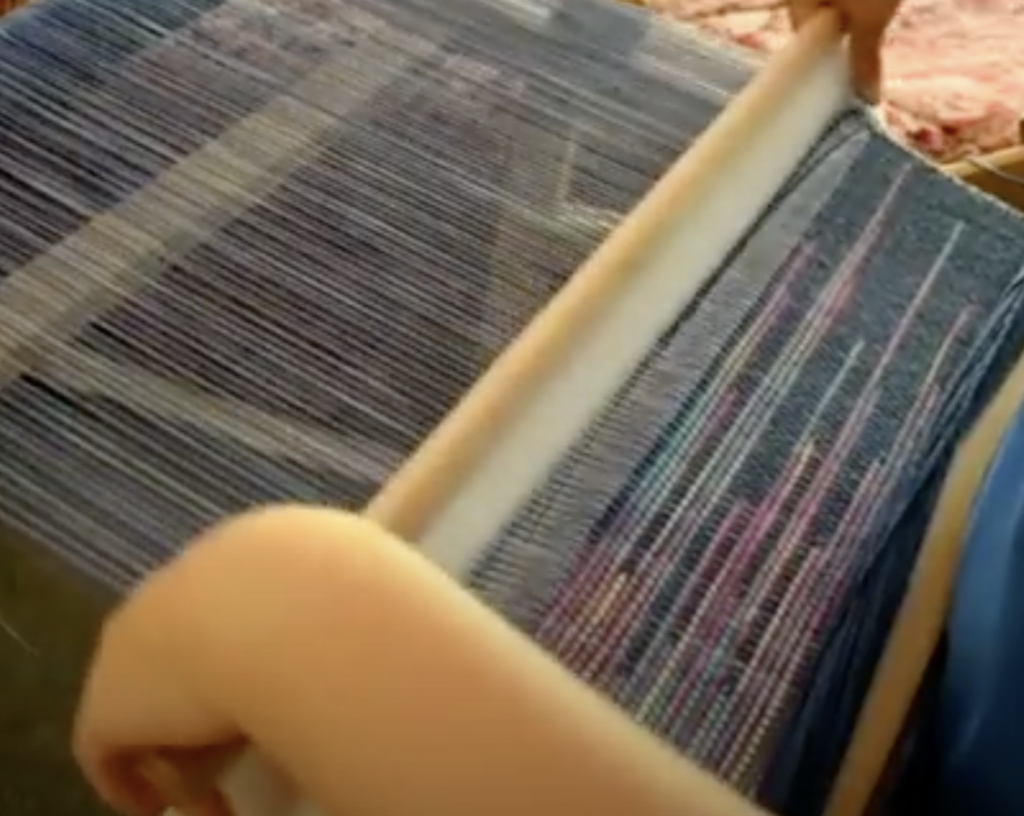
4. Using the same colour as the warp for one of your weft colours works great.
Too much colour can confuse the contrast of the clasped weft lines. In the tutorial, I used the same navy yarn for warp and weft no.1. I then used a contrast yarn for weft no.2.

If you like the look of clasped weft as much as I do, I have some great news for you!
I have 3 free Youtube video tutorials that will teach you each of these techniques. Start with video 1 so that you can practice the technique, before moving on to the others.
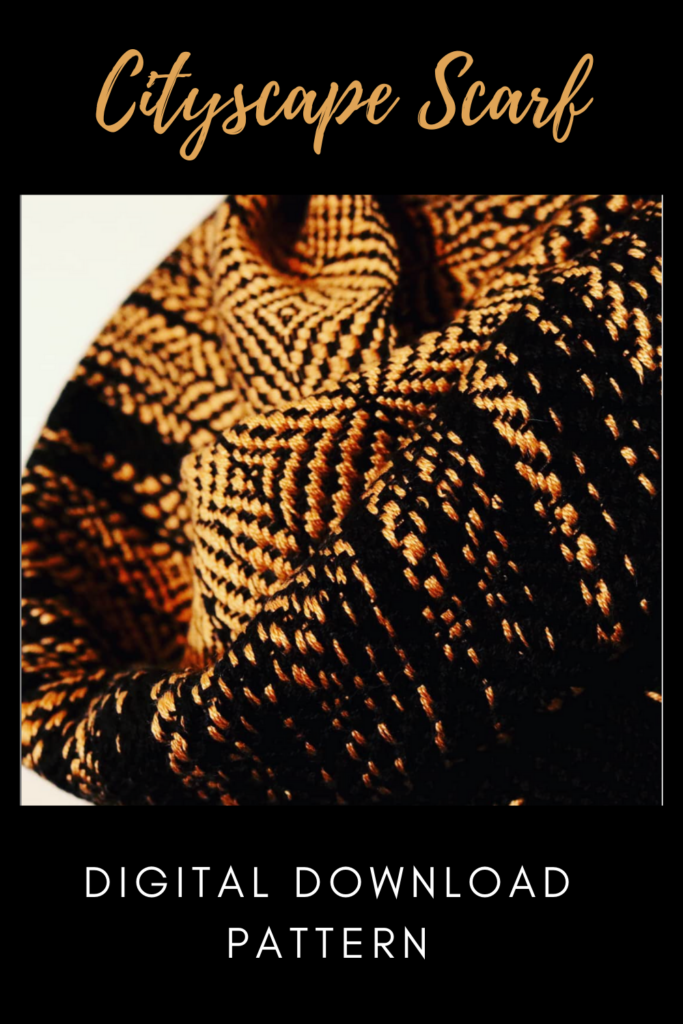
I mentioned that the clasped weft technique can also be used for other weave structures. This can create really interesting and impressive special effects. One of my patterns, The Cityscape Scarf is a perfect example of a clasped weft combined with a twill.
Try it out and let me know what you think.
Leave me a comment here or under any of the Youtube videos, I love to hear from you!
Until next time…
Happy Weaving!
Any suggestions for rigid heddle weaving brushed Suri Alpaca?
Thanks again for the great lesson on clasped weft. I am already looking thru my colors of wool to try it.
Wonderful! 😀
Clasped Weft, if you are a beginner and want to feel like a pro, you will love this pattern. It gives you freedom on the design but good instructions by Kelly to get you going. I am working on one in Navy Blue and Sage Green and am pleased with it so far.
Sounds lovely Laura!
This is an excellent companion to your clasped weft videos Kelly. I’ve got your Cityscape Scarf pattern ready and waiting….
Ooo, that’s exciting!
I like doing clasped weft, but have only used two colors. Thank you for the diagrams showing how to use three and four colors. I’m going to try it when I move for making a tote bag.. I have lots of half skeins of Sugar & Cream from towels and the multi color technique will look great!
Clasped weft looks great on bags, so I’m sure it will turn out well!
Kelly – WOW! Clasped weft weaving – so dramatic and yet not difficult. Your videos and methodical, practical narrations are the BEST the weaving world has to offer, especially for those of us who are visual learners.
PLEASE keep on; you are a gifted educator!
Thank you so much Nancy!
How do you switch out colours if you’re doing two colour method, but alternating the colour you’re using on that one side?
For example, black warp with one side black, and then contrasting red and orange against the black?
If you want to switch sides, you would start and end the yarns on either side as you would for normal plain weave, and then begin the interlocking process again.
Thanks!
I struggle with switching out weft colours in general – I don’t know how to carry them up/seamlessly switch them out!
Great article Kelly! I haven’t explored Clasped Weft much, but you’ve inspired me. Added to my ever-growing “I need to do that!” list.
Yes, you definitely need to! When you’re less busy, perhaps 😆
Thanks Kelly this is a great explanation to go along with your videos. I made my grandson Elmo placemats with grey background and a big Elmo face in the middle. Clasp weft worked perfect. I watched all four of your videos over and over to get the technique before I started and it turn out magnificently.
I was so impressed with your Elmo!
This looks fun! I think it will be my next project t
Great!