Recently on my Weaving Lessons channel, we explored some of the possibilities of weaving with two heddles on a rigid heddle loom. It’s these sort of techniques that really open up the imagination of what can be achieved on this humble loom. We covered sett, patterning, twill, double layer and tube weaving. Fascinating stuff!
I love to polish off a series with a project or two, to enable students to see the new techniques in action and apply them practically.
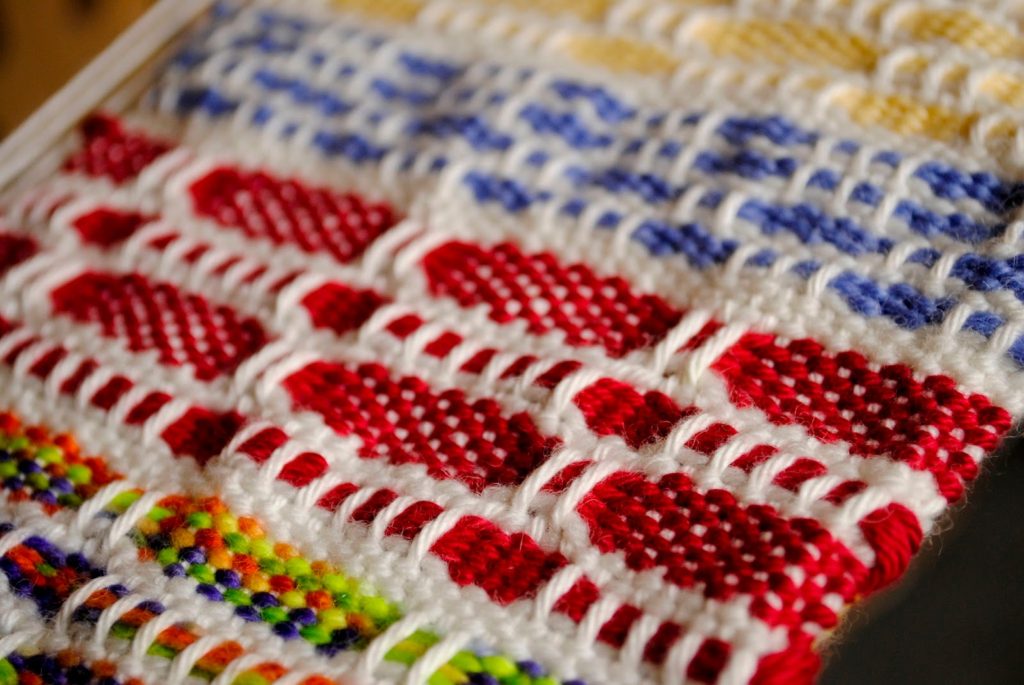
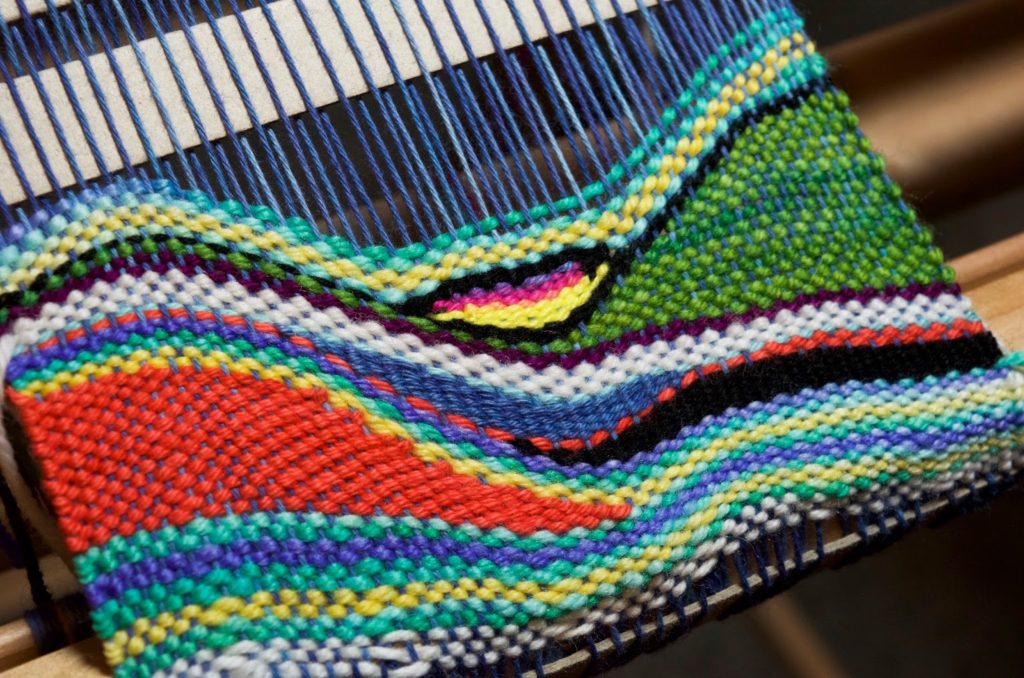
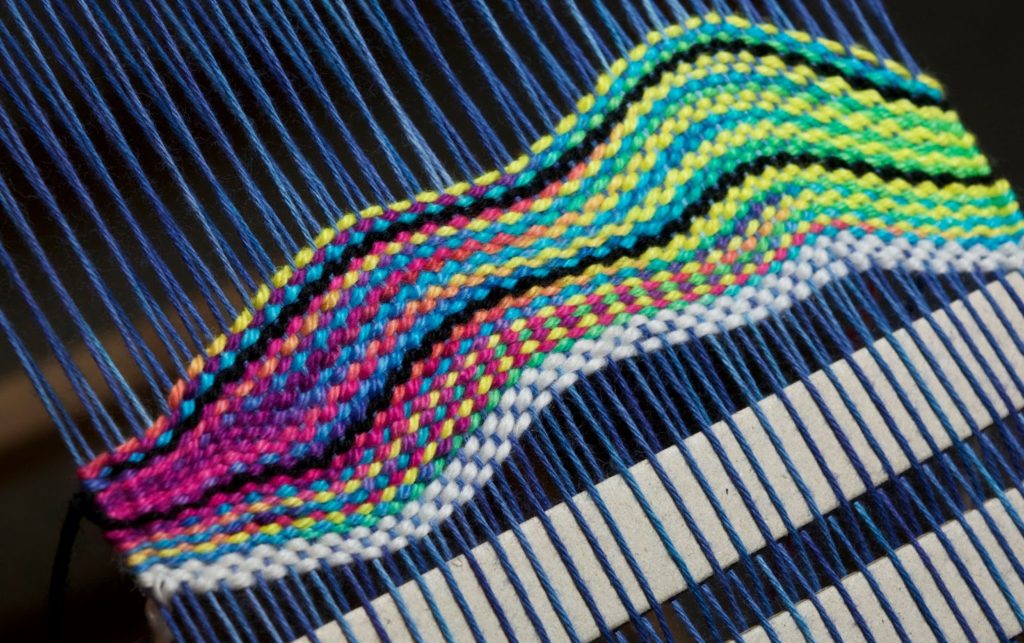
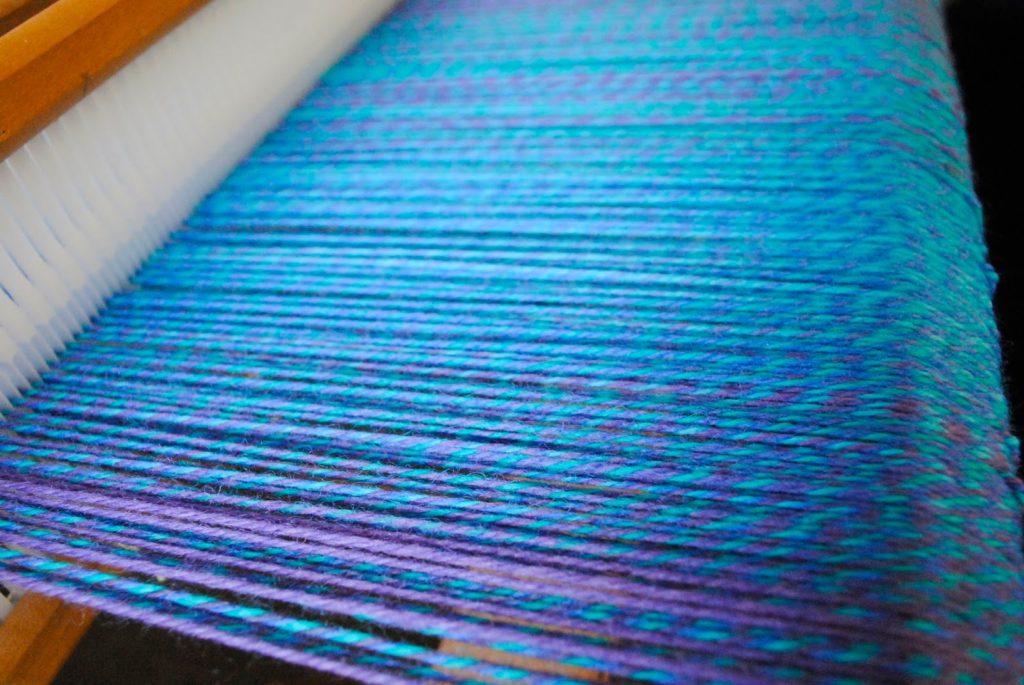
I’m not telling what the project is (yet), but if this warp is anything to go by, it’s going to be a beauty! This pure new wool is “Bloom” from Bendigo Woollen Mills and is just a delight to look at, a beautiful intricacy of colours.
I’ll be back once the videos for this project are posted, stay tuned!