The Japanese Journey Masterclass grew from a love of Japanese textiles and a desire to know more about processes and historical fibre arts in Japan.
This idea has been forming in my mind over almost 2 years. I knew that it would not be possible for me to take a physical trip to Japan but I very much wanted to undertake research and combine my previous explorations into Japanese arts with my handweaving.
So I decided that a virtual textile journey to Japan would be the best option to satisfy my fascination and explore ideas. When I mentioned the idea to others in my weaving community, I discovered that many of them were very eager to take the journey also – and so a year ago I began putting together this virtual journey that became a Masterclass!
There are three projects in total to complete in the course, multiple printable PDF’s and extra slide videos that delve into Japan’s textile past.
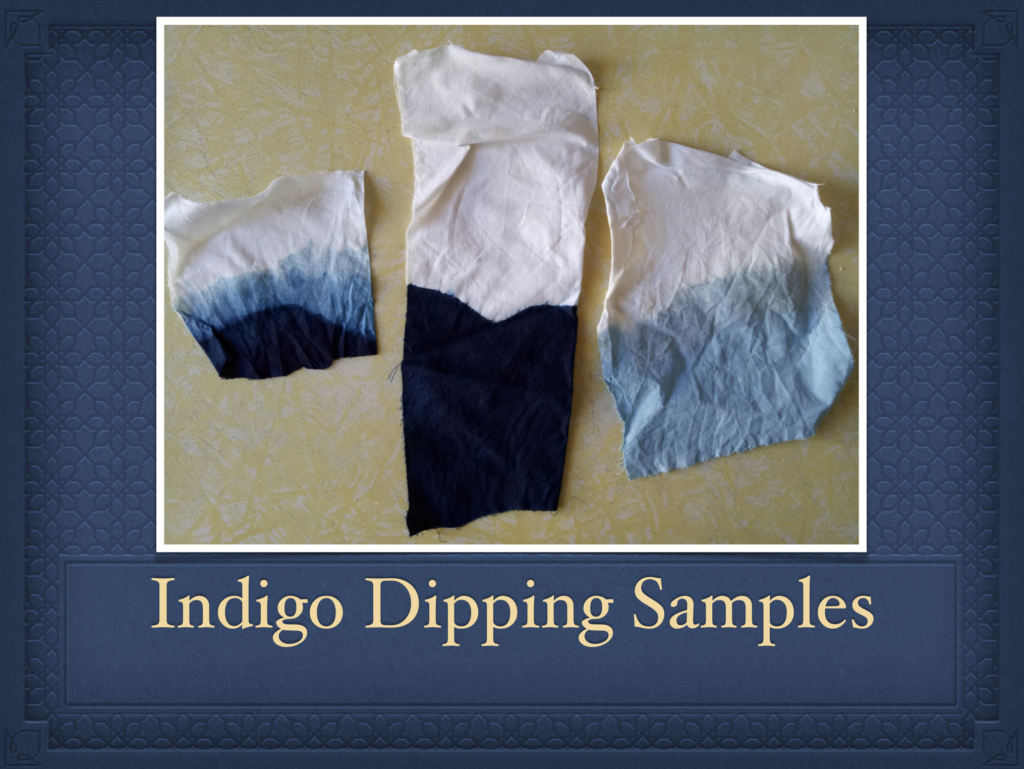
The first section of the Japanese Journey Masterclass is all about indigo. We talk about the origins and uses of indigo in Japan. Then we use the modern conveniences of indigo powder to make our own indigo vat.
All three project are dyed with indigo, however I do provide alternatives for those who don’t feel ready to venture into indigo dyeing.
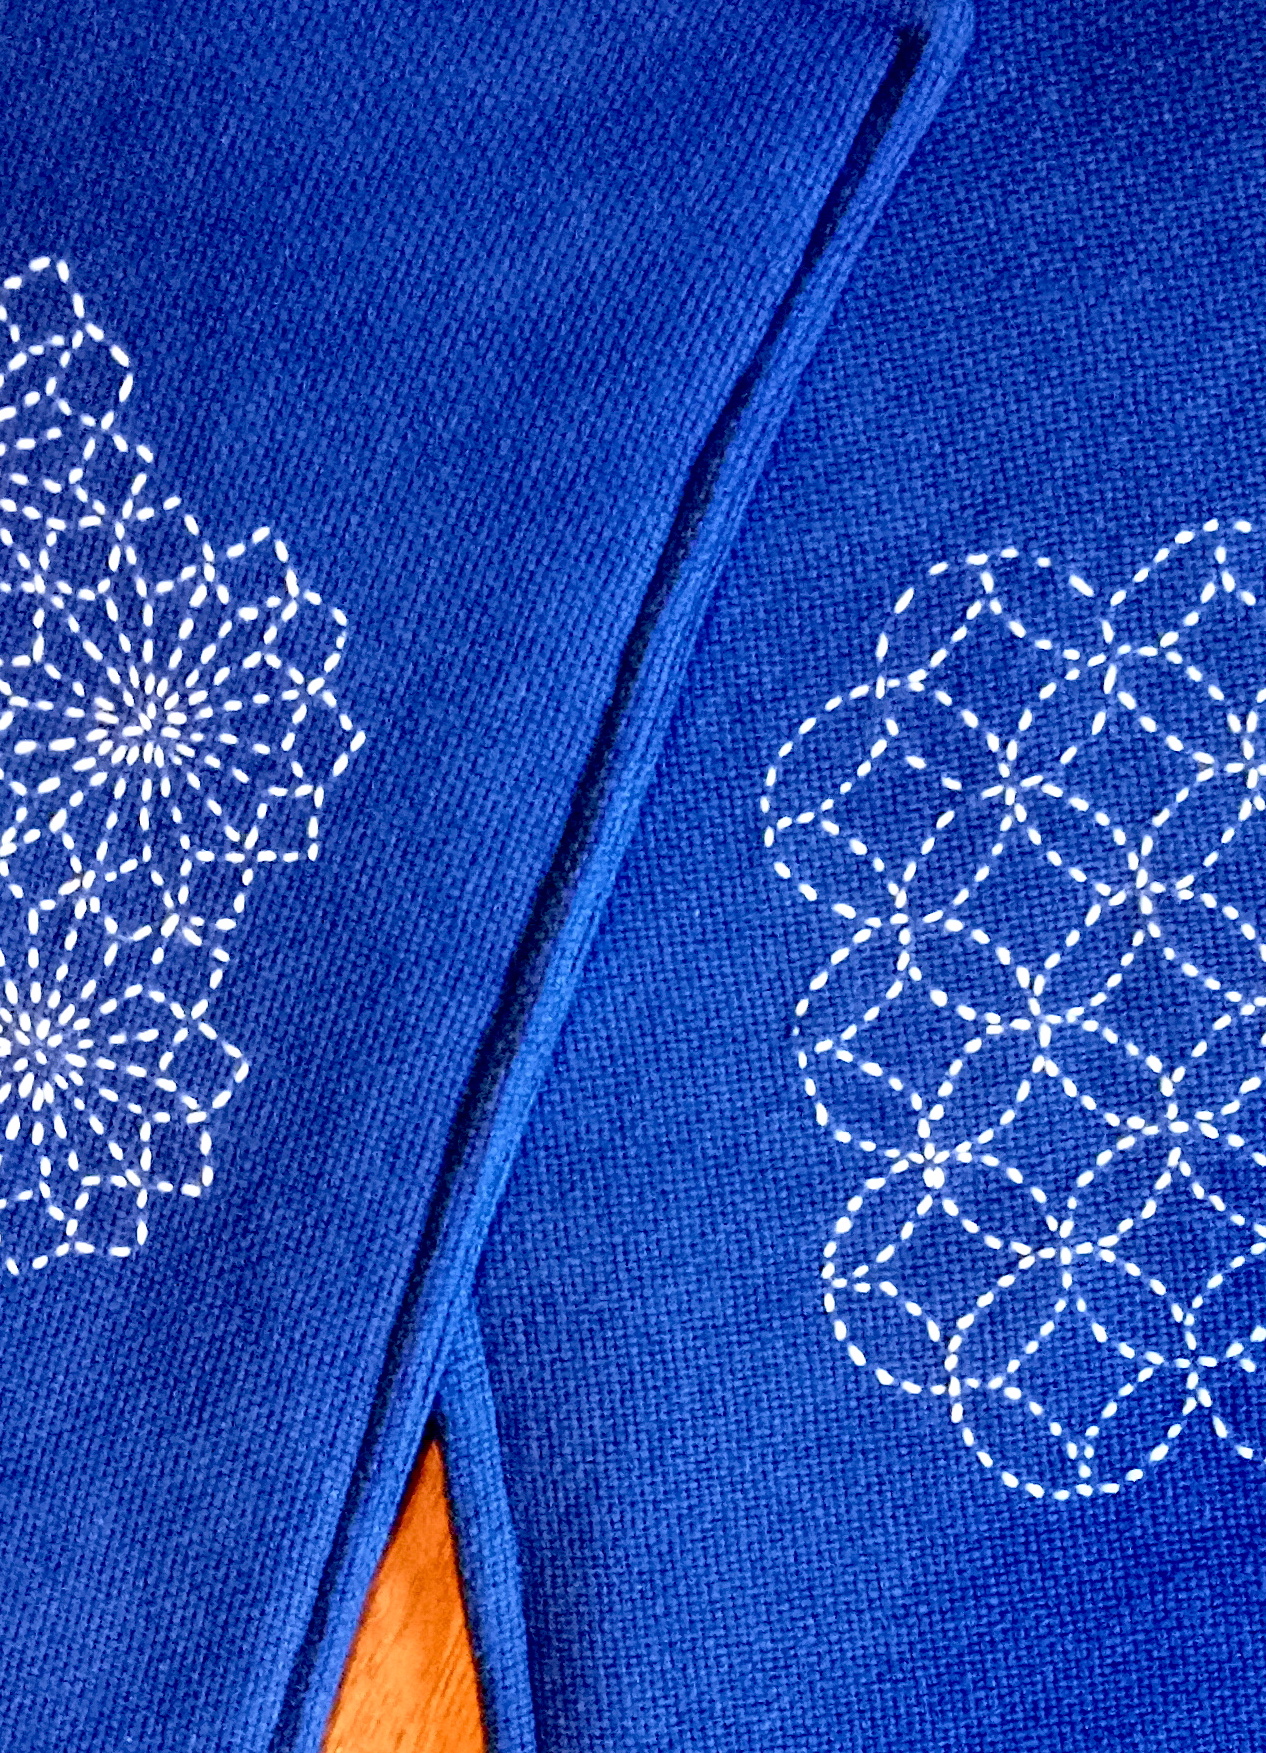
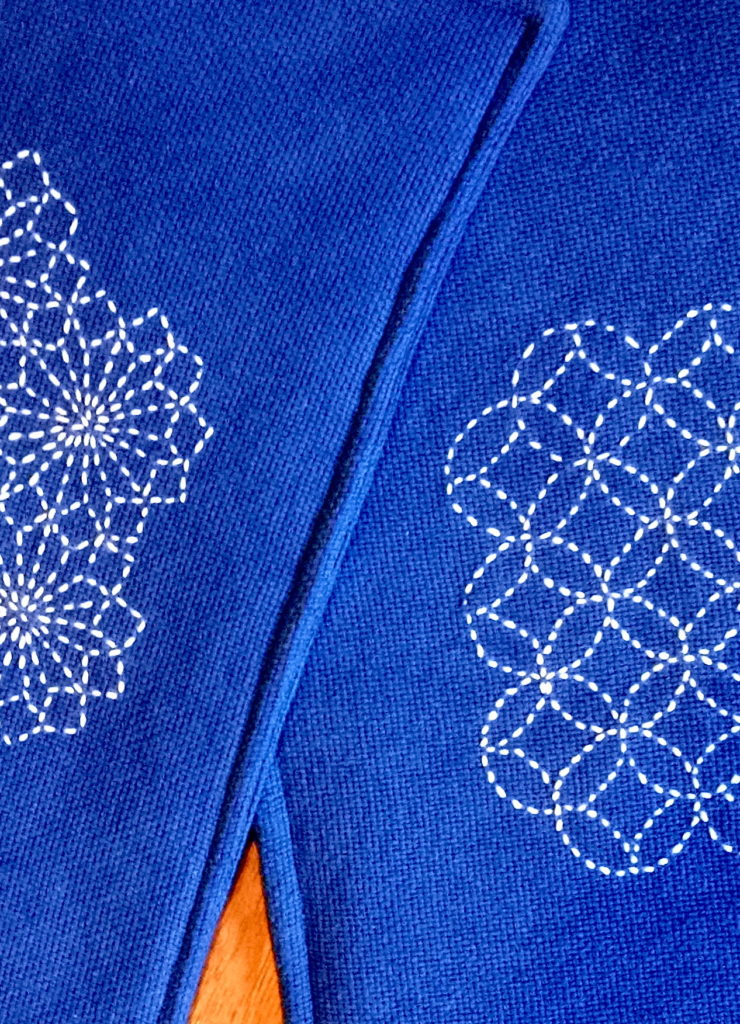
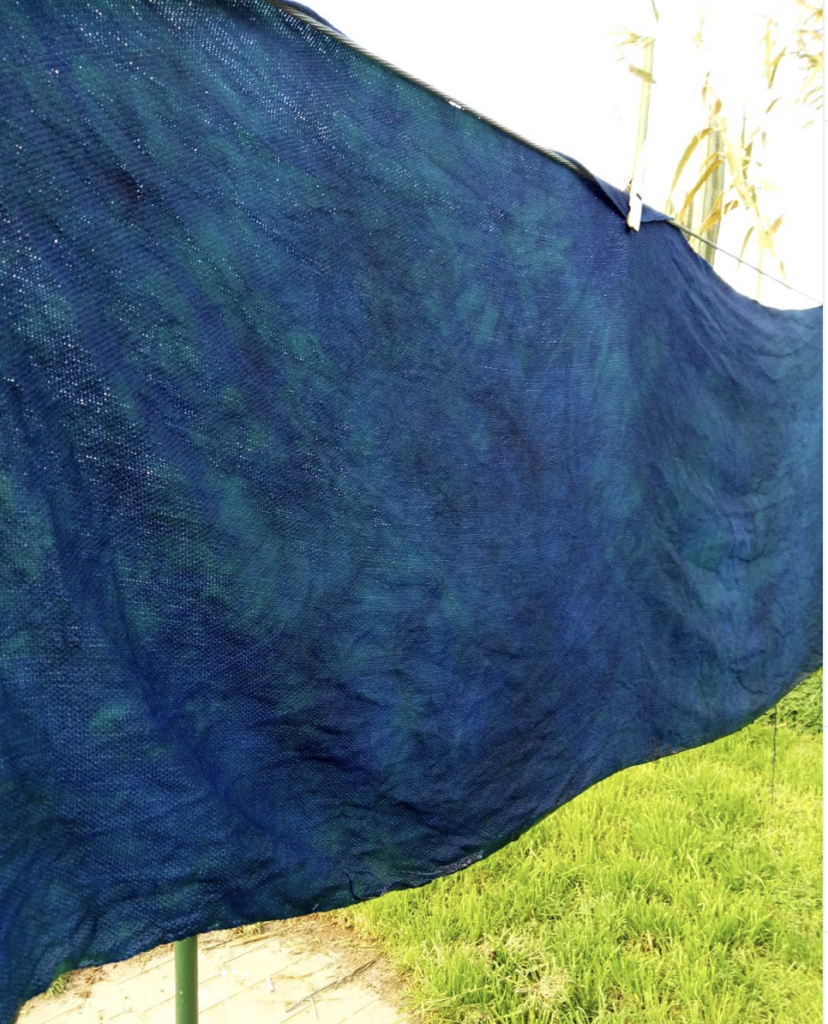
Project 1 is the Sashiko Placemats. We begin by weaving the cloth, dyeing it with indigo, embroidering designs onto the cloth using the stunning sashiko (which translates to “little stabs”) techniques, and finally sewing the unique and striking placemats. I know these will become a feature of anyone’s dining table as well as a conversation piece.
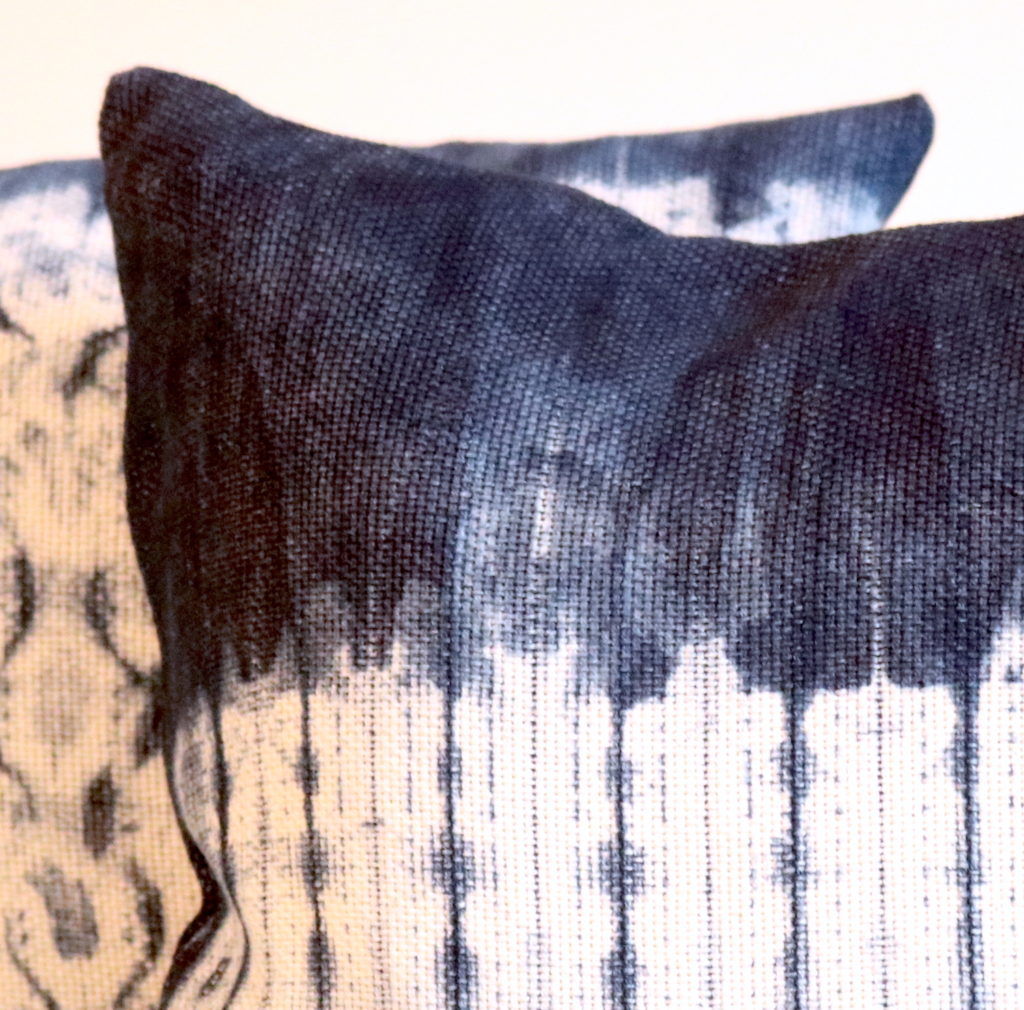
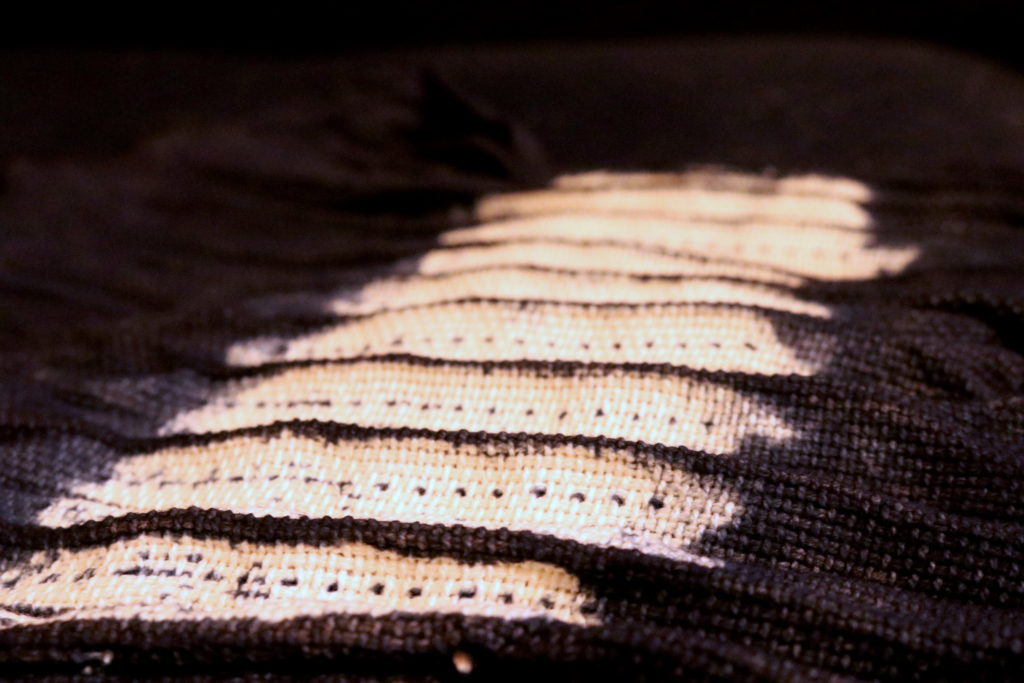
Project 2 is the Shibori Pillows. Once again, we begin with weaving the cloth, but this time we learn the art of woven shibori. Shibori is a method of resist dyeing and can be achieved in a variety of ways with a variety of results. For us weavers, we have the additional fun of being able to weave out resist designs into the cloth to use later in the dyeing process.
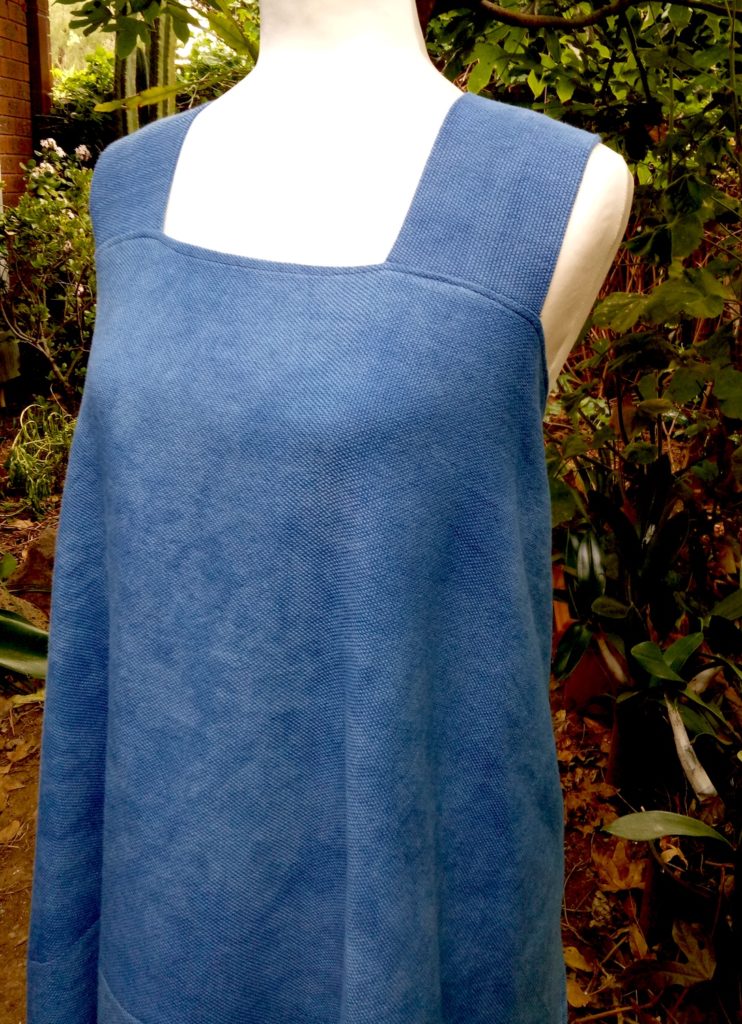
Project 3 is the Japanese Apron. This is the largest project but very achievable. The simple crossover style of the apron makes it a sewing project that is simple enough for beginners. It is also an elegant and useful finished piece – I intend to use my apron to catch all those pesky fibres that fall onto my clothes while I’m weaving!
What skill level is this course for?
This masterclass is aimed at those who are familiar with and confident with their loom. Although the projects are all plain weave, we do use fine threads, which can present a challenge for newer weavers.
You also need to be familiar with basic sewing on your machine.
Other skills (sashiko embroidery, indigo dyeing) are taught in the class and are intended to build and expand your current skill set.
What do I need to complete this course?
A sense of adventure, first and foremost! Some of the skills you will learn in this course are challenging and take practice. But I know that, with the right attitude you will find it very rewarding to learn these new skills and add to your creative repertoire!
What equipment will I need to complete the course?
All the fabric for the three projects can be woven on a rigid heddle loom, as we use the classic and beautiful plain weave for every project. I wove my apron fabric on my floor loom, but this was a matter of practicality so that I could be more time efficient in making the course.
What size does my loom need to be?
I used my 24″ loom but as always, projects can be adapted to suit smaller sized loom. A 15″ or larger is preferable though.
What other things will I need?
A full materials list will be available upon purchase of the course. However, to complete all the projects you will probably need to purchase some extra tools. Dyeing equipment, embroidery hoops (optional), sashiko supplies and things of that nature will be needed. I’ve tried to provide affordable options and sources for additional equipment where needed.
Will I need a sewing machine and serger?
A sewing machine – yes. Every project is sewn together on a machine. Basic sewing skills are needed.
A serger – I consider this a luxury item – if have one, brilliant, if you don’t, you will get by. You will need a way to secure raw edges of hand woven cloth, you can do that with a zig zag stitch on a sewing machine though.
The course includes almost 8 hours of video content and 6 printable PDF’s.
You can complete the projects in whatever order you please, though I do recommend that you work through them in order to build those skills as you go and follow the lessons with ease.
I am so very pleased to announce that this course is fully closed captioned. This is part of my commitment to make online learning more accessible to the hearing impaired and challenged.
Gold members already have full access to this course as part of their membership.
The course is also available at full price as a single purchase.
To receive a notification of the course opening, ensure you are on my mailing list.
To enrol in the masterclass, please click here.
If you have any questions, I’m more than happy to help, just leave a comment below.
Until next time…
Happy Weaving!

Finally caught up with this post, been too busy watching the class videos… WOW!… I’m hooked! I’m so very happy that you have created this class and love all the projects that you have put together. I have the yarn ready to weave the fabric for the placemats and the yarn for projects two & three has been ordered. I just love how you offer so much variety in your classes Kelly, you are forever presenting us with new and interesting things to learn. Can’t thank you enough for leading me through this weaving journey!
It makes me so happy to hear that, thank you Gai 😊
Kelly, what is a Gold Member?
There are different levels of membership for my online weaving school. Gold membership level gives you access to every single class plus early access to many new classes. You can read more about it here if you’re interested – http://kelly-casanova-weaving-lessons.teachable.com/p/gold-class-membership/?preview=logged_out
Looks interesting! What size rigid heddles might I need. Just trying to decide if I need to buy more equipment. Thanks!!
I used my 24″ rigid heddle. Mostly the projects are narrower than this, so you could get away with a 15 or 16″ rigid heddle. Project 3 includes specific instructions for those with a 15″ loom. Two projects use a 10 dent heddle and one uses a 12.5 – this can also be substituted for a 10 dent if you don’t have the 12 or 12.5.
Hope that helps! 😊
What an adventure many will embark on. I hope to be one of them but time will tell.
Would love to have you along on the journey Judy! 😊
This looks like an awesome and interesting class Kelly. Well done!
Thanks Debby!