
After a number of requests for help with stitching on doll hair I’ve finally made this tutorial.
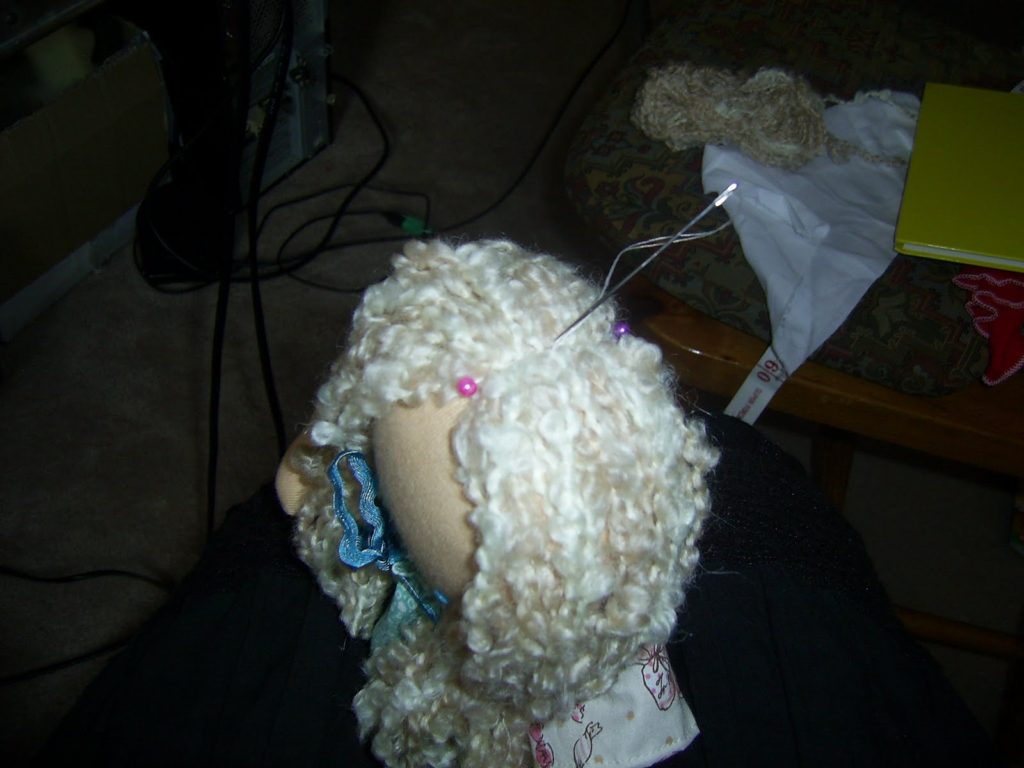
Start by winding lengths of your yarn around a stiff book. If you want long hair your book will need to be larger than if you want shorter hair. Cut the yarn along one end of the book. This will leave you with long, even lengths. Place a plastic headed pin at the front of the forehead of the doll (see the pink pin above?) and another towards the back of the top of the head (see the purple pin?)
Lay your lengths of yarn across this section of the head (between the pins) so that the length is the same on each side of the head. Tie a piece of string or ribbon around the doll’s neck to help hold the hair in place. With a doll needle and doubled thread, stitch down the middle of the head back and forth between the pins. I usually stitch back and forth at least 3 times with a good strong backstitch.
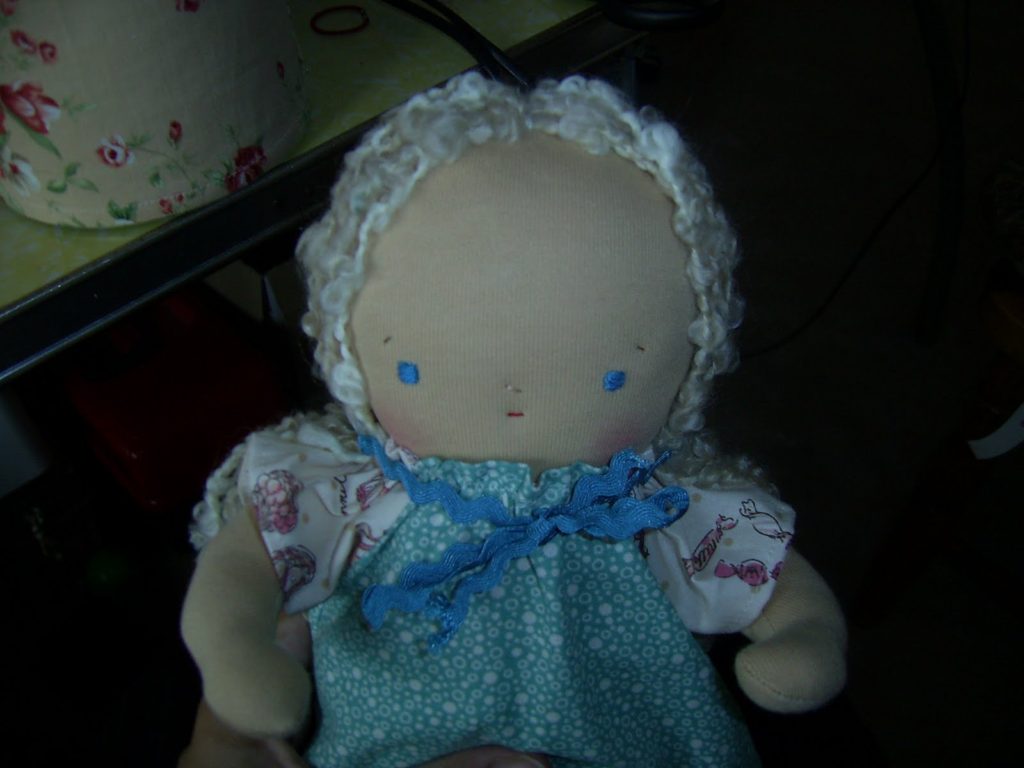
This is how you tie around the neck to hold the hair in place. Take off the tie and spread the hair around the back of the head, if you can get the head evenly covered then you have stitches on enough hair, if not, you may need to stitch on more. The purpose of this first layer is to cover the head, so you don’t want any baldy patches showing through!
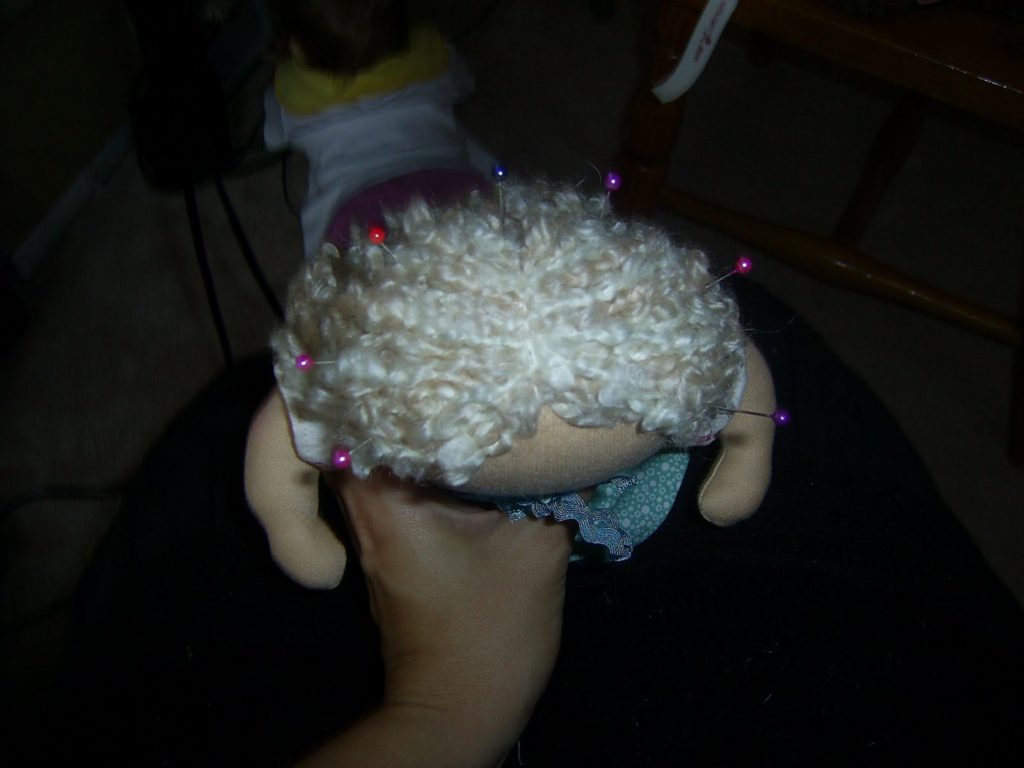
After stitching down the middle, place marking pins all around the head (as above) – about 2 inches down from middle stitching. Once again, use doll needle and doubled thread to stitch the hair down from one side of the head to the other. Remove pins.
Do the same again, about another 2 inches down from where you just stitched, very close to the neck.
Using your book and pin trick from step one, place another lot of yarn lengths across the top of the head between the pins. Tie with string or ribbon again. Stitch down once again, between the pins, back and forth. Remove the tie and pins.
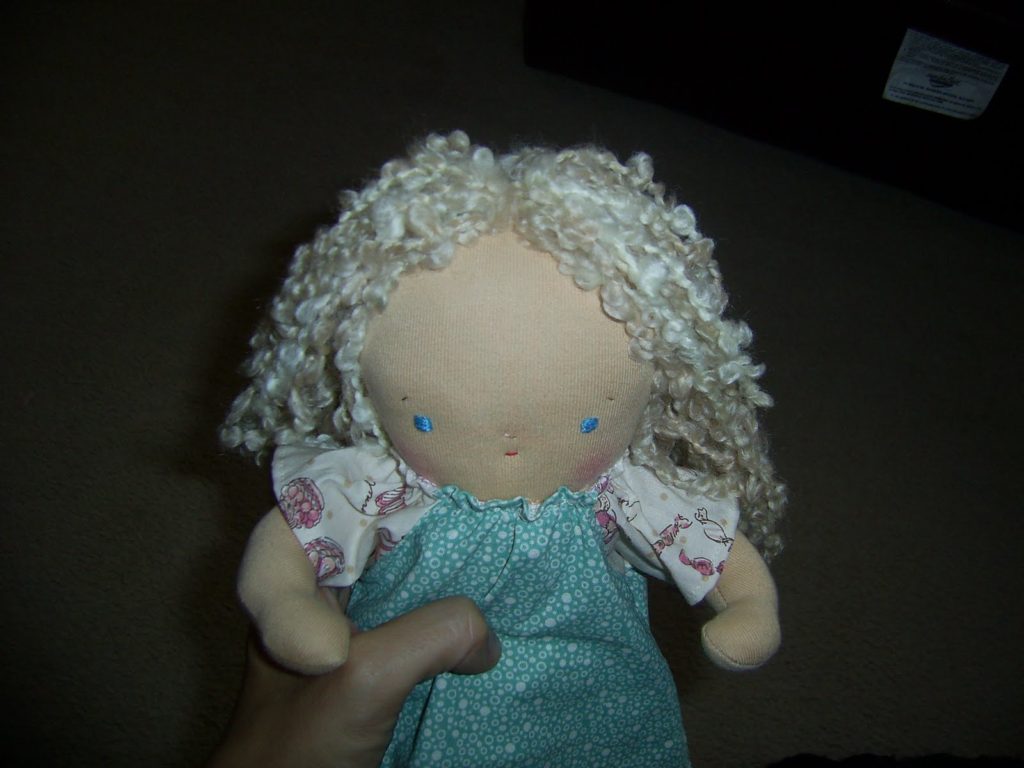
Fluff the hair with your fingers so that it falls naturally around the back and sits nicely on top of your initial layer.
*If you have a large doll you may want to do 3 layers of hair, depending on the thickness required.
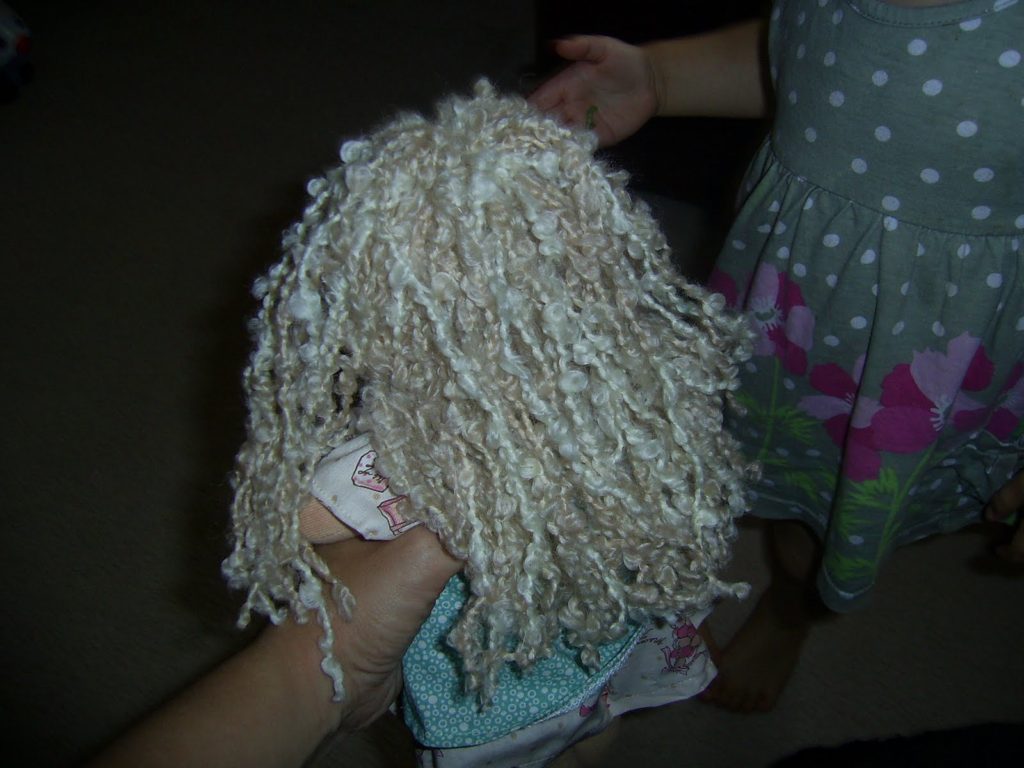
* I mostly use boucle wool for hair as it gives a really full and quite natural look. If you want straight hair and are using straight yarn, you will need to use more to give good coverage.
I hope this is helpful 🙂
That was very helpful! Thanks Kelly.
well I didn't know that was how you did that. That's my something new I have learned today thing!!
Gill in Canada
Thank you so much for posting your tutorial on Friendship Friday! It was lovely having you visit my blog. Beautiful tutorial:)
Warmly
Linda
Thanks for this – I might even attempt another doll. Te first and only looked very sad in the hair department.
What a brilliant tutorial. Much simpler than what I use I shall try this. Just came across your blog. I am now following you, and shall pop back often.
Hugs
Bev
Just stopped by to thank you for stopping by my blog and to let you know your comment wouldn't publish … Blogger kept coming up with error code bX-qou7xx.
But I do understand your grief with etiquette!
Warmest hugs,
Sandi @ Bearly Sane
Oh, thank you Kel. I forgot that bit about going down in layers!
This is extremely helpful.
I may still get you to send that extra wool, to cover some patches. 😉