
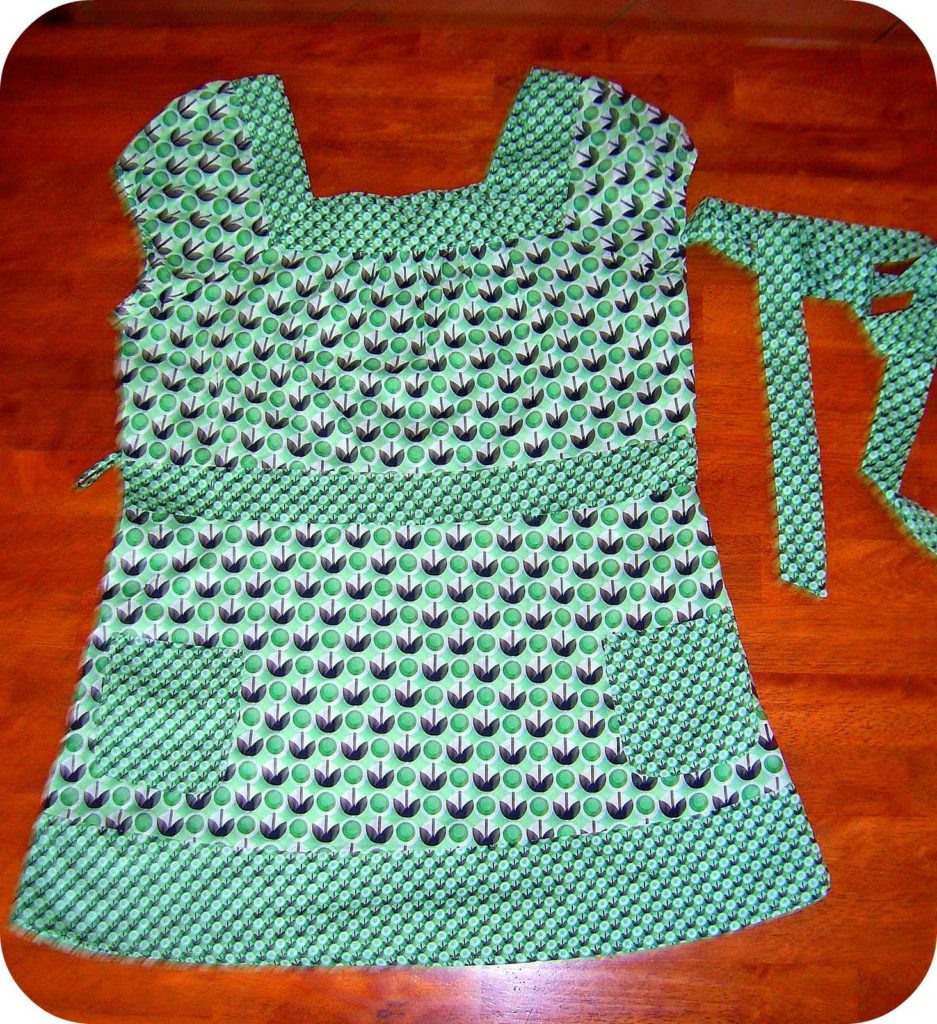
I bought this top at an op shop for a few dollars. When I put it on at home it didn’t suit me and looked very apron – like. Well, a girl can never have too many aprons! A pair of scissors and a sewing machine later….. Here’s an overview of what I did:
I started by cutting straight up the middle of the back so that when laid out it looked like this.
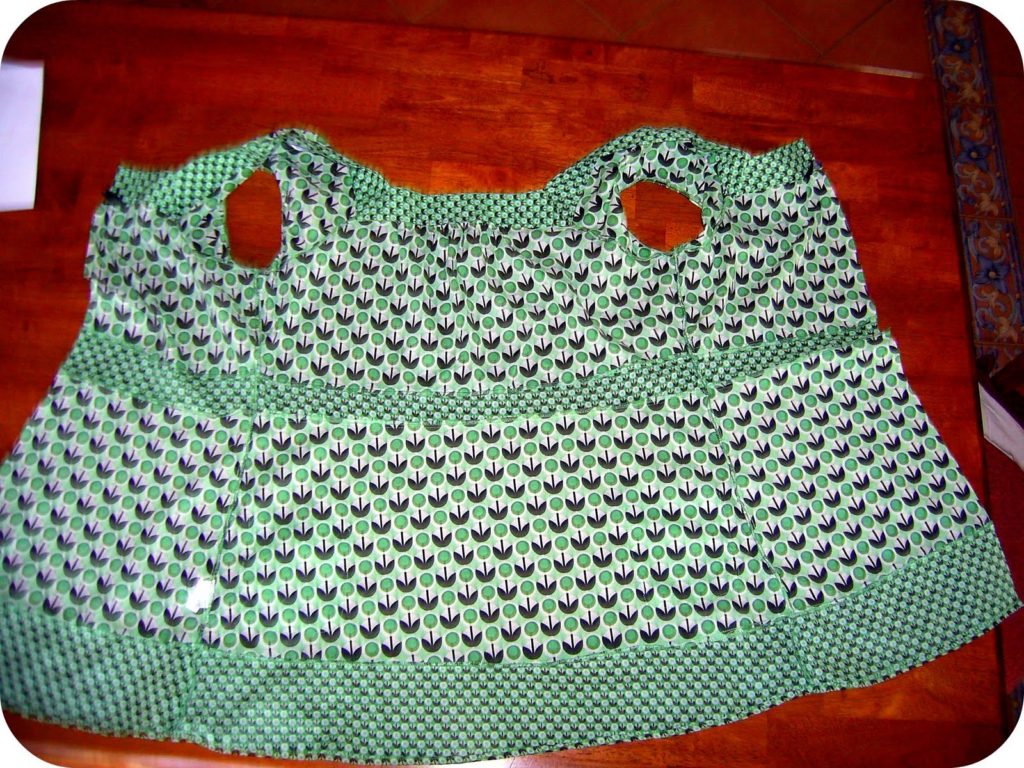
Then I cut out the sleeves, just following the seam lines (cut out the seams too.) Because of the style of the yoke and neckline, mine now looked like this.
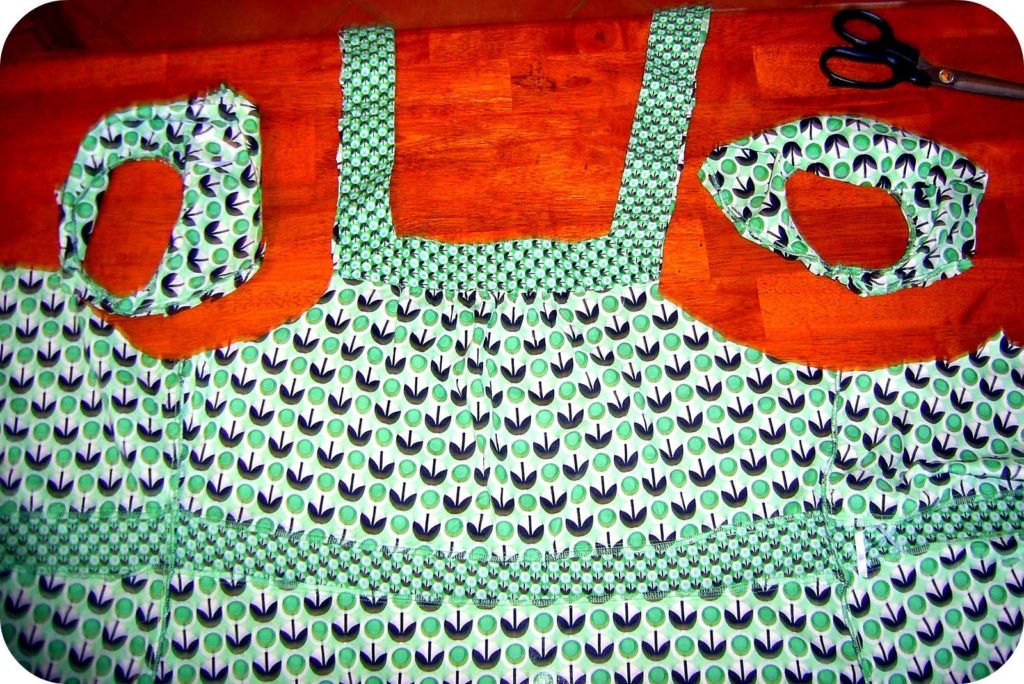
Next I folded it exactly in half and cut an “apron shape” – that is that sort of curved look where the sleeve was. You can either “wing it” or use an existing apron as a guide for the shape. I also cut a few inches of excess from the back edges for a good fit when wrapped around.
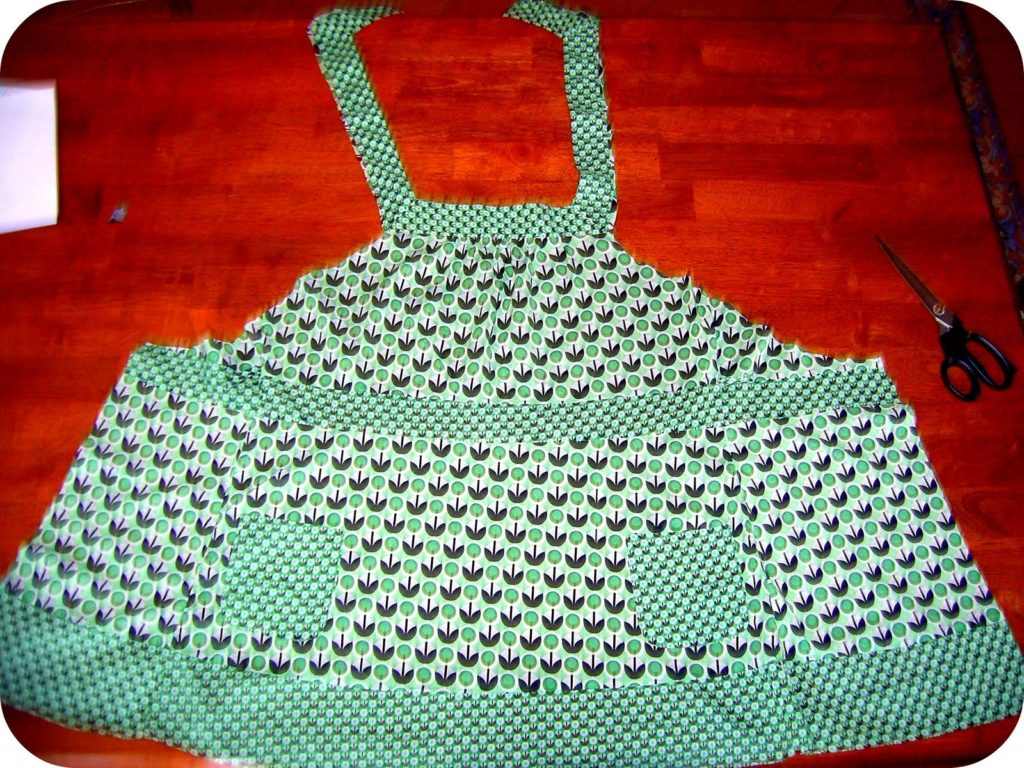
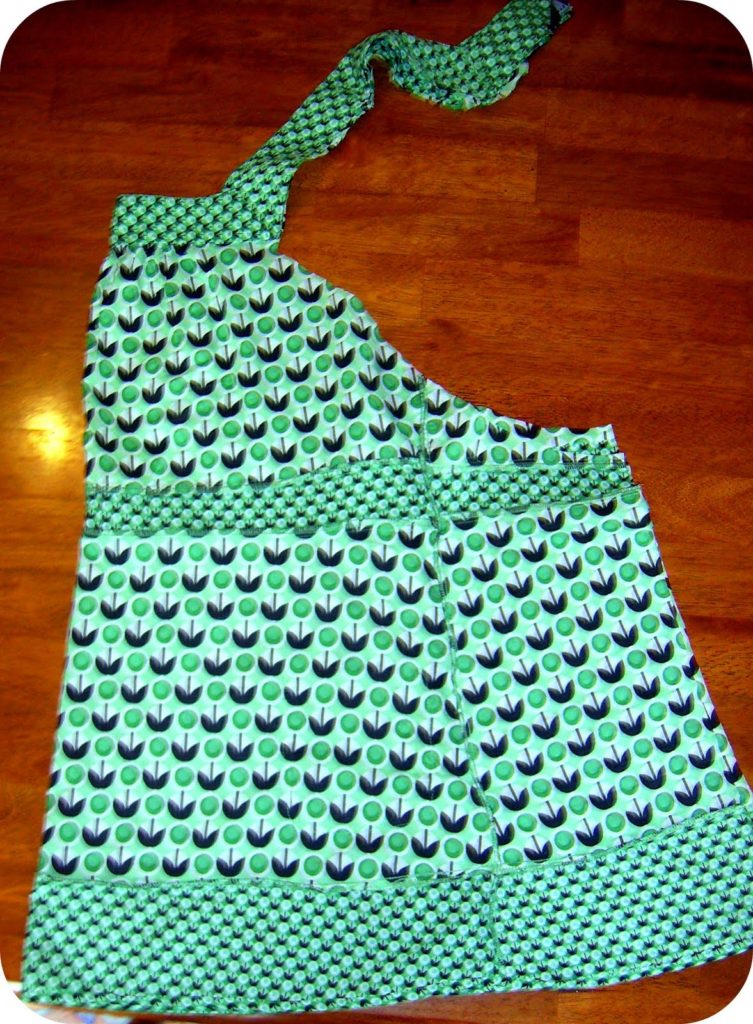
The next step is to overlock (serge) all raw edges, which in this case was right around the sides and the top ties of the apron. Using the tie that came with the top, I cut it in half before attaching it by the raw edges to the sides where I wanted the apron to wrap around and tie at the back. Once all the edges were tidy and finished I sewed the ties at the top together to form a loop to go over my head.

Don’t you think it looks much better as an apron?!
Love this idea–interesting possibilities come to mind when I see you cleverly create this apron; thanks very much.
I love it, what a clever girl you are!!
Gill in Canada
This looks amazing!
Wow, clever handiwork. Just in time for the apron challenge I signed up for! I wonder if my partner is a re-cycler at heart?
That is the cutest apron, and what an awesome idea!
Im definately going to give this a try, I need an apron for me.
I was looking at lots cute tops when I went op shopping last week, but none were the right size – wouldn't matter with this idea!
Thanks for the directions, I cant weait to try it out. (can you tell Im all excited about this idea!!!)
Nic xxx
You're so clever! Well done – looks awesome!
That is an awesome apron! Gorgeous!