
This time last year I was a complete flop at making compost. We have always had plenty of material to make compost with, but for some reason it just wasn’t happening. I read about compost from a variety of sources and it seemed complicated. Then I got a Don Burke book from the library and after reading the section on compost something clicked. Since then, I’ve been making great compost and I’m happy to share what I know with you.
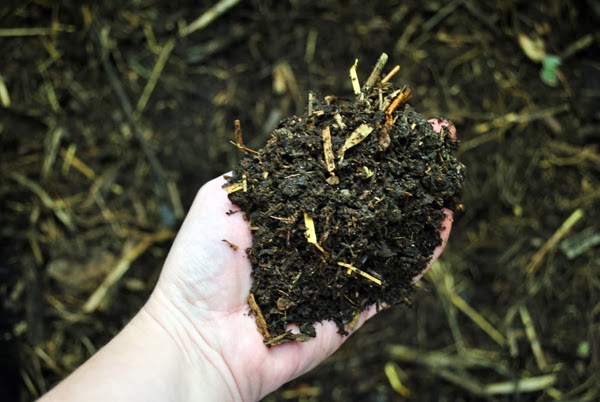
Here is some of my compost from the ready to use heap.
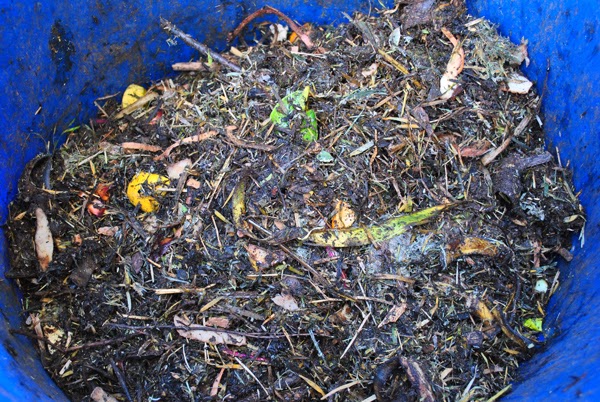
And this is what the working compost heap looks like – lets call it a work in progress!
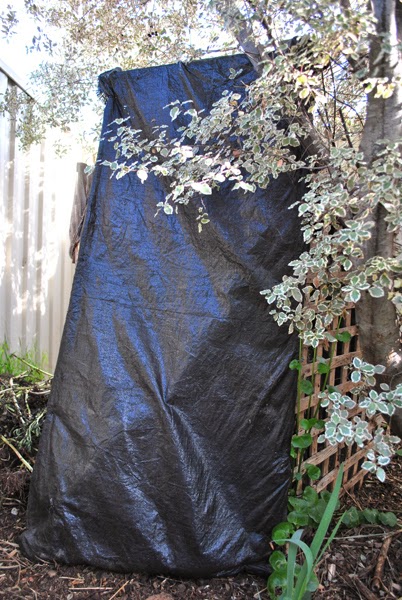
The ready to use heap. My husband and a friend made this with star pickets, old lattice, bamboo and black plastic. It’s about 1.5 metres high and has an opening door at the front for easy access.
I find that compost performs better if it’s contained rather than just a heap, but it’s fine to start out with a heap if you need to.
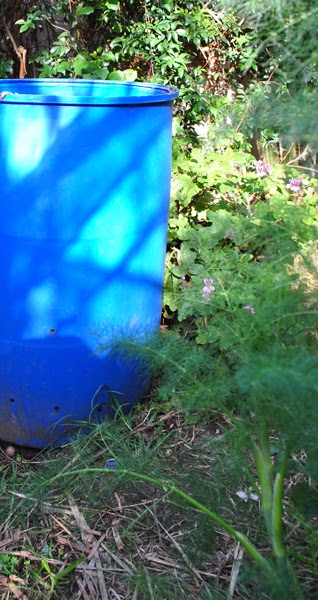
This is my working pile – an old heavy duty plastic drum with holes drilled in the sides near to the bottom. I swap between the 2 heaps. So, when this blue one (my current “working” compost) is full enough I will leave it to sit and stop adding to it. By that time, the black heap will be all used up on the garden and ready to start working and being added to again.
So, here are my key elements to good compost:
* Balance ingredients. If you only put in kitchen scraps your heap won’t be happy. Lets looks at what I have in my working pile at the moment. Kitchen scraps (veg peelings, tea leaves, coffee grounds, paper towel, shredded newspaper, grass clippings, leaves in Autumn (brilliant!) straw, garden soil and any organic matter. No meat or bread scraps unless you want some visitors of the rodent variety!)
*Moisture. This is important. I’ve discovered that my compost used to be too dry/too wet – I didn’t have the balance right. It should be moist and if you get the right balance of ingredients it’s easy to control the moisture content. If it’s too wet, add a little dirt, straw or shredded newspaper. If it’s too dry, water it or add more wet ingredients (leftover tea from the pot, more veg scraps).
*Cut up ingredients. All the veg scraps or garden cuttings should be chopped up to maximise the breaking down process. I used to put in huge chunks of old vegetables or big sticks thinking they would break down – it doesn’t work. I only use the more fleshy garden cuttings, all woody cuttings go into our green council bin, which is taken away and mulched. If you have your own mulched you can do this yourself.
*Turn regularly. Also really important! I use a pitchfork and turn both composts every 2 days or so. You don’t have to do it this often but at least once a week this should be done.
What have I left out? Any questions, ask away!
Leave a Reply