
You may recall from this blog post or video that I have been quietly longing for a dedicated tapestry loom for some time.
The Mirrix looms were appealing to me for many reasons, so my dream tapestry loom was a Mirrix.
After interviewing the CEO of Mirrix, Claudia Chase on my blog recently, I was even more convinced that this was the right type of tapestry loom for me.
So, I started saving!
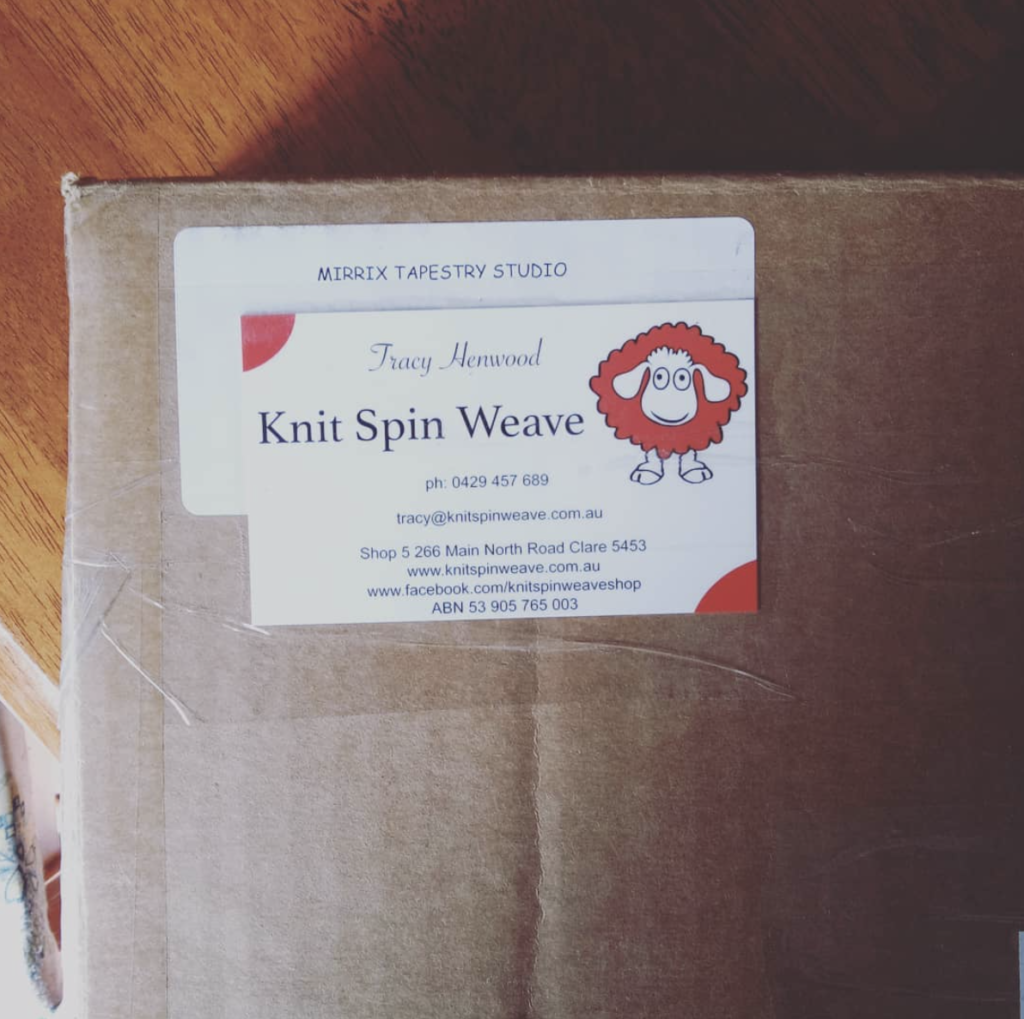
Then, a few days ago, this box arrived. A “Knit Spin Weave” card plus a “Mirrix Tapestry Studio” sticker on the front of the box was just the kind of mail I love!
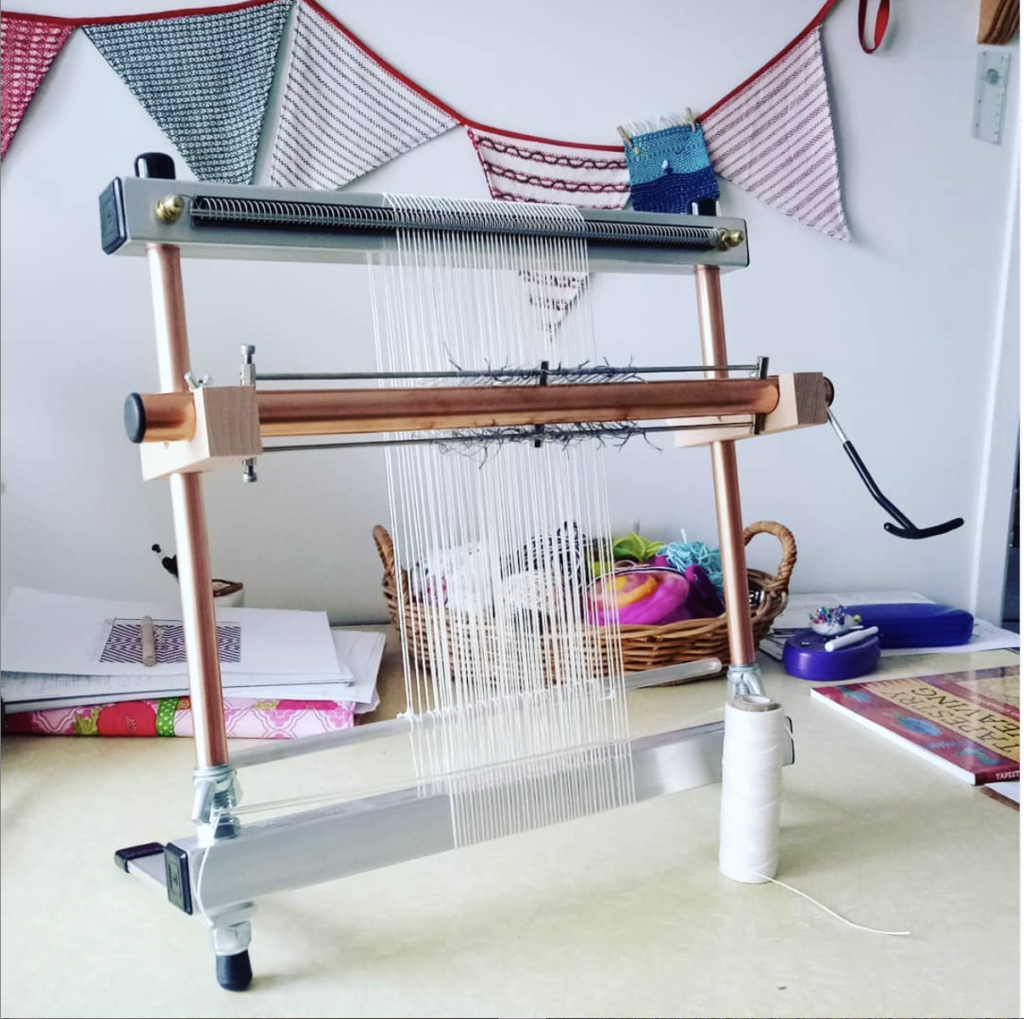
I followed the Mirrix Youtube instructions for warping the loom, which was pretty straightforward. My mind was so focused on getting it warped that I hadn’t really considered what exactly I was going to weave!
So, instead of having a grand plan, I drew some rough lines onto the warp and started weaving with some of my handspun. Then I introduced some hand dyed wool from my stash.
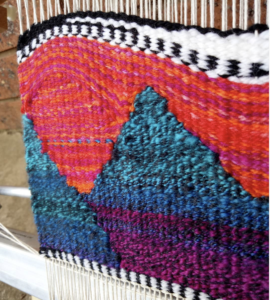
The end result is OK, not brilliant, but it was more about getting to know the loom than weaving a masterpiece. And I certainly did learn a lot, particularly about the kind of tapestry I want to weave in the future.
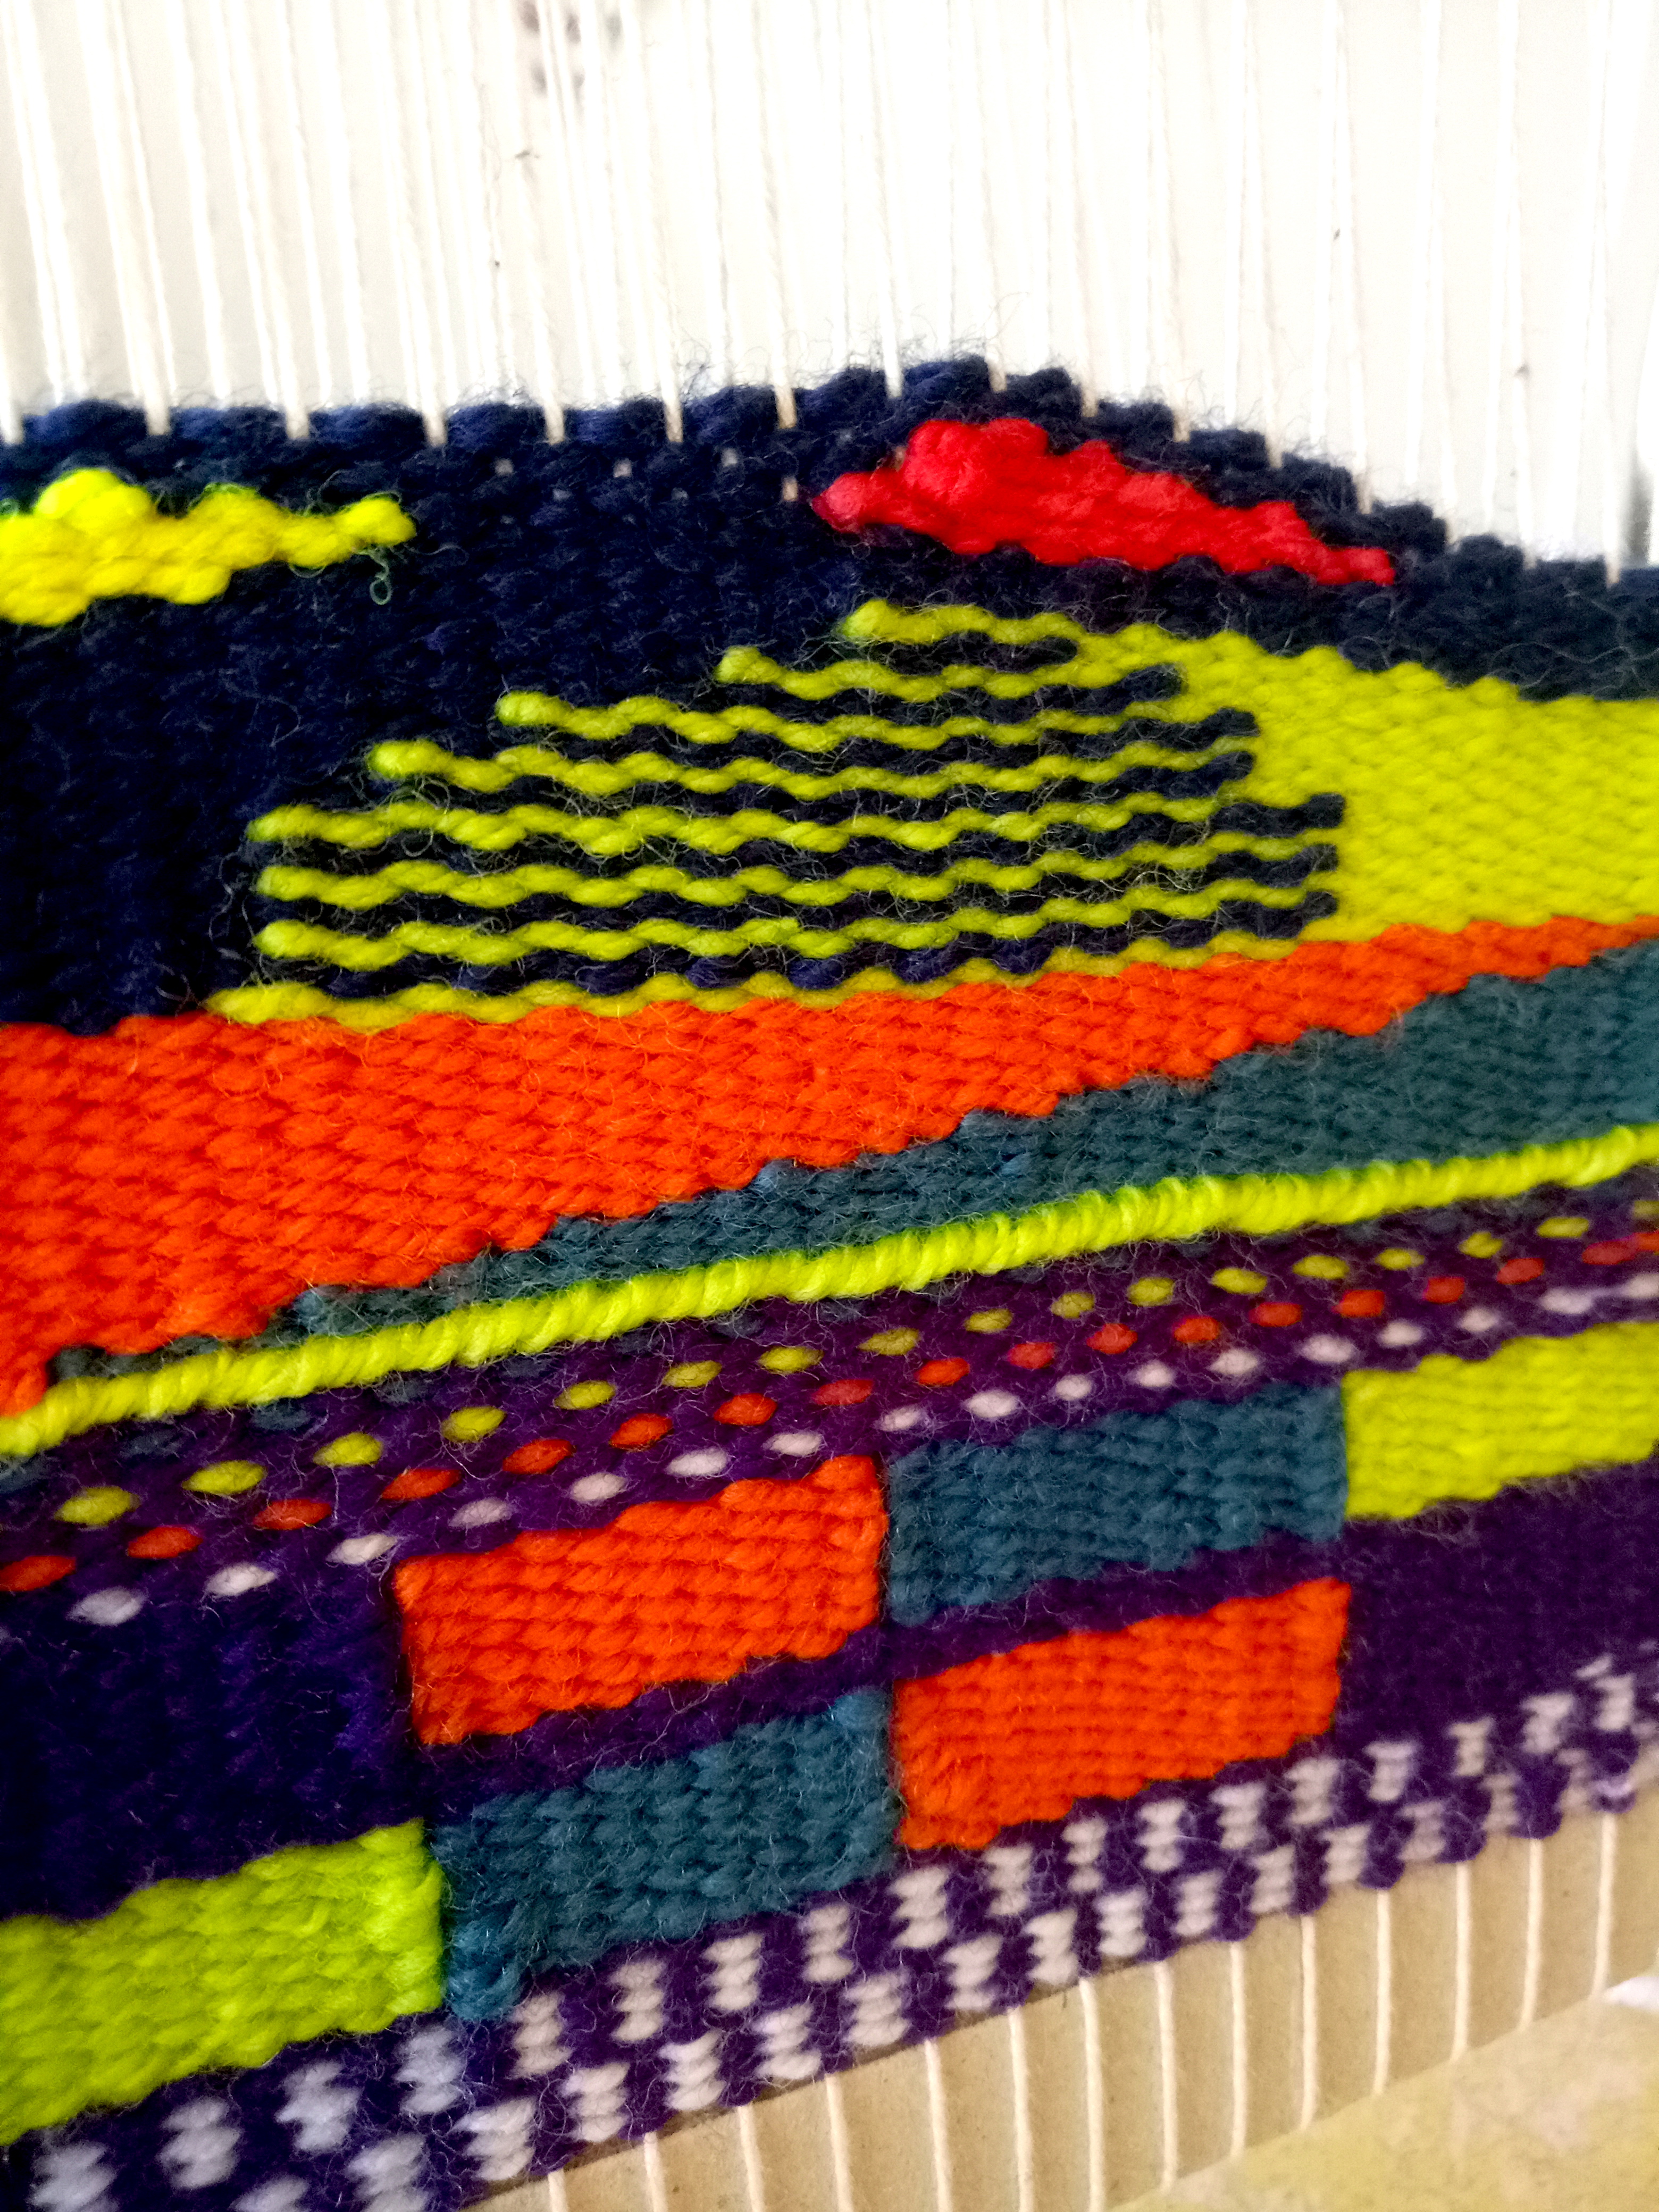
I still had room on this warp, so I decided to weave a planned sample, following Kirsten Glasbrook’s book Tapestry Weaving.
*Affiliate link
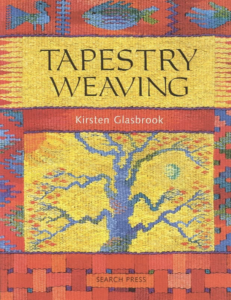
This is a great book if you’re interested in getting started in tapestry weaving, it covers all the basic techniques and includes detailed information on completing the finished piece, including mounting options. I used Kirsten’s sampler on page 40 as inspiration – though her sampler is much more detailed than mine.
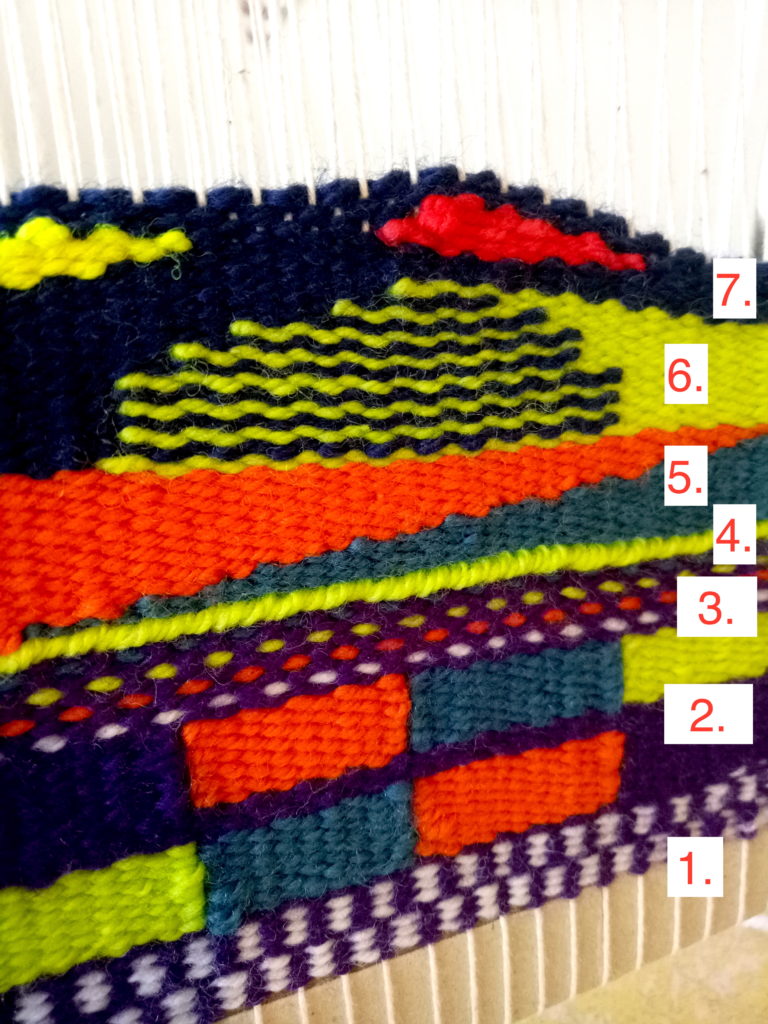
I used some very bright and colourful wool and focused on achieving clean, straight lines. No lumps and bumps this time!
Starting from the bottom and working up, these are the techniques I used (these are all listed in fabulous step by step demonstrations in the book).
1. Pick and pick
2. Vertical slits
3. Pick and pick
4. Soumak
5. Diagonal shapes
6. Hatching
7. Distorted weft
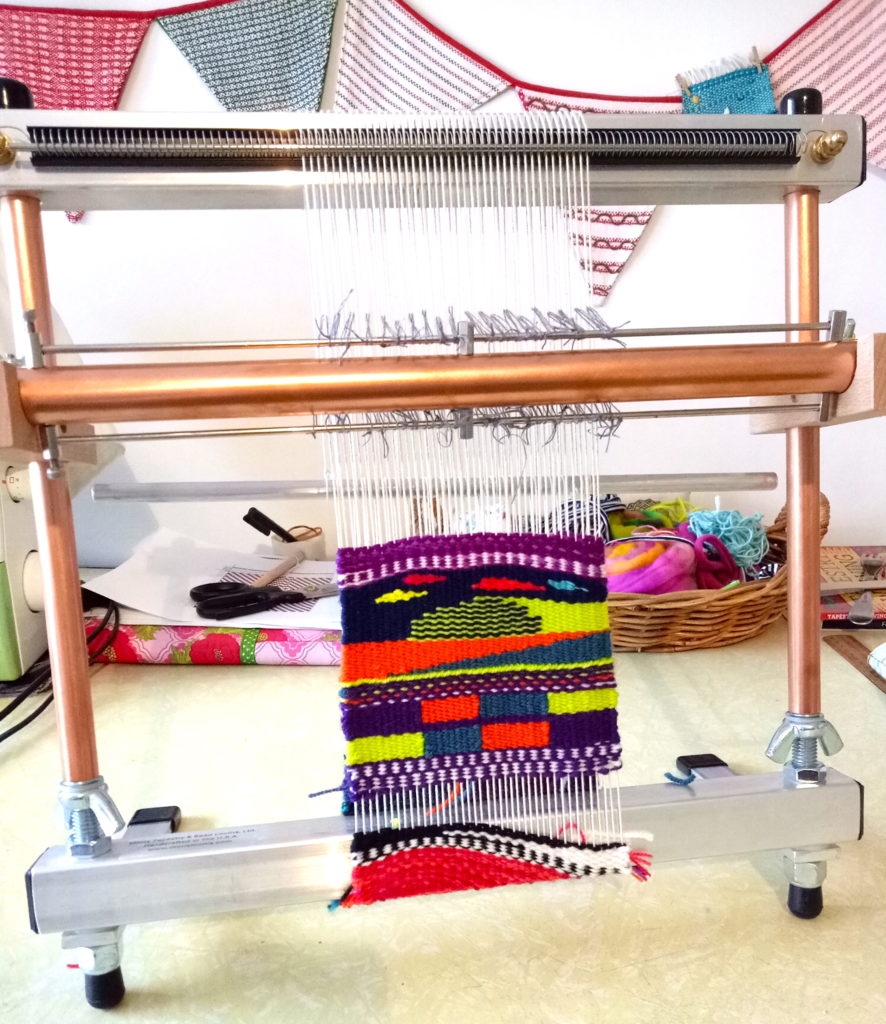
And here is the finished piece! I had some challenges with uneven draw in (you can see that my edges have a slight curve rather than just straight lines), but all things considered, I’m pretty pleased. It’s almost a shame to contemplate removing the warp from the loom, the beautiful luminosity of the copper pieces adds to the overall aesthetic!
Update: If you’re interested in learning more about this loom, watch my review here-
In the meantime, if you’re interested in Mirrix Looms, you can read more about them in my interview with CEO Claudia Chase and visit their website for more details.
And, just to let you know, this post is not sponsored by Mirrix in any way, I’m just sharing the love.
Hi Kelly,
I really enjoy reading your emails thanks. I have been weaving on my home made frame loom for along time now but recently I purchased a mirrix loom the Little Guy I can’t wait for it to arrive. Have a nice day and take care. Lou
How exciting for you, I’m sure you will love it!
Your sampler piece is great, love all those colours. My first venture into weaving was through tapestry weaving. I went to several workshops here in the UK and Kirsten’s book was recommended, so I bought that a few years ago. I also did a couple of Rebecca Mezoff’s on line courses, which were excellent. I’ve got a small Hokett loom which I haven’t used for ages. I dug it out yesterday, and it’s got a sampler half done on it, using some of my handspun wool. I must finish it. i’ll be interested to read your review of the Mirrex! xx
I hope you get your sampler finished. That is one of the great things about tapestry weaving though, it’s so slow that it really doesn’t matter how long it takes to finish a piece 🙂
This is lovely….so creative…I will read all the details when I have more time. I’ve always got something on my little frame loom but your loom is impressive. Wonder if they ship to the uk! I learnt at a beginner workshop from a lady in Portsmouth uk. Her work is very original (fb page humelooms for pics of her work and students). Want to look into that book too! Thanks Kelly.🙂
I bet they would ship to the UK, they may even have suppliers there too. It’s lovely that you get so much use out of your frame loom 🙂
Hi Elaine, you may have already found out, but The Handweavers Studio in London sell Mirrix Looms.
Liz xx
Thanks Liz, that’s great for my UK students to know!
I love my Mirrex looms (yes, two looms). The first I bought was a small one on which I wove cuff bracelets. I learned a lot from that tiny quick gorgeous project following Claudia’s video. Then I bought a larger one, not quite as big as yours. I currently have a bluebird tapestry going on that. We love our bluebirds in Colorado. I’m really happy for you, Kelly. You are a star in so many ways.
The bluebird tapestry sounds wonderful, I would love to see that when you’re finished!
I’m hoping to purchase a tapestry loom at some point and I’ve been going between the Mirix and the Scacht Arras. I too live in Colorado and took the beginning tapestry online class from Rebecca Mezzoff (who lives in Fort Collins) and I have her book. The book made more sense after taking the online class.. I’m not sure she has in person classes again, but
She uses Mirix looms and having Kelly’s input on her experience is making me want to look closer at Mirix. The Arras is available to test out at the factory in Boulder and I tried it – it’s a very nice loom.
Kelly, so glad to see this as I am about to get a Mirrix also and I was wondering which size you got. And I am interested in the book too, sounds very good to start out with.
It’s the perfect beginner’s book. You may be interested in my review to help you decide on sizing 🙂
Kelly, you did a great job. I love tapestry too. I’m looking forward to seeing more of your tapestry creations.
Thank you, Pat 🙂
Hi Kelly – I’ve had my eye on a Mirror for a while. Which one did you buy?
I got the Big Sister. Loving it!