In my last post, I talked about my excitement at purchasing a Mirrix tapestry loom.
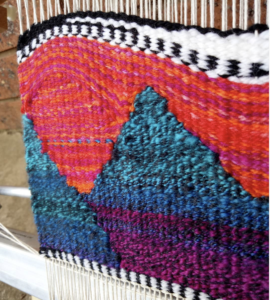
Now that I’ve had a chance to get to know the loom a little through completing a couple of projects, I’m doing a review for those of you who are interested in purchasing one. Please note, this is not a sponsored post and I have not received any financial compensation or incentive from Mirrix. I just love to talk about things I love! *This post does contain some affiliate links, meaning that if you click on the link and purchase, I receive a small commission at no extra cost to you.
*If you prefer to watch the video of this post, hop over to Youtube-
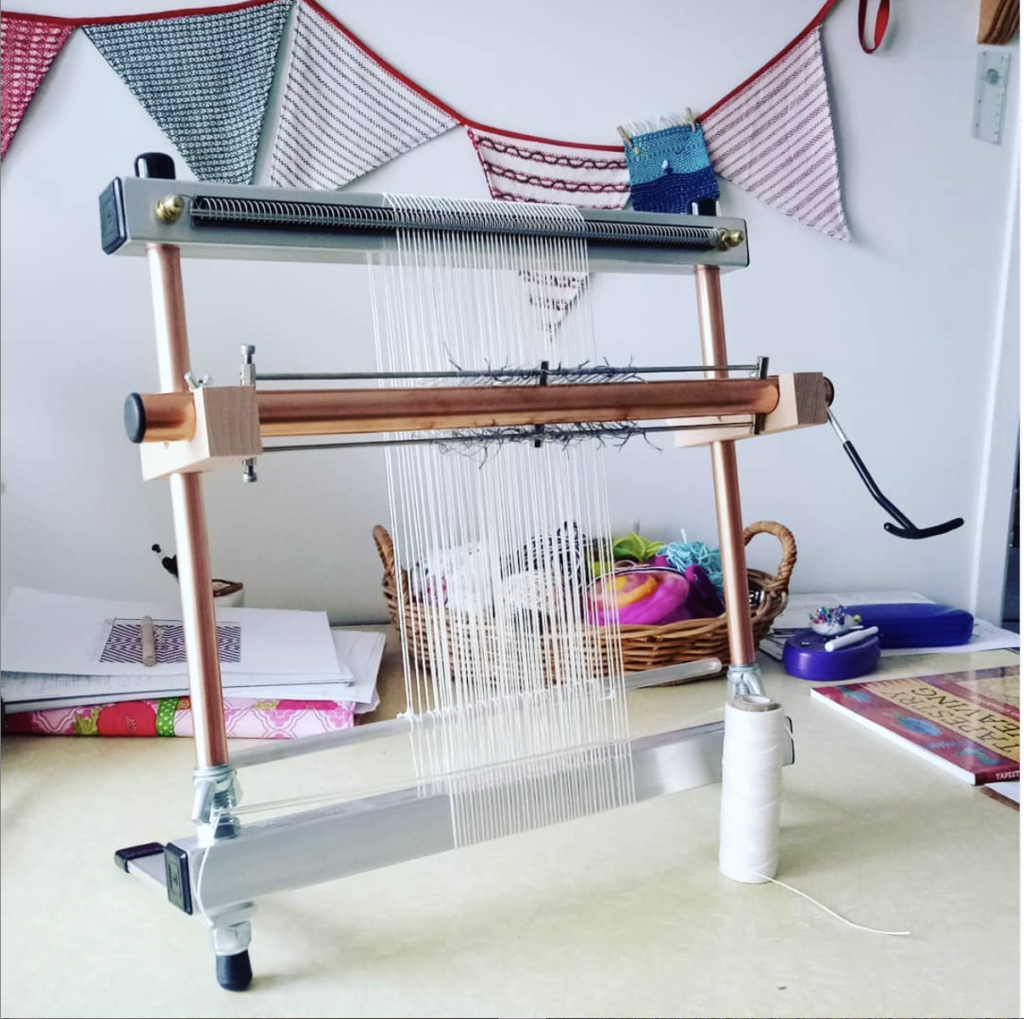
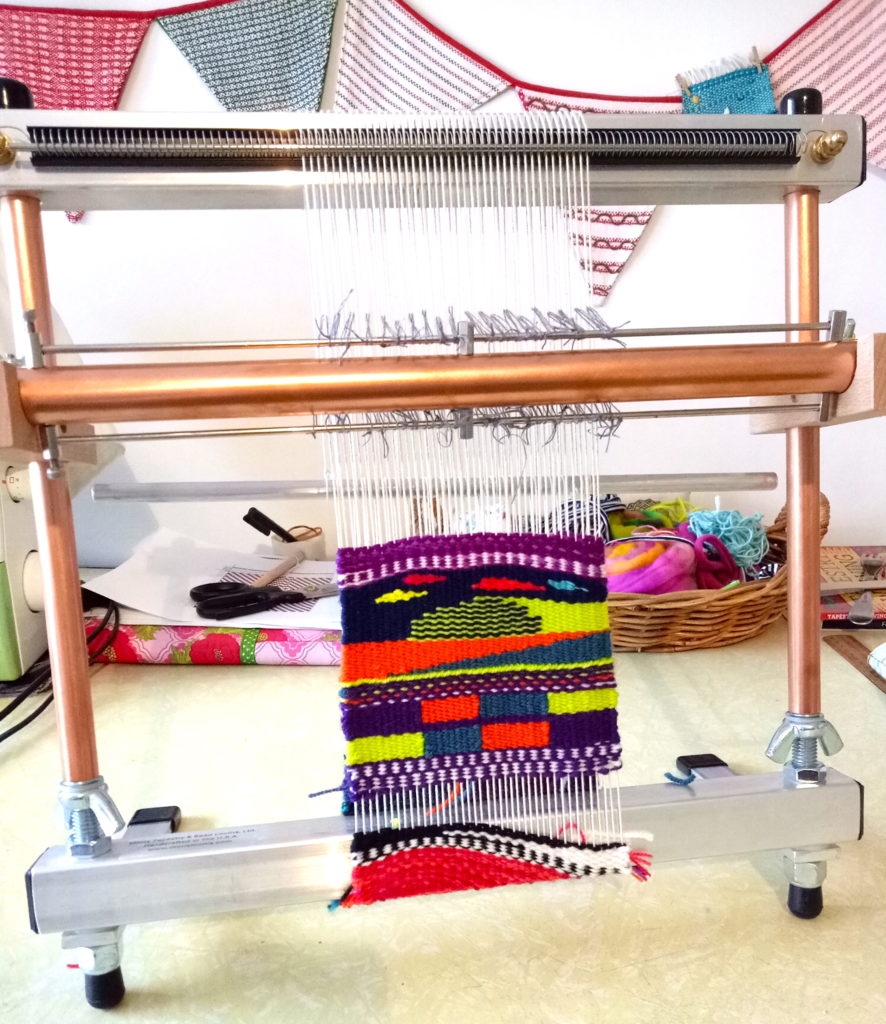
I purchased the 16″ Big Sister with the shedding device (you can choose a loom with or without the shedding device.) Having one certainly speeds up and simplifies your weaving, so to me, it was worth paying the extra for this feature.
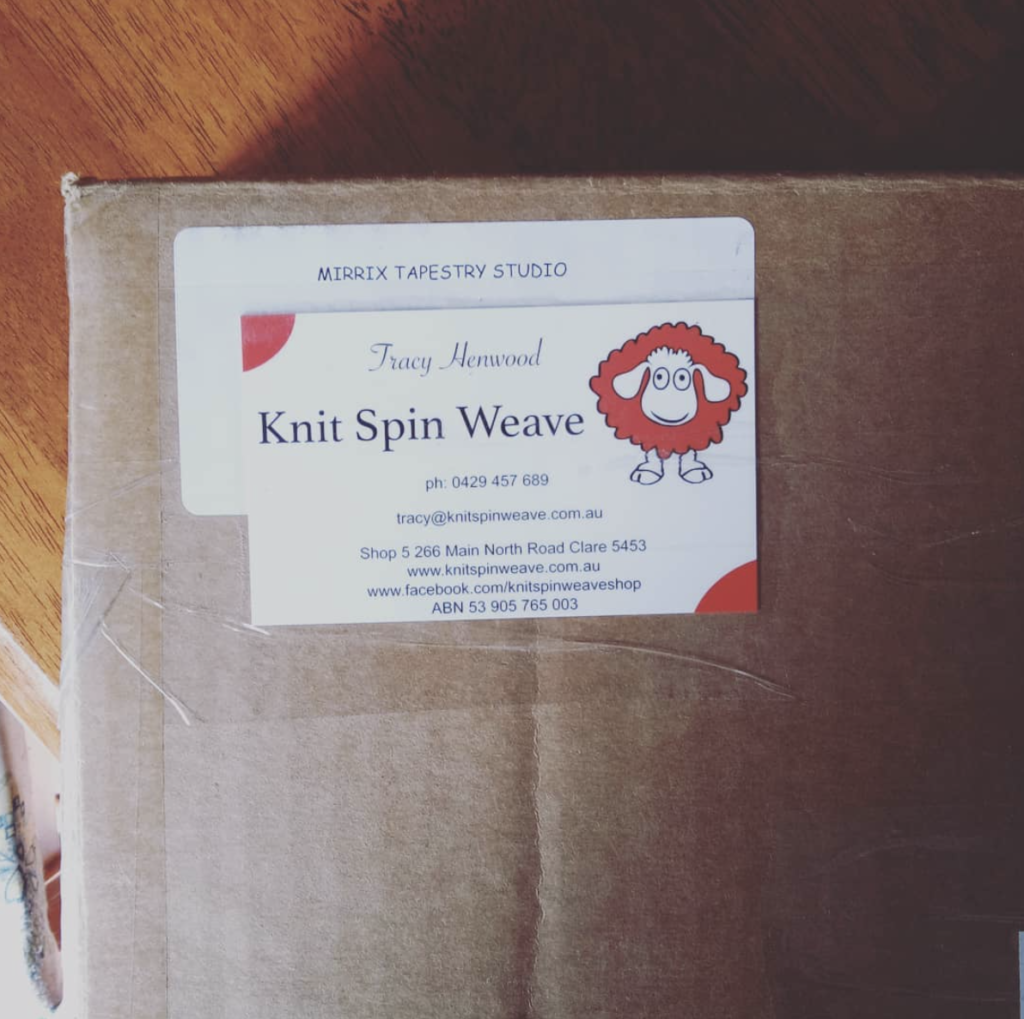
I was undecided as to whether I would buy the Little Guy (12″) or this one, but I was leaning towards the larger size. When I contacted Tracy from Knit Spin Weave, she said she had a Big Sister in stock. That sealed the deal!
Firstly, I will go through the things I really love about the loom, then I’ll mention the things that were not quite what I expected or that will take some getting used to. Considering I’ve never owned or used a tapestry loom before, the latter list is relatively small.
What I LOVE!
Well, I love the way it looks! It’s a beautiful loom. I have always favoured wood over metal, but the addition of the copper, plus the clean and fresh design, makes it very pleasing aesthetically.
The design is very clever. Obviously a very smart lady designed this loom – a weaver who knew what she wanted out of a loom and figured out the best way to make one. The loom is simple to use. You can read more about her here.
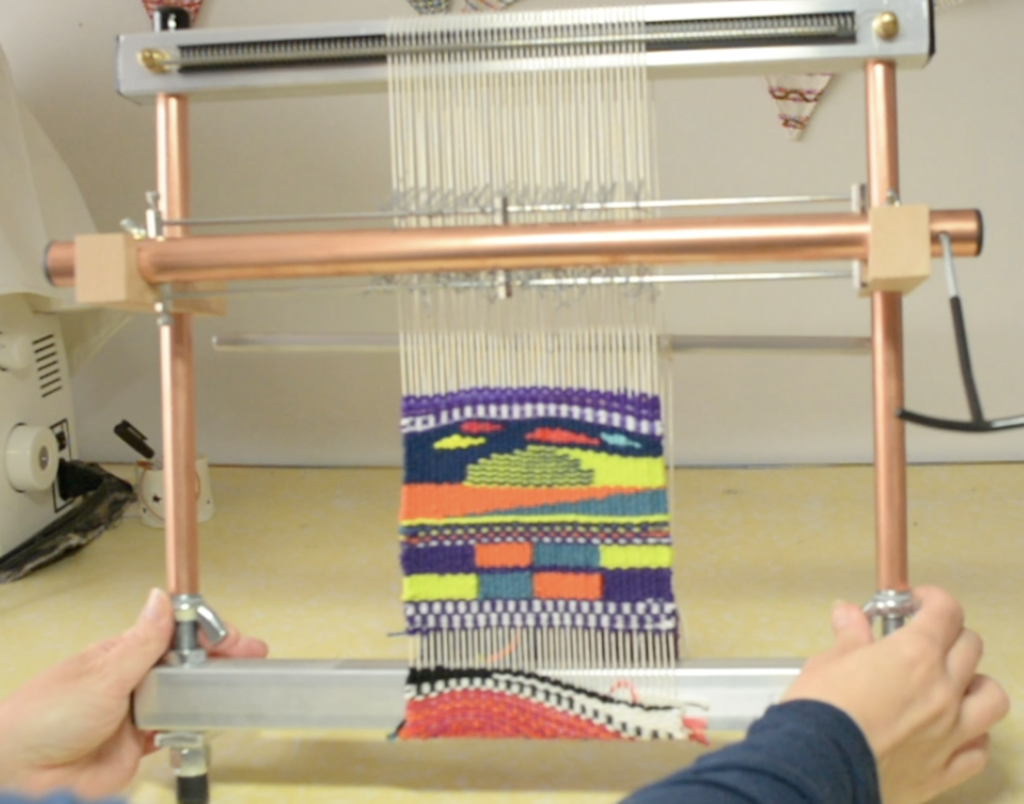
Tensioning is controlled with two wing nuts, which you simply wind one way or the other to loosen and tighten. These make the loom extendable as well, so I can actually make the loom taller than it appears here, giving me a longer warp. You can achieve a VERY tight tension on this loom, which is great for tapestry.

Spacing for weaving at various setts is provided by a spring that you attach to the top bar. When I talk about the cleverness of designs, this is the kind of thing I mean! The loom comes with 8, 12, 14 and 18 dent springs that stretch across from one side to the other, and it works perfectly.
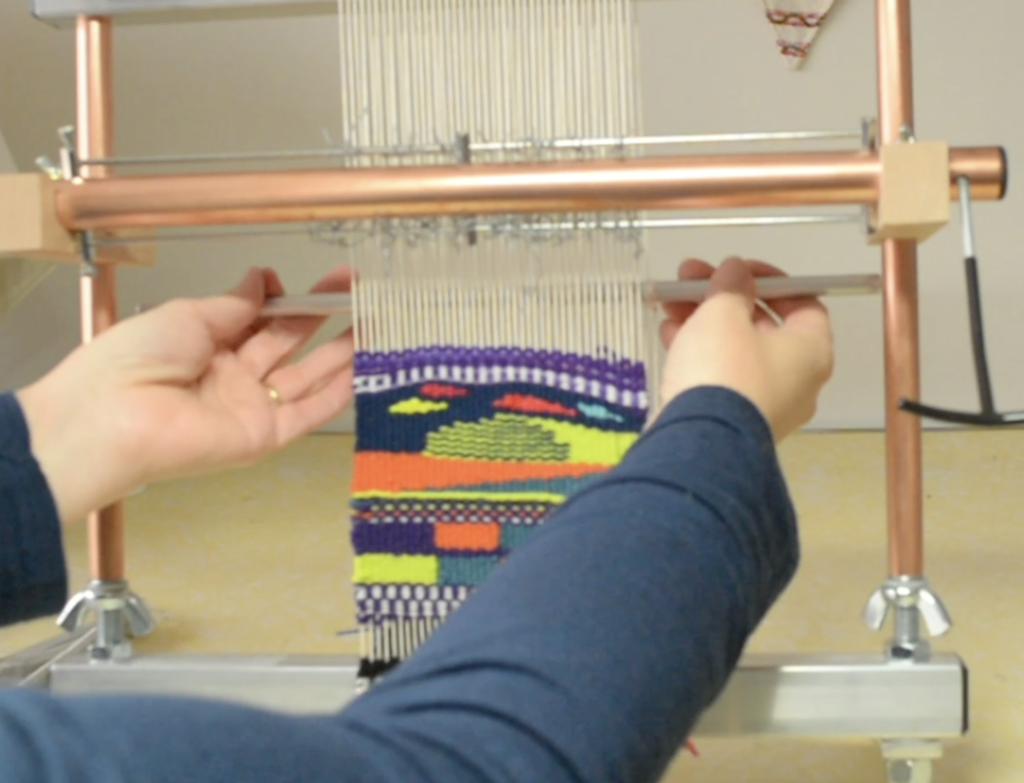
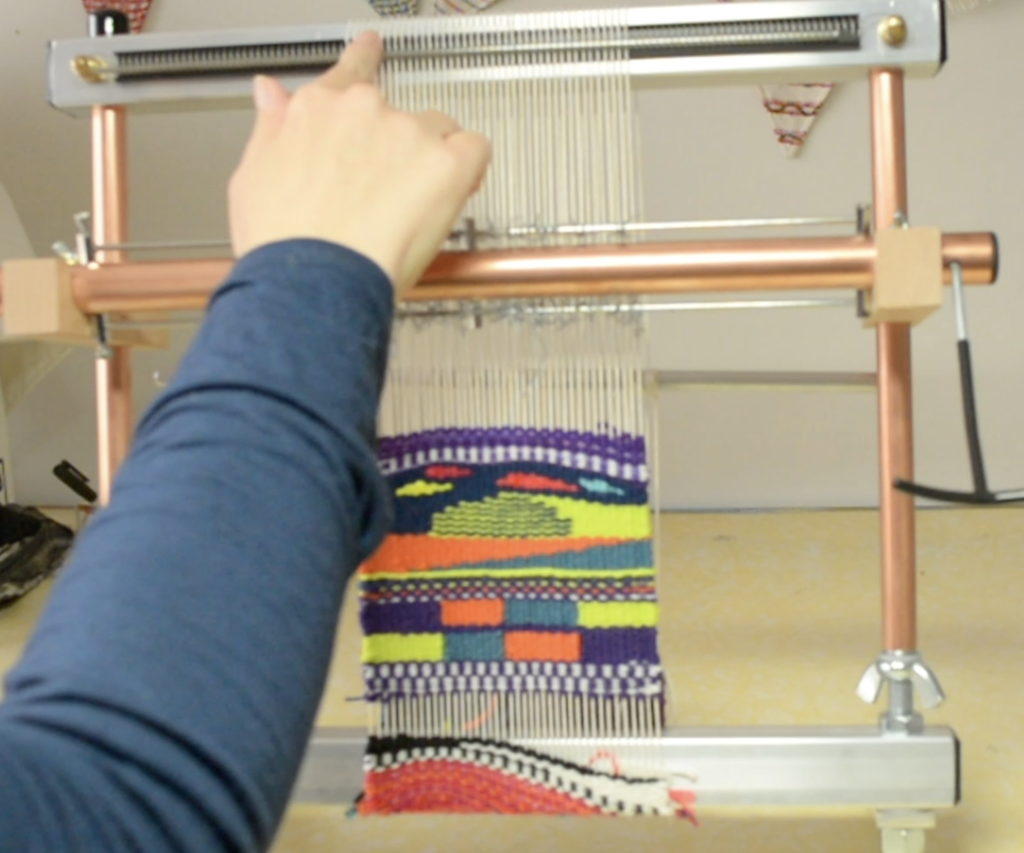
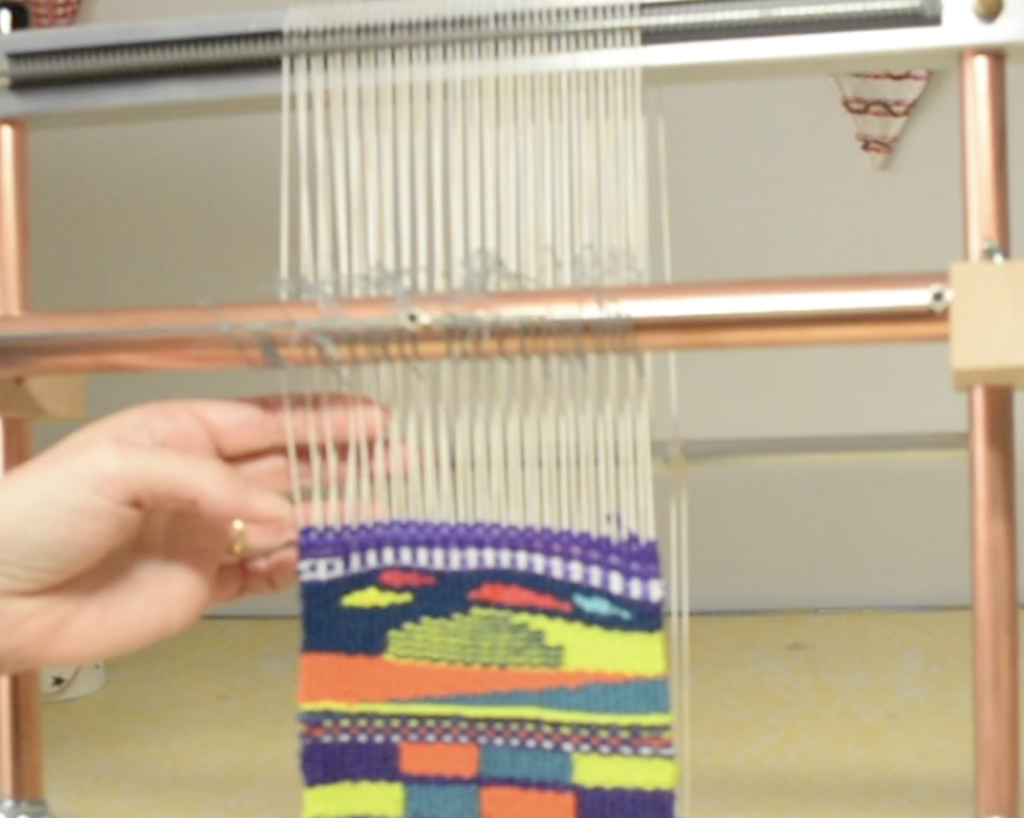
Advancing the warp is amazingly easy, using a tensioning rod that is installed as part of the warping process. Just loosen the tension, adjust the bar upwards, and your warp advances beautifully. I wasn’t sure before I used the loom how advancing was going to work, but it seriously only takes a few seconds to do it!
What was UNEXPECTED.
The heddles. I didn’t really consider that it would take me quite some time to make all the heddles I needed (and it did take a LONG time!) and I also thought that making them with 8/2 linen would be fine. Linen is super strong, right? Ha ha, well, I learned my lesson. Because the warp is under such high tension, so are the heddles each time you change the shed. I’m being a bit dramatic, because I only broke 1 heddle during the weaving process, and I was able to replace it without too much fuss, but it was enough for me to realise that my thin little linen heddles will not last. And I don’t want to have to make a heap of heddles each time! I found out that Mirrix actually sell a roll of texsolv heddles . Awesome, I’m going to get grab a roll of those ASAP!
The shedding device lever. The bolt that holds the lever on to the heddle bar kept coming loose. I’m not sure if this is common or whether I need to tighten it with a little wrench or something? Perhaps one of you know?
Not a lap loom. I had the idea that I might be able to use this loom on my lap, but the weight and design makes this not favourable for me. I actually do like using it upright, but often in the evenings, when I’m tired but my busy hands won’t let me rest, I like to have a project I can do while sitting in my comfy recliner. I think the smaller versions would be fine for this, but this one is not the right size or weight for my lap.
OK, so how much did it cost?
Sometimes people are a little taken aback by the price of Mirrix Looms, but you have to consider that they are quality, American made and as I’ve already discussed, the design is excellent. They are assembled by disabled people, and I love that aspect as well. The business is family owned and run. I bought the loom from an Australia supplier, who is also a small business woman I like to support.
So, my Big Sister cost just over $400AUD and that price included the extras I’ve discussed in this post. I patiently waited and saved the money until I felt I could afford it, and I have no regrets. To me, it is well worth the price I paid.
Some of you may wish to look into making your own copper pipe loom, if you are so inclined and wish to save quite a bit of money. A quick google search showed me this page with plans and I’m sure there are more.
So there you have it, my thoughts so far.
I can’t wait to get my next warp on and start my next project, oh! The possibilities!
Do you enjoy tapestry weaving? What sort of a loom do you use? If you have a Mirrix loom, what are your thoughts on it? Let me know by leaving a comment!
Until next time…
Happy Weaving!