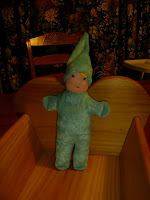
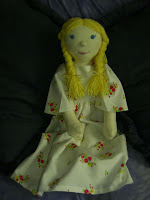
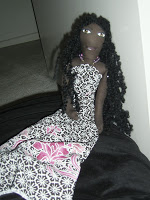
I made this little cutie for youngest daughter today to prevent her carrying off (and chewing upon) her sister’s new doll. This one should be better for chewing, more sturdy and the hair won’t pull out. I was given the lovely velvet fabric by someone who didn’t want it anymore. Its wonderfully soft. I couldn’t get a good photo, but you get the idea…
Little doll
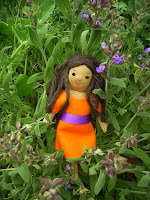
Just had to post my first project with my new materials, which I loved using! Pure wool is like a dream after using polyfill for so long! I haven’t made a doll like this before but I enjoyed it and plan to make more, though I’ll probably be tweaking my pattern for a while to get it the way I want it. She’s 8 inches tall.
A top
I made the bulk of this in sewing class and finished it off at home. It turned out very well and fits beautifully, thanks to my teacher who is a dressmaker and drew up a pattern to my measurements. My husband loves it on me too – always a bonus!
I’m doing some rearranging and organising today, which inevitably leads to extra cleaning! Its always worth the effort when its finished though. Hope you’re having a nice day.
Fabric covered tin
Goldy hair
Little dress and holidays?
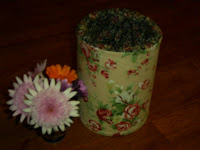
I’ve just started sewing classes again and finished this off lastnight. The fabric was left over from a bag. Cute huh?
Now, the holiday…….
My husband has time off in November so we decided we desperately need to go away for a few nights. Upon contacting our usual holiday accomodation at our regular destination we find they have raised their prices rather substantially. So, after much brainstorming we came up with the idea of buying a large family tent (we have a tent but its too small for all of us) and hiring a tent site at the caravan park. We have never stayed in a tent with 3 small children so this could be a very interesting experiment. We figure if it works out well we are saving ourselves a lot of money for future holidays by hiring a tent site instead of a cabin or house. Now to find a tent……………..
Angel wallhanging
Doll for niece
I’ve been having a bit of a break from the computer to spend more time on other pursuits, dial up connection is so slow!!
Anyway, I’ve made a gift for one of my nieces confirmation on the weekend, yes its a doll!
Its very hard to photograph these brown skinned dolls but they look so lovely in reality.
I attended a Catholic homeschoolers parent support night lastnight which was very good. Its wonderful to be around people who share the same goals in life, and there were many ladies I had not met before. I will be trying to attend this meeting every month now.
Needle case tutorial
I can’t believe I put off making this for so long, thinking it would be difficult. It was easy! So here it is for all of you……
You’ll need:
Cotton fabric for cover measuring 12 x 6 inches. Also a piece of this fabric measuring 5.5 x 4.5 inches for the pocket
Contrasting fabric measuring 12 x 6 inches
Wadding measuring the same
Piece of felt or doctors flannel measuring 4 x 5 inches
Fold the two large pieces of fabric in half widthways and press, open out again.
Overlock (serge) all edges of the pocket piece. Fold all these edges in once and press them down. Pin the pocket to the right side of the contrast fabric (for the inside of the needle case) to the left of the middle fold ( see where I’m pointing). Pin the piece of felt to the right of the fold.
Pin the wadding piece to the wrong side of the cover fabric.
Sew around all sides, then sew 2 parallel lines down the middle, either side of the middle fold.
On the inside piece, sew 3 sides of the pocket, leaving the top open (it won’t be a pocket if you sew it closed!) Then sew (I’ve used a machine blanket stitch) across the top of the felt.
Lay the cover piece on top of the interior piece with right sides facing. Sew around 3 sides, leaving one end open for turning. Snip off all the corners and turn right way out, poking out the corners (use a knitting needle if needed). Now, fold in the raw edges of the end and press. Topstitch around the outside of the case, stopping when you come to the middle rows of stitching, skip over these, then keep sewing around. Give the whole thing a good press and you’re done!!
Here is the finished outside which would look lovely with a ribbon tied in the middle. I don’t have one handy, but if you do you may want to use it!
And here is the interior. Now you won’t have to go searching and growling for your needles!
I hope you like this tutorial and find it easy, but if not, please let me know if changes would be beneficial. Thankyou!
Craft and Quilt fair
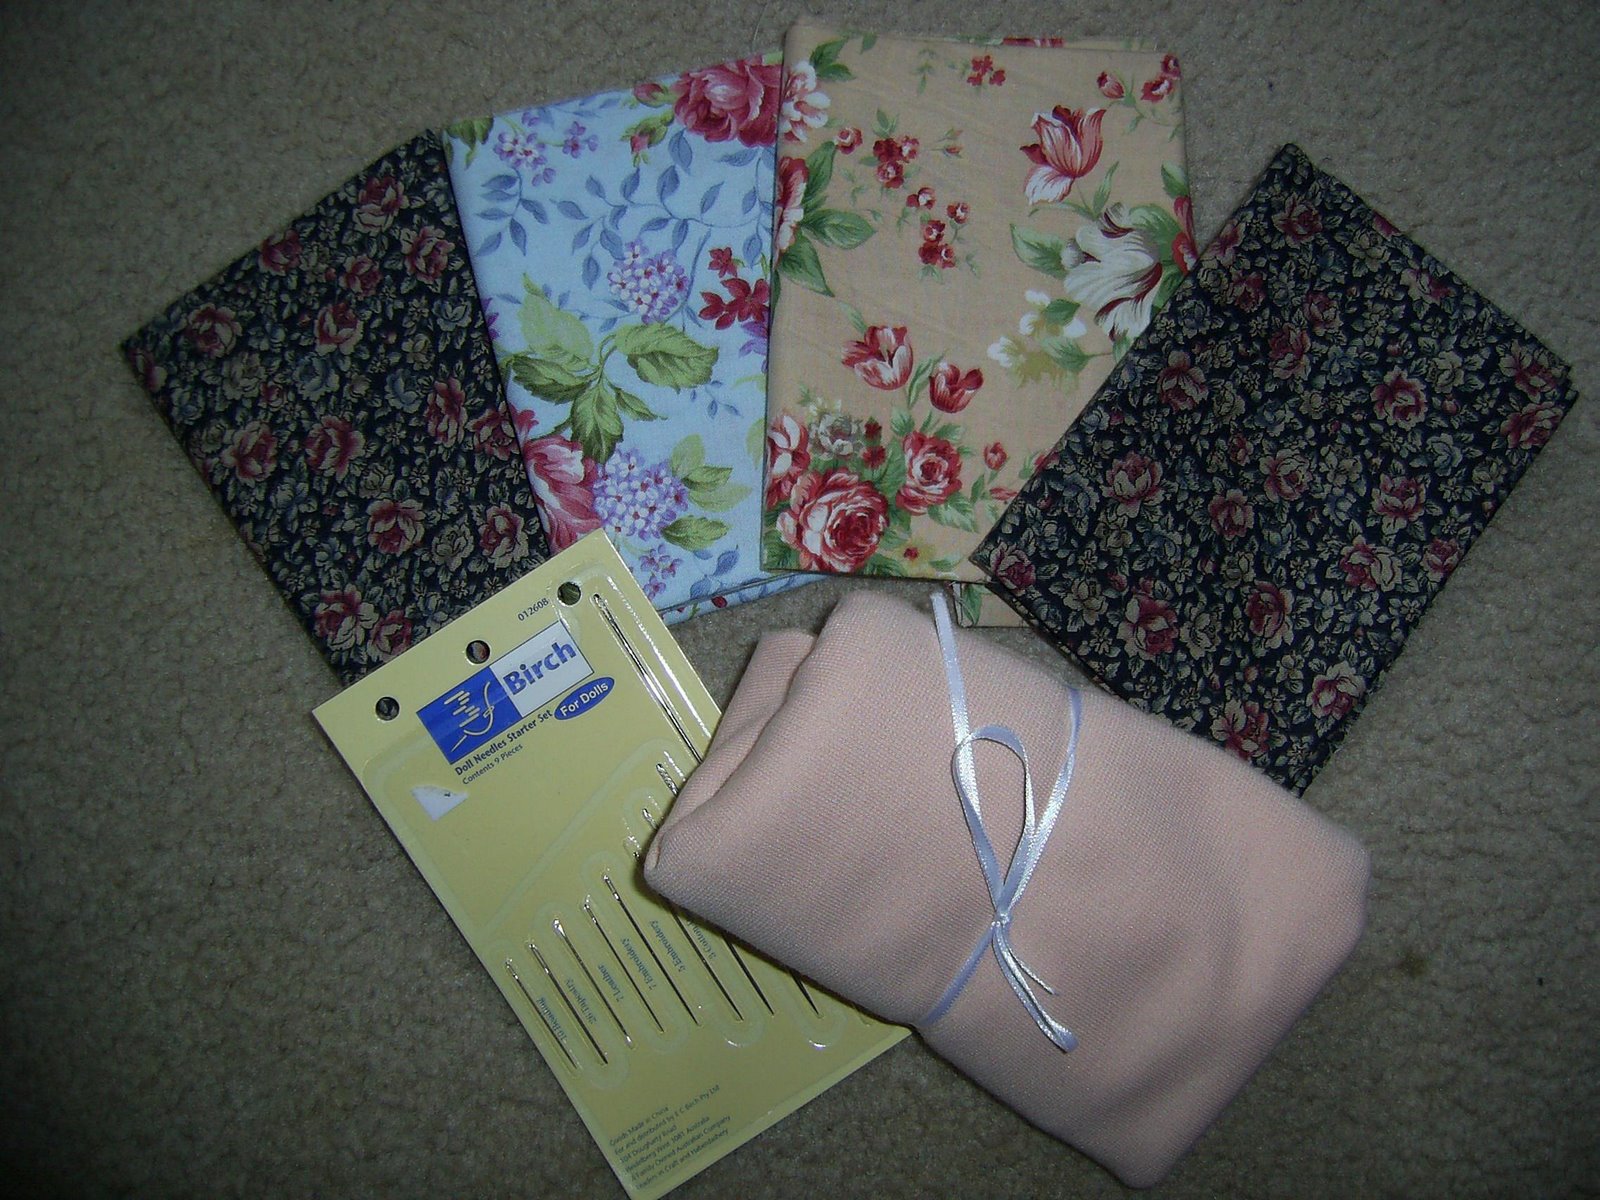
I dragged my sister along on Saturday, I thought it would be busy, but wow! I’m not usually one for group situations so I didn’t really enjoy being bustled around in a massive crowd. I did however, enjoy looking at the stalls and so many fabrics! I was very good and didn’t buy much, I think I was a bit overwhelmed by choice and didn’t want to get carried away. I loved the Katkins Designs stall and Karlene was lovely to deal with. Her dolls are inspirational and I finally got a turning tool which will enable me to make small dolls.
We had a real frost here this morning, I’ll have to inspect the garden for damage. It was so cold my hands hurt drying off lastnight’s metal cutlery from the drying rack. We’re off to the doctor this morning for the dreaded immunisations, one of my least favourite tasks as a Mum.

