Search Results for: soap
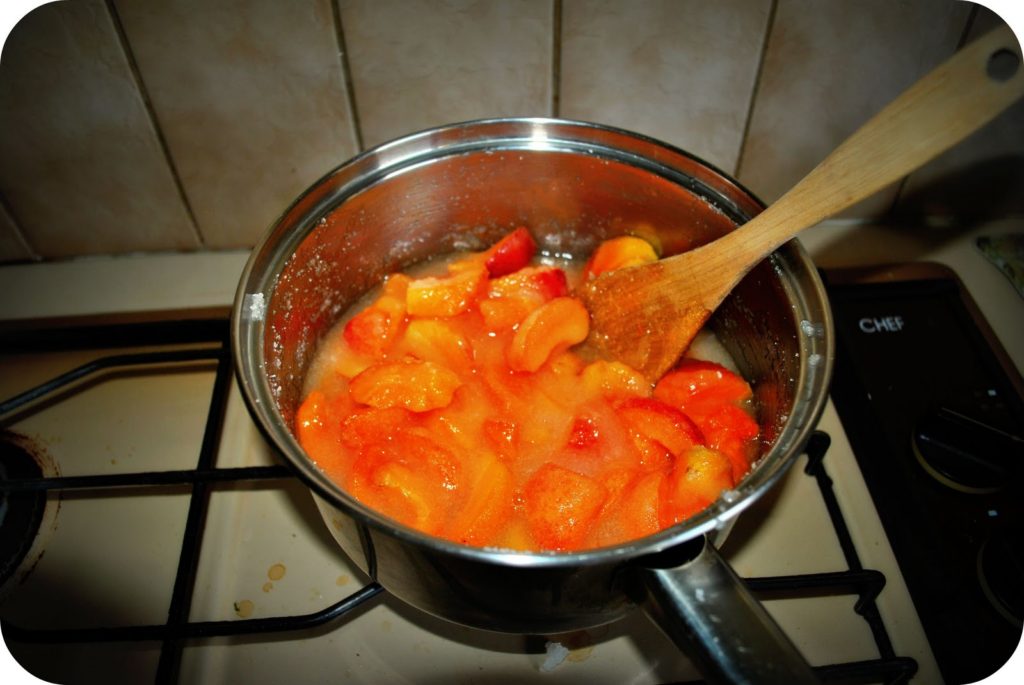
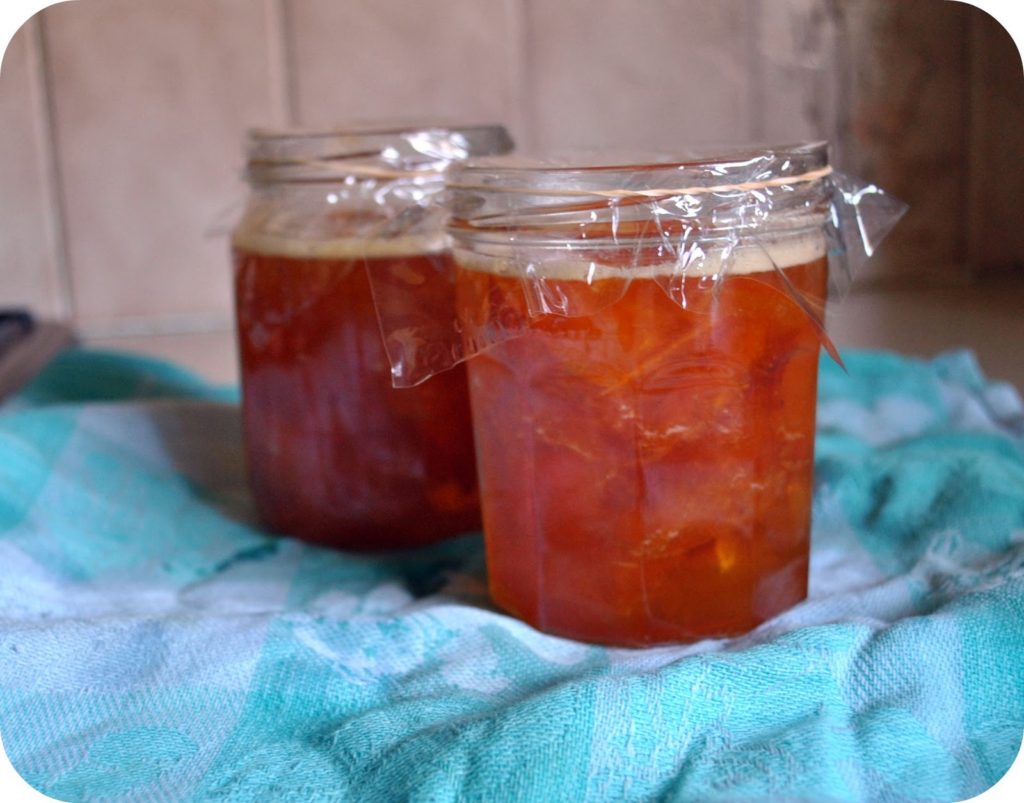
Easy peasy apricot jam
It’s Saturday
And a glorious Saturday it is too.
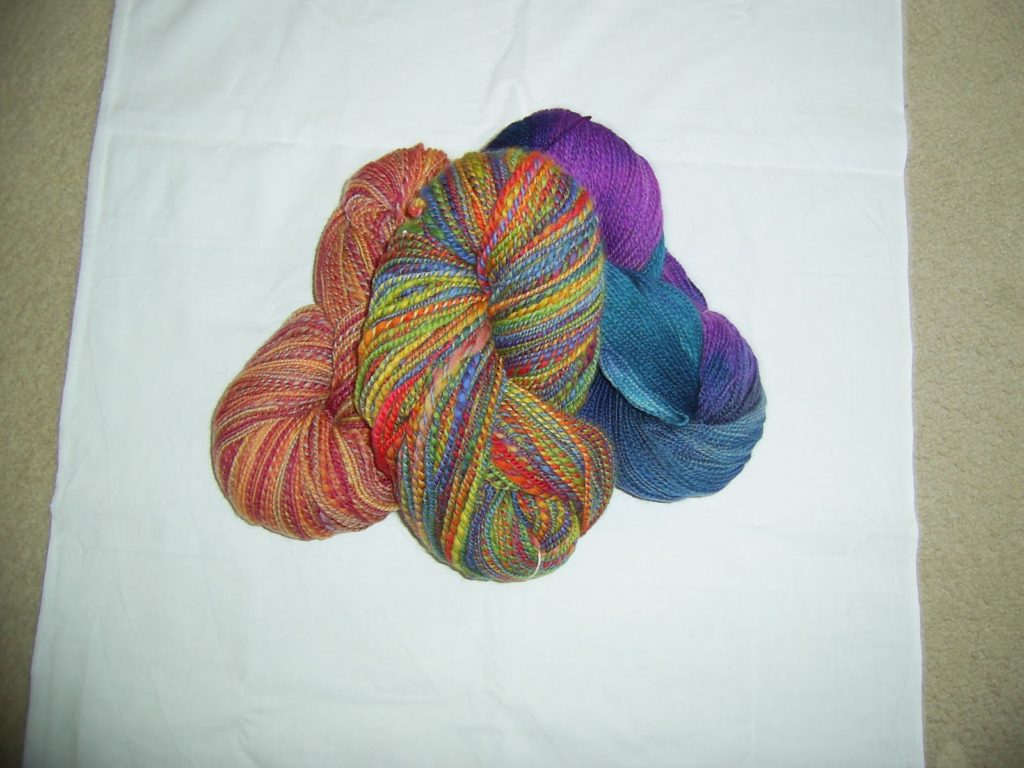
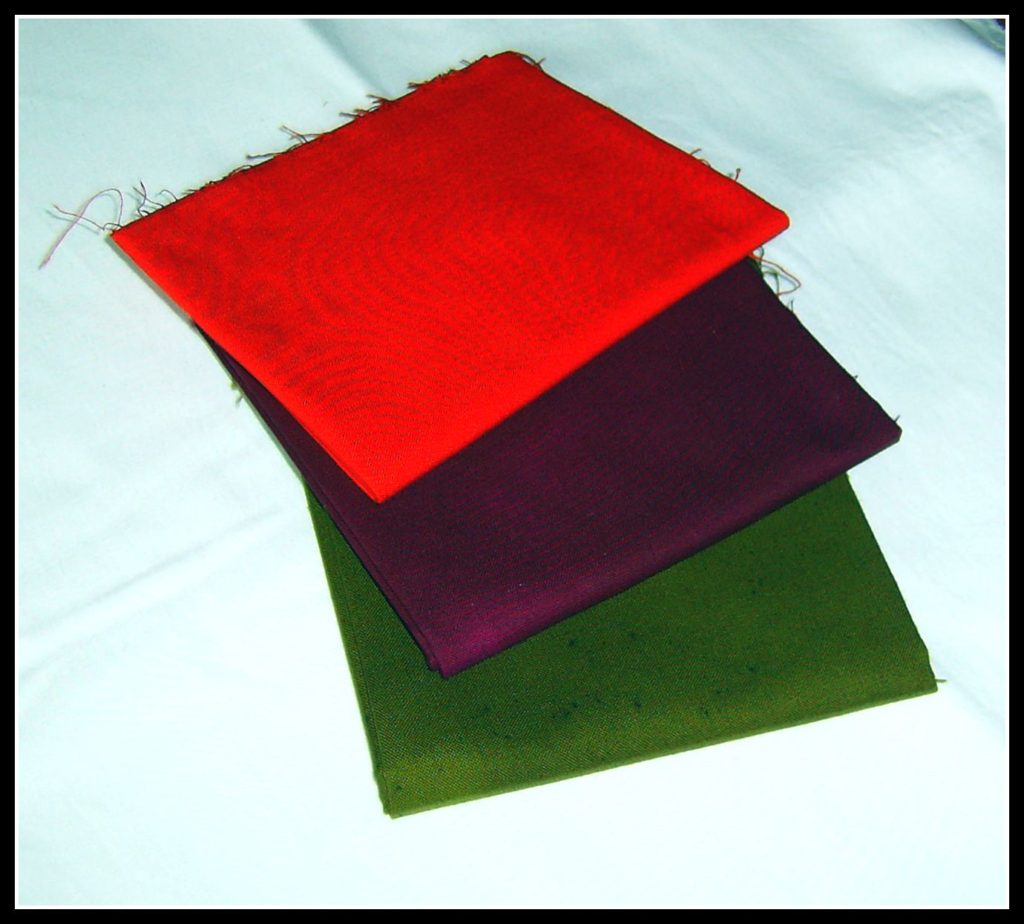
Dye a fat quarter economically
If you don’t mix your soda ash solution with dye it can be used over and over. This can save a lot of money on soda ash and the water you would need to mix it up each time.
Dye starts to lose it’s effectiveness as soon as it’s mixed with soda ash.
I cringe when I think I used to mix my soda ash with dye, then discard the leftover dye down the sink. What a terrible waste!!
Here is one way to dye a fat quarter economically: (these are simple rather than full instructions, as I tend to “wing it” a little and not write down everything I do!) This method will usually give mottled results, which is my personal preference. If you are not aware of safety precautions for dyeing please make yourself very familiar before attempting this!
Cotton homespun (quilter’s muslin)
1. Soak your prewashed FQ (fat quarter) in your prepared soda ash solution. (A rough guide is 3/4 cup of soda ash to 3.8 – 4 litres (a gallon) of water. Soak for at least 15 minutes, it can be left for days if you don’t get to it.
2. Mix up your dye as weak or strong as you like. I tend to mix it on the lighter side (say 1/2 – 3/4 teaspoon of dye powder to 1/4 cup water). If it comes out too light you can always overdye but it may be just the right colour and you won’t have used the extra dye. Place the mixed dye in a bucket or other container that will fit the FQ and dye.
3. Ring the soda ash out of the fabric tightly. Your fabric will be damp. Place it in the bucket with the dye and move it around to soak the dye in. Now squeeze the fabric and move it around until the colour looks good and most of the dye is soaked up. You can leave it to sit in there for 10 minutes if you wish.
4. Ring the fabric out so it’s wet but not dripping. Chuck it into a plastic bag (you can fold it if you want, I just scrunch and shove!) then place that bag into another plastic bag. A ziplock bag is an excellent option to prevent seepage. I’m a tightwad so I just reuse plastic shopping bags. Then I wash them out and reuse them over and over til they’re dead.
5. Leave your fabric for as long as you can stand to wait (the longer the better – 24 hours is good, 10 is OK, 4 hours – have you any patience at all?!)
6. When your fabric is cured pop it into a bucket with some cold water to cover it and squelch it around to get the excess dye out. Then wash it in a small amount of warm soapy water (be conservative with the water, you really don’t need to use too much!) Now place it in cold water to cover again. You can leave it like this for a while and let the excess dye seep out. Just keep squeezing it in small changes of water until the water stays clear.
Pop it on the line to air dry (use a dryer if you want but I’m a tightwad remember?)
Give it a press and voila!
Disclaimer: I’m not an expert, this is just what works for me. The water in your area may differ to mine, therefore you may get different results. The weather may be different, etc, etc.
Don’t forget safety, it is absolutely essential when dyeing to follow safety protocol!!
Rain, rain, don’t go away
And the most thrilling of all – the first blossom on the apricot tree (can you see it?)
In the midst of all this rain the grump in me is finding a few things to gripe about. It’s my first winter with 4 little ones who want to get out to parks and for walks and can’t in this weather. It’s also nearly impossible to get much washing dry (I won’t give in and buy a dryer – never, never!)
I can’t complain too much though, the tank is constantly overflowing, it’s wonderful.
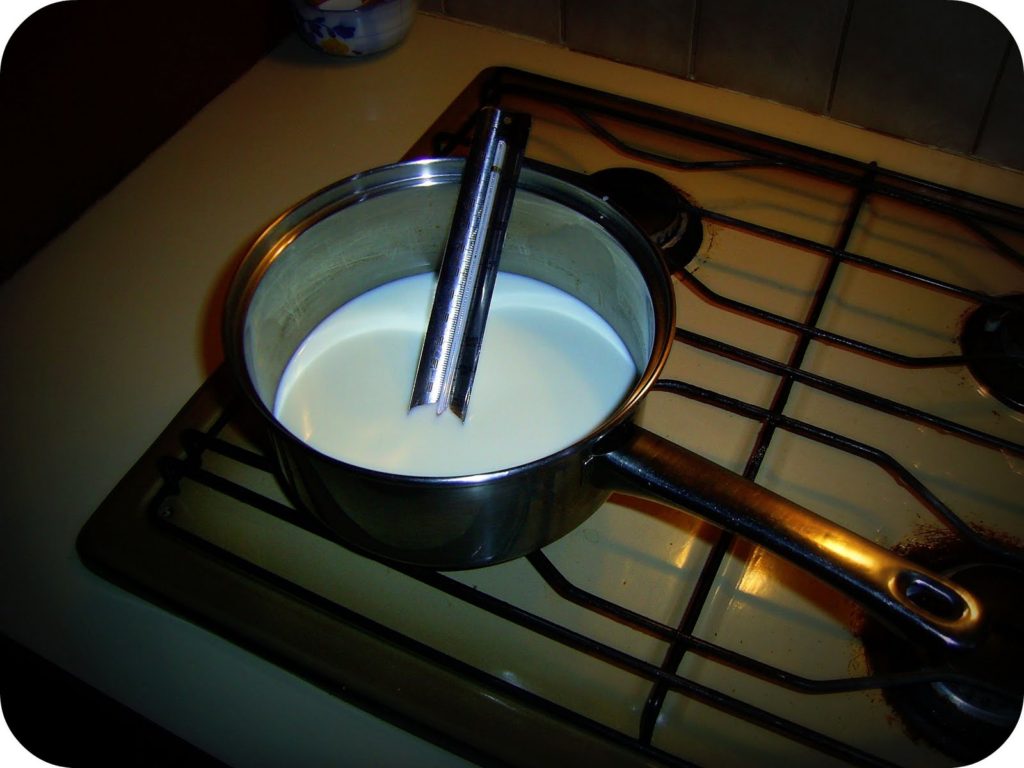
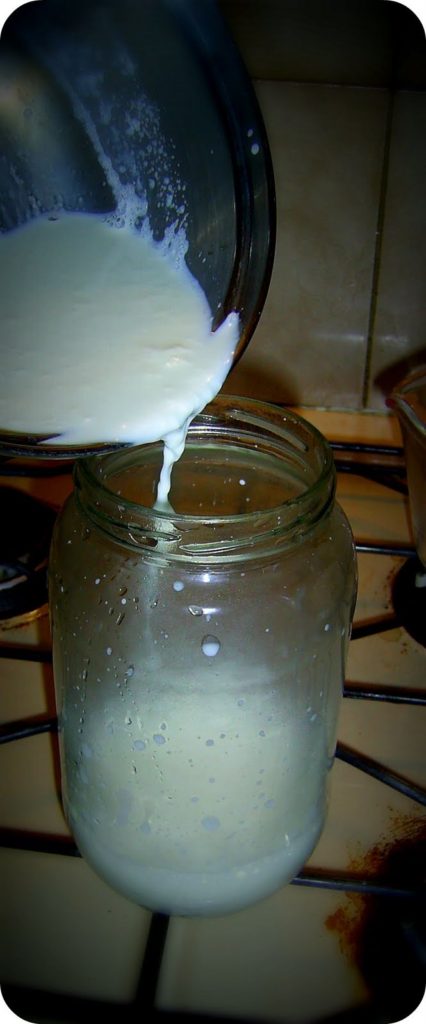
Make your own yoghurt
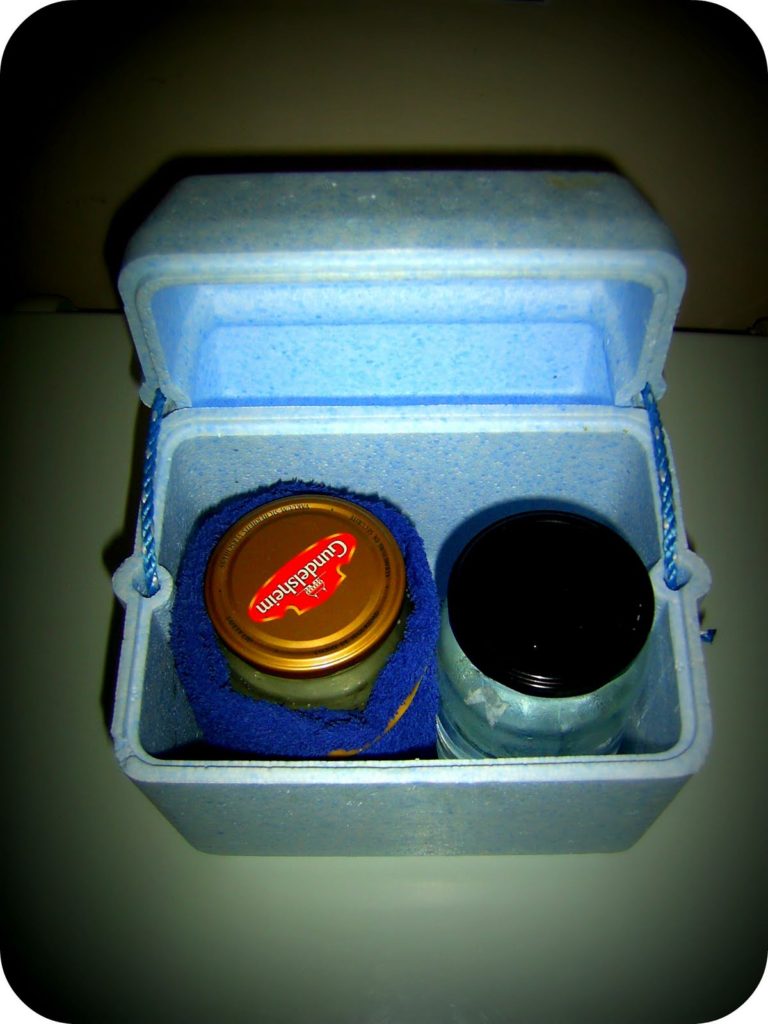
Put a lid on the jar. Wrap the jar with a towel and secure with rubber bands. You can fill another jar with hot water and lid it to keep the temperature in the esky more even if you like, I’ve found the yoghurt sets really well doing this.
Pop your jar/s in an esky and close the lid. Leave overnight (about 12 hours) then refrigerate. How easy is that?
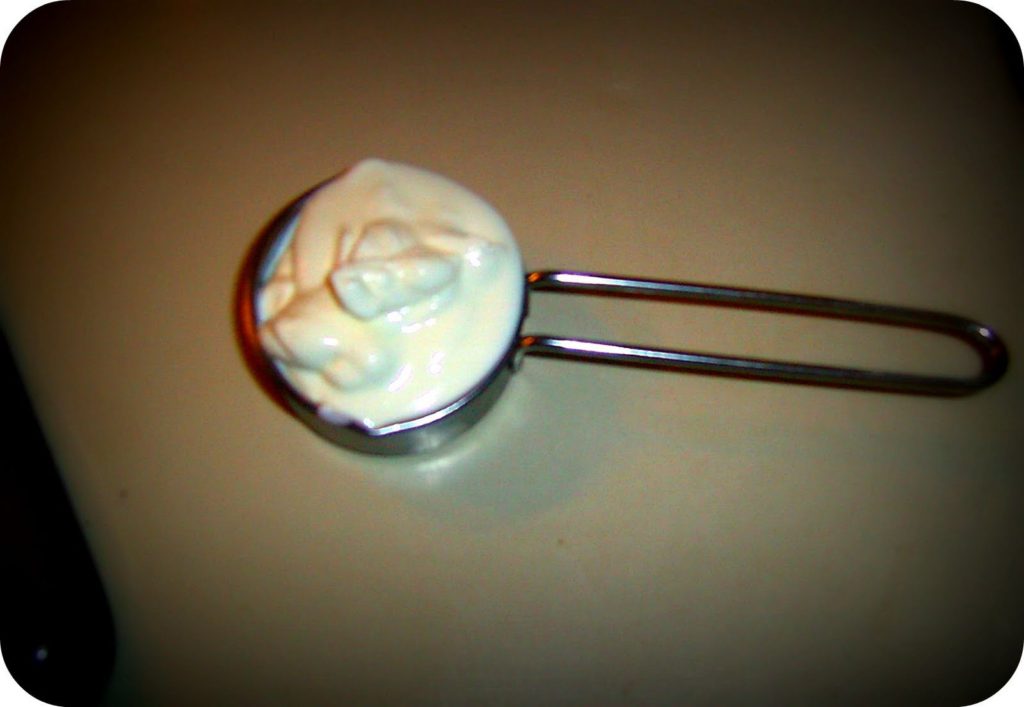
Reserve some of your yoghurt for the next batch to use as the starter.
Next time I’ll show you how to make yoghurt cheese or spread! Mmmmmm!!!
Family Finance 4. False economy?
I’m always willing to try “home brand” products and many offer a true saving for a product equal to brand names. You do however have to be selective and be aware of certain pros and cons. Here is an example:
I recently bought “home brand” liquid soap. We go through a lot of liquid soap with young children in the house there is a lot of handwashing to be done. After it was all used up I bought a brand name soap to compare. I found I can use about a quarter of a squirt of the brand name, as opposed to 1 – 2 squirts of the “home brand”. Therefore, I’ll keep buying the brand name soap.
Another example is toilet paper. I buy middle to high range quality paper as the cheap paper disintegrates on contact with moisture, therefore you have to use about 3 times as much.
There are some “home brand” products I’ve used for a long time that are just as good as others, such as flour.
So, try all products but be aware that “cheap” products won’t always save you money.

