I’m going to make a bold statement. 2020 is the year of the weaver!
Yes, this year has been very difficult, very strange, and frequently lacking in positivity. But as I’m the kind of person who likes to look for the good things in the face of adversity, I think in many ways it has been a really wonderful year, full of opportunity and promise!
*This post contains affiliate links. For further information, please see my disclosure policy.
I don’t have any exact figures, but I know that weaving, and rigid heddle weaving in particular has seen a massive popularity surge this year.
It totally makes sense. Most of us have been through some sort of lockdown (some of us multiple lockdowns!) and have found ourselves shut in our homes with a lot of extra time on our hands.
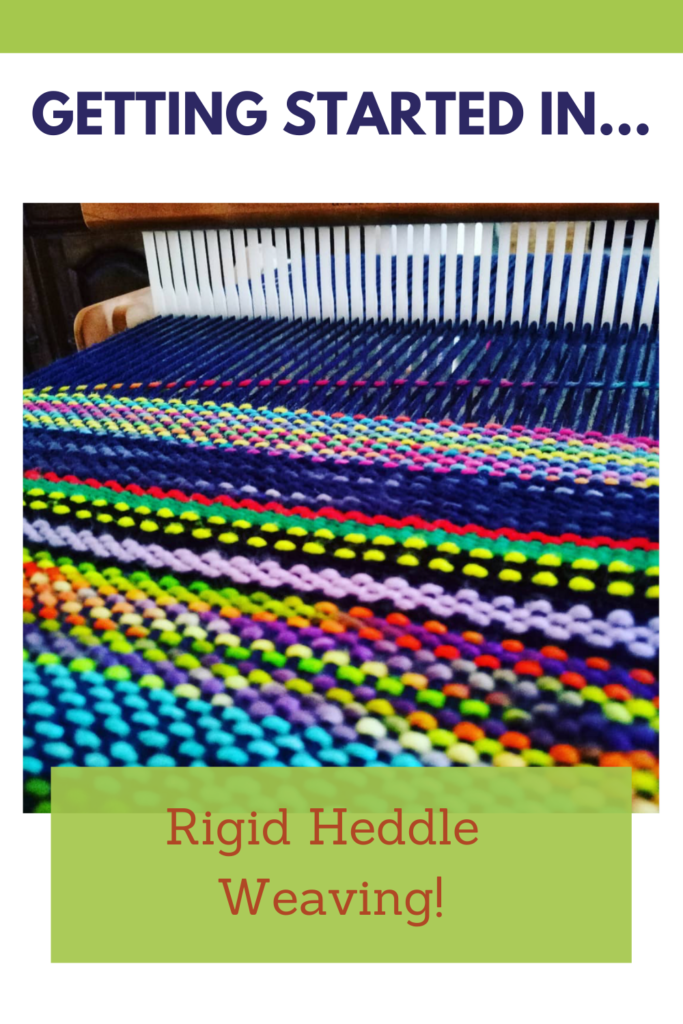
I’m so happy to see that so many people have used this unprecedented time to start something new or to dive in to something they always wanted to do.
Perhaps we can use this as life inspiration for going forward. So many of us are waiting for just the right time to do what we truly love. The fact is, for some, that right time may never come. If we have learned anything this year, I think maybe it should be – DON’T WAIT! START NOW!
So, if you are one of the many who have started weaving this year or are waiting on your new loom to arrive, welcome! It’s so good to have you on the journey.
I thought that it might be useful today, to look at the bare basics you need to get started in rigid heddle weaving. I’ll break down and explain each item you will need to get up and running.
That’s a can of worms right there! There are a lot of choices and in the interests of not keeping you here for the next 3 days, I’m going to keep this section brief and refer you to further learning resources if you need them.
I do want to say, you do not need the biggest, most expensive loom if you’re just starting out. If you’ve never used a rigid heddle loom and are not sure what to expect, start out small. A Sampleit (I have one of these!) or Cricket is a perfect size for practicing weaving, and you might be surprised at the range of items you can weave, even on a small loom.
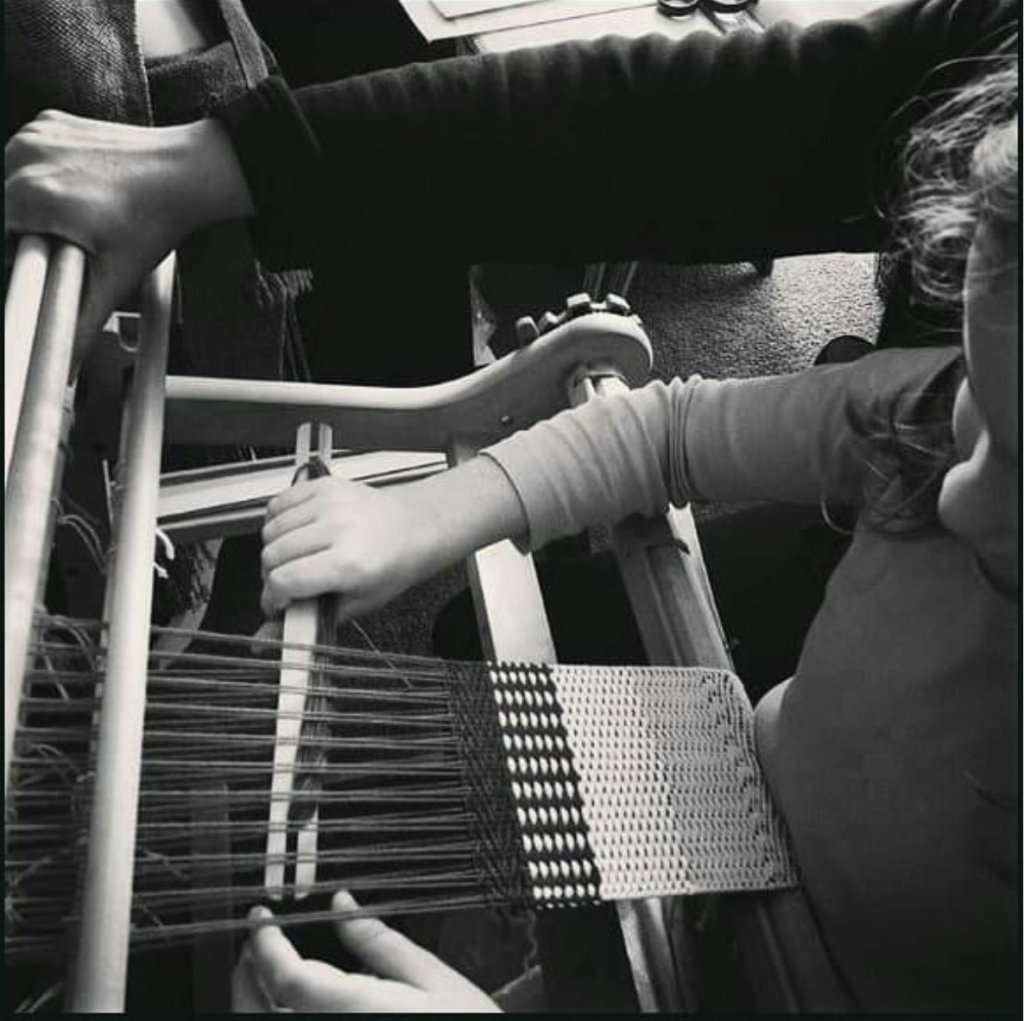
If you have already tried out a loom and have goals for the types of items you want to weave, you may want to go with something larger. As a general guide, a 24″ loom is great for scarves, towels, table runners and bags. A 32″ and larger is great for large shawls, baby blankets and yardage fabric.
For a larger loom you will also want to consider purchasing a stand for ease of use.
If you want to know more about various looms available, how to choose a loom that will suit you and what you can achieve with a rigid heddle loom, go here.
You will receive a heddle/reed with your rigid heddle loom. It will either be a 7.5 or 8 dent, depending on the brand. This is a great size to start out with and you don’t need to purchase any other sizes initially unless you are really keen to work with some lighter (fingering weight, 8/2 weight) yarns.
If you do want to grab an extra heddle, I recommend a 10 dent – it’s a great all rounder.
You should also receive a stick shuttle appropriate to the size of your loom when you purchase. This is what you wind your weft yarn on to in order to weave.
If you want to weave with more than one weft colour (say if you’re weaving stripes) you will want more than one stick shuttle. They are quite affordable, and some weavers even make their own.
If you need to know how to wind a stick shuttle, check out this video:
You may or may not receive a threading and reed hook with your loom, but you will definitely need them! They can be purchased as a separate threading hook or reed hook, but I love to use my double ended heddle hook.
These are two tools in one, they are cheap, I like that they lie flat and don’t roll off surfaces and I find the flexibility of the plastic great when threading. I have also found that metal hooks tend to split my yarn when I’m using a thicker yarn, whereas the plastic is a little kinder.
If you need tips on how to thread your rigid heddle loom, check out this video:
5. Separators
You will need something to separate your warp with when rolling it on to the loom. This is crucial for good tension. You have a few options for separators.
- Cardboard stick separators
- Corrugated cardboard
- Roll of thick paper (this is my favourite)
- Drawer liner
6. Warping peg
Most weavers start out warping their looms directly, using a warping peg. This is a really fast and easy way to warp and also means you don’t have the added expense of a warping board, frame or mill. A warping peg and clamp may come with your loom, as well as an extra clamp for fixing your loom to a table.
7. Inch ruler
This is used to determine the correct sett of your yarn. This is particularly important when you’re starting out and getting to know how different yarns behave in different projects.
You could also use a wraps per inch tool or yarn gauge or a sett checker.
If you need to know how to determine sett for your yarn, have a look at this video:
8. Scissors
A nice, sharp pair of scissors will save you a lot of headaches. I have a large pair of dressmaking shears for cutting off the warp and cutting my handwoven fabric and a smaller, embroidery sized pair I keep close to the loom for snipping weft threads. Some weavers like to use thread snips as their smaller pair.
9. Tape measure
You will need a tape measure to measure out your warp length and to measure your weaving as you advance your warp. I am frequently seen with a tape measure hanging around my neck, I use them so often!
They are very affordable, so I like to have a few that I can leave in different places and always have one near at hand.
10. Yarn
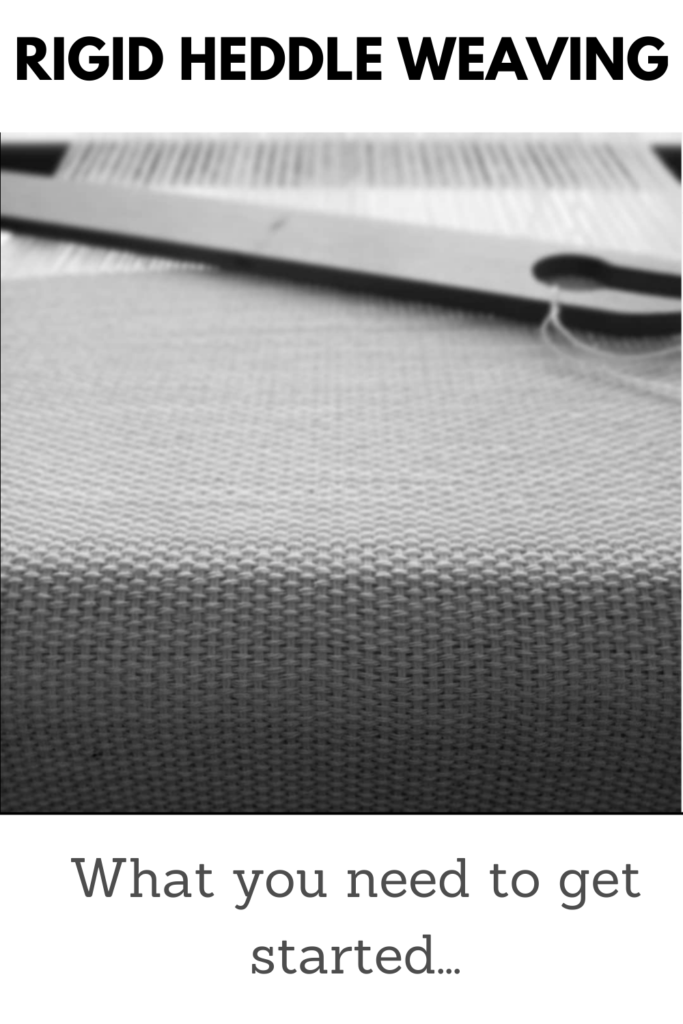
We’re not going to be able to achieve much with our looms and equipment unless we have the yarn to play with! Many of you will have come to weaving from knitting and crochet and will already have a healthy stash to delve into. Knitting yarns are great for beginning weaving.
For those of you with no stash, don’t worry, just start out simple. Don’t go out and buy all the yarns – plan your project and just get the yarn you need to begin with. Or weave a sampler with small amounts of yarn.
But wait, you say! I have no idea where to start with yarn. You’re not alone in that, but relax, I have created resources to help you with that:
Choosing and using yarns in weaving
3 Yarns beginners should avoid
Which weight of yarn should I choose?
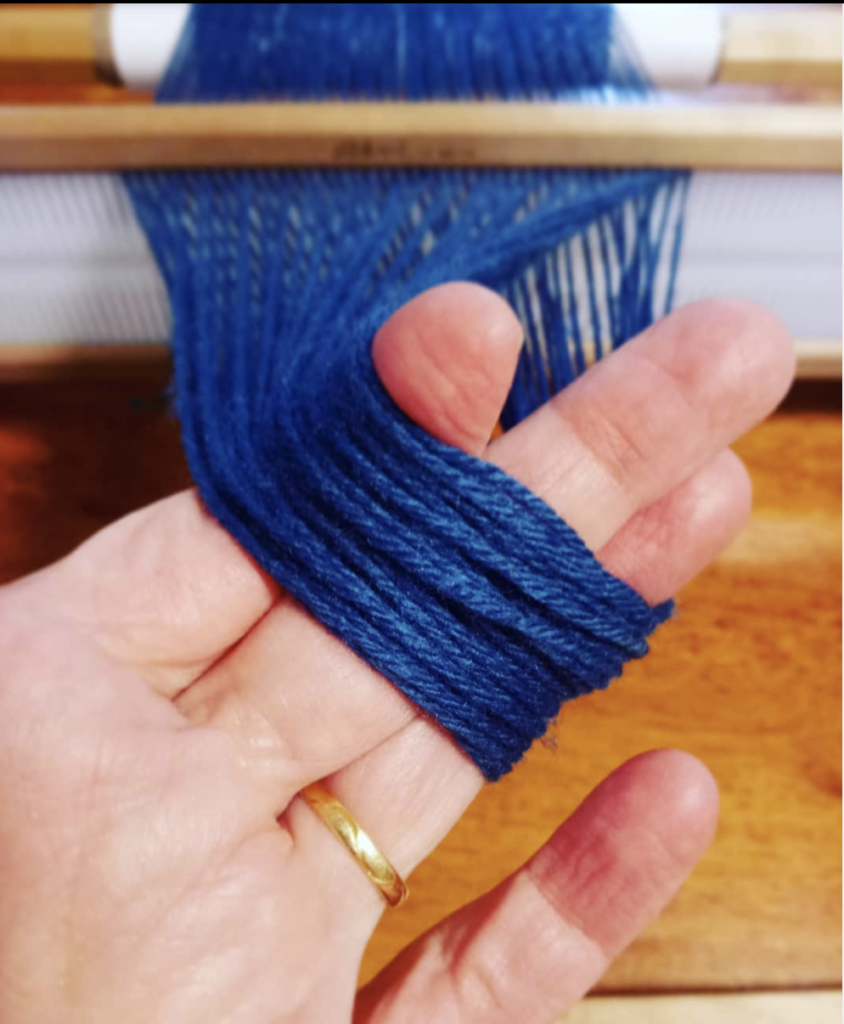
If some of the terminology I’ve used in this article is confusing to you, why not head over and check out my Weaving Glossary? I suggest you bookmark it so that you can refer back to it as much as needed.
Once you have all the tools you need to begin, then it gets really exciting! If you are ready to dive in and get weaving, I recommend you check out my Online Weaving School. You will find classes for all levels, including free and paid classes.
If you are an absolute beginner, you definitely need to enrol in my best selling From Woe to Go! Beginner Rigid Heddle Weaving course.
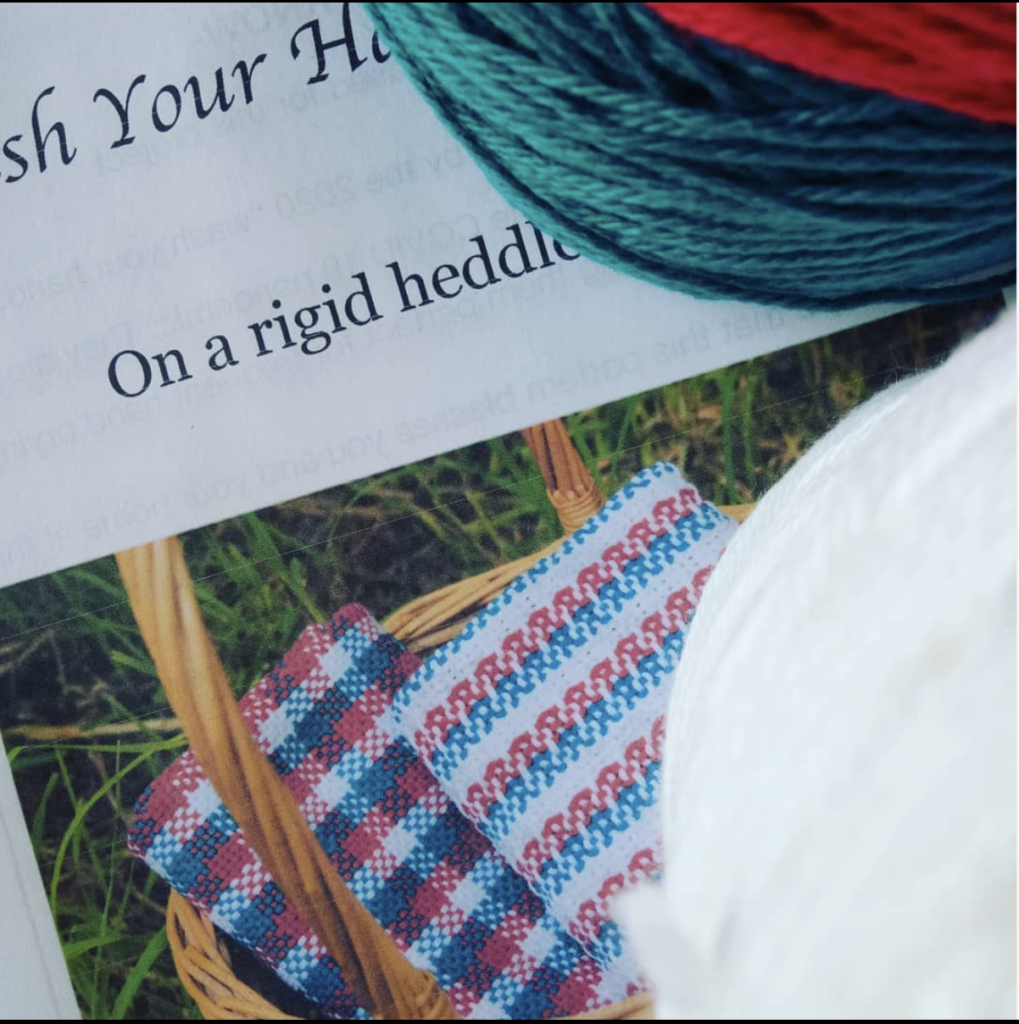
If it’s a free project you’re looking to start out with (or for a second or third project perhaps), have a look at my list of free tutorials here. In particular, I want to recommend a project that has been massively popular this year, the Wash Your Hand Towels.
I hope this article has been useful to you, if you have any questions or comments, leave them down below!
Until next time…
Happy Weaving!
