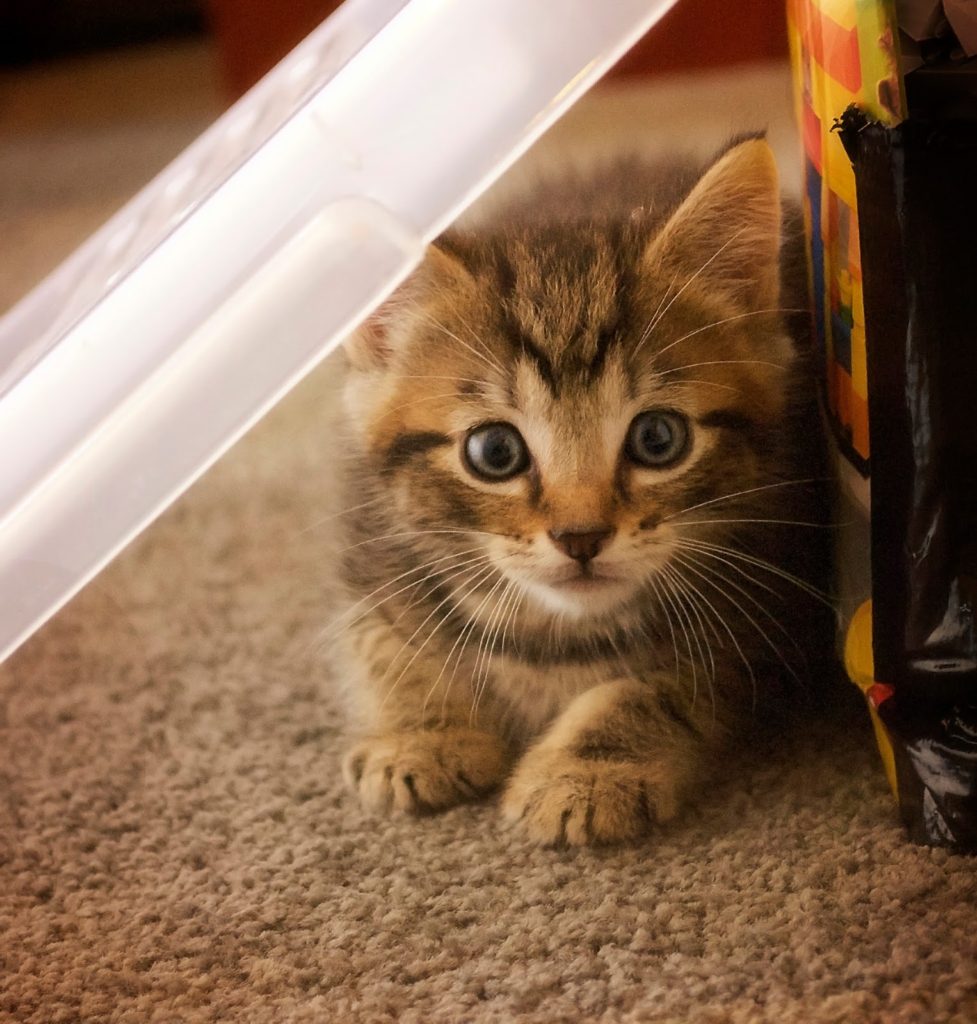
I wasn’t planning to enter the pet photo challenge on I Heart Faces. Our lovely ginger cat passed away this week after a brief illness and I haven’t really been in the mood for photos. But today THIS happened, my husband brought home this gorgeous little guy. I had no choice, I had to capture that cuteness!
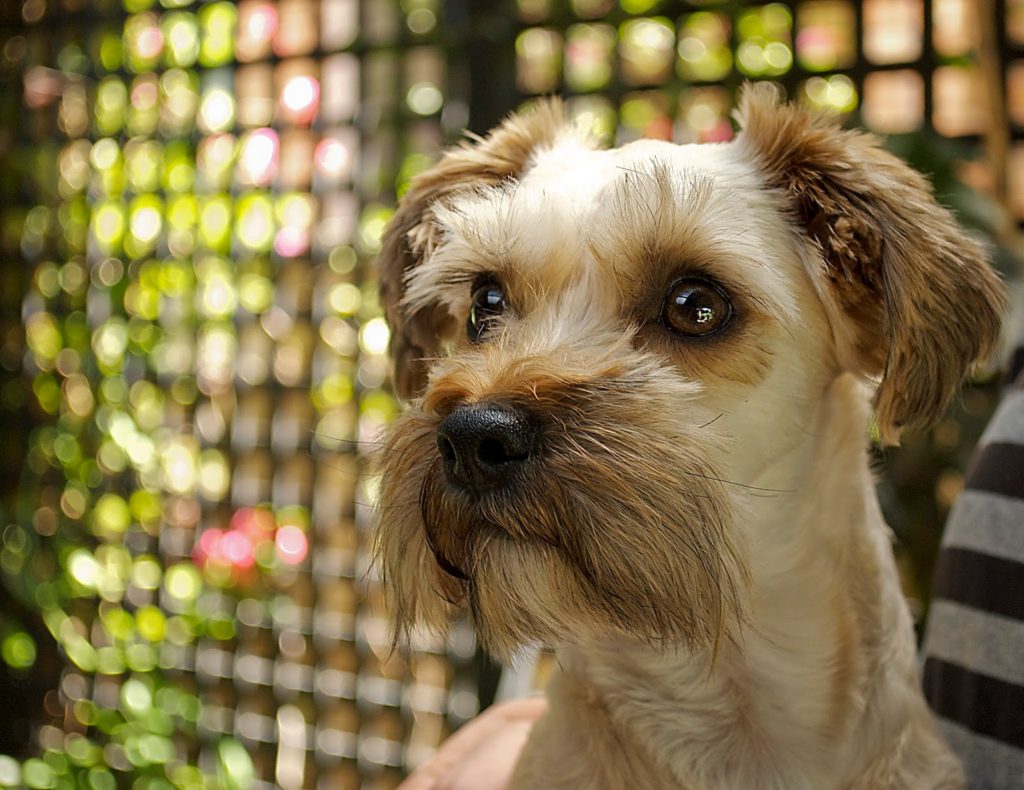
And then, I couldn’t leave this little guy out! He’s rather taken with his new playmate.