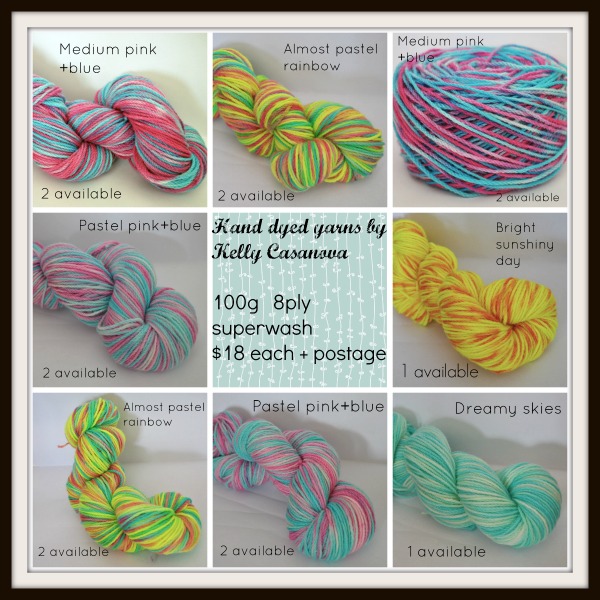
My new collection is available now, feel free to leave me a comment if you’re interested in purchasing!

Yarn flower perhaps? 😀


2. Loyalty rewards
If you tend to frequent the same places for shopping, check out their loyalty reward programs. I do our grocery shopping predominantly at Coles, so I use the Flybuys program. Basically, I get points just for shopping at Coles and the points I convert into gift cards. It’s really worth doing and costs nothing.
3. Eliminate use of dryer
It’s a bit of extra work and organisation to live without a dryer, but unless you live in a very cold and wet climate, you can live without a dryer. And save lots of money in electricity 🙂
*Disclaimer – These posts are based on my own personal opinions. I do not receive any payment for these opinions and it is not my intention to promote any particular product.


Hope you’re having a great day, God bless!
When we bought our first home 8 years ago it came with a dishwasher. No house I ever lived in up until this point had a functional dishwasher, so it was quite a novelty when we moved in. But it never really worked that well. I’d find myself re-washing many of the dishes and ended up only using it very occasionally. And in my present frugal state of mind I think a dishwasher uses far too much water.
Besides, our kitchen is small and space is a premium, so even though some people may think we have taken leave of our senses (hey, it’s not the first time, I’m sure it won’t be the last!) the dishwasher had to go!


What a lot of space a dishwasher takes up! I made a little curtain with some bright and happy fabric and I now have a storage space for bins, the dustpan and whatever else I end up storing there.
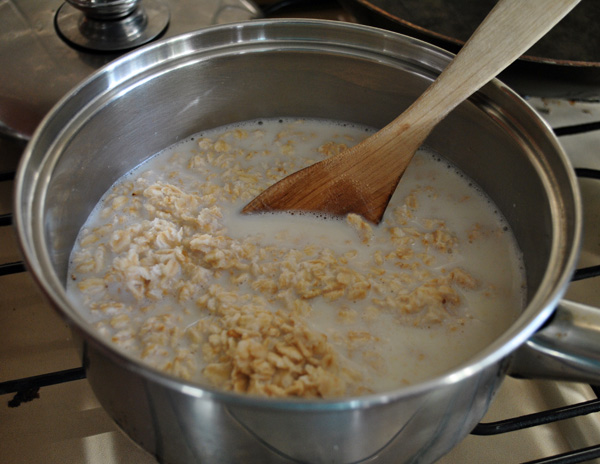
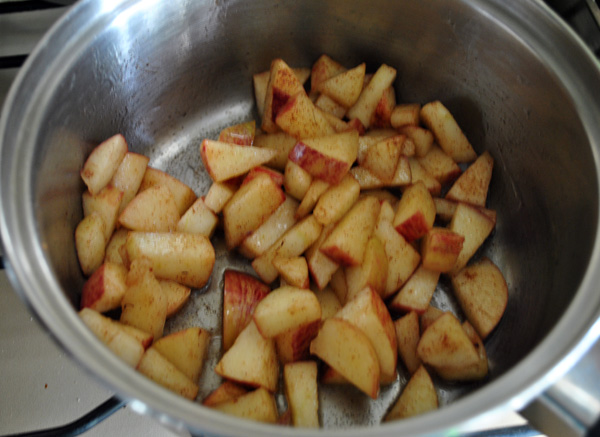
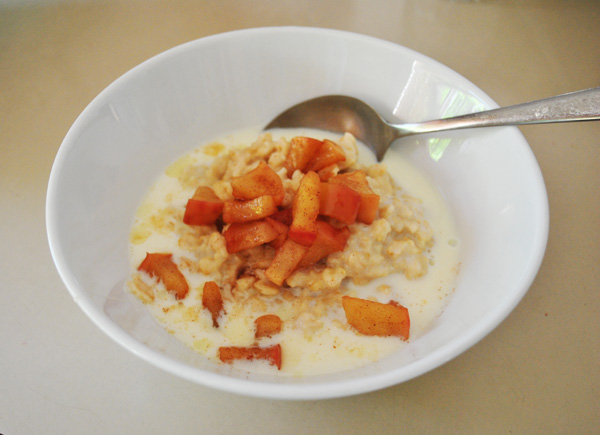
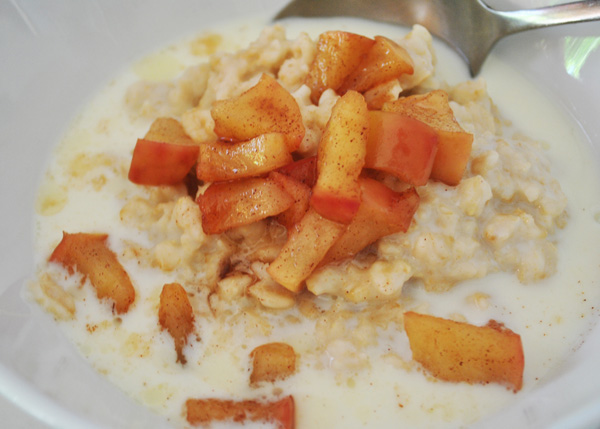
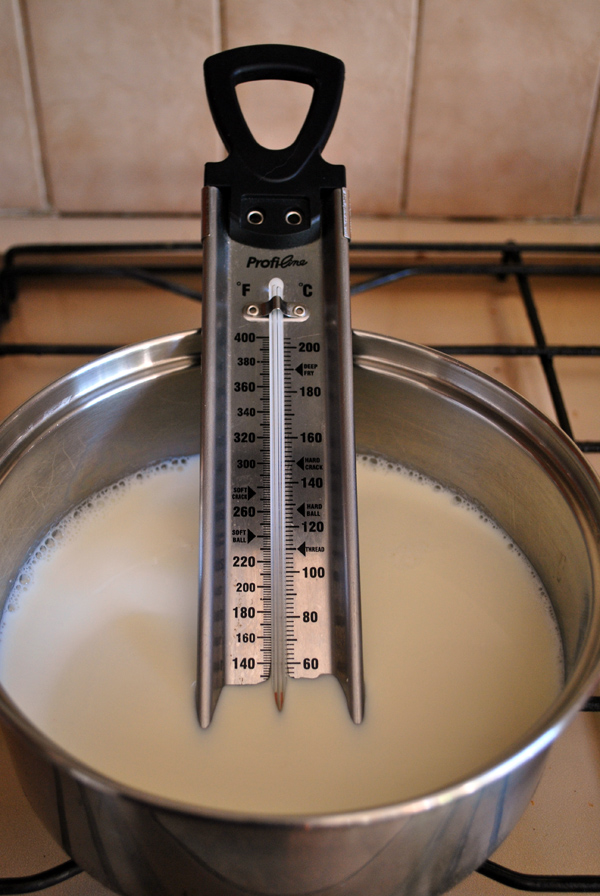
And so, this easy recipe was born!
I’m making getting back to frugal living one of my top priorities and really thinking about what I do and how I do it. As a wife and mother always trying to improve my ways, I relish the challenge. So here are the things I have done this week to reclaim a little frugality:

* Made laundry gel. I’ve used the recipe from “Saving Mum”, and it seems to work well. The gloopiness makes it a little difficult to get out of the bottle so I may have to tweak it. It is extremely cheap to make and uses easily obtainable ingredients.
* Made cleaning spray. Recipe from the same book and once again, very easy to make and works well, even in the shower.
* Shorter showers. I admit my morning showers have become a bit of a luxury but water prices keep going up so our usage needs to go down. I’m trying to cut about 1 minute off each shower for a start and not stay in for any longer than necessary.
* No water down the drain. I’ve started running water from the kitchen hot tap into a big jug while waiting for it to warm up. I’ve been amazed to find that sometimes 2 litres of water has run before it warms up! By running the water into the jug I can then repurpose it somewhere else and it isn’t wasted.
* Library overdue fees. Oh boy, I’ve become slack with this one. With 4 children each borrowing their own items ( and a Mum who is a bit of a library junkie too!) it’s hard to keep track and before I know it, I’m racking up fines for something that should be free. I’m paying extra attention to this now by keeping all library items in one place and checking my account on the internet to make sure I either renew or return books before they become overdue.
* Bread, revisited. I’m doing my best to keep up our bread requirements, another area that had fallen to the wayside a little. I need to bake 2 loaves every second to third day, so it requires planning but I feel it is well worth the effort for both health and savings.
So that’s my week of getting back to frugality and I pray that I have the time and energy to continue to build on what I’ve started. I’ll keep sharing my thoughts so that perhaps we can all get inspired together and help each other to live frugally.


“Oh this hard! I like all your items. You are very talented. If I have to mention just one, it would be the “dusky heath” 8ply merino. The soft dusky colours are more ‘my’ colours than brighter ones, suiting my red haired complexion. Saying this, I haven’t knitted myself anything in a long time. There always seems to be a daughter who needs a new cardigan more than me!
Congratulations on your nearly 800th blog post. I’m pleased to see your FB page is so popular too. I love visiting to look at your latest work.
I’ll share your post on FB. I hope you get lots of visitors to your blog. Thank you for having a give-away!”
Thank you so much to all who entered and congratulations Sue!
It’s been really fun to have another giveaway, perhaps I won’t leave it so long before I do another this time.
God bless you all 🙂