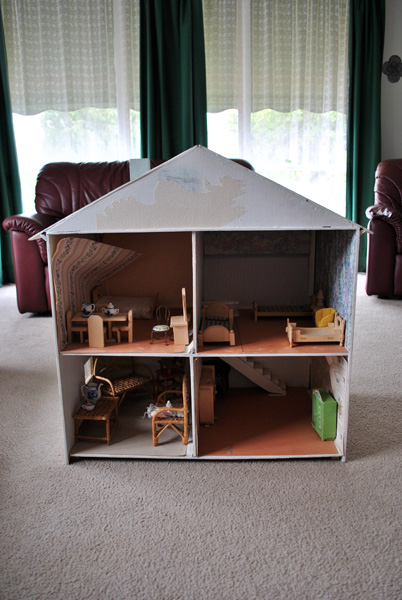
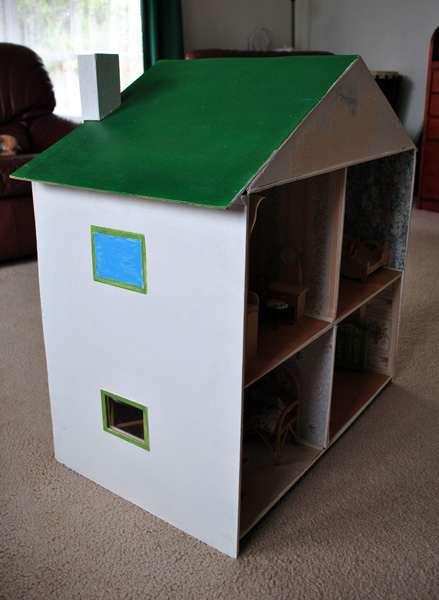
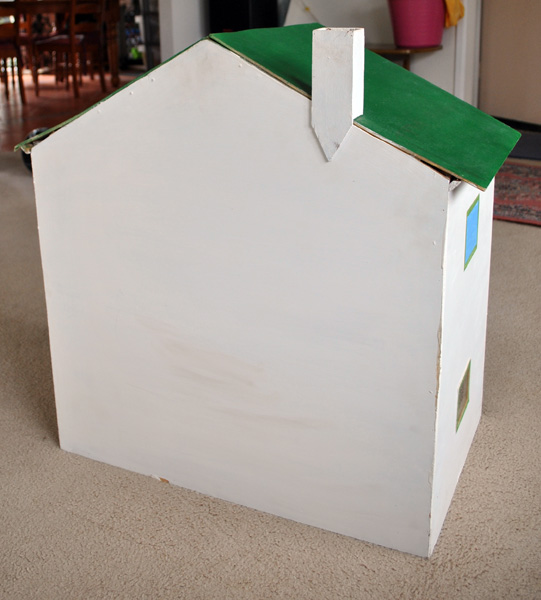
Involves a free doll house with some furniture and accessories that apparently sat in someone’s spare room for many years.
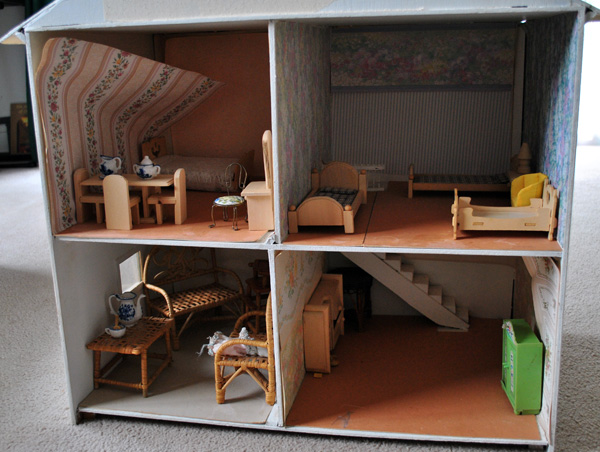
It’s a little worse for wear but mostly cosmetic and the classic style reminds me of a beautiful vintage doll house I had as a child (it apparently belonged originally to one of my Aunties – my Dad found it in an old shed on the farm and cleaned it up for me).
Searching online has lead me to having to restrain myself from buying all sorts of ridiculously expensive but absolutely gorgeous miniatures!
Nope, this is definitely going to be a budget project. Wish me luck!
Oh, and if you have any ideas or recommendations I’d love to hear them 🙂