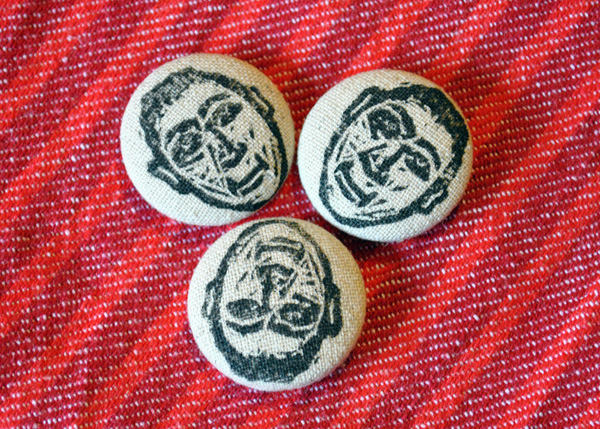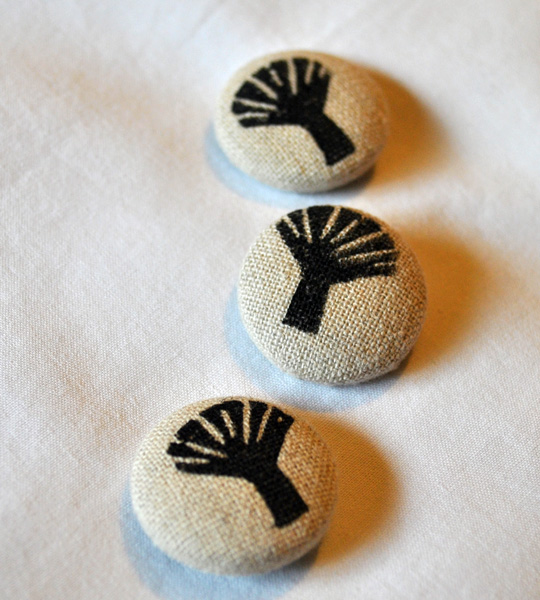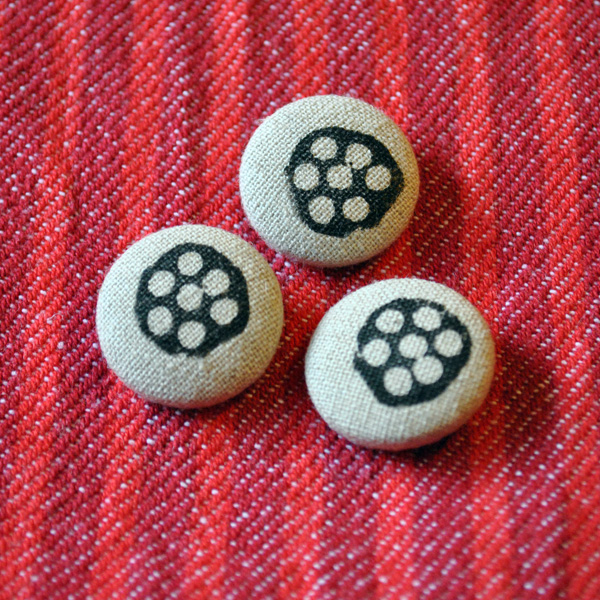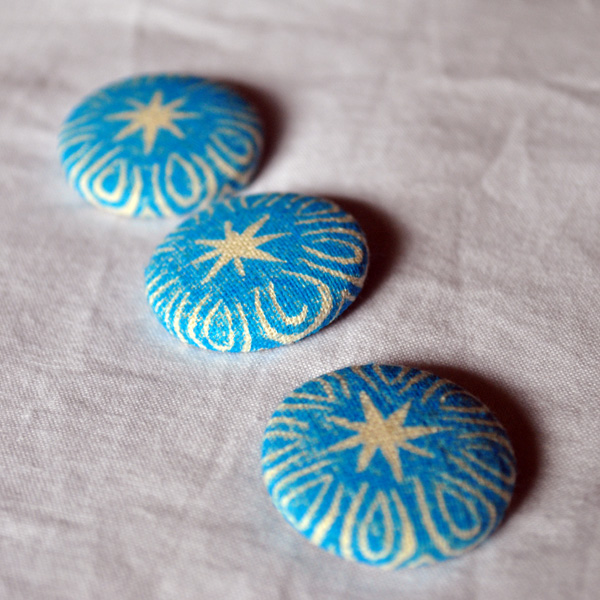
More new hand printed linen buttons to tempt you with!
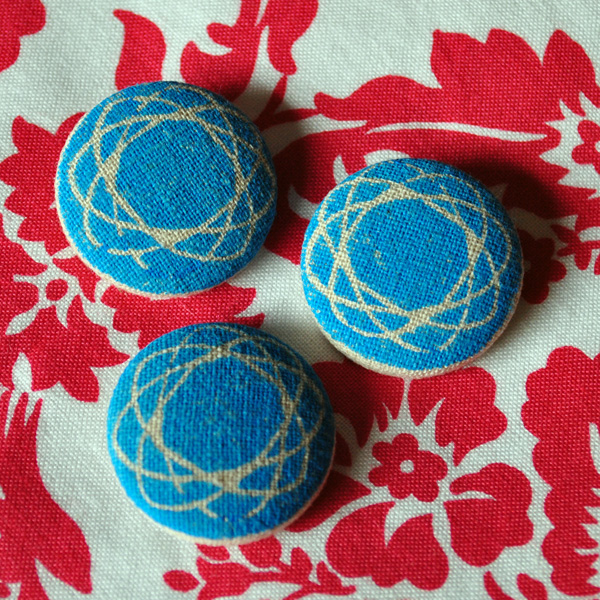
All from husband’s lino blocks.
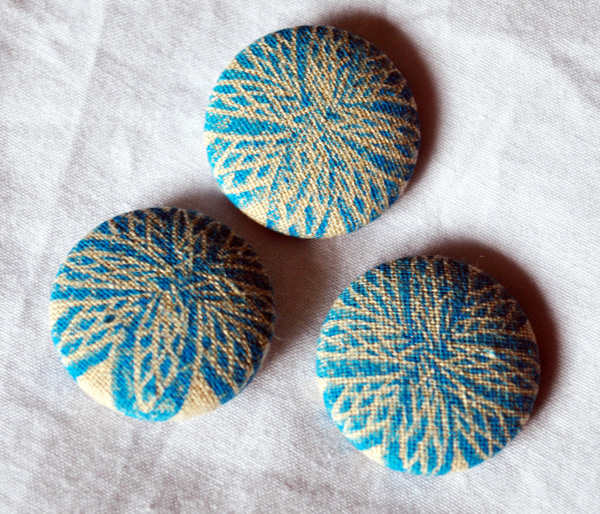
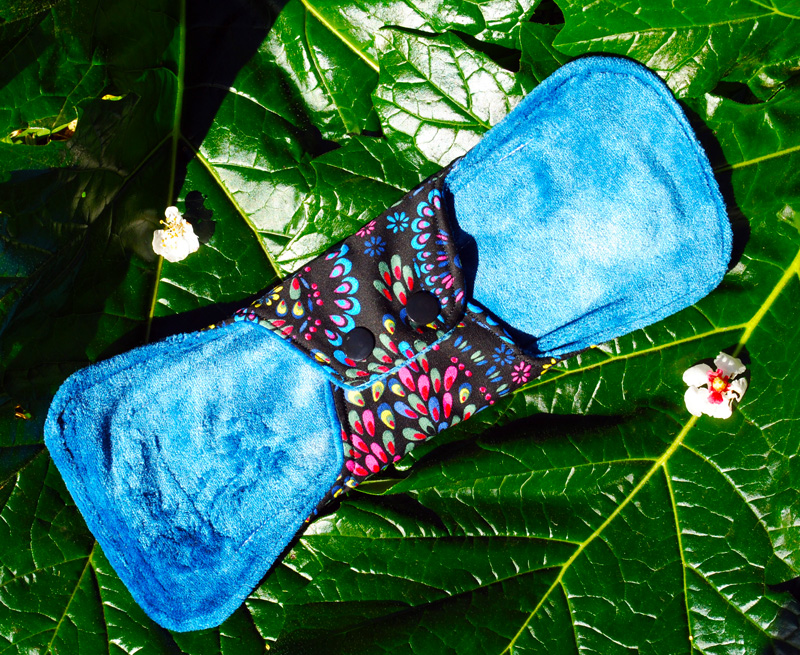
Such a pretty blue methinks.
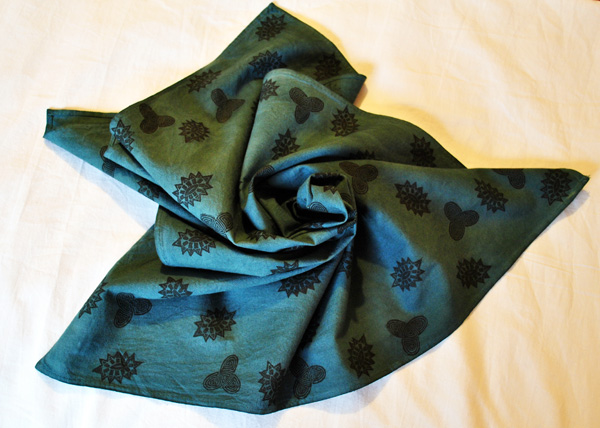
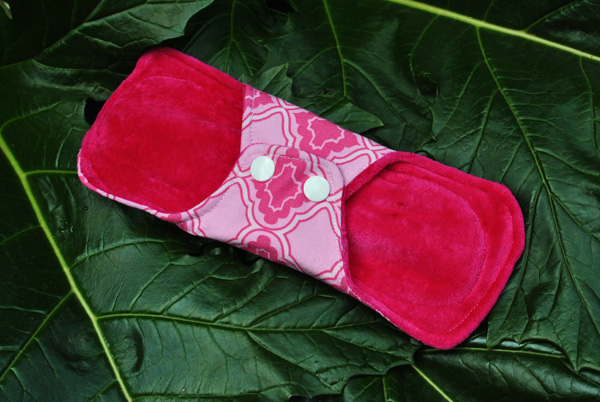
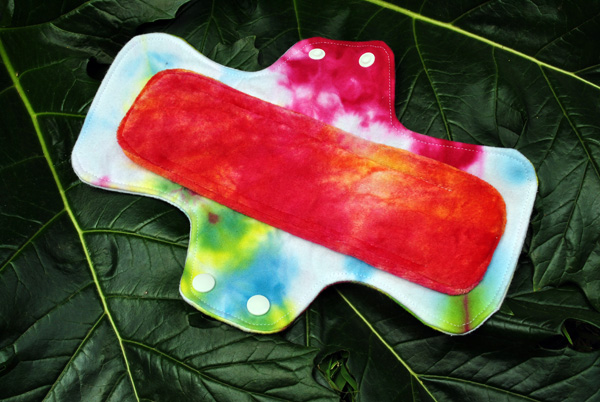
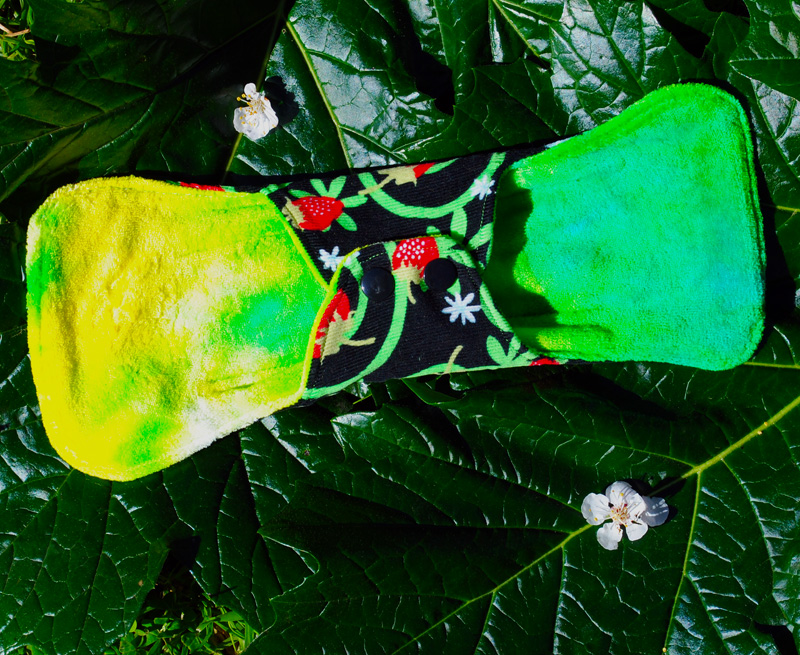
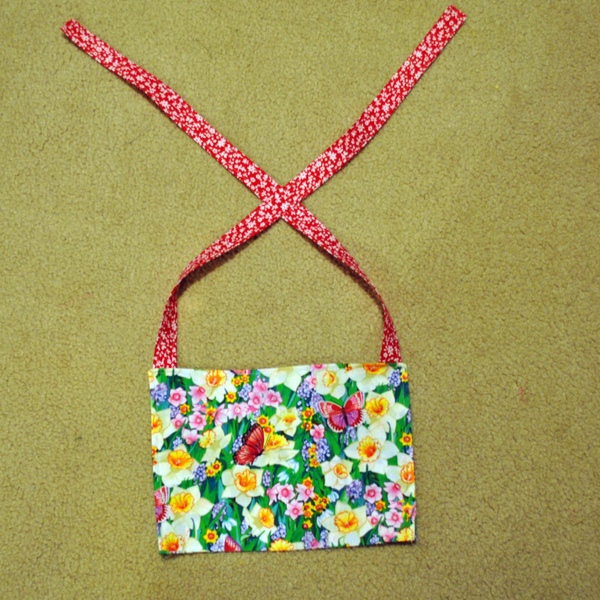
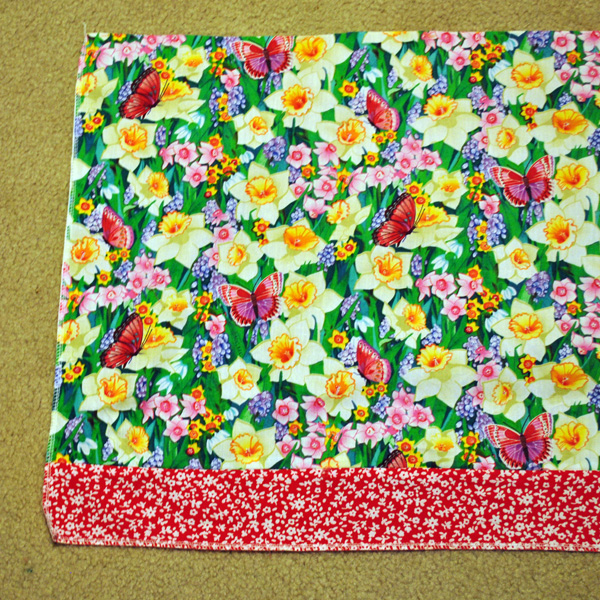
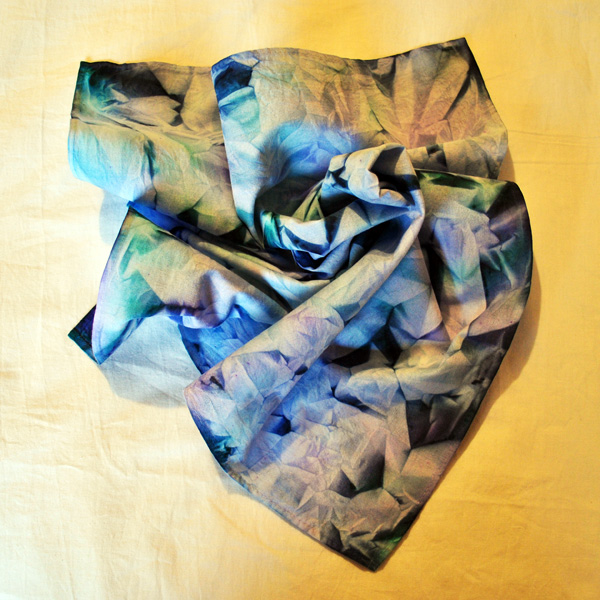
And some bandanas – hand dyed, printed or painted of course!
Random fact: my Etsy shop has never been as well stocked as it is right now 🙂
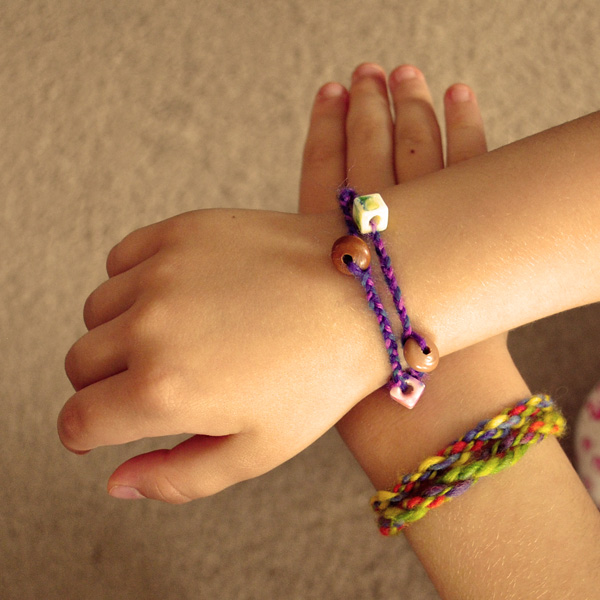
And aside from all things Etsy but on the side of all things creative, look what the girls and I did with a few yarn scraps and some old beads. Cute?