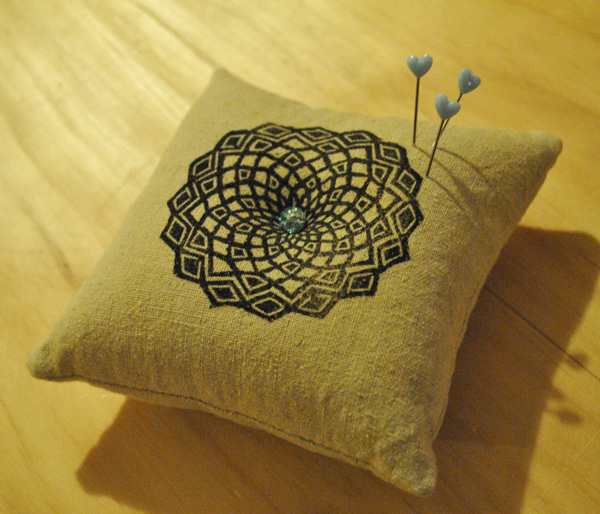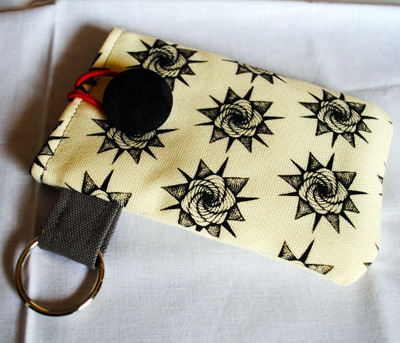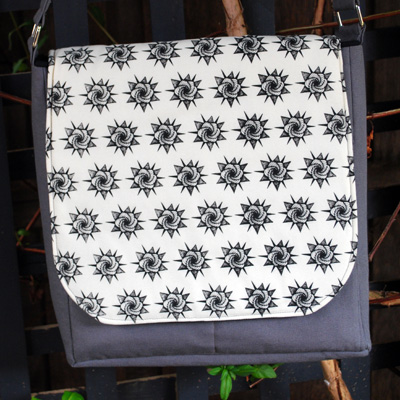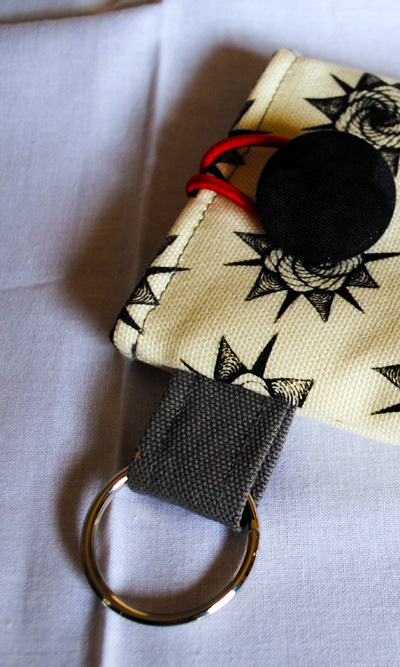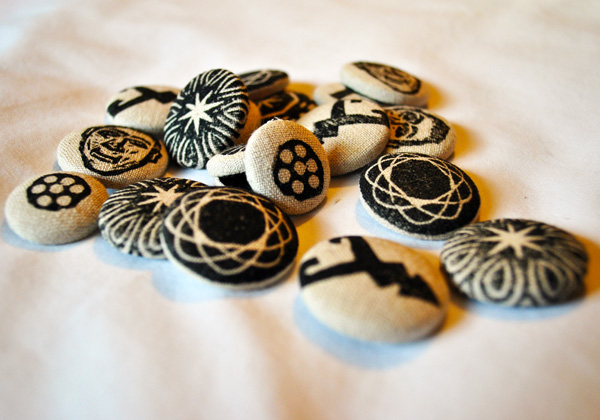
I have a whole range of linen buttons hand printed with our original carved lino designs.
I’ll be listing a bunch of them in my Etsy shop over the next couple of days.
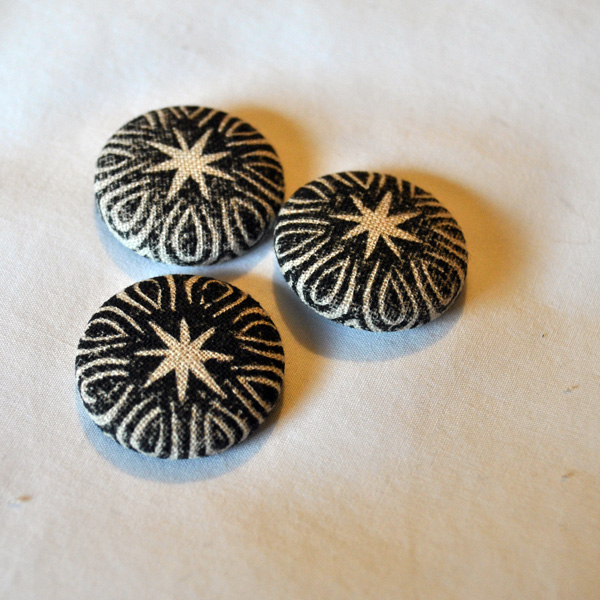
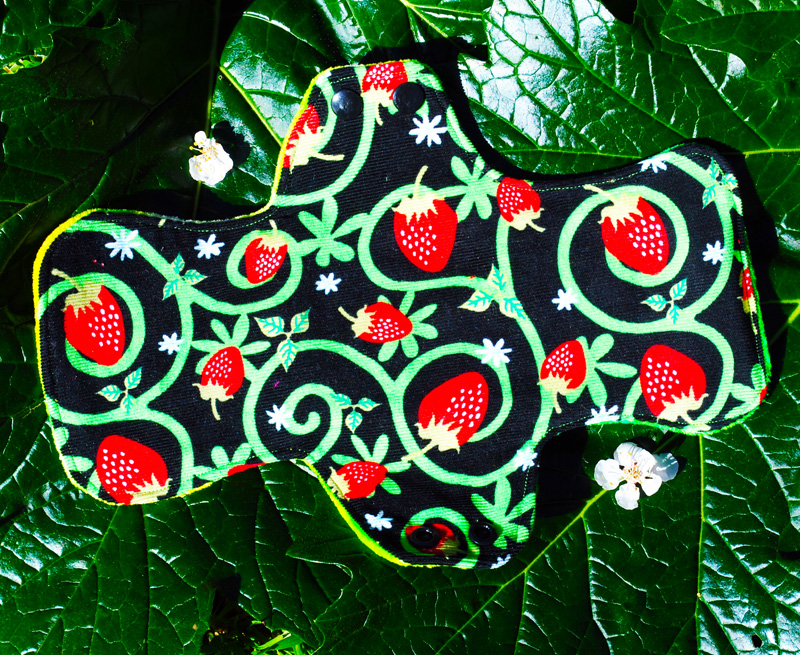
These are available now 🙂
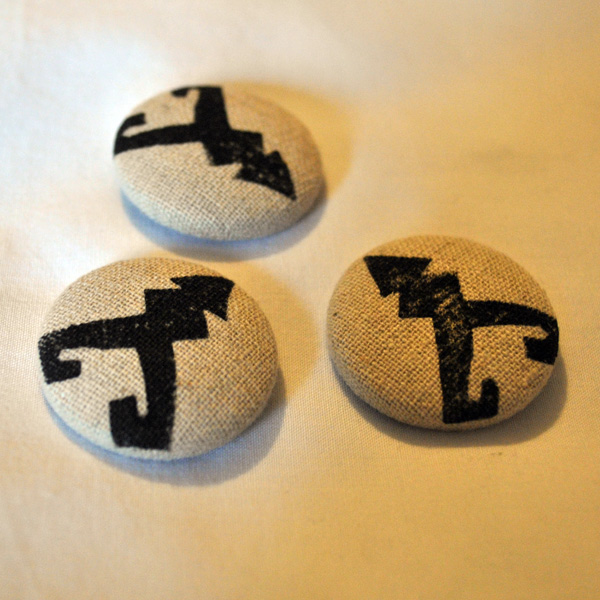
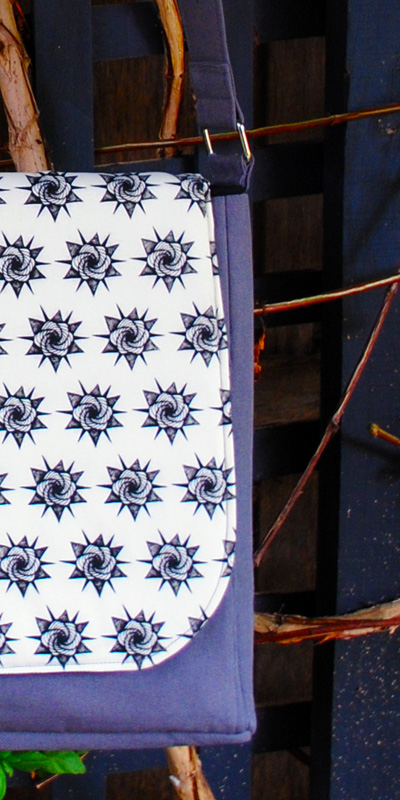
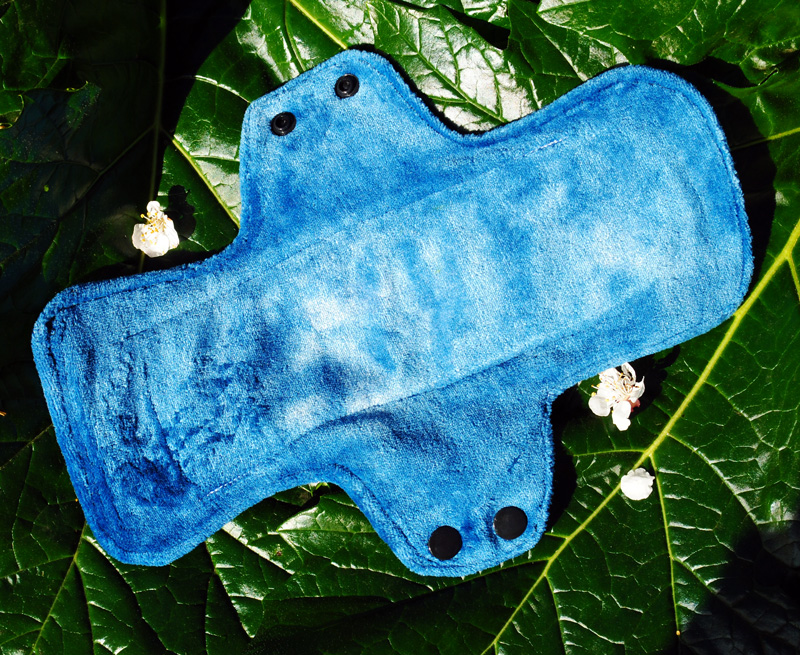
And these are too.
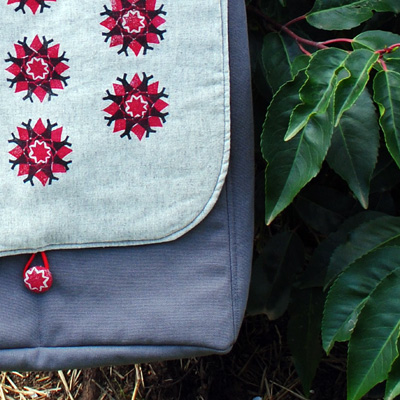
They come in a set of three and you’re really only limited to your imagination when using them (if you’re like me you collect buttons mostly just to look at!)
The post is cheap too 😉
You can check them out here.
While I’m here I’d like to welcome all who are new to my blog and thank you so very much for stopping by. If you stop by regularly but have never said hi, please do, I love to know who I’m talking to and it means I can visit you too 🙂