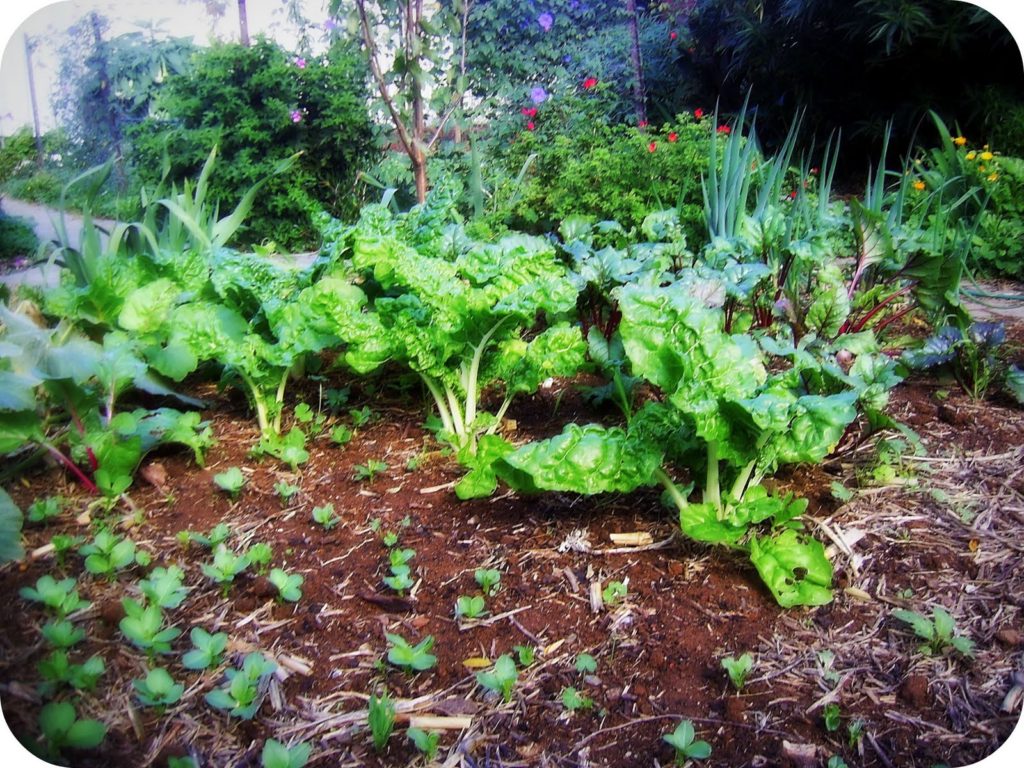
It’s so good to see the garden really flourishing due to the increase in rainfall – it was pretty sad there for a while. We have broad beans sprouting everywhere as well as silverbeet, beetroot, spring onions, pumpkins, parsley and other seeds yet to show their first leaves. I’m very keen to have a successful potato crop this year and would love to get my hands on some heirloom varieties.
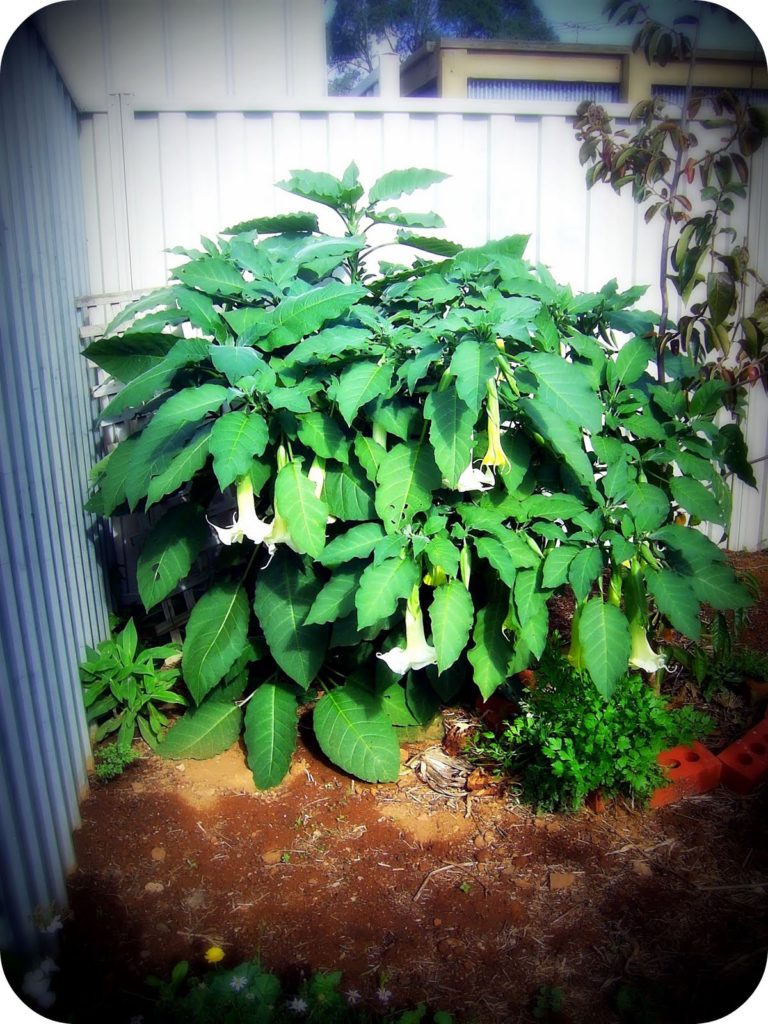
This daytura (also known as angel’s trumpet) is truly glorious at the moment and has grown so fast. It’s almost to the top of the fence and going strong. They usually get severely knocked by frost so for now we will just enjoy their beautiful lush growth and heady perfumed flowers.