• Skip to main content
  • Skip to primary sidebar

Kelly Casanova Weaving Lessons

  • Hi! I’m Kelly!
    • Disclosure
  • Online Weaving School Class Index
    • Common account issues
    • Common technical issues
    • What do I get with a membership?
  • New to rigid heddle weaving? Start here!
    • Never heard of the rigid heddle loom?
    • How to weave neat edges on the rigid heddle loom
    • Rigid heddle weaving
    • Rigid Heddle Weaving Patterns
  • Patterns
  • Subscribe

baking

Corn Flake Slice (easy recipe!)

by Kelly 4 Comments

Corn flake slice is one of those absolute classic grandma recipes.

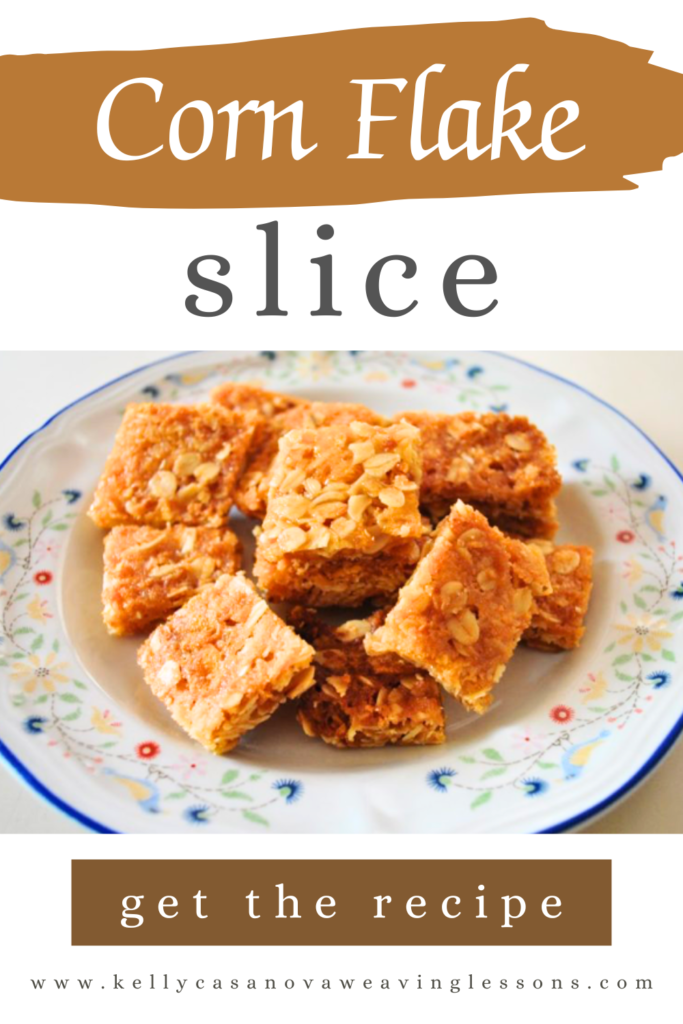
I got my corn flake slice recipe from my mother in law and have used it so many times. It’s a real hit with children of all ages and was often featured in shearing sheds at smoko time.

One of the great things about a recipe like corn flake slice is that it’s so quick and easy to bake up with ingredients you are likely to have in your pantry already – no special shopping trips for fancy ingredients.

If you don’t have corn flakes in your home supply already, they are easy to come by and one of the most affordable cereals.

You will also want to have a basic slice tin (you might know it as a brownie pan). I find it well worth having this specific tin size, I use mine all the time.

Corn Flake Slice (very, very easy!)

Print Recipe Pin Recipe

Ingredients
  

  • 125 grams butter
  • 1 tablespoon honey
  • 1 cup rolled oats
  • 1/2 cup white sugar
  • 1 cup cornflakes
  • 1 cup desiccated coconut

Instructions
 

  • Preheat oven to a moderate (around 180 degrees celsius or 170 fan forced).
  • Melt butter and honey together.
  • Add to mixed dry ingredients.
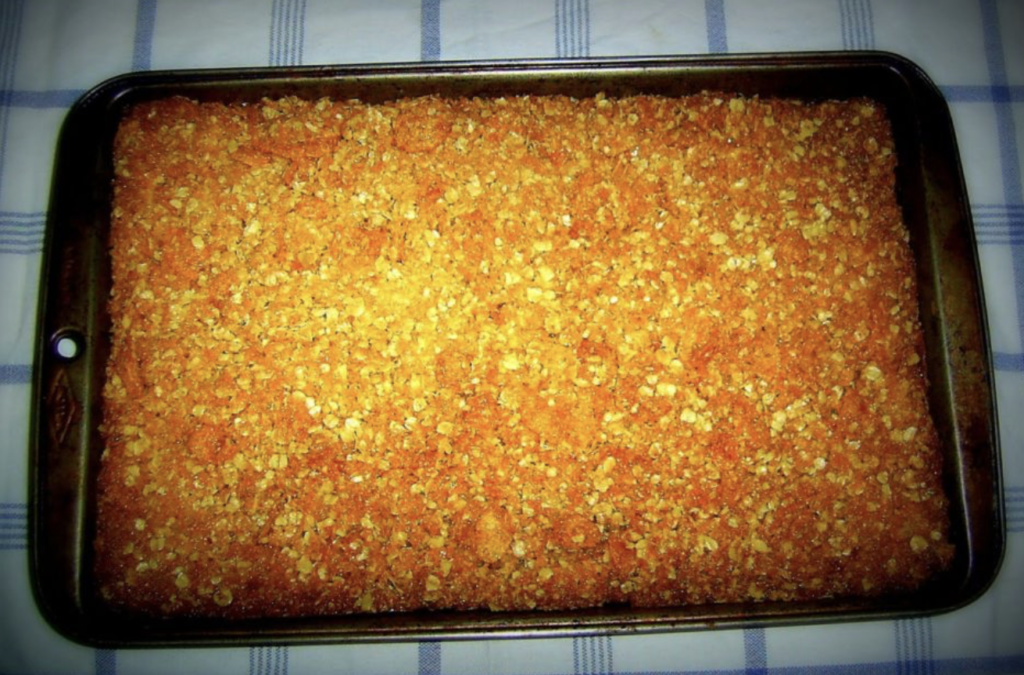
  • Place in a shallow slice tin, press to even and flatten out a little.
  • Bake in the oven until golden brown (about 15 minutes) and leave in tin to cool.
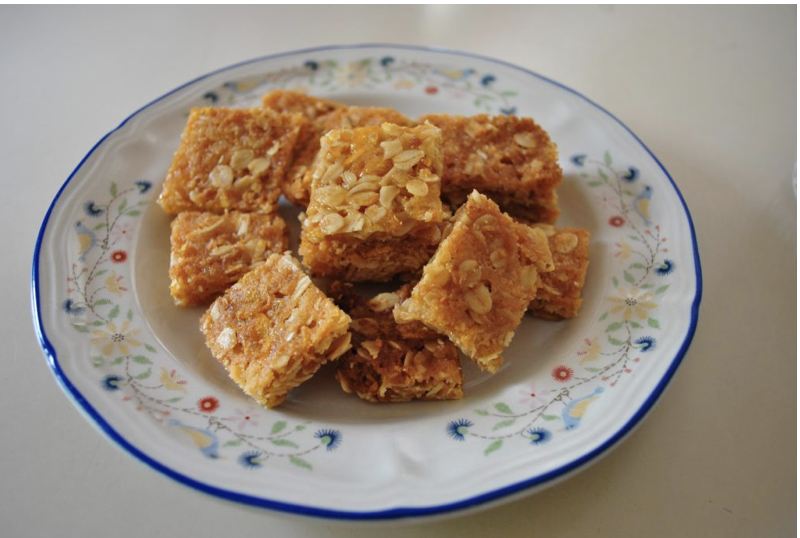
  • Turn out and cut into squares.

It’s important to let your slice cool completely before cutting so that it hardens and holds together. Store in an airtight container.

I hope you enjoy this vintage recipe that was handed down to me.

Happy Baking!

This post contains affiliate links. For more information please see my disclosure policy.

Filed Under: Recipes, Weaving Tagged With: baking, corn flake slice, easy recipe, recipe, Recipes and food

Delicious light rye sourdough artisan bread recipe

by Kelly 3 Comments

Jump to Recipe

Make sure you follow the Light Rye Sourdough loaf recipe steps, but I am adding some further details below for clarity.

Start by whisking your honey (I use locally produced honey) into the water. I always make sure that my water is at room temperature. Then add your sourdough starter and whisk.

I like to use my danish dough whisk for this step, it helps to combine the starter and water beautifully. Ideally, you won’t have any lumps of starter. If you don’t have a dough whisk, you can use a balloon whisk or a regular old spoon.

In the next step you add the salt and flours and mix to combine, again the dough whisk works great for this. You don’t need to over mix, you just want the wet and dry ingredients combined so that there are no surprise pockets of dry flour left.

Your dough will look kind of rough and shaggy. Now that the flours are incorporated, cover the dough (I use plastic wrap for this as it creates some humidity and prevents drying out) and leave it to sit for around 1 hour.

Now we start stretch and folds at half hour intervals, for a total of 5 times. If you’ve never heard of stretching and folding dough, check out this Youtube video (though I don’t do it as neatly and carefully as they do!) Wet hands are a must for stretch and folds.

By the time you do your last stretch and fold you should have a lovely smooth and glossy dough. Cover and allow to sit until the dough has increased by around 30%. Setting it in a warm place helps. It’s tricky giving an exact time for how long this will take, due to room temperature variables. Suffice to say, it will take longer in winter than it will in summer!

When your dough has increased sufficiently, you can shape (again, Youtube is your friend for this – search “shaping a boule”).

Now you can complete the second rise, which can either be done in the fridge overnight (as detailed in the recipe below) or on the bench, covered with plastic wrap or a damp towel for a “same day” bake.

I only bake on the same day when the weather is warmer, otherwise the dough will take a long time to rise. On a warm day, I will let it second rise for around 2 -4 hours.

The refrigerator method can be convenient for “next day” baking as you can wake up in the morning, remove your dough from the fridge, warm your oven and have fresh bread by lunchtime (just remember to allow for cooling time).

Light Rye Sourdough

5 from 1 vote
Print Recipe Pin Recipe

Ingredients
  

  • 160 grams Active sourdough starter
  • 350 mls Water (room temperature) * More water may be needed
  • 1 tbsp Raw honey
  • 200 grams Light rye flour
  • 300 grams Strong white baker's flour
  • 1 & 3/4 tsp salt

Instructions
 

Make the dough

  • Place water and honey in large bowl and whisk together to combine.
  • Add sourdough starter to water and mix until starter is dispersed in water.
  • Add flours and salt and mix until a shaggy dough forms. If the dough seems dry, add some water in small amounts.
  • Cover the bowl and allow to sit for around 1 hour.

Stretch and folds

  • With wet hands, stretch and fold the dough, rotating the bowl 4 times total.
  • Cover and sit for 30 minutes.
  • Continue the stretch and folds, followed by a 30 minute rest for a total of 5 times. (Total time – 2 hours).
  • Cover and allow the dough to prove at room temperature. The amount of time will depend on how warm your kitchen is. This stage may take 1 hour, it may take 6 hours. You want your dough size to increase by around 30% – not to double.
  • At the end of this step, your dough should look light, slightly puffy and glossy. You may see bubbles, this is a good sign.
  • Tip the dough onto a well floured surface and shape. Place into a bowl lined with baking paper/non stick parchment paper or a banneton basket and place in refrigerator overnight, covered.
  • In the morning, remove the dough and place on bench.
  • Heat a cast iron dutch oven with the lid on at your hottest oven temperature. I use a fan forced oven at a temperature of 240 degrees celsius. I place the dutch oven in the middle of the oven.
  • After 30 minutes, remove the dutch oven and take off the lid. Careful, it's very hot!
  • Slash the dough using a knife or lame. I do this before it goes near the dutch oven, to avoid the possibility of burning myself. Use the baking paper as a kind of sling to move the dough to the dutch oven.
  • Turn the oven down to 220 degrees.
  • Place the lid back on and put the dutch oven back in the oven for 20 minutes of covered baking.
  • Remove the lid and continue to bake uncovered for another 25 minutes.
  • Take the dutch oven out and again, use the baking paper to pick up the loaf and place it on a cooling rack, removing the baking paper as you do.
  • Allow the loaf to cool completely before slicing.
Keyword baking, bread, sourdough

I hope you enjoy this bread as much as my family does!

Until next time…

Happy Baking!

Filed Under: Recipes, Weaving Tagged With: baking, bread, make bread at home, Recipes and food, sourdough, sourdough light rye loaf

Zucchini Bread Recipe

by Kelly 4 Comments

Many years ago, my sister in law used to make this bread. It was in the days when the zucchinis from the garden were plentiful and Autumn weather had set in. Baking this bread always brings back very fond memories of that time for me.

Jump to Recipe

I feel that that naming the recipe “bread” is a little misleading, as it’s really more similar to a cake in taste and texture.

  • This post contains affiliate links. For further information, see my disclosure policy.

Currently, we are knee deep in zucchinis. So, so many zucchinis. Grating, roasting, steaming, freezing, making relish. So, this beautiful zucchini bread is a lovely treat and a great way to use up excess fresh zucchini.

Another thing I love about this recipe is that it uses everyday ingredients that I always have on hand. Ingredients like flour, sunflower oil, vanilla extract, walnuts and ground cinnamon are all easy to come by.

This is also a very simple, one bowl, mix and bake cake. That’s my kind of baking!

There is no need to skin your zucchinis prior to grating, just make sure they are washed first. Leaving the skin on adds colour and keeps more of the nutrients in the vegetable.

You will need a medium to large mixing bowl to mix up the ingredients. I love to pull out my vintage manual hand beaters for beating the eggs, oil and vanilla.

I use loaf baking tins and I always line them with non stick baking paper, even if the tins are non stick. This helps to preserve the tins for a long time, and I use the same sheets of paper over and over until they are no longer useable – I get many uses out of them. This is, of course, optional.

This recipe makes 2 generous sized loaves.

Zucchini Bread

5 from 1 vote
Print Recipe Pin Recipe
Prep Time 20 minutes mins
Cook Time 1 hour hr 15 minutes mins

Ingredients
  

  • 3 Eggs
  • 2 and 1/4 cup Caster sugar (Superfine)
  • 3 tsp Vanilla extract
  • 1 cup Vegetable oil (I use sunflower)
  • 2 cups Grated zucchini (skin on)
  • 3 cups Plain flour
  • 1/4 tsp Baking powder
  • 1 tsp Salt
  • 1 tsp Bicarbonate of soda (baking soda)
  • 3 tsp Ground cinnamon
  • 1 cup Walnuts, chopped

Instructions
 

  • Preheat oven to 180 degrees celsius (350 Fareneit)
  • Grease and line 2 x 14cm x 22cm (5.5″ x 8.5″) bread loaf tins.
  •  Beat eggs until they become pale in colour and fluffy in consistency.
  • Add the sugar, oil and vanilla. Beat until thick.
  • Stir in the grated zucchini.
  •  Sift the flour, baking powder, bicarbonate soda, salt and cinnamon into the wet ingredients. Fold the ingredients together.
  •  Fold in walnuts, if using.
  • Pour equal amounts into the 2 tins. Bake for 1 hour or until a skewer inserted into the centre comes out clean. Allow to sit in tins for 5 minutes before turning out onto a baking rack to cool. Lovely to eat warm or cool.

The sugar content is quite high (though, remember you are making two loaves, not one) and I can imagine that you can substitute or even just reduce the amount, as it is quite sweet anyway.

*Tip* If you have a glut of zucchinis, you can grate and freeze the flesh. That way you can have zucchini on hand throughout the year to make recipes like this one year round. Simply defrost the frozen zucchini and use as normal.

Want to make a double batch and freeze the extra loaves? This recipe is perfect to freeze, so go for it – I do this frequently 😉

I hope you try this recipe, let me know if you try and enjoy it!

Filed Under: Recipes, Weaving Tagged With: baking, recipe, Recipes and food, zucchini bread

Sourdough

by Kelly 2 Comments

I’ve tried sourdough starters from scratch many times. Some of the starters went really well but baked really poorly. Others just went off. I became despondent. But something about the warmer weather gets me to thinking about sourdough and I always feel like having another go. This time around I decided to increase my chances of success by buying a starter. I got a partially dehydrated starter from Sourdough Companion, followed the instructions to “wake it up” and away I went!

After the starter was activated (about 24 hours after adding water) I divided it in two to start the feeding stage. The one on the left was fed with organic white flour and filtered water. The one on the right was fed with wholemeal flour and filtered water. I wanted to divide them in case of disaster – my hope was that at least one would survive.
24 hours later they looked like they do in the picture above. Increased in size, lovely bubbly holes and a pleasant, slightly sour aroma.


After this first feeding the starter was ready to bake with. Wanting to remain on the cautious side, I decided to bake plain white loaves. Very simple ingredients – white flour, starter, salt and water.
I baked on a very warm day, so total rising time was around 6 hours, which was perfect. They turned out great!


Two days later I did my second bake. I kept the starters in the fridge in between and got them out for 2 hours before using. This time I tried overnight proving – one batch of dough in the fridge and one out on the bench top on a relatively cool night. I didn’t get as much rise (even overnight which ended up being about 14 hours total proving time!) However, the resulting bread still had a great taste and dense, springy texture.


I’m very happy to be able to add sourdough to my bread making repertoire and now plan to bake sourdough twice a week and yeasted bread once or twice a week (my 5 year old does not have the acquired taste for sourdough yet!) My starters are happily living in the fridge in between bakes and do very well after an outing and a feed.


Filed Under: Uncategorized Tagged With: baking, bread, Recipes and food, sourdough

Birthdays and sunshine

by Kelly 3 Comments

July is the month of birthdays in our family, with 4 out of the 6 of us celebrating. This means I spend a lot of July in the kitchen, but is there a more perfect time of year than Winter to be baking?

A 2 year old girl must have heart cookies!
Mmmm!

Red velvet cake recipe from Joy of Baking (I dare you to go to that website and avoid drooling all over your keyboard!) I used whipped cream and buttercream frosting instead of the traditional cream cheese frosting. A little hint – next time I’ll decorate with cream and buttercream frosting the day before, it was much better on the second day.
I even found time to sew and dye at top for myself, what a rare occurence! I won the Ottobre women’s top pattern from the Crafty Mamas blog. Highly recommend – excellent pattern!
So after all the fun and excitement of games like being dragged through the house on a quilt by a mother  
who is feeling very unfit, this little princess conked out early and missed her own birthday dinner! 

Thanks for reading along, bye for now:)

Filed Under: Uncategorized Tagged With: baking, Celebrations, Clothes sewing

Winds of change

by Kelly 9 Comments

This week I have done things differently – you may have noticed my absence here and it has been deliberate. Time away from blogging, facebook, twitter and all things online has allowed me some breathing space this week. Not only that – but I have committed myself to taking the children out every day while the weather is fine. What an improvement this has made! Yes, I’m totally exhausted but in a good way. Now to share some of our week with you:

Lemon and poppy seed drizzle cake, recipe here
I love how my 5 year old has such a strong mothering instinct, she attracts little ones wherever she goes.
I love how my children are growing and changing and feel so blessed to be a part of it.
Op shop finds + daytura flowers = happiness!
Enjoying local sights.
Jar makeovers with paper, mod podge, colour papers and ribbon.
I printed out an old picture I like, soaked in tea and dried. Then coloured lightly with watercolour pencil and sealed with mod podge. Attached and layered with mod podge also. Tied a velvet ribbon around and placed some dried poppy heads in. Easy!
I’ve re – committed to my desire to live fully on baked bread. I’m going pretty well with no bought bread for about 2 weeks. I bake it every second day.
Slow and steady wins the race. I hope I’ve finished stippling this quilt by M’s 4th birthday next month!
Rock cakes are a constant favourite here. I’ll try to post the recipe on my other blog sometime soon.
If I haven’t visited your blog lately I do apologise – I don’t want to become one of these bloggers who expect comments but don’t give any. Perhaps you’ll decide to remain silent today in protest!
Hope your week has been as productive as mine. God bless!

Filed Under: Uncategorized Tagged With: baking, Homeschooling, op shopping, Quilting, recycling

Grissini and choc chip rolls

by Kelly Leave a Comment

Both of these recipes are from “The Easy Way to Artisan Breads & Pastries” (how could you go past that title?)
Making grissini was a new adventure for me but one I’ll definitely repeat. The dough was straightforward and easy and the end product very nice. I used fresh rosemary from the garden. The only thing I’d change with the recipe is to reduce the salt. They will also go soft so they’re best eaten straight away.

I had the idea of treating the children will these, but was a little let down by their response. Only 1 child liked them, I’m not sure why, but they were pretty dry. I feel like I still have to get to know my oven and it’s temperatures, I seem to slightly overbake things sometimes and they end up dry.

There are plenty of other recipes I want to try in this book, so I’ll be giving them a go over the next few days.

Filed Under: Uncategorized Tagged With: baking, Recipes and food

Primary Sidebar

Categories

Archives

Meta

  • Log in
  • Entries feed
  • Comments feed
  • WordPress.org

Copyright © 2025 Kelly Casanova Weaving Lessons on the Foodie Pro Theme