• Skip to main content
  • Skip to primary sidebar

Kelly Casanova Weaving Lessons

  • Hi! I’m Kelly!
    • Disclosure
  • Online Weaving School Class Index
    • Common account issues
    • Common technical issues
    • What do I get with a membership?
  • New to rigid heddle weaving? Start here!
    • Never heard of the rigid heddle loom?
    • How to weave neat edges on the rigid heddle loom
    • Rigid heddle weaving
    • Rigid Heddle Weaving Patterns
  • Patterns
  • Subscribe

Recipes

Corn Flake Slice (easy recipe!)

by Kelly 4 Comments

Corn flake slice is one of those absolute classic grandma recipes.
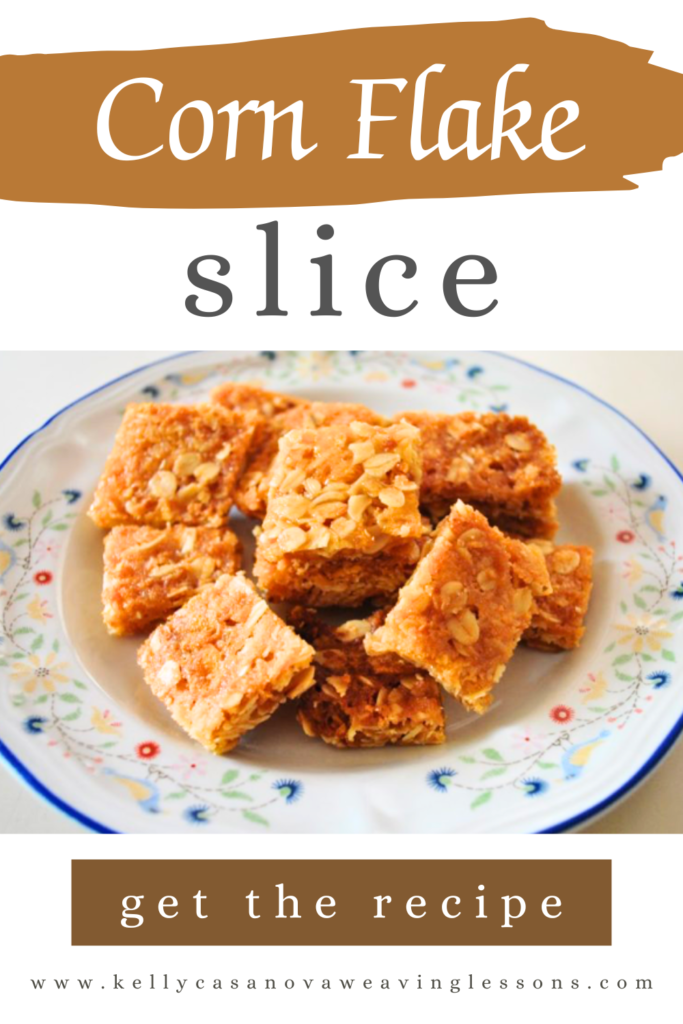
I got my corn flake slice recipe from my mother in law and have used it so many times. It’s a real hit with children of all ages and was often featured in shearing sheds at smoko time.

One of the great things about a recipe like corn flake slice is that it’s so quick and easy to bake up with ingredients you are likely to have in your pantry already – no special shopping trips for fancy ingredients.
If you don’t have corn flakes in your home supply already, they are easy to come by and one of the most affordable cereals.

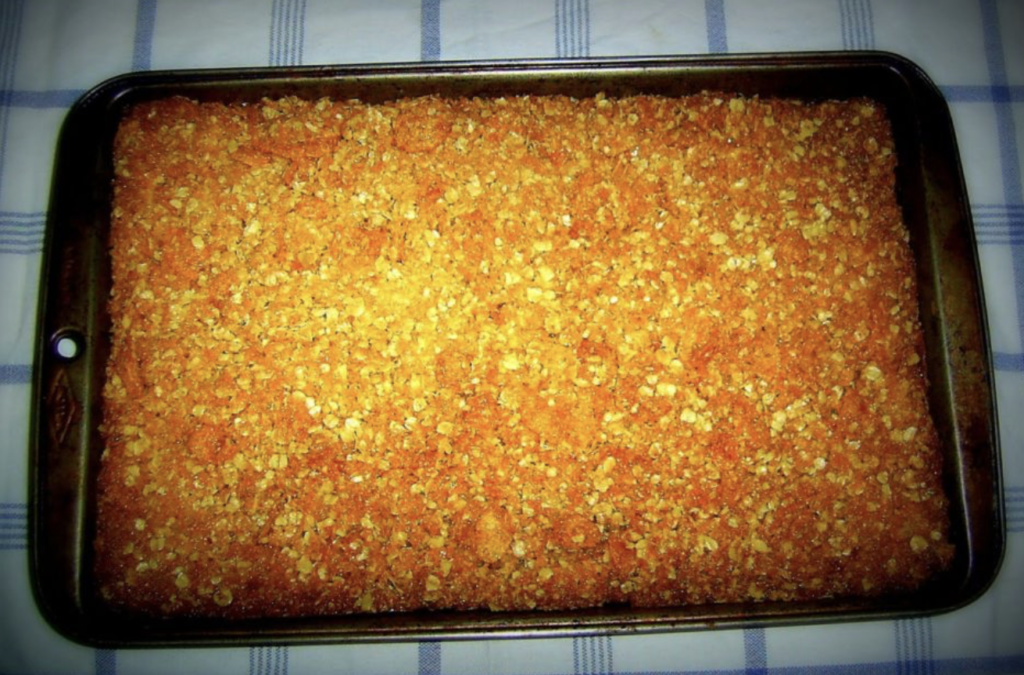
You will also want to have a basic slice tin (you might know it as a brownie pan). I find it well worth having this specific tin size, I use mine all the time.
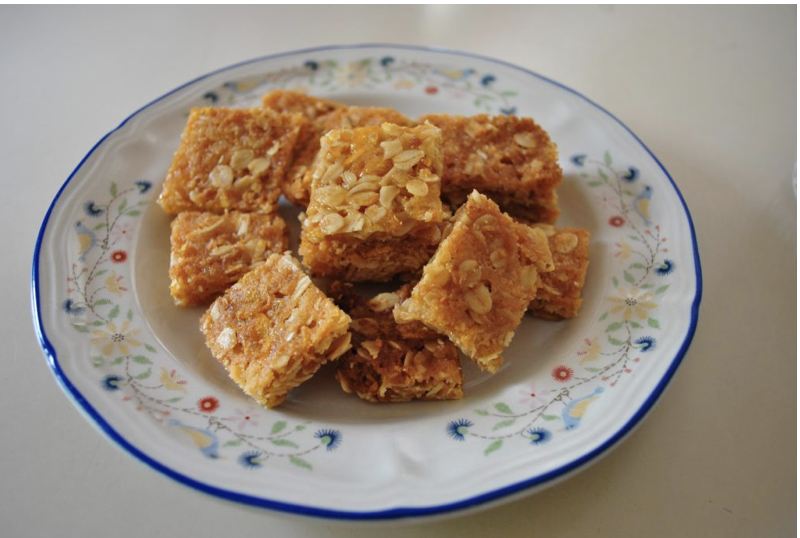
Corn Flake Slice (very, very easy!)

Print Recipe Pin Recipe
Ingredients Method

Ingredients
  

  • 125 grams butter
  • 1 tablespoon honey
  • 1 cup rolled oats
  • 1/2 cup white sugar
  • 1 cup cornflakes
  • 1 cup desiccated coconut

Method
 

  1. Preheat oven to a moderate (around 180 degrees celsius or 170 fan forced).
  2. Melt butter and honey together.
  3. Add to mixed dry ingredients.
  4. Place in a shallow slice tin, press to even and flatten out a little.
  5. Bake in the oven until golden brown (about 15 minutes) and leave in tin to cool.
  6. Turn out and cut into squares.

It’s important to let your slice cool completely before cutting so that it hardens and holds together. Store in an airtight container.

I hope you enjoy this vintage recipe that was handed down to me.

Happy Baking!

This post contains affiliate links. For more information please see my disclosure policy.

Filed Under: Recipes, Weaving Tagged With: baking, corn flake slice, easy recipe, recipe, Recipes and food

Soft White Sandwich Bread

by Kelly 3 Comments

Jump to Recipe

I’ve been making bread for a very long time now but there is one thing that many of my loaves were lacking – lightness and softness.

My loaves were often on the dense side, not in an unpleasant way, actually in quite a substantial way, but I did have the desire to be able to make a lighter bread if I wanted to – more like a bakery style sandwich loaf.

So I started testing ingredients and methods and investigating bakery methods.

There are a few things I stumbled upon that led to the formulation of this recipe:

  1. A higher yeast proportion for a faster rise plus using sugar for taste and fast rising
  2. The addition of butter
  3. A long mixing time with the mixer

Using a mixer with a dough hook takes a lot of work out of it for you and just kneads up the most beautiful dough.

I have an older model Kenwood mixer, it does the job OK, but if and when I have to replace it I think I would be leaning towards a Kitchenaid or something similar.

The bread is quite sweet and you could definitely reduce the sugar (though each batch does make 2 loaves) or you could also substitute honey. Other sweeteners I’m not sure on as I haven’t used them.

Personally I don’t use fancy bread tins, just something similar to these rectangle loaf tins and I line them with parchment baking paper on a roll that I then save a reuse many times, this really cuts down on dishes to wash.

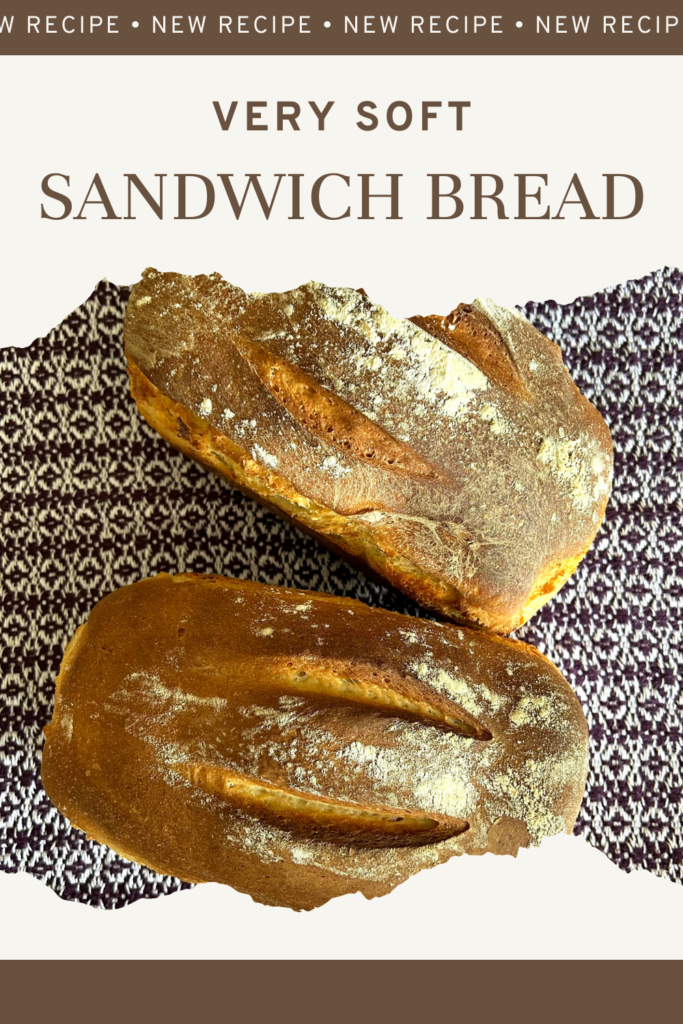
Soft Sandwich Bread

5 from 1 vote
Print Recipe Pin Recipe
Cook Time 35 minutes mins
Ingredients Method

Ingredients
  

  • 1 kg White baker's flour
  • 620 ml Warm water
  • 3.5 tsp Instant dried baker's yeast
  • 3 tbs White granulated sugar
  • 2.5 tsp Salt
  • 2 tbsp Butter (room temperature)

Method
 

  1. Place yeast, sugar and warm water in a mixer bowl. Allow to sit until the yeast froths (5-10 minutes).
  2. Add flour and salt and mix on low until ingredients start to incorporate. Keep mixer going as you add softened butter, a couple of cubes at a time. 
  3. Turn mixer up to level 1 and allow machine to knead dough for 10 minutes. Dough should be smooth and soft and pull away from sides of bowl.
  4. Oil bowl lightly, cover with plastic wrap and leave in warm place until dough has doubled in size (may take 45 minutes to 1.5 hours or even longer if placed in a cool place). 
  5. Divide dough into 2. On a lightly floured surface, press each piece out with your hands into a rectangle shape. Roll the rectangle starting at one short end, tucking in ends a little as you go. Pinch the seam lightly. Place in baking tin lined with parchment paper with seam side down. Do the same to the other loaf. (Don’t fuss over this part, just try to get a seam at the bottom)
  6. Cover lightly with plastic wrap and leave until risen, this can take 20 minutes to 1 hour, depending on room temperature.
  7. Preheat oven to 200C (fan forced) or 210 conventional.
  8. Bake loaves for 35mins.
    Allow to cool on a rack before cutting.

The bread is freshest when eaten on the same day but it makes wonderful toast for days after that!

I love eating it toasted and topped with eggs from our homestead. The bread also freezes well, I leave the loaves whole to freeze, or you could cut into smaller pieces if you need less bread at once.

I hope you enjoy this recipe. If you try it out I would love your feedback 😊

Would you like to see just how I make this bread? Check out my instructional video:

Until next time…

Happy Baking!

This post contains affiliate links. For more details please see my disclosure policy.

Filed Under: Health and home, Recipes Tagged With: recipes, Recipes and food, soft sandwich loaf

Old fashioned rock cake recipe

by Kelly 3 Comments

Rock cakes are a firm favourite in our family, a recipe that I come back to over and over. If you’ve never heard of a rock cake, the way I make them is like a muffin but more buttery and substantial.

They are quick to make, use relatively few ingredients and are pretty healthy. They could be made healthier with wholemeal flour and a sugar substitute, but I’m happy to serve these to my kids as they are, knowing that they are fresh, home baked with no additives or preservatives 🙂

Our kids love to eat them warm from the oven, tops sliced off and spread with butter that melts in. They also love to top them with jam and cream (especially if the jam is home made!)

Rock cakes also freeze beautifully, so I usually make a double batch and freeze half.

The recipe below makes approximately 9 large rock cakes.

Rock Cakes

5 from 1 vote
Old fashioned rock cakes are a family favourite!
Print Recipe Pin Recipe
Ingredients Method

Ingredients
  

  • 2 cups Self raising flour
  • 1/4 tsp Salt
  • 1/2 tsp Mixed spice
  • 90 grams Butter
  • 1/3 cup Sugar
  • 1/2 cup Dried fruit (I use raisins, currants, sultanas)
  • 1 Egg Room temperature
  • 1-3 cup Milk (amount will vary) Use enough milk to make a thick batter that just drops off the spoon
  • 2 tbsp Raw sugar Optional – for topping

Method
 

  1. Preheat oven to 190C and prepare a muffin tin with muffin patty pans. It helps to grease the top of the tray very lightly to prevent sticking. 
  2. Sift flour, salt and spices into a large bowl. Add the chopped butter and rub into the flour until it resembles breadcrumbs. This step can be done in a food processor if you’re feeling lazy (but then you have to wash the food processor bowl, so not worth the trouble to me!) .
  3. Stir in the sugar and dried fruits. Add the egg and some of your milk and start mixing. You’re going for a thick, sticky batter, not dry at all. 
  4. When thoroughly mixed, spoon the batter into the patty pans, filling about 3/4 of the way. This will give you a large cake that doesn’t spill over the edge of the tin too much.
  5. Sprinkle the tops of the batter with raw sugar (this is optional). Bake for around 18 minutes or until the tops are golden.

I hope your family enjoys these rock cakes as a snack or dessert!

Filed Under: Recipes, Weaving Tagged With: recipe, Recipes and food, rock cakes

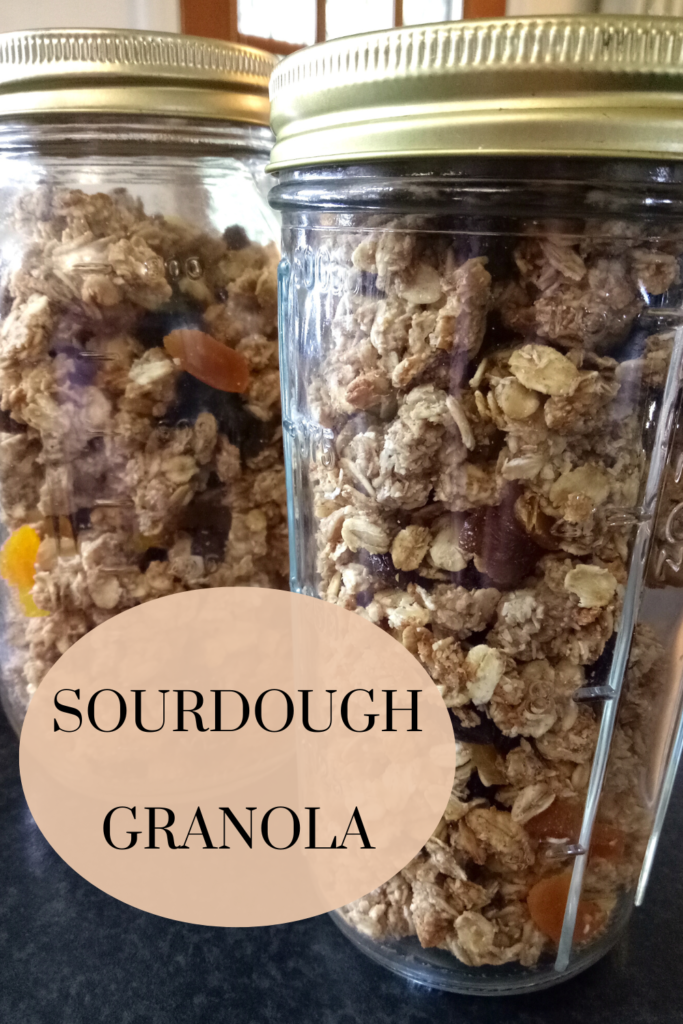
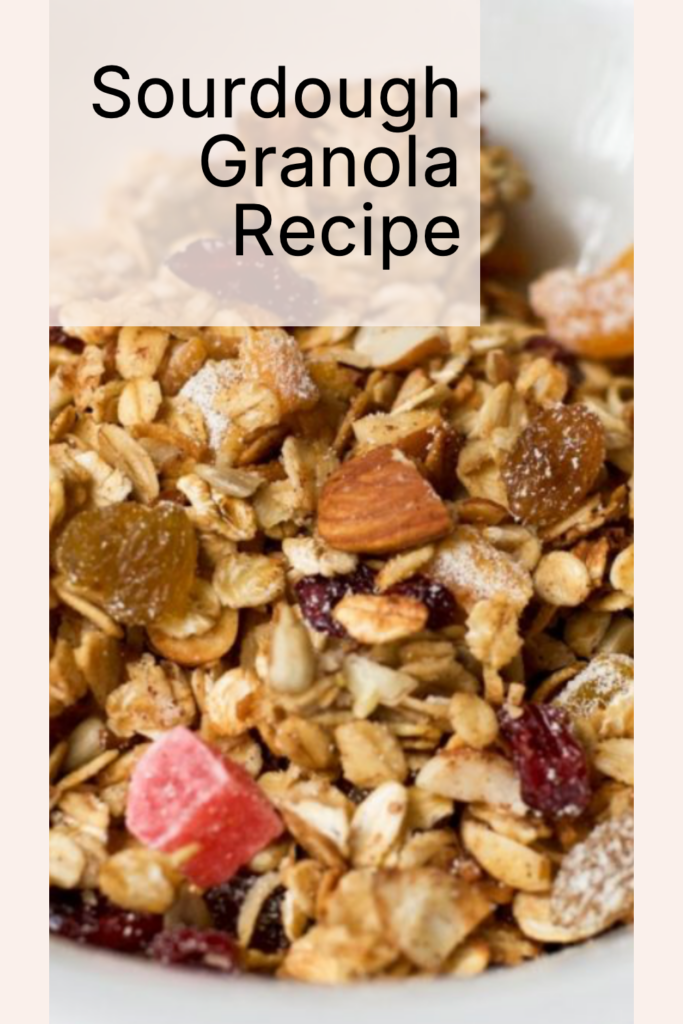
Easy Sourdough Granola Recipe: A Delicious Twist for Healthy Homemade Breakfasts

by Kelly Leave a Comment

Looking for a delicious way to use up your sourdough discard? Try making homemade sourdough granola! This easy recipe combines the wholesome goodness of homemade granola with the unique flavor and crunch that sourdough starter adds.

It’s a game-changer for your breakfast or snack routine—perfectly crispy, flavourful, and a great way to reduce food waste.

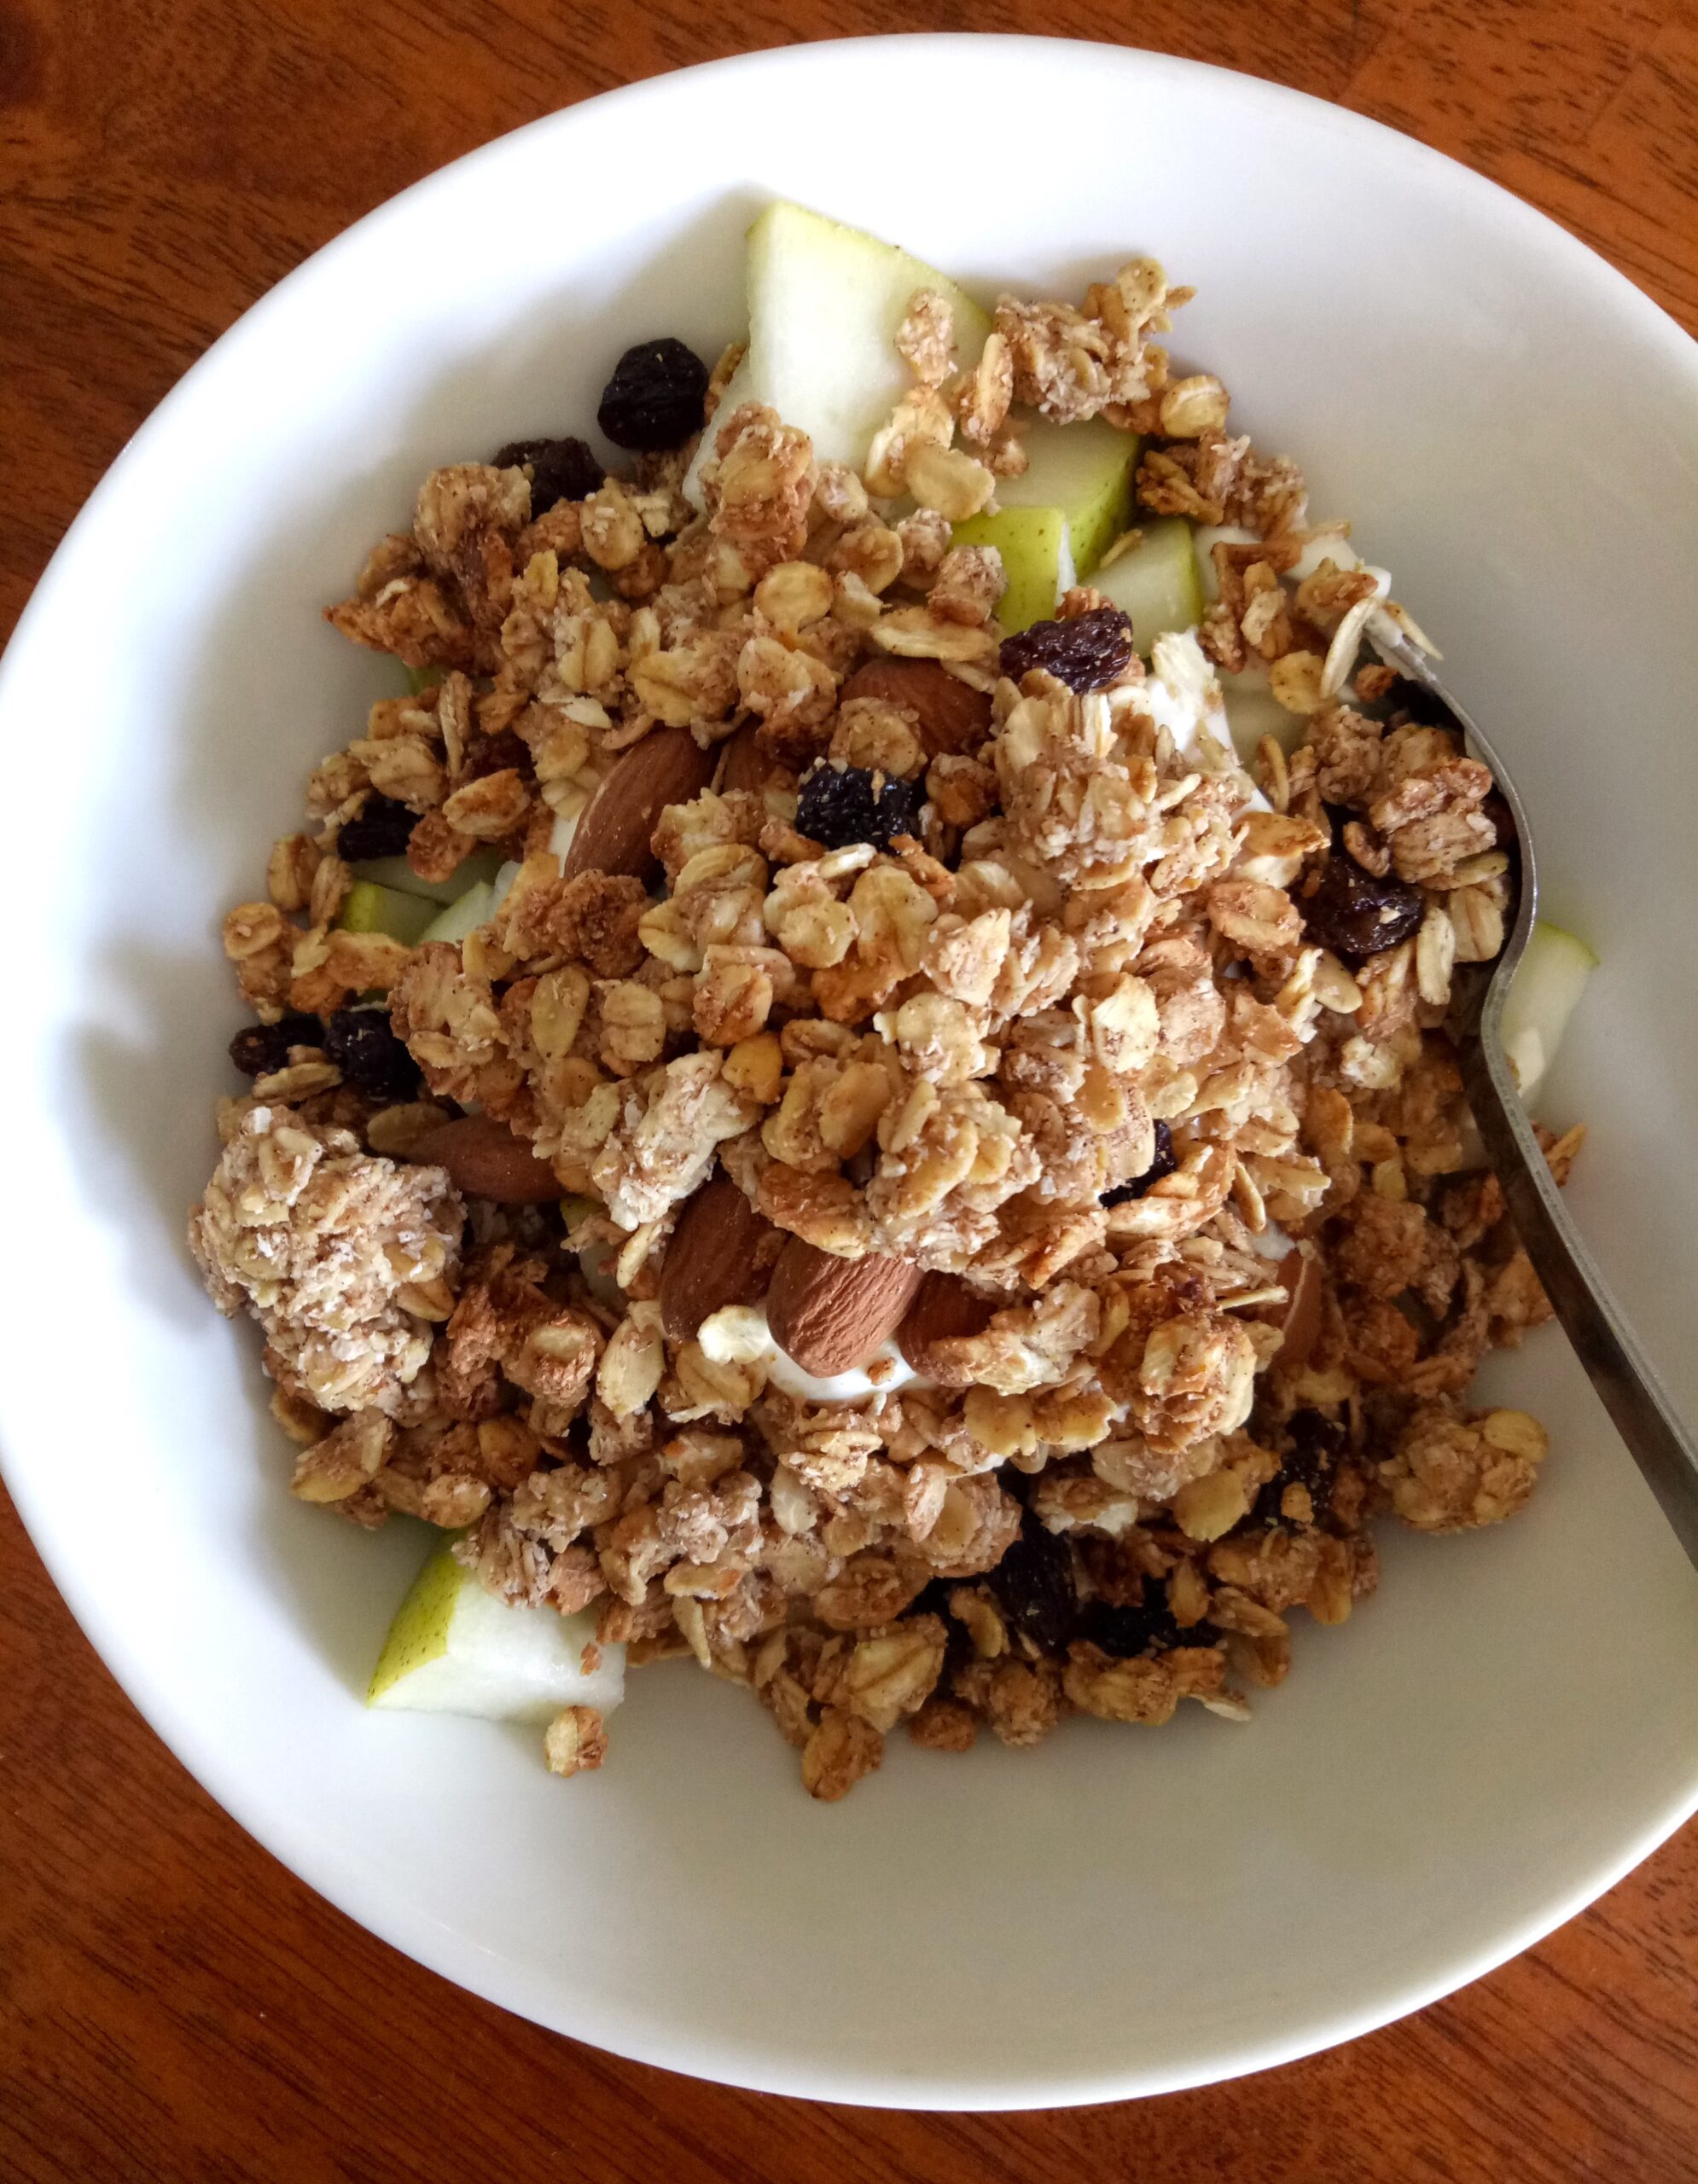
Sourdough granola makes the perfect breakfast topping for fresh fruit and creamy Greek yogurt—a delicious and nutritious way to start your day!

Jump to Recipe

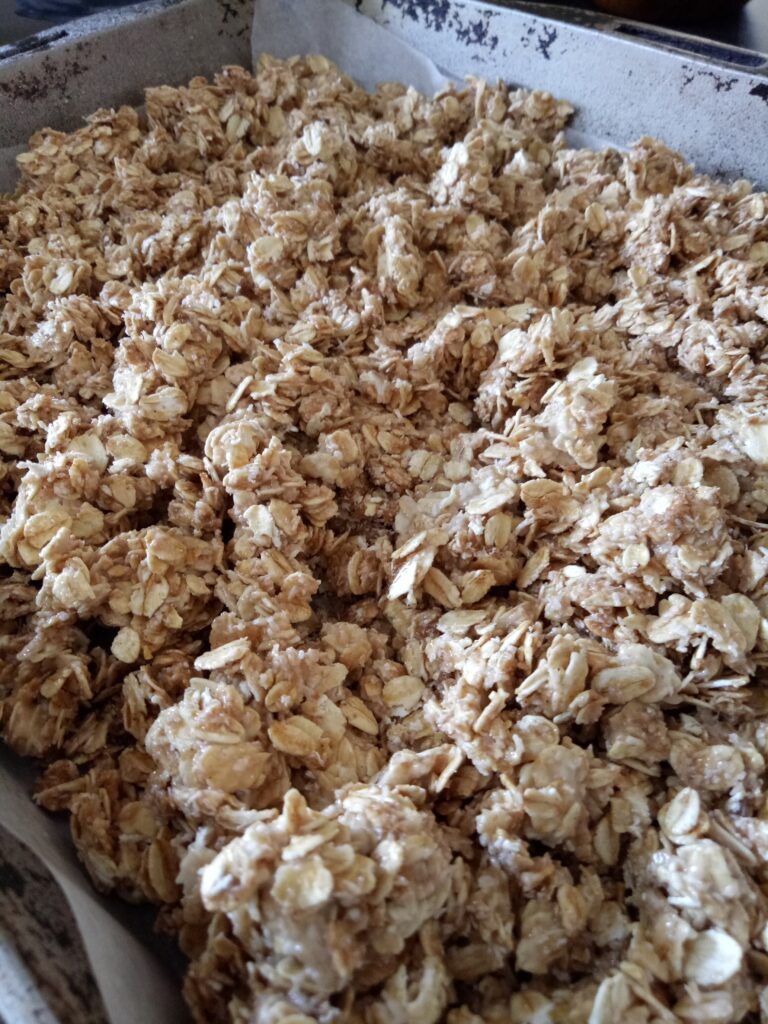
Personally, I love little clusters in my granola, and in the past I have used egg white (like in this recipe) to achieve a bit of chunkiness. But using sourdough starter binds all the ingredients together into clumps so well that there is no need for any additional binders.

You can control the level of crunch by experimenting with the baking times. For more crunch, bake longer. For less crunch, bake a little less.

You can also choose to have add ins or to just make the base recipe, depending on your own taste preferences. I love add ins and these are put in at the end of baking.

Some add in ideas that I regularly use are dried fruits like sultanas, apricots, figs, dates and apple. If you are a fan of nuts, any nut goes well with this recipe! One of my personal favourites is almonds.

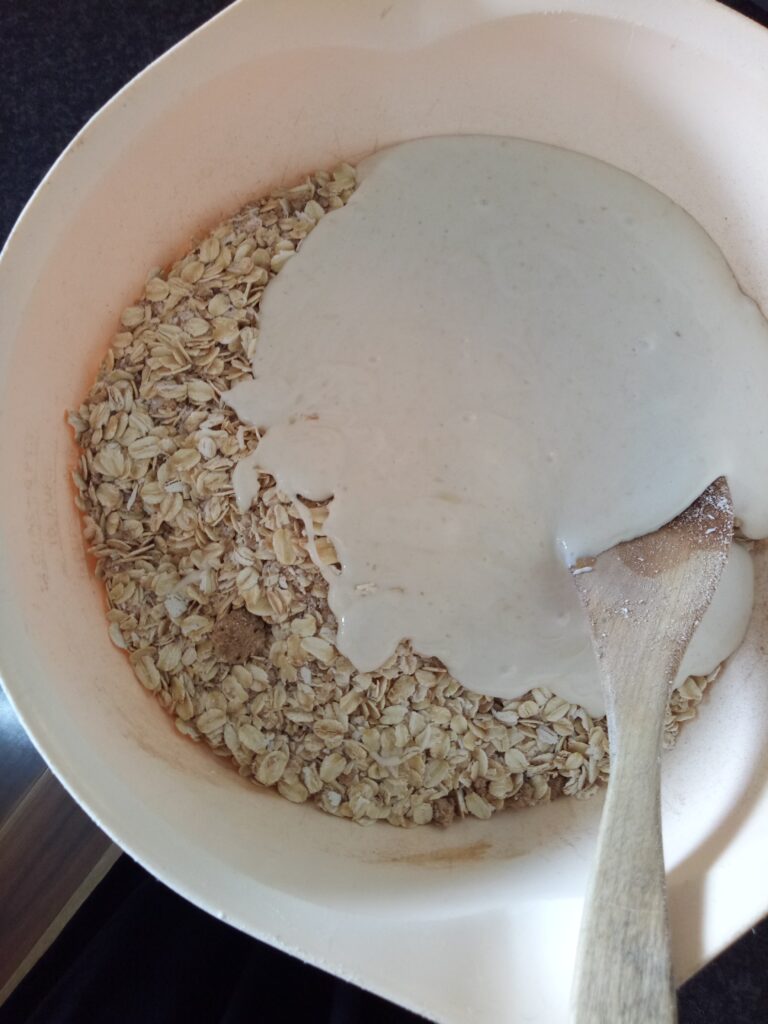
This is such a simple and adaptable recipe, just mix wet ingredients and dry separately, then mix together before baking.

The dry ingredients all get thoroughly coated, making a clumpy, crunchy granola once baked.

Sourdough Granola

Print Recipe Pin Recipe
Ingredients Method

Ingredients
  

  • 5 cups Rolled oats
  • 1 cup Desiccated or shredded coconut
  • 2 tsp Cinnamon powder
  • 1 cup Sourdough discard or starter
  • 3 tbsp Olive oil
  • 2 tsp Vanilla extract
  • 1/2 cup Honey or brown sugar (or equal mix of the two)
  • Drizzle Maple syrup (optional)
  • 3/4 cup Dried fruit of your choice
  • 1/2 cup Nuts of your choice (optional)

Method
 

  1. Pre heat oven to 160 degrees Celsius
  2. Place all dry ingredients (except fruit and nuts) in a large bowl and mix.
  3. Place all wet ingredients in separate bowl or glass jug and mix thoroughly.
  4. Pour wet ingredients over dry and mix thoroughly.
  5. Line a large roasting tray or a tray with sides. I use non stick baking paper. Alternatively, use a non stick tray.
  6. Tip your mixture into the tray and even out to make an even layer.
  7. Place in the oven for 10 minutes, remove the tray and turn the granola with a spatula.
  8. Place back in the oven and repeat until desired darkness is achieved. I recommend a total cooking time of 30 – 40 minutes.

Don’t forget to stir in your add ins at the end, if you’re using them! Once completely cooled, store in an airtight container (I like to use mason jars).

You can eat this granola on it’s own as a snack, on top of fresh fruit, with milk of your choice or one of my personal favourites, on top of yoghurt.

If you love to customise, here are some add in options:

Add ins (examples of)

1/2 cup chopped peanuts

1/4 cup chopped almonds

1/4 cup sunflower seeds

1/4 cup chopped macadamias

1/4 cup chopped cashews

1/4 cup pistachios 

1 cup LSA (linseed, sunflower and almond meal) mix

Chopped dried fruit eg. apricots, peach, paw paw, apple, dates, cranberries

Rules for add ins

*For seeds and nuts, add these in at the dry mix stage. 

*For dried fruit add ins, mix in when the muesli has finished baking.

Allow the muesli to cool before placing it in an airtight container. Serve with milk or use as a delicious topping on stewed fruit and yoghurt. 

Sourdough granola isn’t just a delicious treat for your own table—it also makes a thoughtful and delightful gift! Simply place it in an attractive jar, tie it with a ribbon, and you’ve got a homemade present that’s sure to impress. Whether you’re enjoying it as a crunchy breakfast topping or sharing it with loved ones, this recipe is a wonderful way to make the most of your sourdough discard while adding a little extra joy to every day.

I hope you love it as much as I do! 👩‍🍳

*This post contains affiliate links. For further information please see my disclosure policy.
Filed Under: Health and home, Recipes, Weaving Tagged With: granola, my recipes, recipes, Recipes and food, sourdough

Healthy Hot Chocolate

by Kelly Leave a Comment

I started looking around for a healthy hot chocolate preparation recently with the desire to replace my not so healthy evening chocolate drink of Milo.

It’s not that I don’t love Milo – I really do, and I’ve been drinking it since I was a kid, but it contains a lot of sugar.

I’ve also started taking collagen powder recently and was looking for something I could incorporate the powder into to make it taste better. I’m not a fan at all of the flavour of unflavoured collagen powder!

What I found while looking for the ultimate healthy hot chocolate mix was quite interesting. I found that:

  1. There are many, many healthier hot chocolate powders available
  2. They are prohibitively expensive
  3. Most have ingredients that you can put together at home yourself

So I set about making my own recipe, using simple ingredients that I had on hand.

The thing about a recipe like this is you can cater it to suit yourself in so many ways. For example, instead of using hot water you could use your favourite milk or milk alternative as the liquid. Just warm all the ingredients together, make sure they are stirred well and you have a deluxe version!

If you’re looking for a dairy milk alternative, any of the following would work for this recipe:

  • Coconut milk
  • Almond milk
  • Oat milk

You could use your favourite sweetener in place of the honey (like monkfruit sweetener or stevia)

If you don’t like the taste of cinnamon, just leave it out. You could do other add ins like protein powder or magnesium powder to increase the health benefits. There are lots of options!

If you are a lover of dark chocolate (hello!) you could also melt and mix that in.

Kelly

Healthy Hot Chocolate

Print Recipe Pin Recipe
Prep Time 1 minute min
Servings: 1 serve
Ingredients Method

Ingredients
  

  • 1 tsp Cocoa powder
  • 1 scoop Collagen powder
  • 1/4 tsp Cinnamon powder
  • 1 teaspoon Raw honey
  • 250 ml Hot/warm liquid I use a mixture of hot water and dairy milk

Method
 

  1. Add the dry ingredients and honey to your cup. Pour in the hot liquid and stir well. Add milk or other liquid, if using.

Filed Under: Health and home, Recipes, Weaving Tagged With: hot chocolate, recipe, Recipes and food, weight loss and health

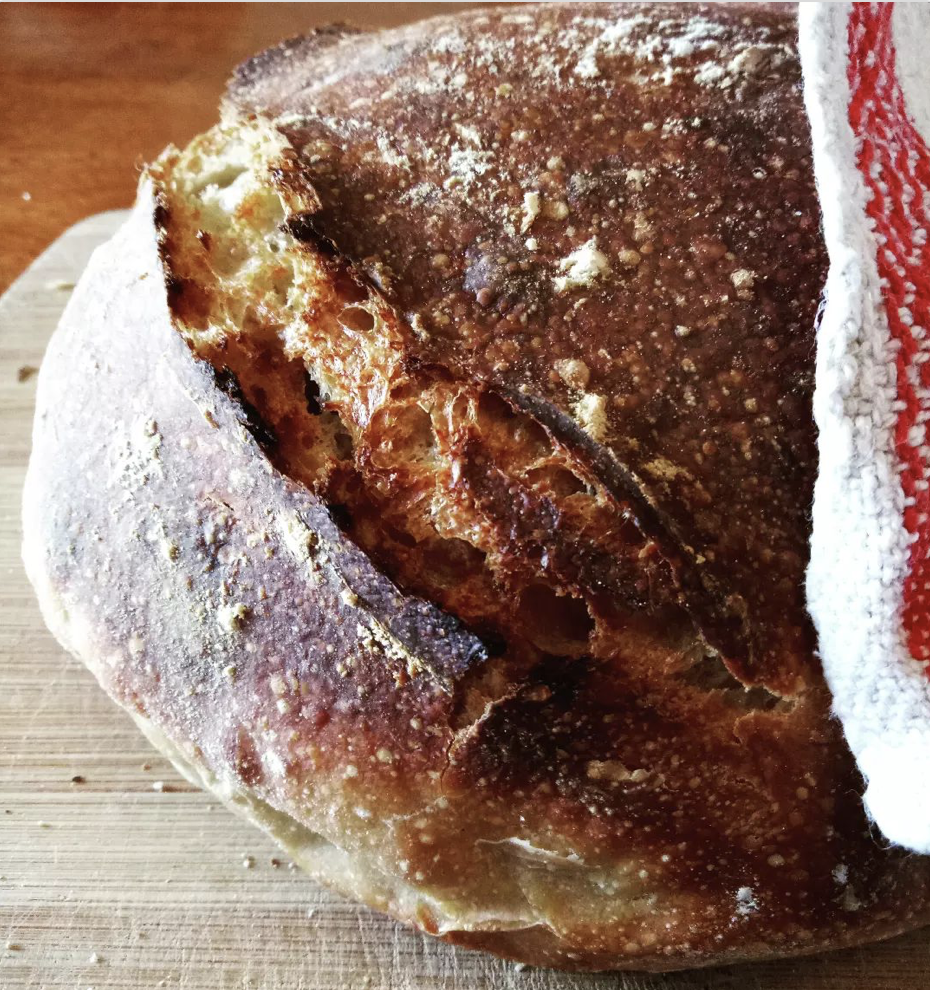
Delicious light rye sourdough artisan bread recipe

by Kelly 3 Comments

Jump to Recipe

Make sure you follow the Light Rye Sourdough loaf recipe steps, but I am adding some further details below for clarity.

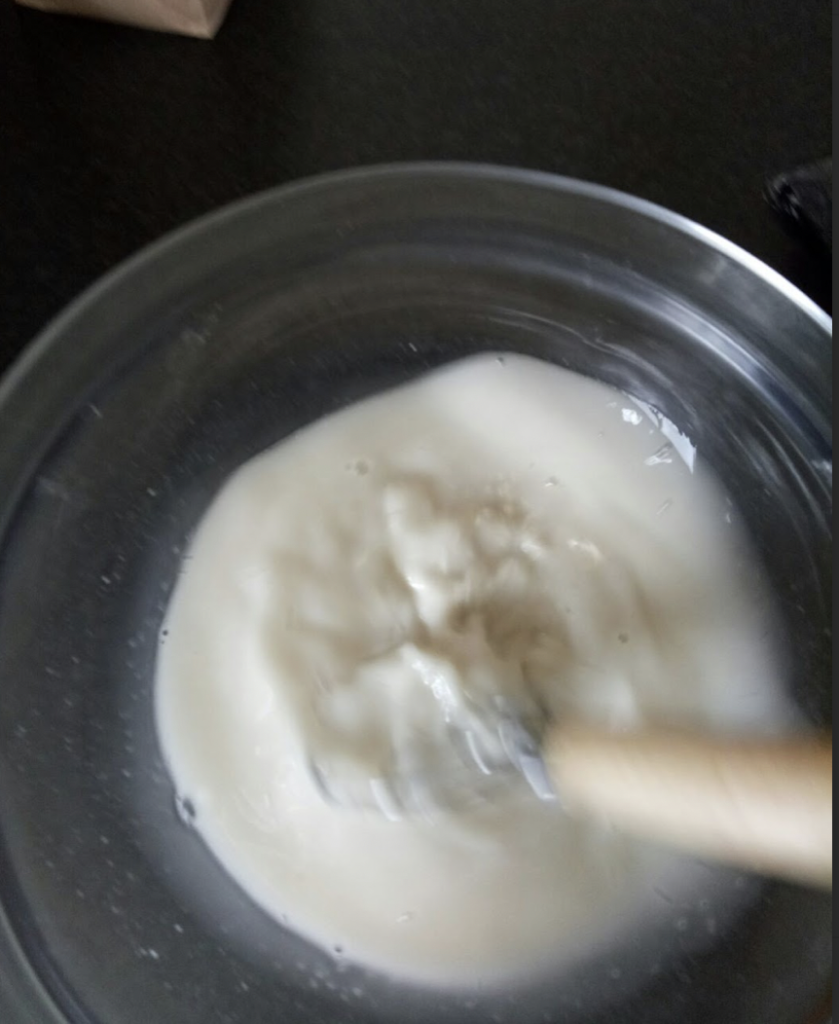
Start by whisking your honey (I use locally produced honey) into the water. I always make sure that my water is at room temperature. Then add your sourdough starter and whisk.

I like to use my danish dough whisk for this step, it helps to combine the starter and water beautifully. Ideally, you won’t have any lumps of starter. If you don’t have a dough whisk, you can use a balloon whisk or a regular old spoon.

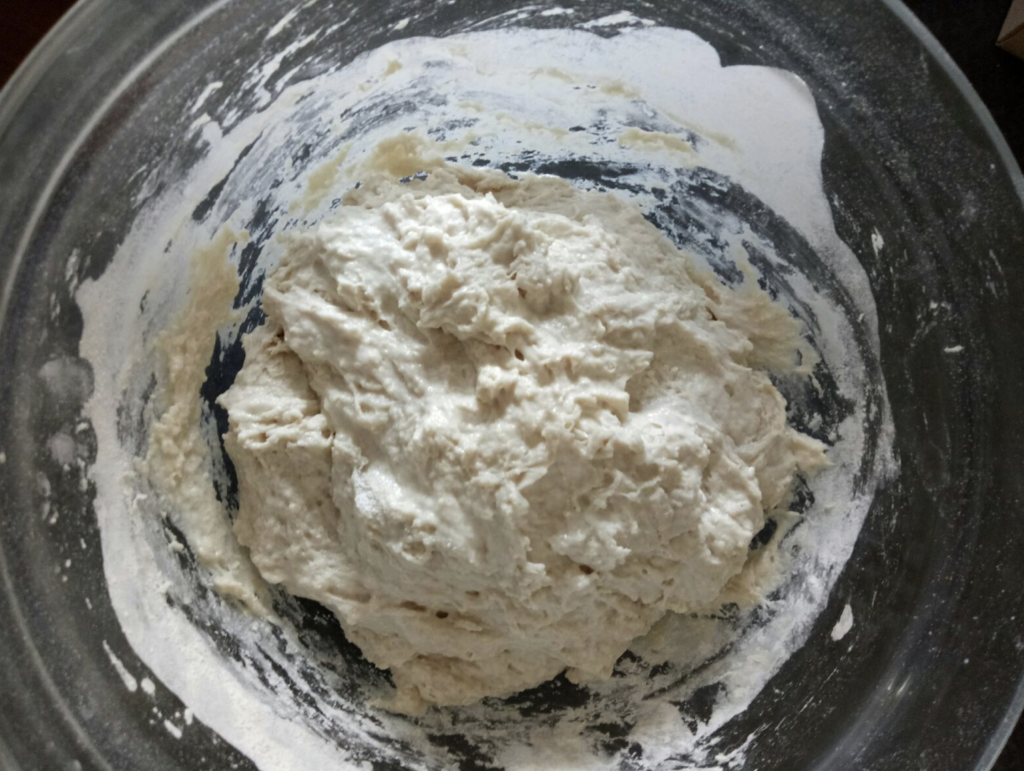
In the next step you add the salt and flours and mix to combine, again the dough whisk works great for this. You don’t need to over mix, you just want the wet and dry ingredients combined so that there are no surprise pockets of dry flour left.

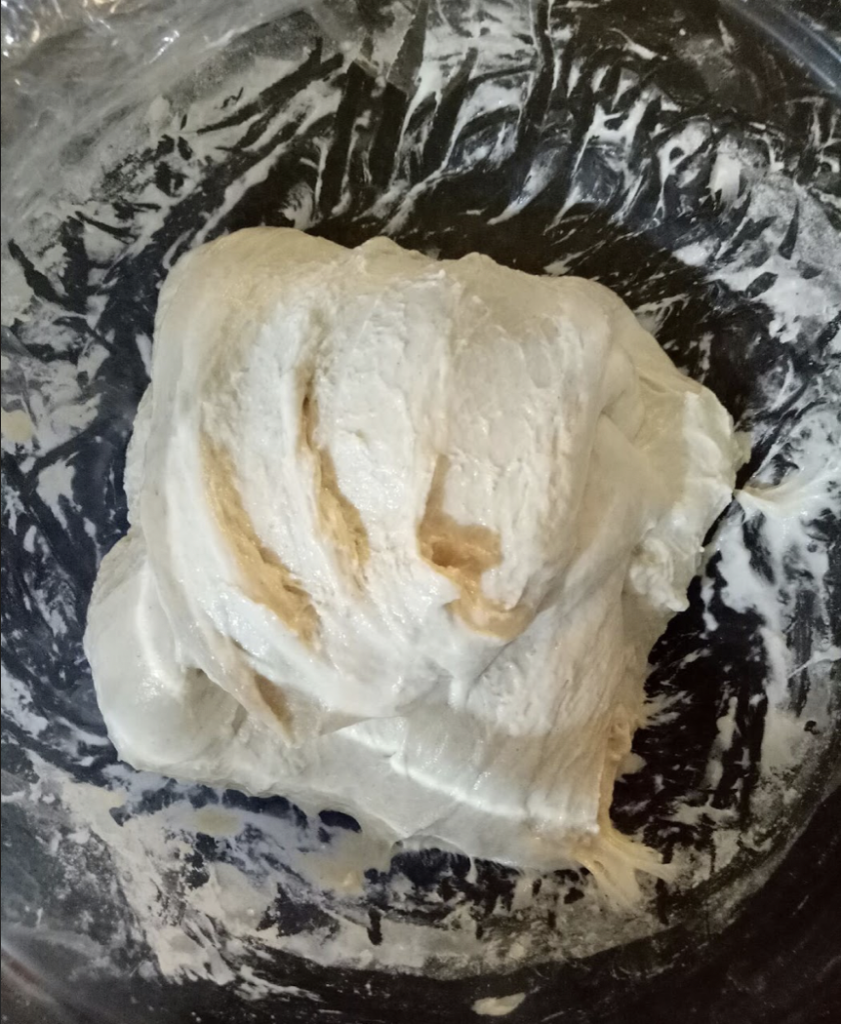
Your dough will look kind of rough and shaggy. Now that the flours are incorporated, cover the dough (I use plastic wrap for this as it creates some humidity and prevents drying out) and leave it to sit for around 1 hour.

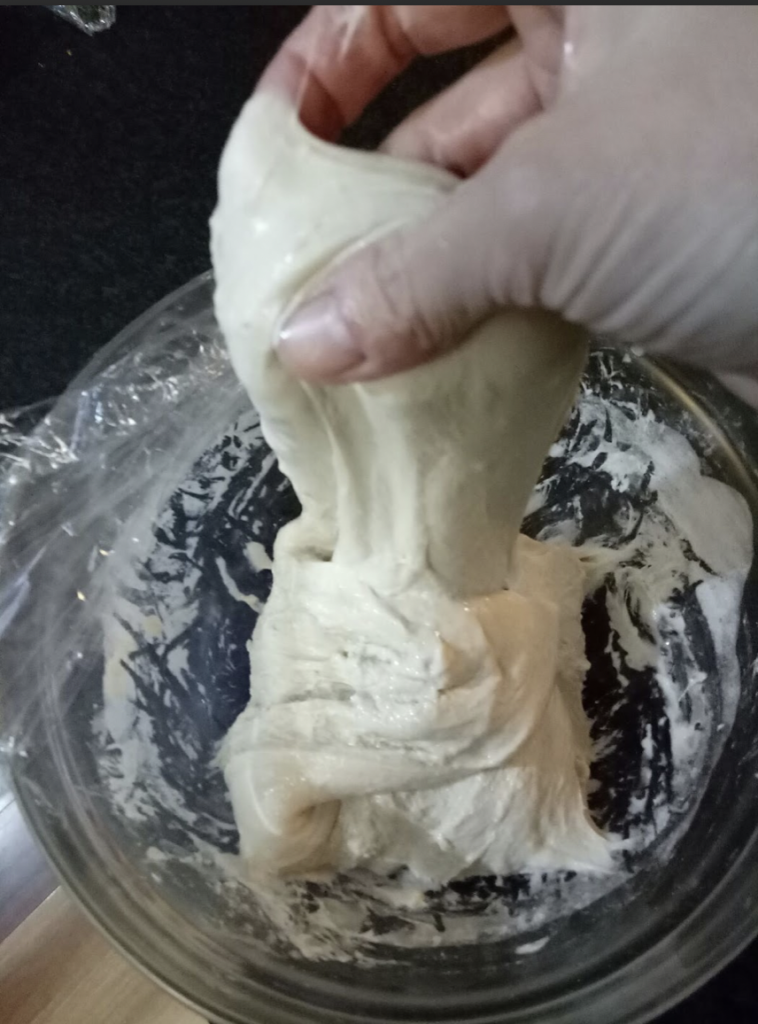
Now we start stretch and folds at half hour intervals, for a total of 5 times. If you’ve never heard of stretching and folding dough, check out this Youtube video (though I don’t do it as neatly and carefully as they do!) Wet hands are a must for stretch and folds.

By the time you do your last stretch and fold you should have a lovely smooth and glossy dough. Cover and allow to sit until the dough has increased by around 30%. Setting it in a warm place helps. It’s tricky giving an exact time for how long this will take, due to room temperature variables. Suffice to say, it will take longer in winter than it will in summer!

When your dough has increased sufficiently, you can shape (again, Youtube is your friend for this – search “shaping a boule”).

Now you can complete the second rise, which can either be done in the fridge overnight (as detailed in the recipe below) or on the bench, covered with plastic wrap or a damp towel for a “same day” bake.

I only bake on the same day when the weather is warmer, otherwise the dough will take a long time to rise. On a warm day, I will let it second rise for around 2 -4 hours.

The refrigerator method can be convenient for “next day” baking as you can wake up in the morning, remove your dough from the fridge, warm your oven and have fresh bread by lunchtime (just remember to allow for cooling time).

Light Rye Sourdough

5 from 1 vote
Print Recipe Pin Recipe
Ingredients Method

Ingredients
  

  • 160 grams Active sourdough starter
  • 350 mls Water (room temperature) * More water may be needed
  • 1 tbsp Raw honey
  • 200 grams Light rye flour
  • 300 grams Strong white baker's flour
  • 1 & 3/4 tsp salt

Method
 

Make the dough
  1. Place water and honey in large bowl and whisk together to combine.
  2. Add sourdough starter to water and mix until starter is dispersed in water.
  3. Add flours and salt and mix until a shaggy dough forms. If the dough seems dry, add some water in small amounts.
  4. Cover the bowl and allow to sit for around 1 hour.
Stretch and folds
  1. With wet hands, stretch and fold the dough, rotating the bowl 4 times total.
  2. Cover and sit for 30 minutes.
  3. Continue the stretch and folds, followed by a 30 minute rest for a total of 5 times. (Total time – 2 hours).
  4. Cover and allow the dough to prove at room temperature. The amount of time will depend on how warm your kitchen is. This stage may take 1 hour, it may take 6 hours. You want your dough size to increase by around 30% – not to double.
  5. At the end of this step, your dough should look light, slightly puffy and glossy. You may see bubbles, this is a good sign.
  6. Tip the dough onto a well floured surface and shape. Place into a bowl lined with baking paper/non stick parchment paper or a banneton basket and place in refrigerator overnight, covered.
  7. In the morning, remove the dough and place on bench.
  8. Heat a cast iron dutch oven with the lid on at your hottest oven temperature. I use a fan forced oven at a temperature of 240 degrees celsius. I place the dutch oven in the middle of the oven.
  9. After 30 minutes, remove the dutch oven and take off the lid. Careful, it's very hot!
  10. Slash the dough using a knife or lame. I do this before it goes near the dutch oven, to avoid the possibility of burning myself. Use the baking paper as a kind of sling to move the dough to the dutch oven.
  11. Turn the oven down to 220 degrees.
  12. Place the lid back on and put the dutch oven back in the oven for 20 minutes of covered baking.
  13. Remove the lid and continue to bake uncovered for another 25 minutes.
  14. Take the dutch oven out and again, use the baking paper to pick up the loaf and place it on a cooling rack, removing the baking paper as you do.
  15. Allow the loaf to cool completely before slicing.

I hope you enjoy this bread as much as my family does!

Until next time…

Happy Baking!

Filed Under: Recipes, Weaving Tagged With: baking, bread, make bread at home, Recipes and food, sourdough, sourdough light rye loaf

Zucchini Bread Recipe

by Kelly 4 Comments

Many years ago, my sister in law used to make this bread. It was in the days when the zucchinis from the garden were plentiful and Autumn weather had set in. Baking this bread always brings back very fond memories of that time for me.

Jump to Recipe

I feel that that naming the recipe “bread” is a little misleading, as it’s really more similar to a cake in taste and texture.

  • This post contains affiliate links. For further information, see my disclosure policy.

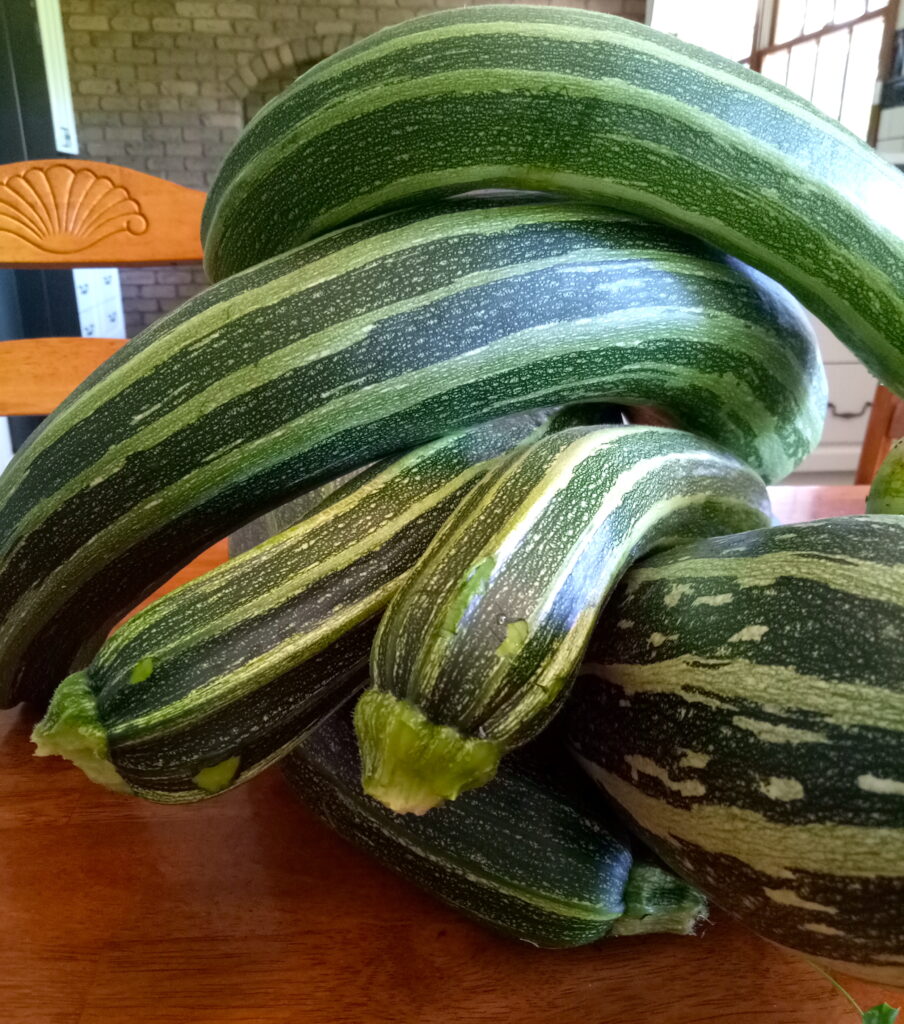
Currently, we are knee deep in zucchinis. So, so many zucchinis. Grating, roasting, steaming, freezing, making relish. So, this beautiful zucchini bread is a lovely treat and a great way to use up excess fresh zucchini.

Another thing I love about this recipe is that it uses everyday ingredients that I always have on hand. Ingredients like flour, sunflower oil, vanilla extract, walnuts and ground cinnamon are all easy to come by.

This is also a very simple, one bowl, mix and bake cake. That’s my kind of baking!

There is no need to skin your zucchinis prior to grating, just make sure they are washed first. Leaving the skin on adds colour and keeps more of the nutrients in the vegetable.

You will need a medium to large mixing bowl to mix up the ingredients. I love to pull out my vintage manual hand beaters for beating the eggs, oil and vanilla.

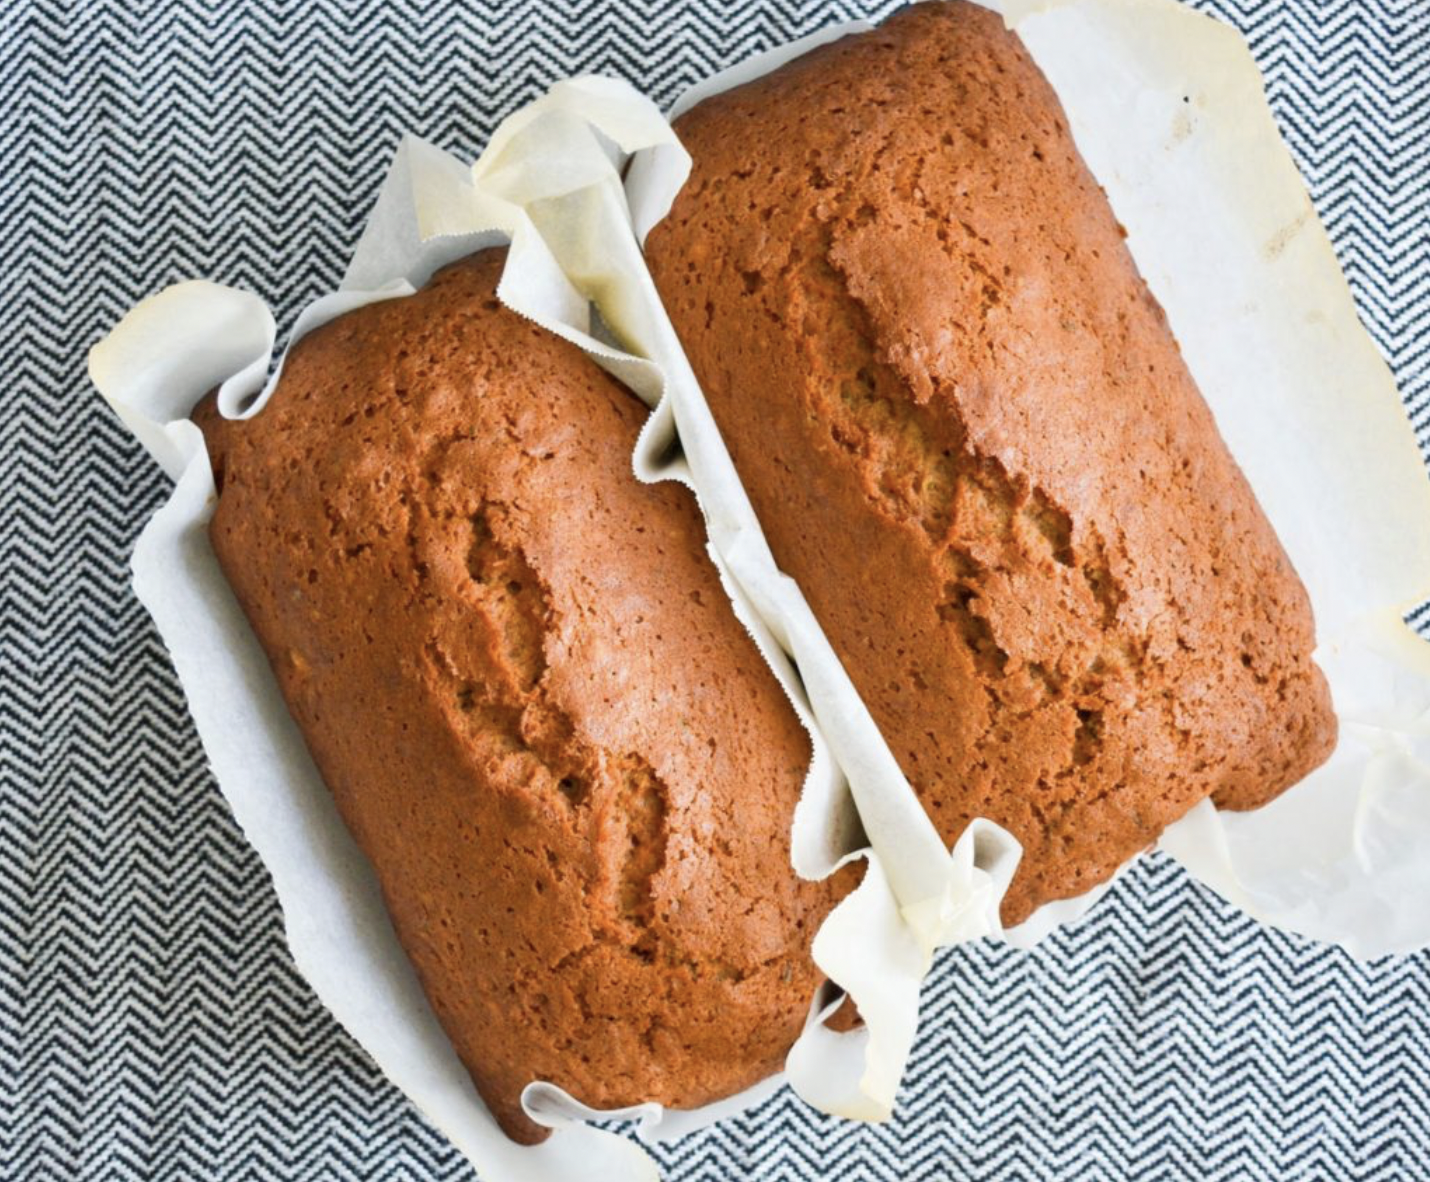
I use loaf baking tins and I always line them with non stick baking paper, even if the tins are non stick. This helps to preserve the tins for a long time, and I use the same sheets of paper over and over until they are no longer useable – I get many uses out of them. This is, of course, optional.

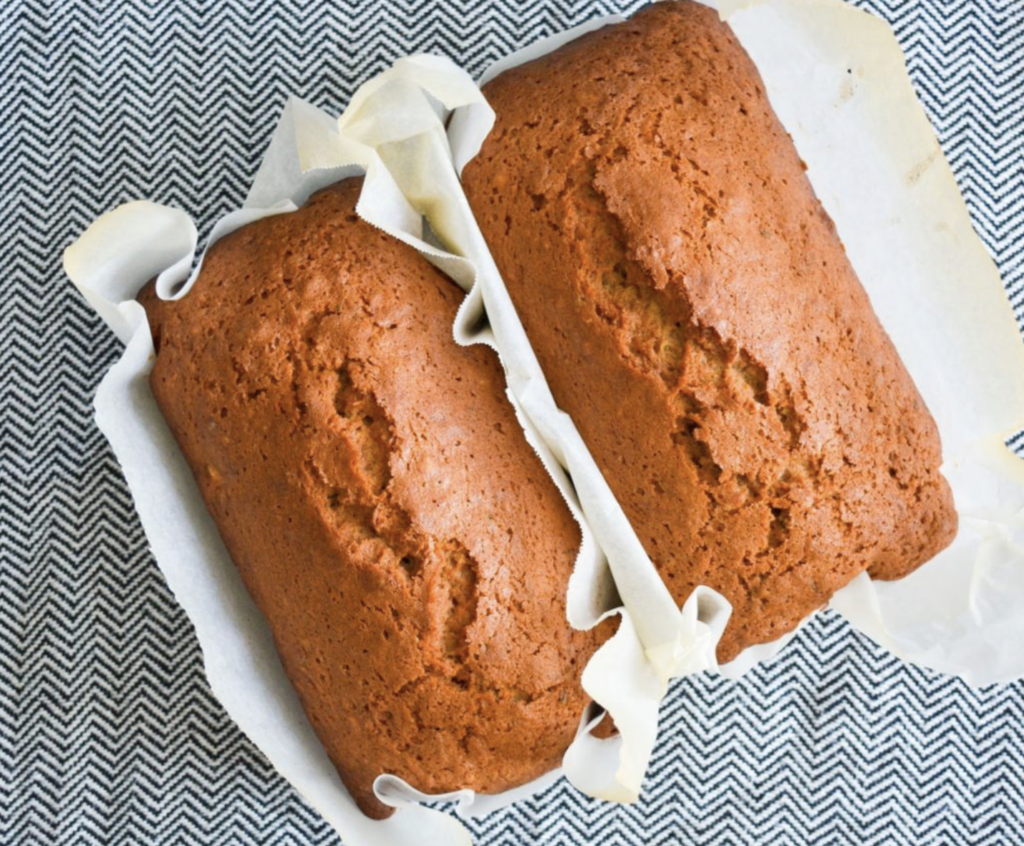
This recipe makes 2 generous sized loaves.

Zucchini Bread

5 from 1 vote
Print Recipe Pin Recipe
Prep Time 20 minutes mins
Cook Time 1 hour hr 15 minutes mins
Ingredients Method

Ingredients
  

  • 3 Eggs
  • 2 and 1/4 cup Caster sugar (Superfine)
  • 3 tsp Vanilla extract
  • 1 cup Vegetable oil (I use sunflower)
  • 2 cups Grated zucchini (skin on)
  • 3 cups Plain flour
  • 1/4 tsp Baking powder
  • 1 tsp Salt
  • 1 tsp Bicarbonate of soda (baking soda)
  • 3 tsp Ground cinnamon
  • 1 cup Walnuts, chopped

Method
 

  1. Preheat oven to 180 degrees celsius (350 Fareneit)
  2. Grease and line 2 x 14cm x 22cm (5.5″ x 8.5″) bread loaf tins.
  3.  Beat eggs until they become pale in colour and fluffy in consistency.
  4. Add the sugar, oil and vanilla. Beat until thick.
  5. Stir in the grated zucchini.
  6.  Sift the flour, baking powder, bicarbonate soda, salt and cinnamon into the wet ingredients. Fold the ingredients together.
  7.  Fold in walnuts, if using.
  8. Pour equal amounts into the 2 tins. Bake for 1 hour or until a skewer inserted into the centre comes out clean. Allow to sit in tins for 5 minutes before turning out onto a baking rack to cool. Lovely to eat warm or cool.

The sugar content is quite high (though, remember you are making two loaves, not one) and I can imagine that you can substitute or even just reduce the amount, as it is quite sweet anyway.

*Tip* If you have a glut of zucchinis, you can grate and freeze the flesh. That way you can have zucchini on hand throughout the year to make recipes like this one year round. Simply defrost the frozen zucchini and use as normal.

Want to make a double batch and freeze the extra loaves? This recipe is perfect to freeze, so go for it – I do this frequently 😉

I hope you try this recipe, let me know if you try and enjoy it!

Filed Under: Recipes, Weaving Tagged With: baking, recipe, Recipes and food, zucchini bread

Kelly’s Basic Raisin Bread Recipe

by Kelly 2 Comments

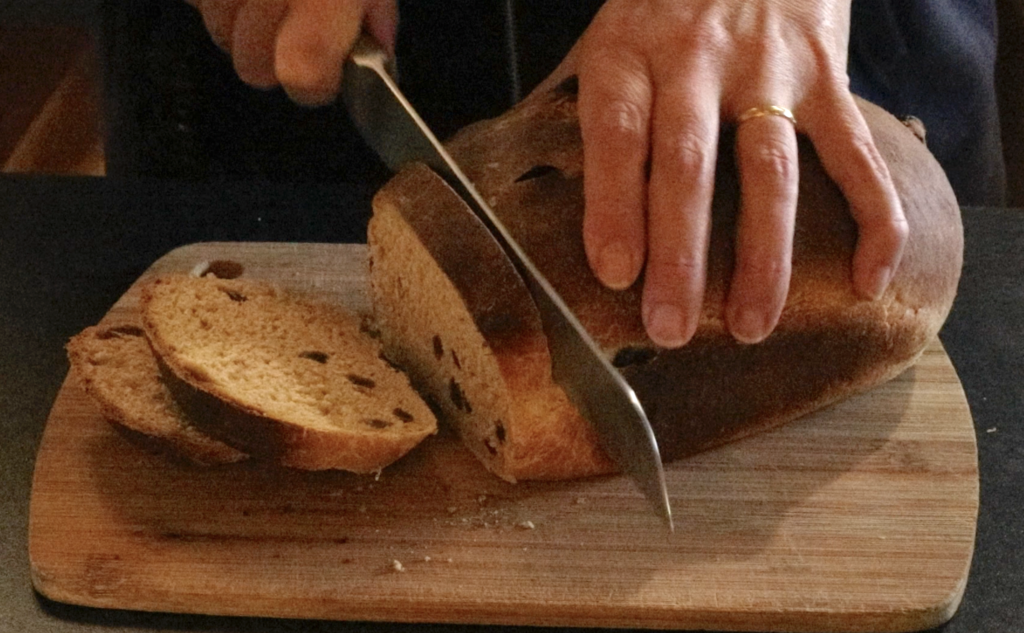
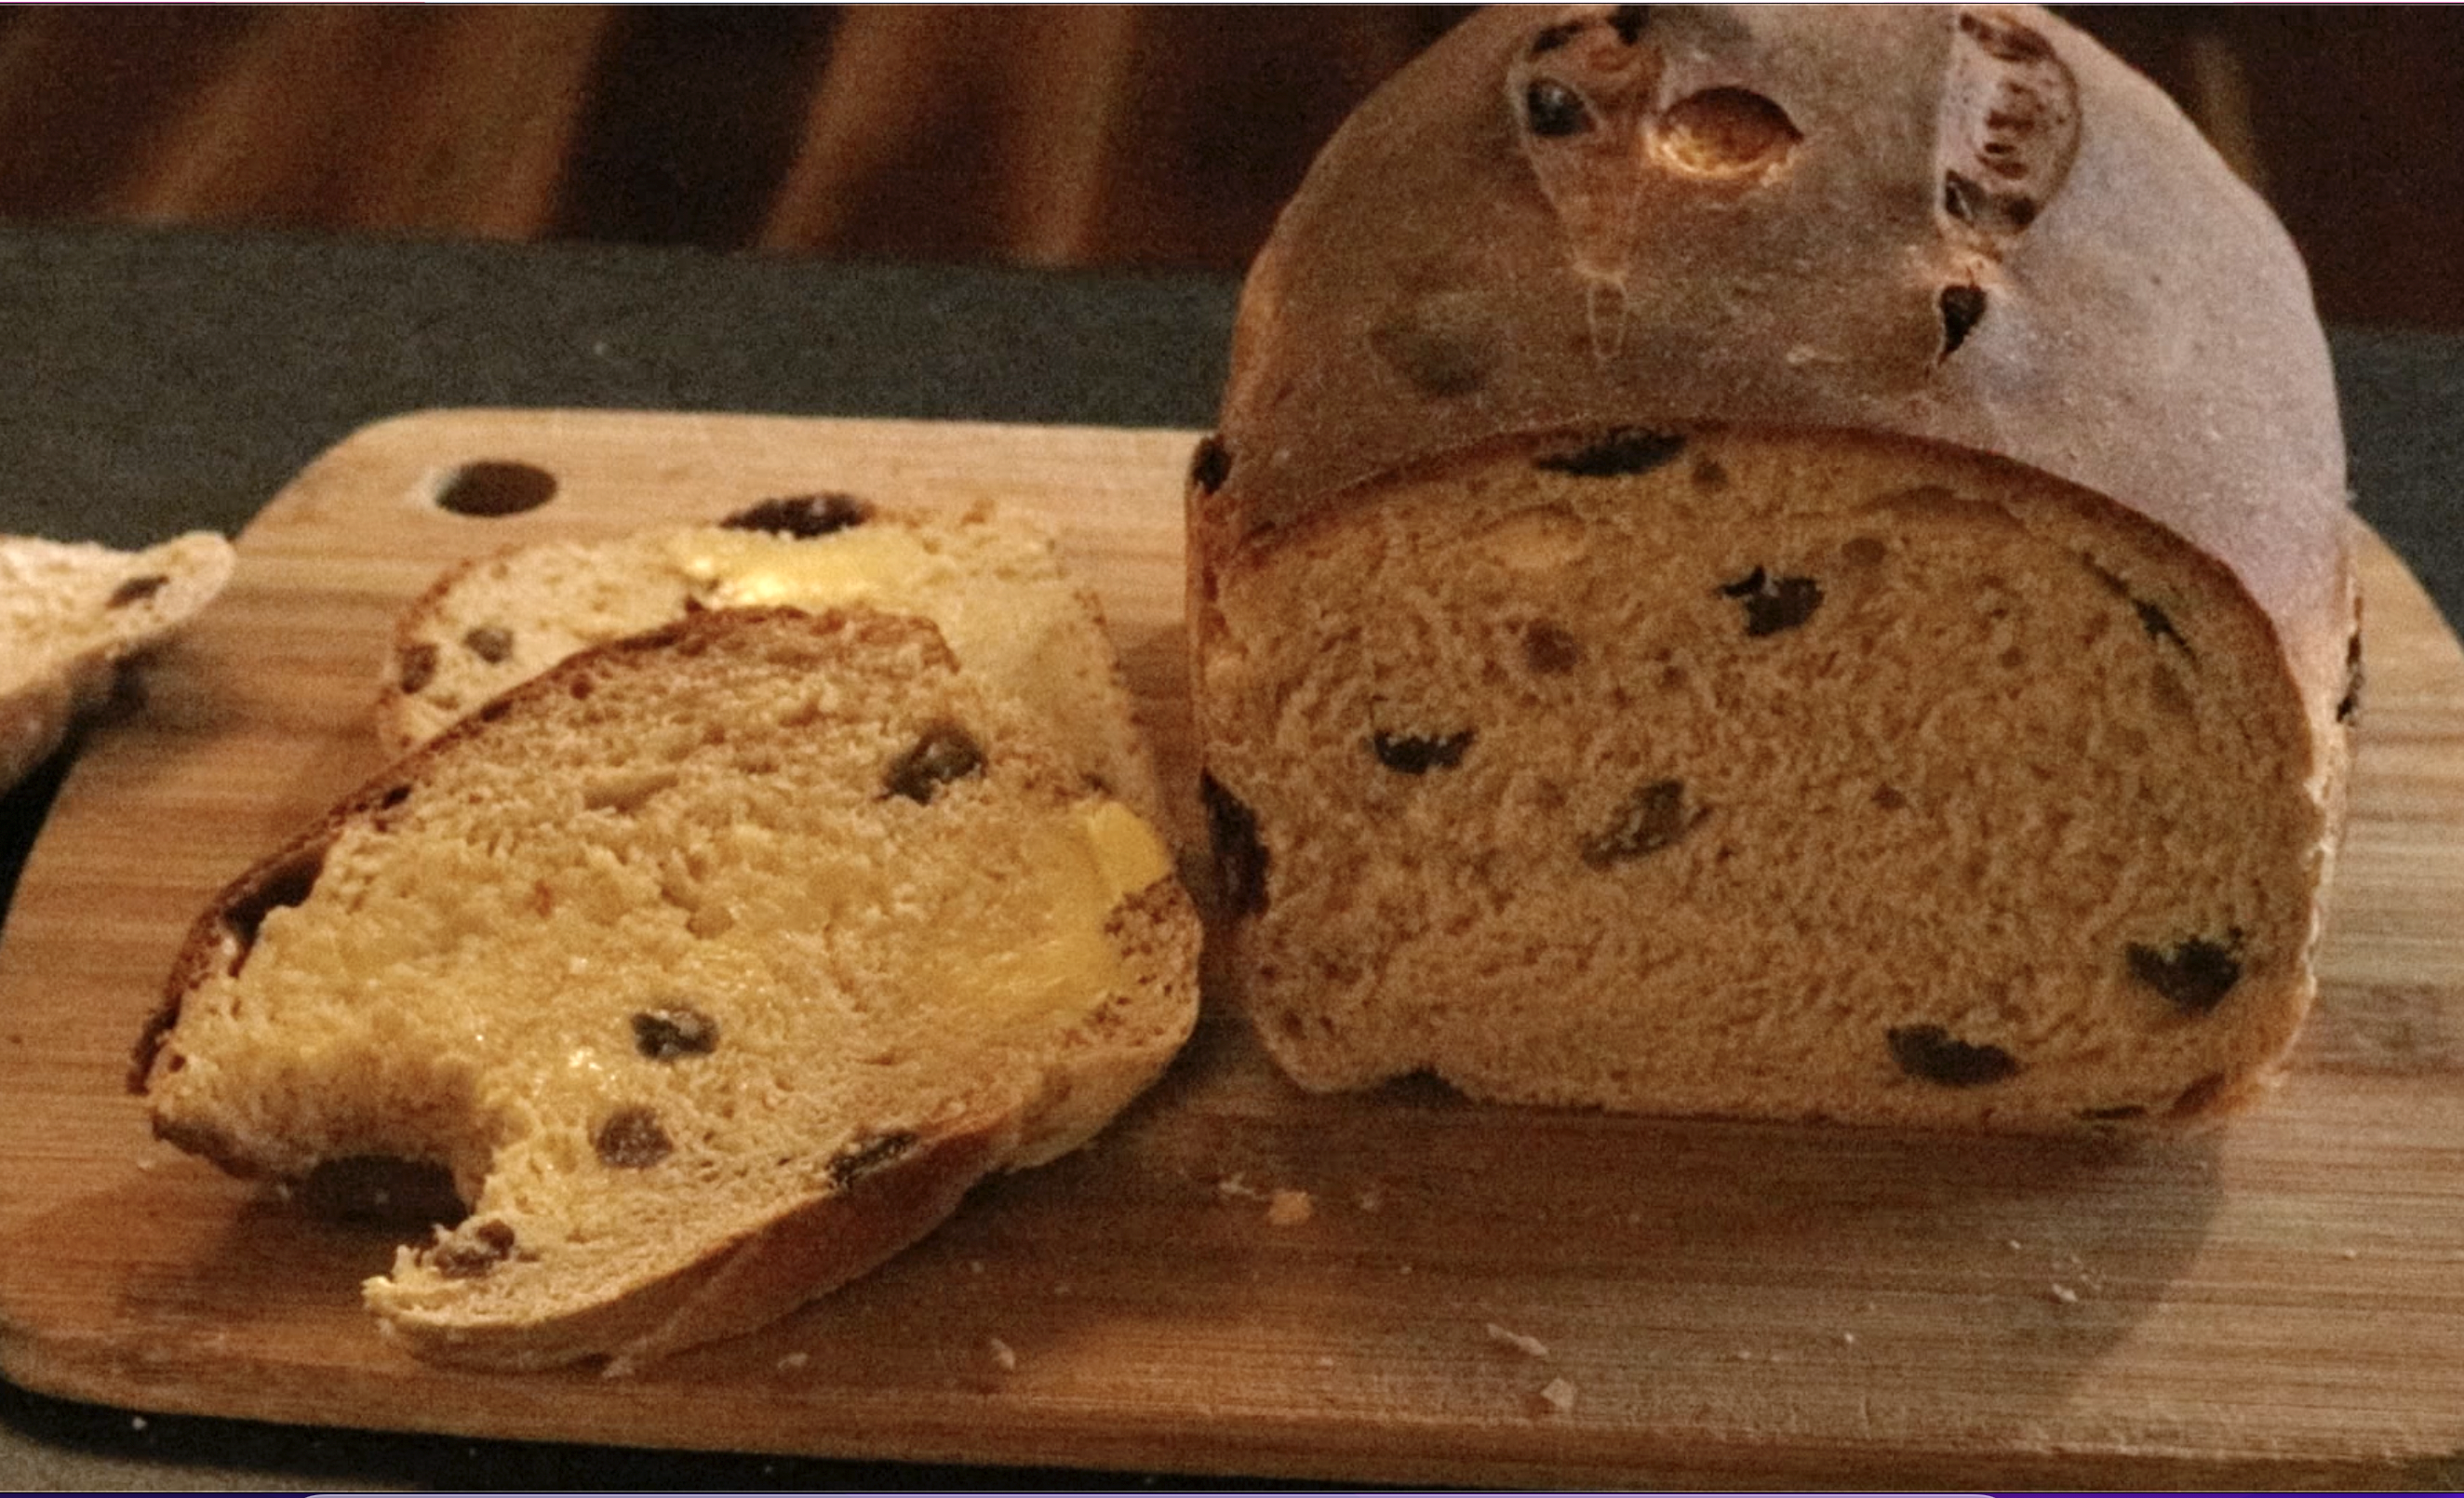
OK, so you can call it raisin bread, fruit bread, or whatever. I don’t mind, I just know that I love to eat this stuff!

It tastes absolutely wonderful on the day of baking, spread with soft butter or as toast on following days. My girls are slightly disgusted that I absolutely love to slather my raisin bread toast with peanut butter, but there you have it 😋

Jump to Recipe

I’ve been making this version of raisin bread for years, but most of the time I will call it fruit bread, as I tend to use sultanas rather than raisins.

*This post may contain affiliate links. Please see my disclosure policy for more information.

The beauty of it is you can add whatever dried fruit you like. Dried figs are gorgeous, currants, raisins, sultanas and dried apricots (I recommend dried organic apricots if you can get them, they taste so much better!) all work very well.

You also have the option of playing with the spice levels. Although this recipe only uses a mild dose of ground cinnamon, you can alter this if you are a spice lover and want more flavour. Add in some Christmas spices like nutmeg or other mixed spices if that is more your style!

This recipe makes 2 good sized loaves.

A word about bakeware. I generally bake 6 loaves of bread a week, all at one time. Sometimes they will all be just regular bread, often I do 4 regular and 2 raising bread and this tends to last my family a week.

I have fancy bread tins and non fancy bread tins. To be honest, I don’t find any difference between the two. A tin like this one will not cost you a fortune and will last for many years if you look after it.

My routine for bread tins is that I line them with non stick baking/parchment paper. I reuse these pieces of paper until they are so used that they are breaking apart. I haven’t counted, but I do know that I get many, many reuses from one piece when baking bread. I don’t care if they end up looking all browned and ratty, I conserve them as much as I can so I’m not overusing paper.

Using the paper also means that I don’t wash my bread tins very often and don’t need to.

Kelly’s Basic Fruit Bread Recipe

A simple fruit bread that is delicious fresh or toasted
Print Recipe Pin Recipe
Servings: 2 loaves
Ingredients Method

Ingredients
  

  • 1 kg White flour
  • 2 tsp Dried Instant Yeast
  • 2.5 tsp Salt
  • 2 tsp Cinnamon
  • 2 tbsp Brown sugar
  • 3 tbsp White sugar
  • 2.5 tbsp Melted butter
  • 550 ml Warm milk *More may be needed
  • 1 Large Egg, whisked
  • 1 cup Sultanas *Raisins and other dried fruits may be used

Method
 

  1. Warm the butter and milk together until butter is mostly melted.
  2. Add sultanas to warm liquid and set aside.
  3. Place all dry ingredients together in a large bowl (or the mixing bowl of your stand mixer).
  4. Whisk dry ingredients together briefly until blended.
  5. Add whisked egg to the warm milk and whisk in
  6. Add wet ingredients into dry. You can use the dough hook on your stand mixer, or mix by hand. If mixing my hand, spend a few minutes kneading the dough on a lightly floured bench until smooth.
  7. If your mixture seems too dry, add a little more milk in small amounts until the consistency is better. You don't want a super stiff dough, nor do you want a sloppy dough. Something in between is good!
  8. Place dough in an oiled bowl and cover. Allow to rise until doubled in size – usually this takes around 1.5 hours, depending on the room temperature.
  9. Remove dough from bowl and knead lightly. Cut into 2 equal portions.
  10. Place in lined bread loaf tins or place rounds on lined trays.
  11. Cover and allow to rise once more, this time for around 30 minutes.
  12. Preheat oven. Fan forced 210 celsius (410 Fahrenheit), regular 220 celsius (428 fahrenheit).
  13. After the second rise, slash the loaves and place in oven for 35 minutes. *Please note, this time can vary between ovens.
  14. Remove from oven and tins and place on a cooling rack.
  15. It is best to allow the loaves to cool completely before slicing – if you can wait that long…

You can see me baking this recipe in this video:

I have some other recipes you may be interested in:

Soft and Sweet Bread Rolls

Milk and Honey Bread

No Knead Whole Wheat Bread Recipe

Easy Flat Bread Recipe

Filed Under: Recipes, Weaving Tagged With: raisin bread, recipe, Recipes and food

Soft and Sweet Bread Rolls

by Kelly 2 Comments

Our family just loves fresh, home baked bread.

I bake all the bread for my family, four loaves at a time. That way we have some fresh and some to store in the freezer for the following days.

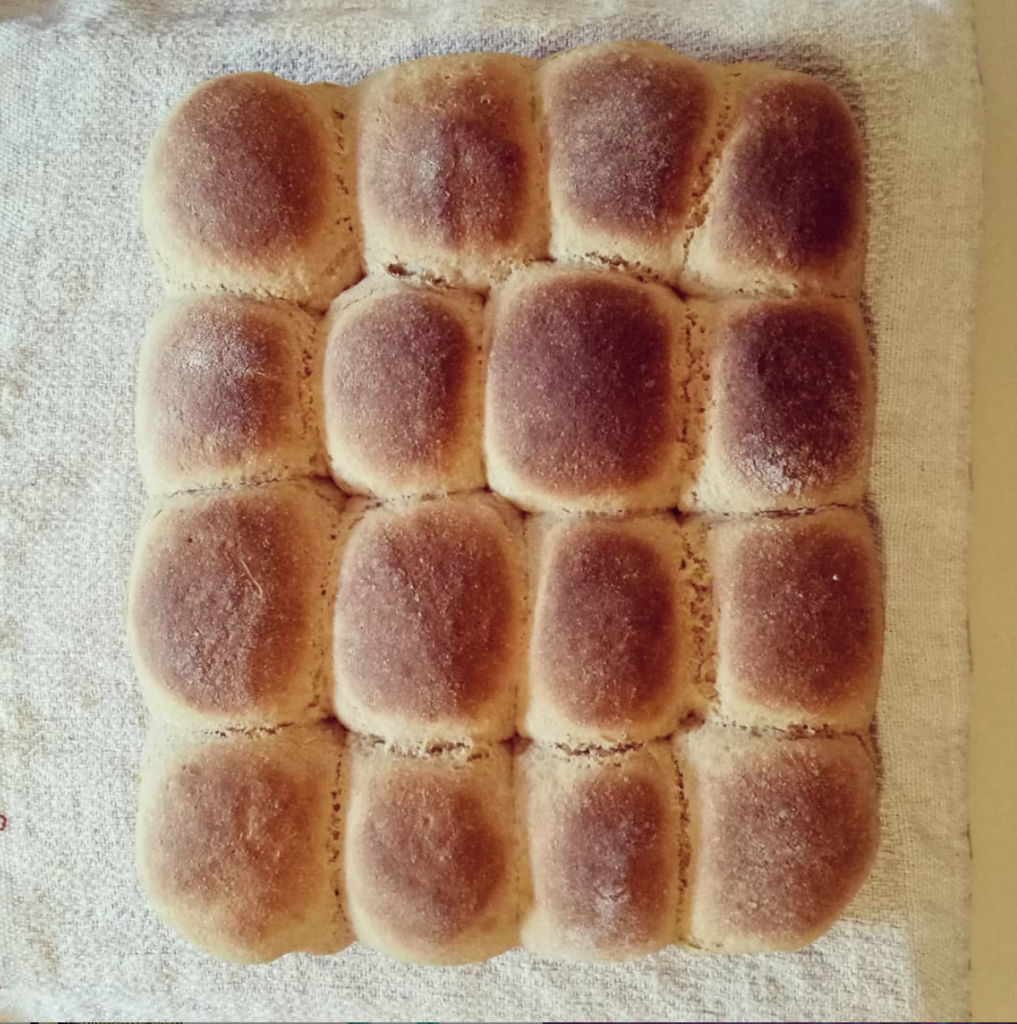
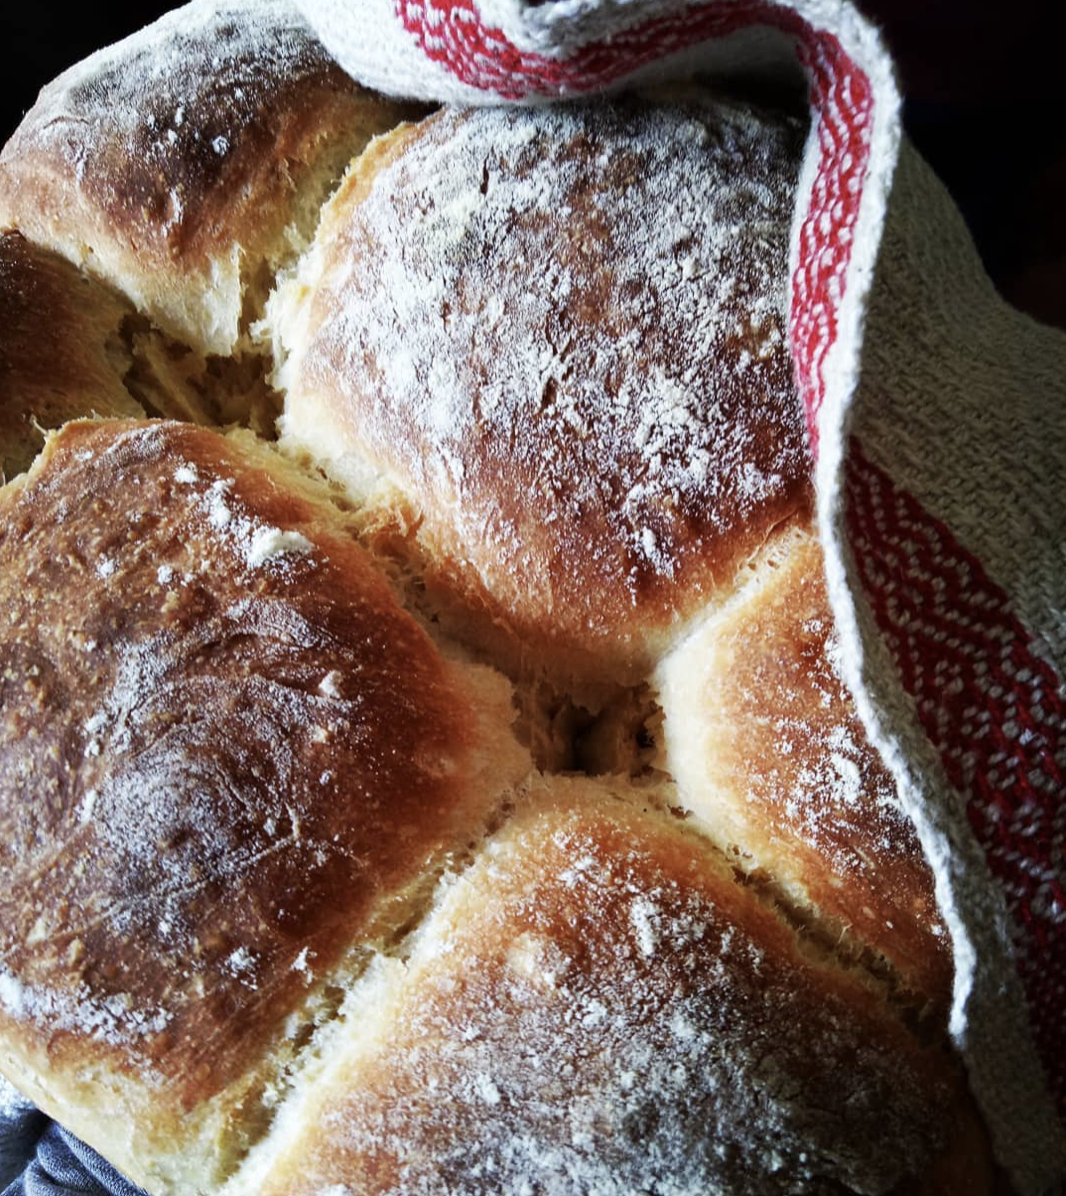
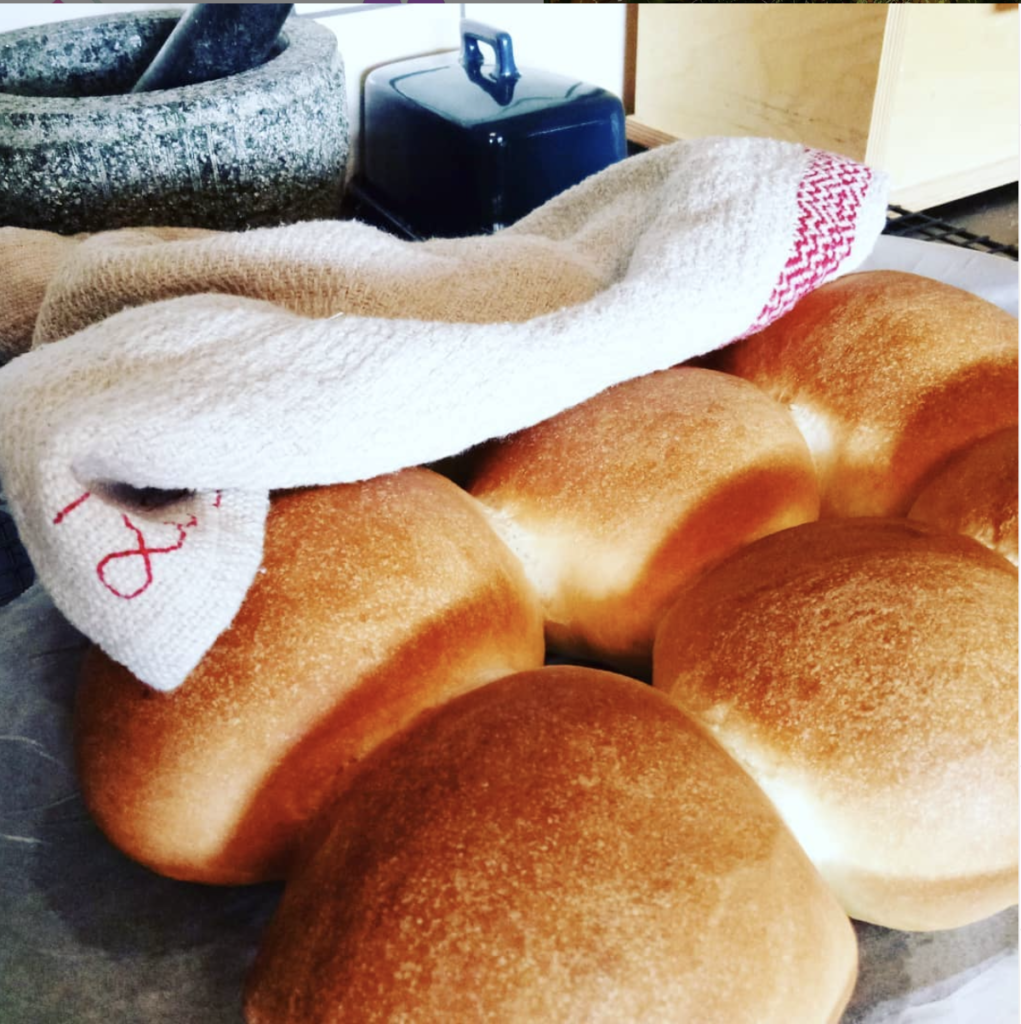
But there are some days (more often than I care to admit!) when we’ve run out of loaves and I need to do something fast! Those are the days that my rolls make an appearance. They are much quicker to make than bread loaves and I can get them to the table super fast.

These rolls are very similar to how I make my scrolls, but you bake the dough as rolls instead of being rolled up with fillings.

There are many fillings you can serve in the rolls once they are baked. You can serve them warm or allow to completely cool first. Here are some serving ideas:

I posted on Instagram that I was serving bacon and avocado rolls and everybody wanted to know about them!

Bacon and avocado-

Serve the rolls while still warm. Cut open, spread with mayonnaise, mashed avocado, cheese and fried bacon.

With soup-

You can make the rolls “dinner roll” size if desired. Serve warm, spread with butter. This makes a real meal out of your soup and completes it perfectly.

Egg and bacon rolls-

Similar to the avo and bacon, only this time you also fry eggs with your bacon. Serve with or without cheese and mayonnaise.

Dinner roll sized

Ham and salad-

Allow rolls to cool before cutting open. Serve with ham and whatever salad you like, whether it’s some mixed leaves or a coleslaw.

Hamburger or Veggie burger-

These rolls make great hamburger buns! Fry your meat or veggie patty and team with your favourite extras in the roll. Personally, we’re fans of hamburgers “with the lot”! You can make Hawaiian style burger by adding a ring of tinned pineapple.

For afternoon tea-

These are delicious enough to serve with butter and jam or marmalade for an English style afternoon tea.

Grilled cheese-

My kids love it when I do this. Cut the rolls in half. Using a grill, lightly toast both sides of each half. Top the halves with cheese and place back under grill until melted. Delicious for lunch or paired with soup.

Kelly

Soft and Sweet Bread Rolls

Delicously light and soft rolls for any meal
Print Recipe Pin Recipe
Prep Time 10 minutes mins
Cook Time 30 minutes mins
Rising time 1 hour hr 20 minutes mins
Servings: 9
Ingredients Equipment Method

Ingredients
  

  • 800 grams Bread flour You can do all white flour or a mix. I like to do 200grams wholemeal and 600grams white flour.
  • 1 tbsp Dry active yeast
  • 2 tbsp White sugar or honey
  • 2 tsp Salt
  • 3 tbsp Sunflower oil
  • 2 & 2/3 cup warm water or milk I use milk powder in water

Equipment

  • Stand mixer (optional)
  • Oven

Method
 

  1. Place all dry ingredients in mixer bowl, fitted with a dough hook. Place in a mixing bowl if mixing by hand. Mix lightly to combine.
  2. Combine oil and warm water/milk in a jug. If using honey, add it with the liquids also.
  3. Set the mixer on minimum and gradually pour the wet ingredients into the dry. Keep mixing until well combined, then turn the machine up to number 1 mixing for 5 minutes. If mixing by hand, mix all ingredients until thoroughly combined, then knead for 5 minutes.
  4. Place some oil in the bottom of the bowl to prevent the dough from sticking while rising.
  5. Place a clean towel over the bowl and allow the dough to double in size. The time this takes depends on the room temperature. It can take anywhere from 30 minutes to 1 hour.
  6. When doubled in size, take the dough out of the bowl and press down to expel air. Cut into roughly 9 equal pieces. If you want larger rolls, make 6 equal pieces. Form the pieces into little rounded ball shapes and pinch underneath to ensure seams are underneath.
  7. Place into greased or non stick baking tray (I like to use non stick baking paper to line it). Place the balls in lines to fit your tray. The balls should touch each other. Cover loosely with the towel once more.
  8. Preheat oven to 220 degrees celsius (428F) conventional or 200 (392F) fan forced. Allow the rolls to rise for around 15 – 20 minutes.
  9. Bake in oven for 20-30 minutes (this will vary according to your oven) or until nicely browned.
  10. Remove from oven and place rolls on a cooling rack.

Would you prefer to see this post in video format? Let me know in the comments if you do, and I’ll see what I can come up with 😉

If you are interested in baking your own bread, check out these resources:

Milk and Honey Bread

Whole Wheat No Knead Bread Recipe

Zucchini Bread Recipe

Easy Flat Bread Recipe

Cheese and Bacon Scrolls

I hope this recipe blesses you and that you love these yummy rolls as much as our family!

Filed Under: Health and home, Recipes, Tutorials, Weaving Tagged With: breadrolls, recipe, recipes

Anzac Biscuit Recipe

by Kelly 7 Comments

This recipe was passed down from my husband’s Grandmother.

There are many Anzac biscuit recipes but I really like this one, and I love to think of my husband’s Gran baking these in a warm kitchen on a wood stove.

*This post contains affiliate links. For further information, please see my disclosure policy.

The story goes that these biscuits were baked by Australian and New Zealand ladies and sent to soldiers overseas during World War I. The biscuits keep very well and the ingredients are pantry staples. They are a great way to commemorate and give thanks for all those who have served our country.

Anzac biscuits are easy for young bakers to make, thanks to the melt and mix recipe.

These ingredients are very familiar to all Australians, but they may not be to you. Golden syrup is made from cane sugar. The most common brand available here is CSR Golden Syrup, but I found Lyle’s Golden Syrup as an alternative.

Desiccated coconut is easy to find here (I grew up on this stuff!) and is an unsweetened, dried and finely shredded coconut. This one looks quite similar to what we have here, but if you can only find shredded dried coconut, that can definitely be used. Your biscuit texture may be a little different, but they will still be delicious.

And by the way, because so many people ask me, The Australian/English “biscuit” means the same as the US “cookie” 🍪

Anzac Biscuits

The classic and traditional Anzac biscuit from a handed down family recipe.
Print Recipe Pin Recipe
Prep Time 10 minutes mins
Cook Time 15 minutes mins
Ingredients Method

Ingredients
  

  • 1 cup plain flour
  • 1.5 cups rolled oats
  • 1 cup desiccated coconut
  • 1 cup white sugar
  • 1 tbsp golden syrup
  • 170 grams (6oz) butter
  • 1 tsp bicarb soda (baking soda)
  • 3 tbsp boiling water

Method
 

  1. Preheat oven to 160 degrees (C) or 320 (F)
  2. Melt butter and syrup together in a saucepan or in the microwave.
  3. Mix dry ingredients together in a large bowl.
  4. In a cup, pour the boiling water over the bicarb soda and mix.
  5. Pour water and soda mix into melted butter mixture.
  6. Pour combined wet ingredients over the dry ingredients and mix well.
  7. Use a dessert spoon to portion out the dough onto a baking tray lined with baking paper. Allow room for spreading between biscuits.
  8. Bake for 15 – 20 minutes.
  9. Remove from oven and allow to cool on the tray intil firm enough to transfer to a baking rack.

Anzac biscuits are wonderful when enjoyed with a glass of milk or cup of tea.

I hope you enjoy them too!

Filed Under: Recipes Tagged With: Anzac biscuit recipe, Anzac biscuits

  • Page 1
  • Page 2
  • Page 3
  • Go to Next Page »

Primary Sidebar

Hand crafted boat shuttles

Categories

Archives

Meta

  • Log in
  • Entries feed
  • Comments feed
  • WordPress.org

Copyright © 2025 Kelly Casanova Weaving Lessons on the Foodie Pro Theme