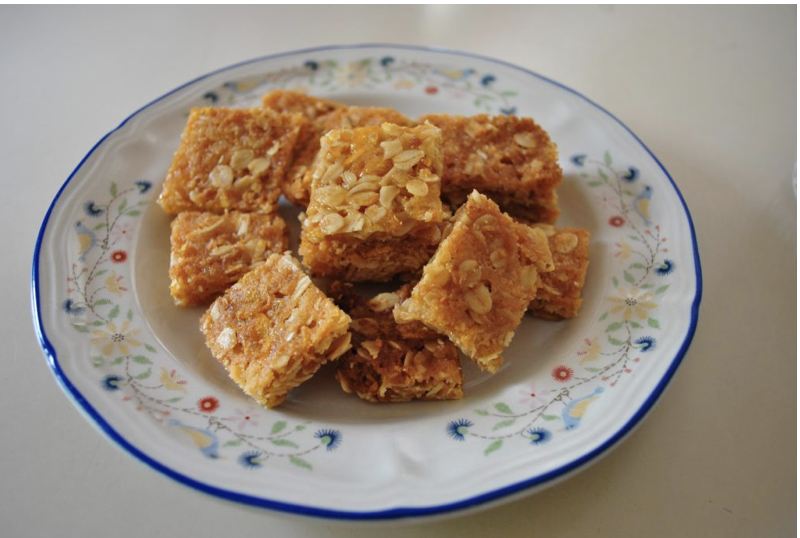
This is the kind of recipe I’ll whip up when I need a morning tea or a slice to take to a friend’s house or event. It is very similar to this M&M slice I posted waaaaaaaaaay back in 2010 (yep, I’ve been blogging a really long time!)
The beauty of it is that you can adjust the ingredients to suit you and it will still turn out well!
*This post contains some affiliate links, meaning that if you click on the link and purchase, I receive a small commission at no extra cost to you.
It’s so easy that kids love to make it and they don’t have to wait too long to enjoy the fruits of their labour.
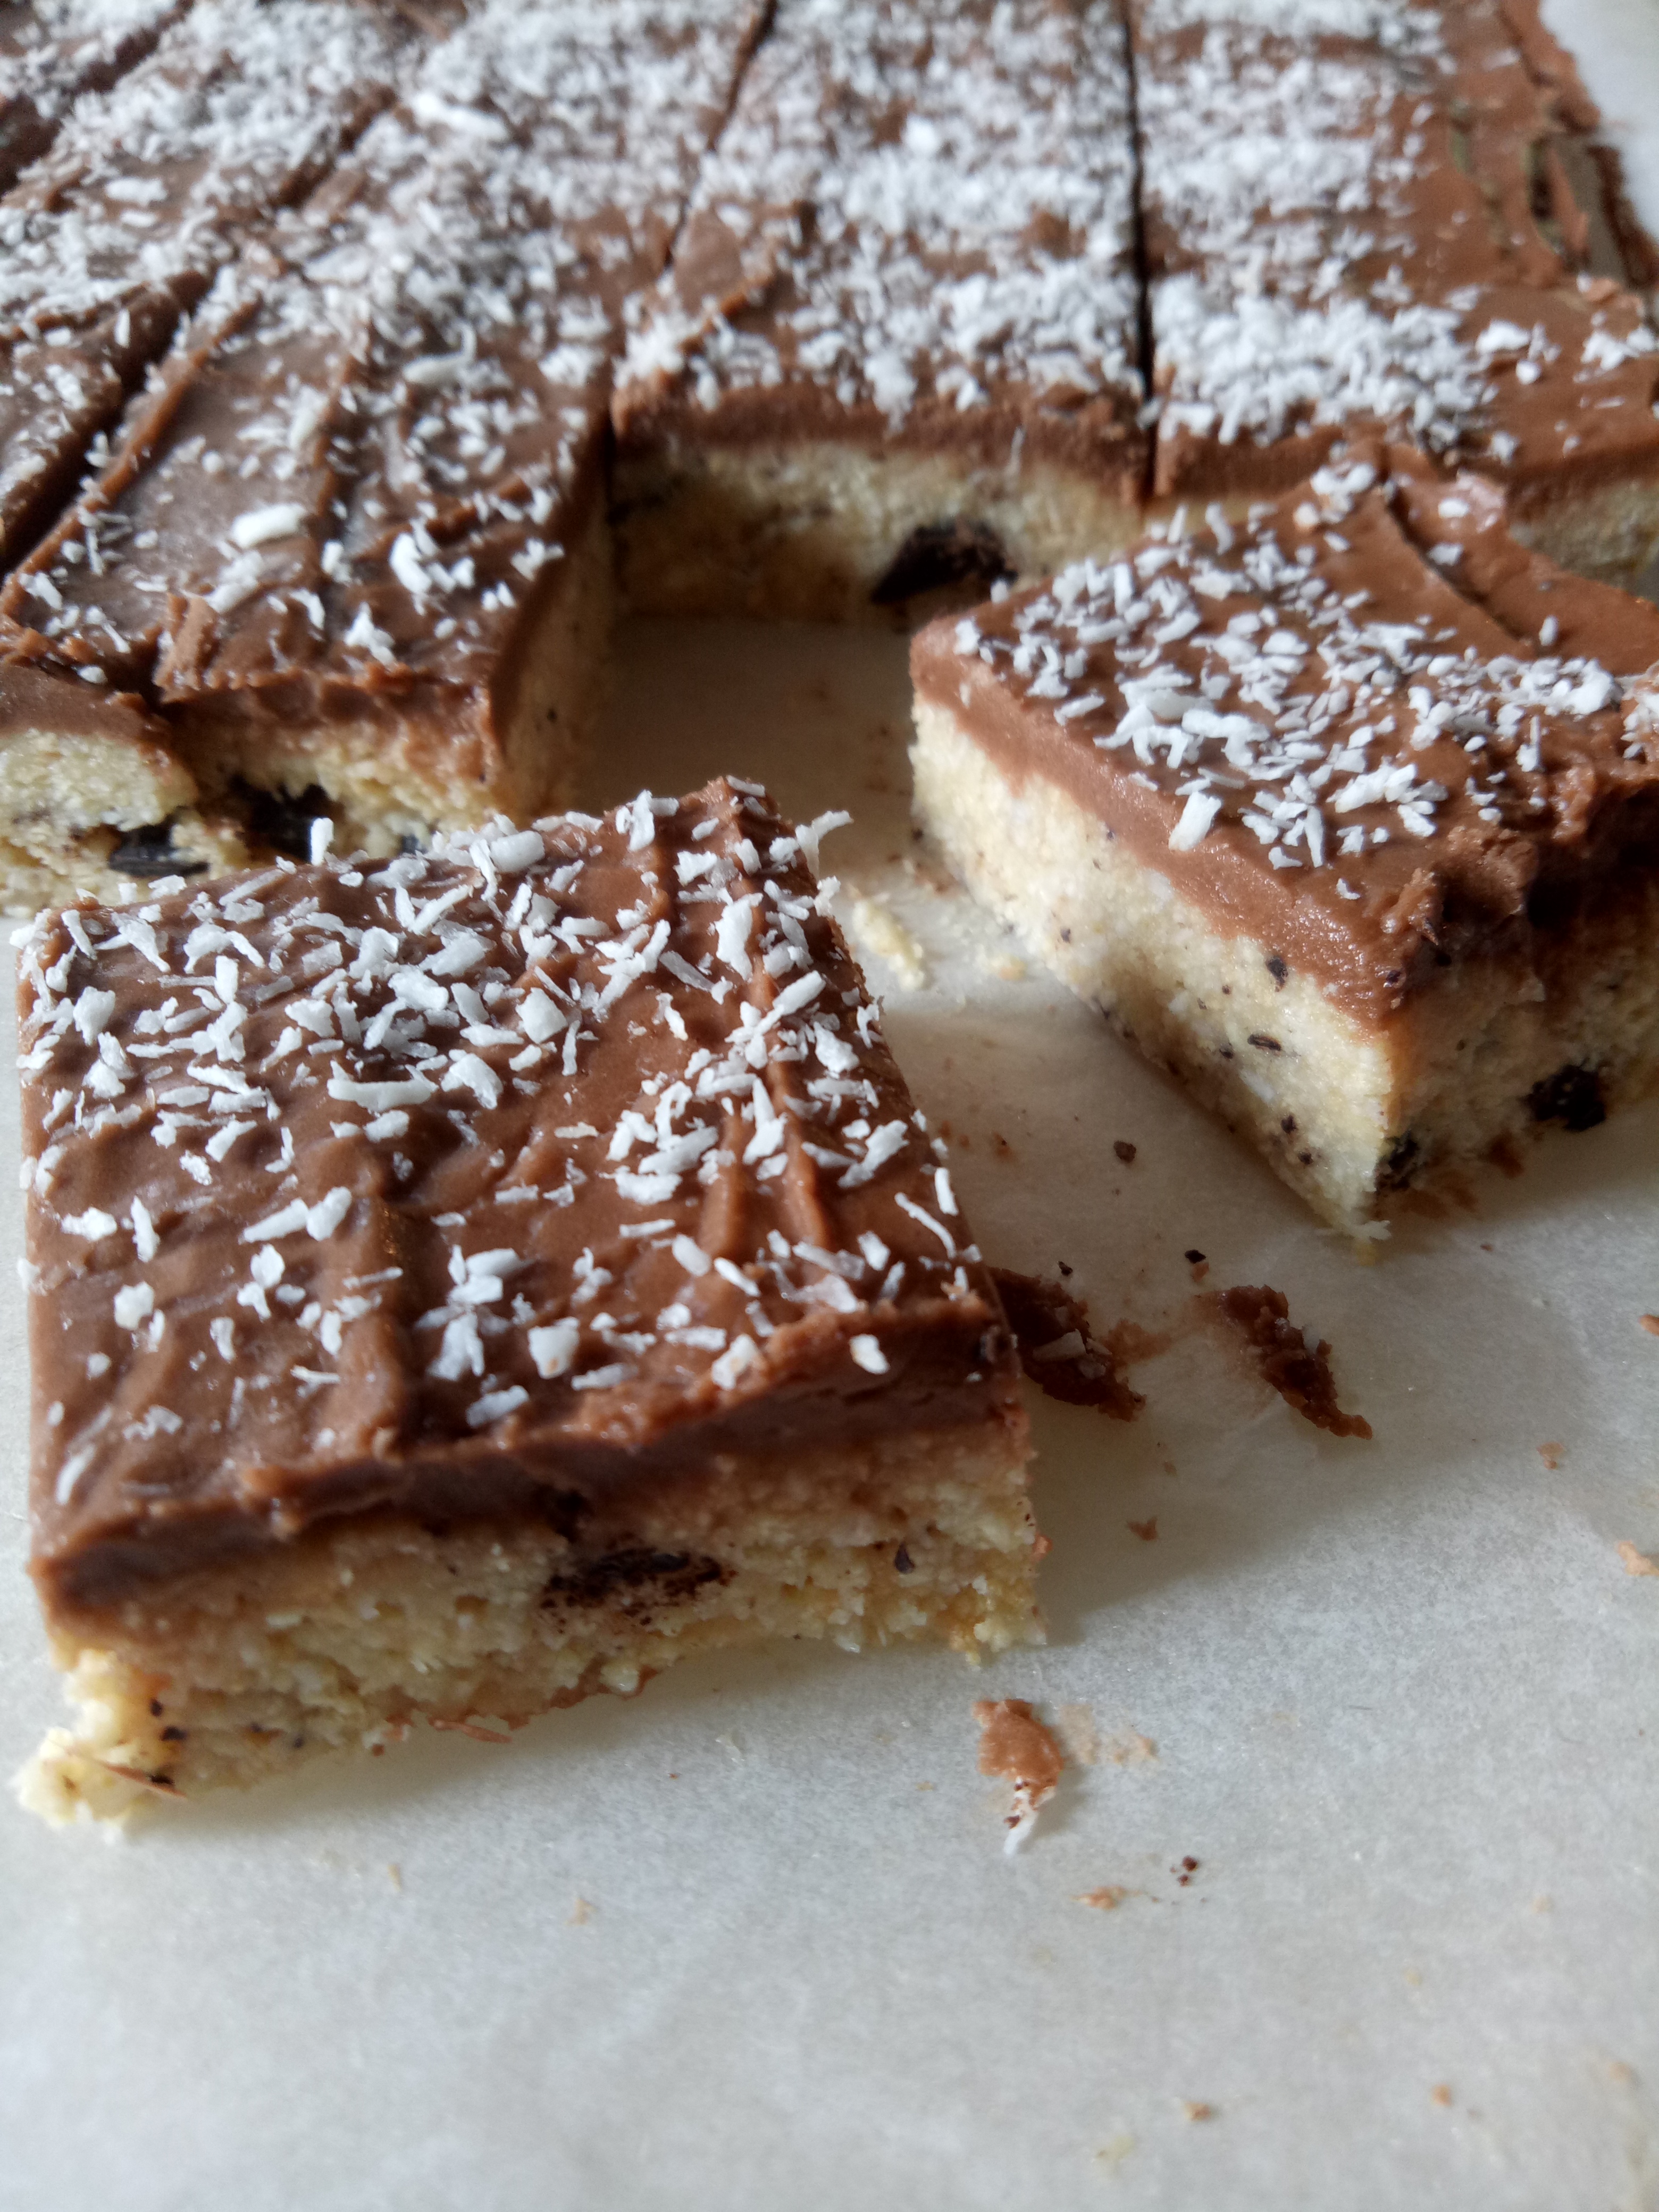
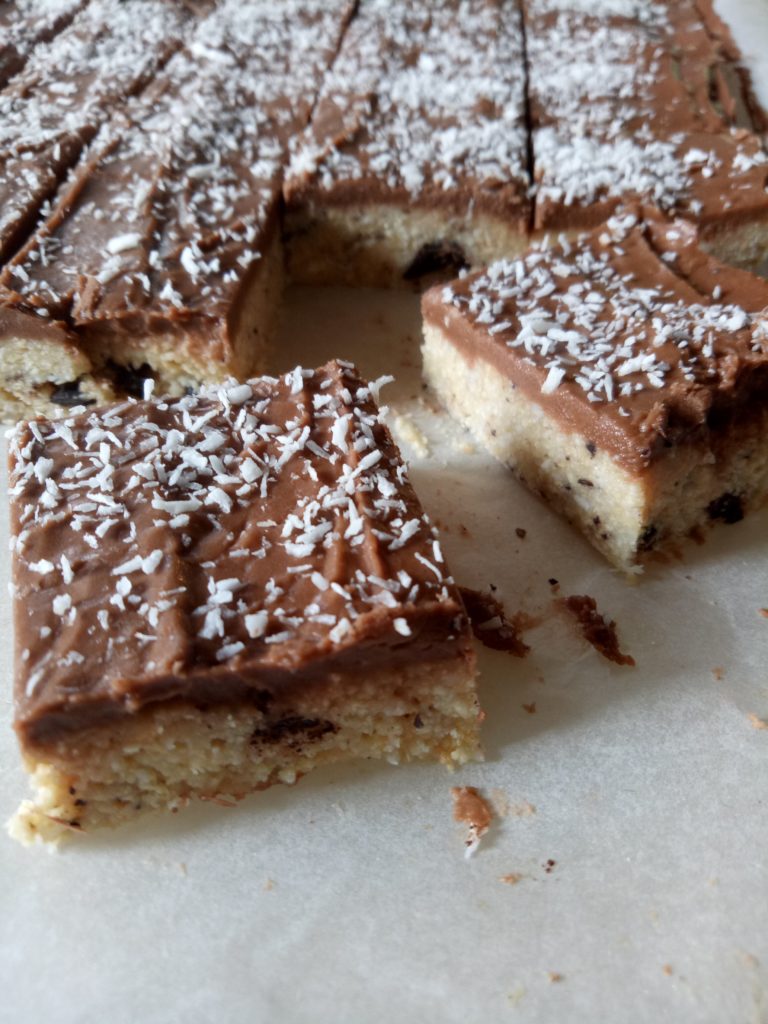
Kelly’s Easy No Bake Slice
So quick and easy with minimal ingredients. Great for kids
Ingredients
Method
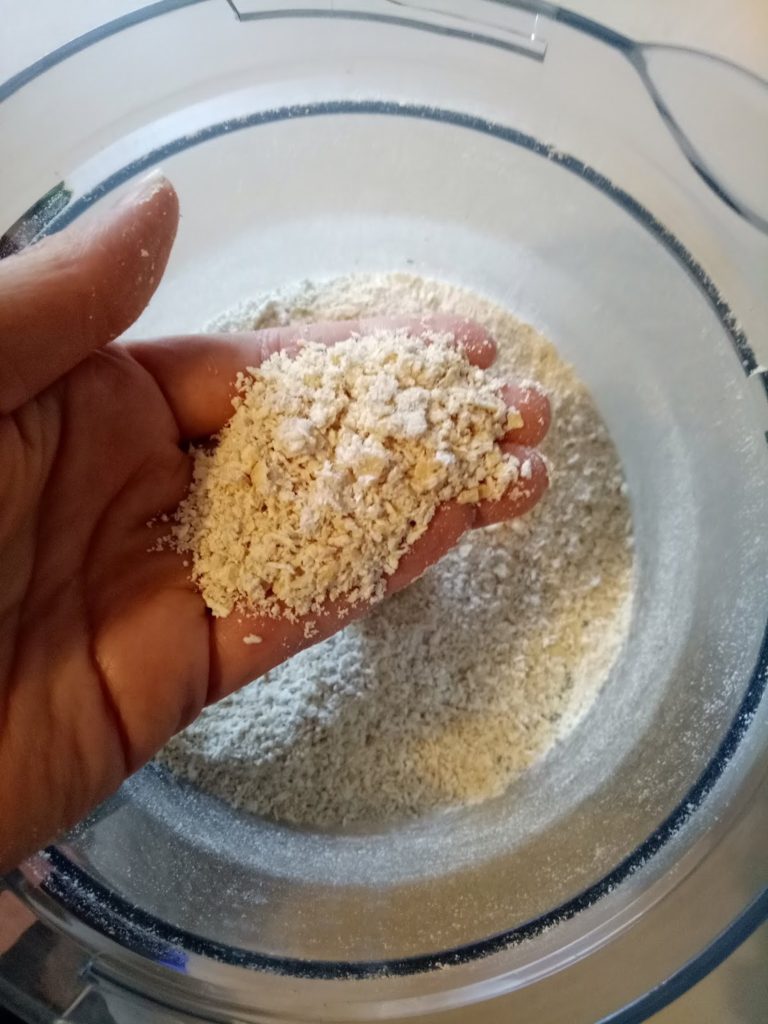
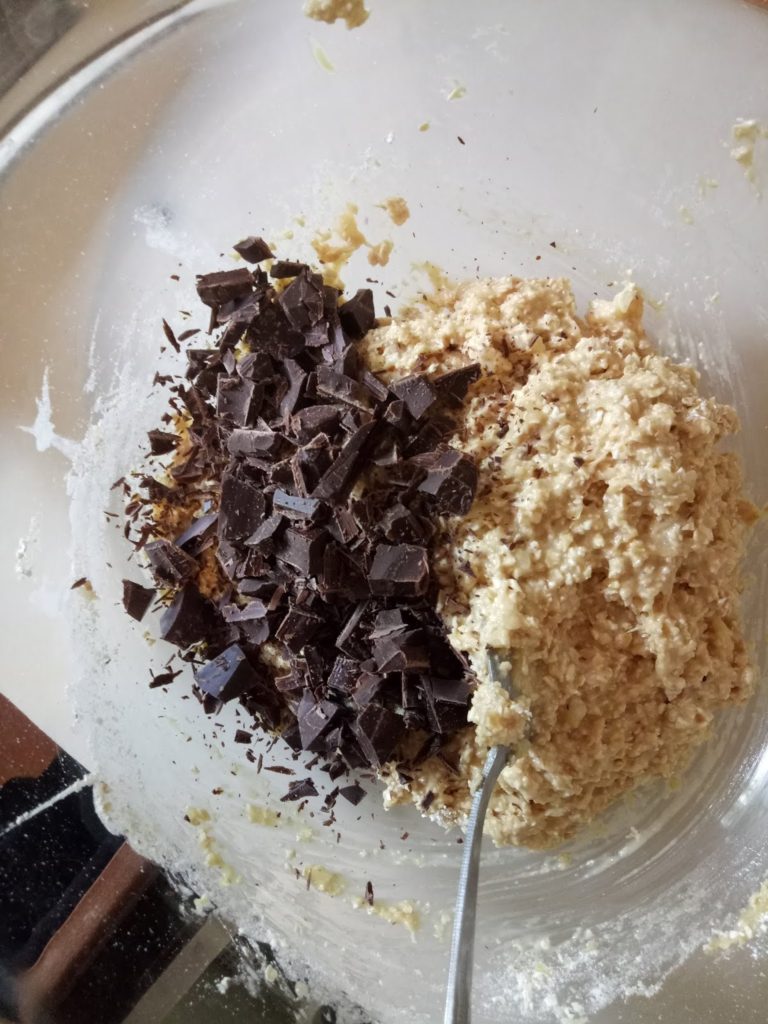
- Crush Marie biscuits until fine. I use a food processor for this. Place in a large bowl.Add coconut, melted butter, condensed milk, vanilla and add ins, if using. Mix until well combined.Line a 8 x 13″ slice tin with baking paper or grease with butter. Place your mixture into tin and press down with the back of a spoon (kids like to use their hands) until flat and spread out. Refrigerate while you make the icing.Sift the icing sugar and cocoa powder together in a bowl. Place the butter into the bowl. Pour the hot water over the butter, softening and melting it a little. Stir these ingredients vigorously until smooth. Adjust the water as necessary, adding more if needed.Pour the icing over the slice base and spread out until covered.Place back in the fridge until set (a couple of hours, or until the kids can wait no longer!)
*Tips
- To crush the biscuits, place them in a strong plastic bag (like a zip lock bag), break biscuits into halves or quarters and roll over the bag with a rolling pin, crushing the biscuits until they are fine. This is best done in small batches.
OR
- To prepare the biscuits in a matter of seconds, throw the whole packet of biscuits (minus the wrapping of course!) into a food processor.
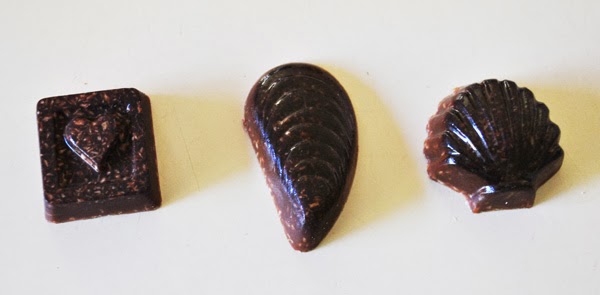
- A slice tin is very handy but not absolutely necessary. You can use any tray of a similar size with slightly raised sides. You could even forgo the slice option and roll the mixture into balls, then into cocoa or extra coconut.
- After spreading the icing on, I sprinkled some extra coconut on top.
I hope you enjoy this recipe, let me know if you give it a go!