• Skip to main content
  • Skip to primary sidebar

Kelly Casanova Weaving Lessons

  • Hi! I’m Kelly!
    • Disclosure
  • Online Weaving School Class Index
    • Common account issues
    • Common technical issues
    • What do I get with a membership?
  • New to rigid heddle weaving? Start here!
    • Never heard of the rigid heddle loom?
    • How to weave neat edges on the rigid heddle loom
    • Rigid heddle weaving
    • Rigid Heddle Weaving Patterns
  • Patterns
  • Subscribe

healthy eating

Choc Coated PB Lumps

by Kelly 12 Comments

When I was a teenager I had a friend whose Mum made the most delicious peanut butter balls, coated in chocolate. It seemed every time I visited, there were balls in milk, dark and white chocolate, freshly made and ready to be eaten.
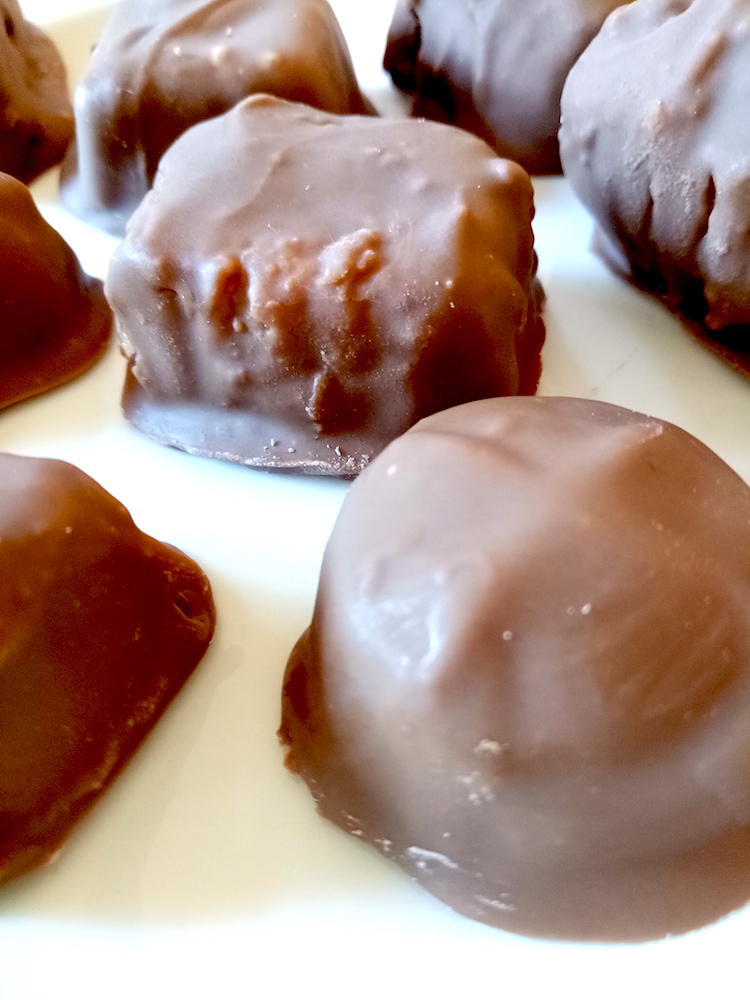
Unfortunately, they were also very unhealthy, made with lots of butter and icing sugar.

*This post contains affiliate links

I later came across the American “Buck eyes” which seem to be very similar to my friend’s peanut butter balls. Lately I’ve had a real hankering for these delectable balls, but they don’t exactly fit in with my attempts towards healthy eating and lifestyle.

I thought there must be a way to obtain a similar flavour to the traditional buck eyes in a healthier way.

It turns out there is!

The ingredients are really simple. This is something I’ve come to really love about healthy food, ingredients are usually very minimal because you are using good, natural food close to it’s natural state. It’s a wonderful way to eat.

For this ingredient amount, you will get about 12 chocolate lumps. You can easily double the recipe for a larger crowd.
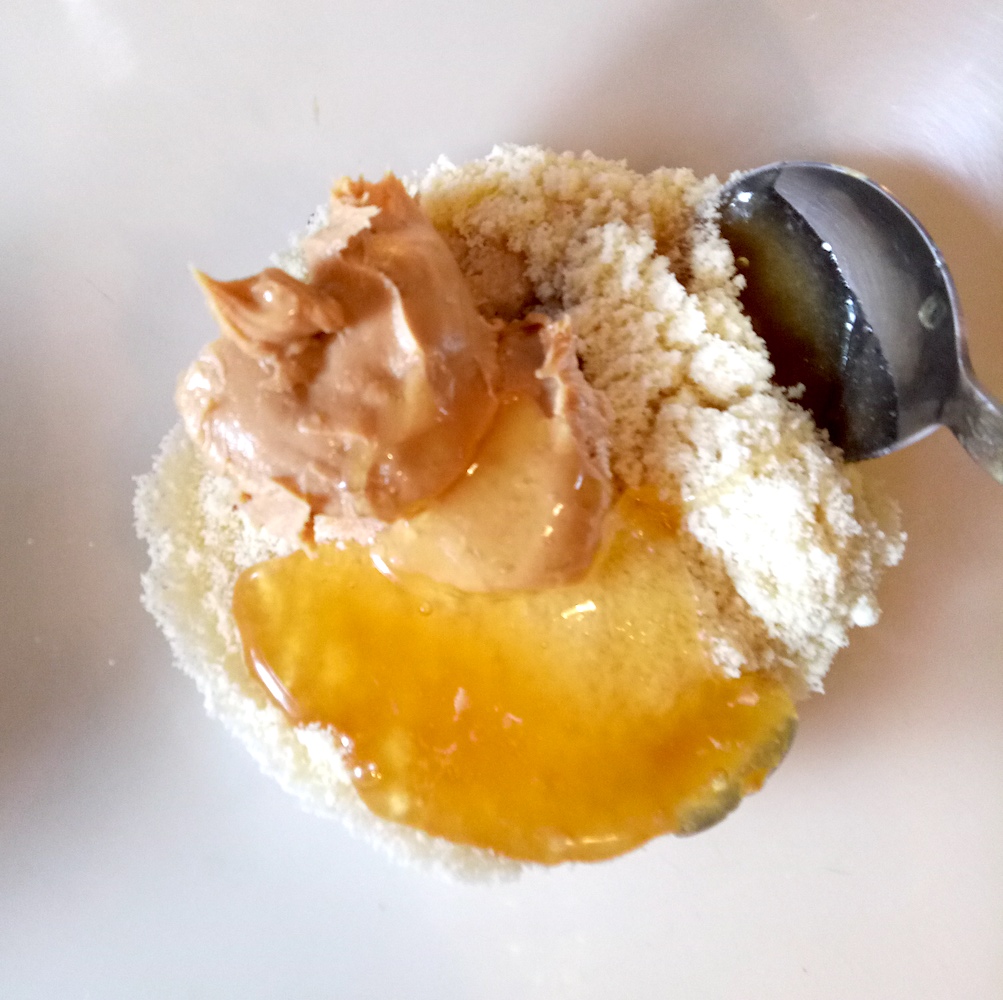
So, this recipe uses lovely almond flour (almond meal), my secret addiction (peanut butter), vanilla extract, honey and my other not so secret addiction (dark chocolate). You can use either milk or dark chocolate, but if you’re opting for the healthiest option, dark is the way to go.

I used crunchy peanut butter, but you could use smooth if that is your preference.
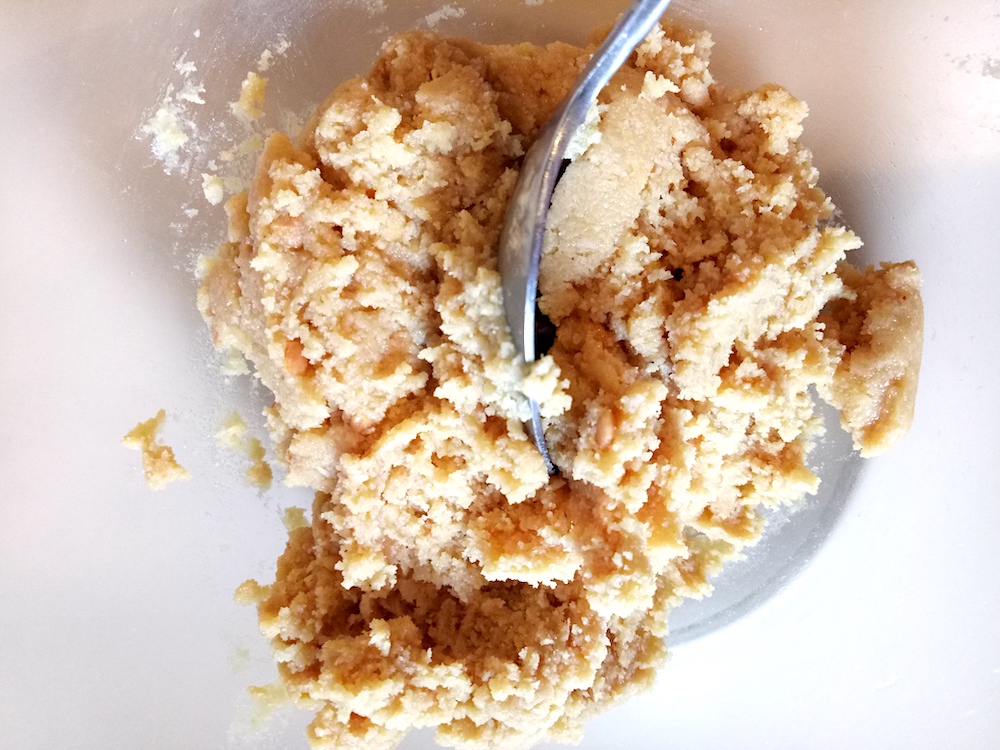
Now, a little disclaimer. Although the taste is very similar to the unhealthy version, the texture of these is quite different – a little more grainy and cakey. Which doesn’t bother me in the slightest, but I just wanted to let you know.
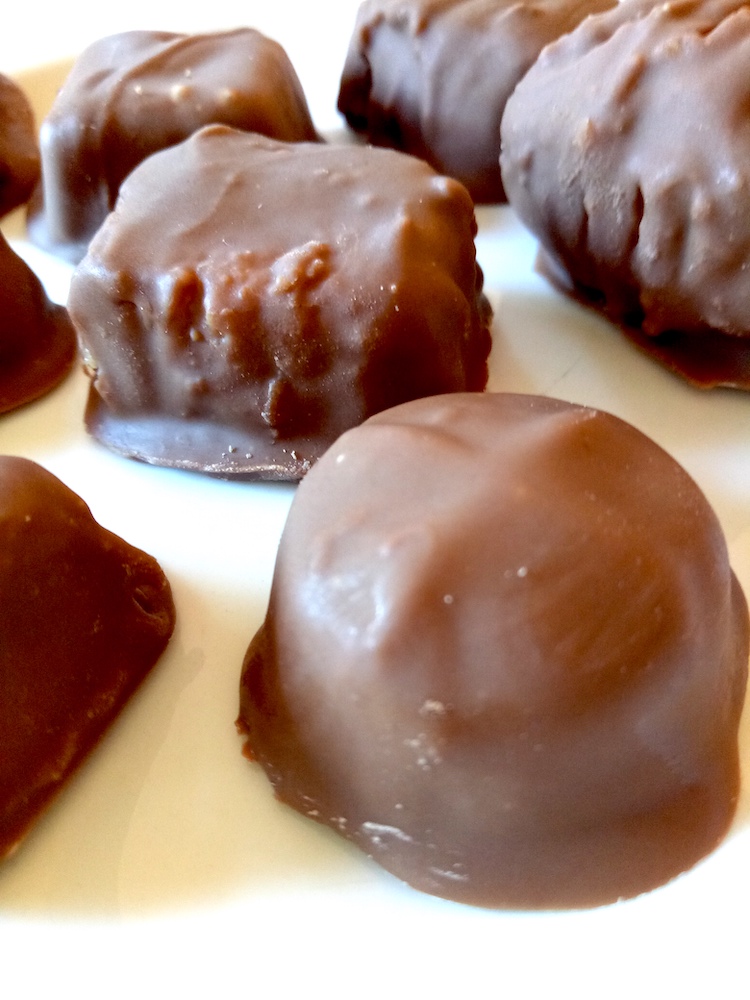
Choc Coated PB Lumps

5 from 3 votes
Print Recipe Pin Recipe
Prep Time 15 minutes mins

Ingredients
  

  • 3/4 cup Almond meal (almond flour)
  • 2 tbsp Peanut butter
  • 1 tbsp Honey
  • 1 tsp Vanilla extract
  • 100 grams Dark or milk cooking chocolate

Instructions
 

  • Place all ingredients except the chocolate in a bowl.
  • Mash together until fully mixed and forming a paste.
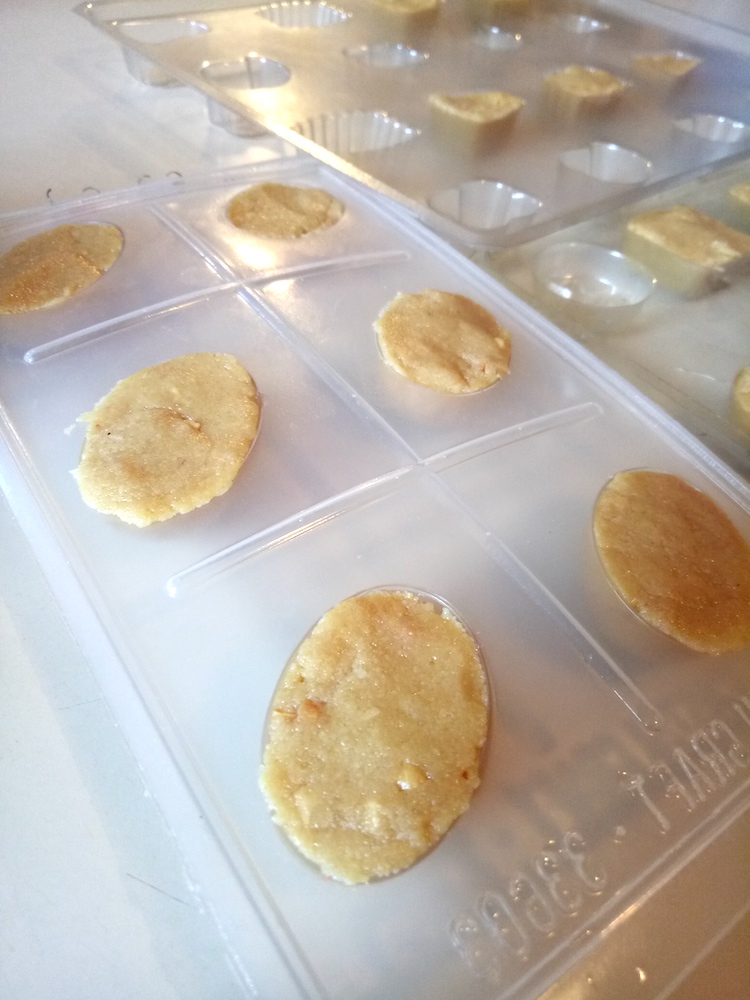
  • Push mixture into moulds (if using) or roll into balls if you prefer. If using moulds, it's easiest to place them in the freezer for half an hour. Otherwise, regrigerate until very firm.
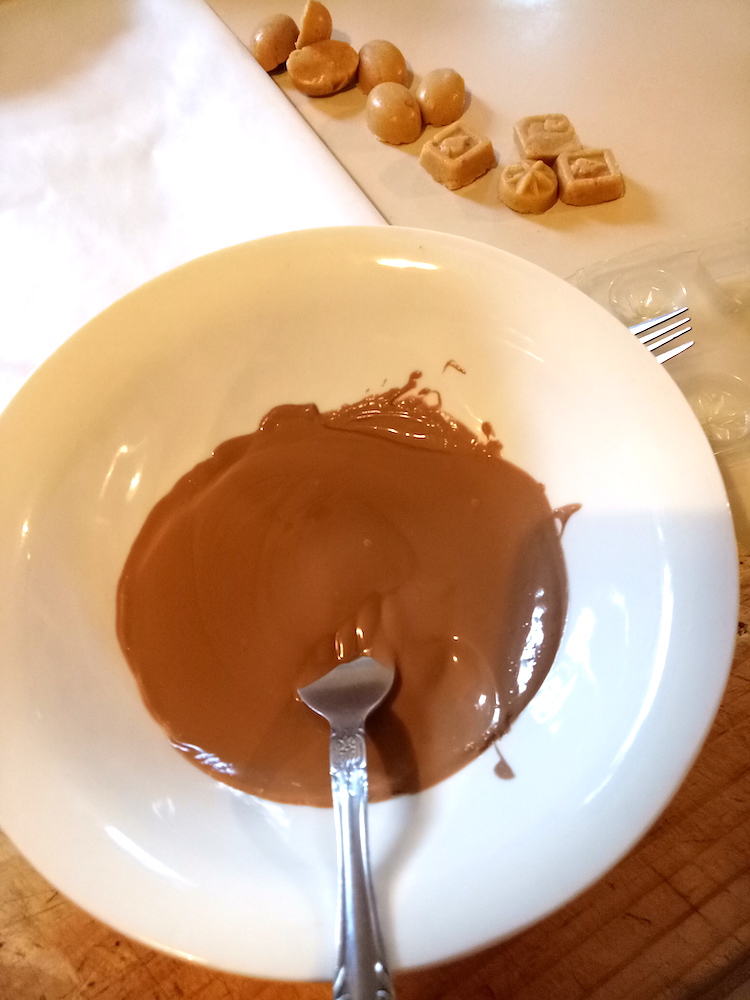
  • Melt cooking chocolate over a double boiler or you can sit a ceremic bowl on top of a small saucepan with a little water.
  • Using 2 forks, dip your peanut butter pieces or balls in the melted chocolate and place on non stick baking or parchment paper.
  • When all are dipped, place in the fridge to harden, then store in the fridge until you're ready to eat some.

Another disclaimer is that the chocolate coating part is a little messy and the end product a little blobby. Hey, they may not be as Instagram worthy as some, but once it’s in my mouth it’s all the same, so who cares? 😆
If you roll the mixture into balls, you can eat just as they are, without the chocolate coating, if you prefer. Or, if you love the chocolatey aspect but have run out of melting chocolate, you could try rolling the balls in cocoa. I did this recently, and while the result is not as decadent as melted chocolate, they were still totally delicious. Like most of my recipes, these are quite adaptable!
Just recently I decided to try making my own almond flour instead of buying it pre-made. The benefits of making your own are twofold.

  • The almond flour freshly ground will contain more nutrients than flour that has been sitting in a packet on a shelf for months.
  • It is much cheaper to buy whole almonds than to purchase already ground.

I actually think freshly ground tastes better too!
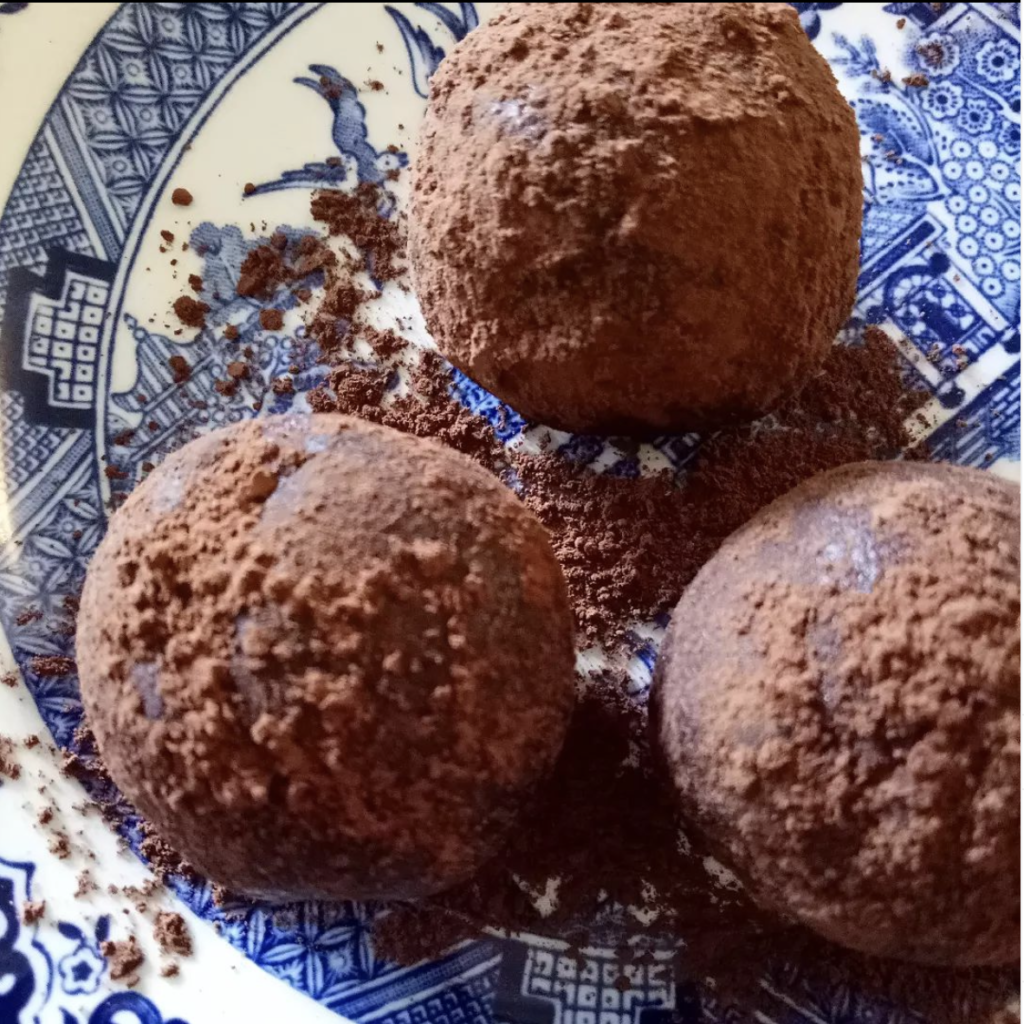
Balls, rolled in cocoa

If you’re interested in grinding your own almond flour you do need to have a food processor or other appropriate grinder.

I found that I couldn’t get my fresh almond flour ground quite as finely as the commercial stuff, as there is the risk of the almonds becoming too wet as you grind, if you over grind.

But interestingly, I found that I preferred the slightly grittier consistency of the freshly ground whole almonds.
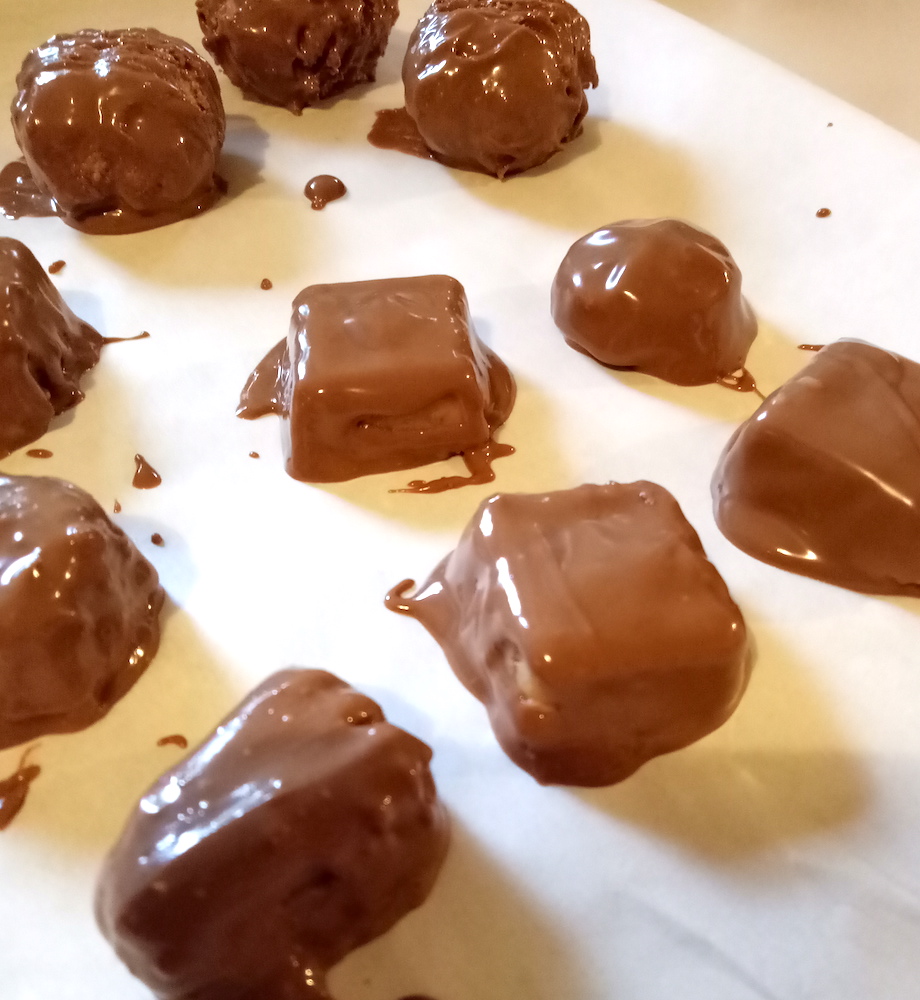
I hope you enjoy this recipe! Please comment below if you try it and if you enjoy it, please leave me 5 stars to let me know!

Filed Under: Health and home, Recipes Tagged With: easter, healthy chocolate, healthy eating, healthy recipe, healthy treat

Healthy lifestyle plus a recipe for you

by Kelly 10 Comments

If you follow me on social media you will already know that I’ve embarked on a healthier lifestyle. It has been just over 2 weeks and I feel like I’m adjusting – it was very hard initially! 


I’m not the sort who copes well with small changes – I’m more of an “all in” kinda girl, so it was important for me to make major changes.


Although I’d like to share my thoughts in more detail with you as I go along, for now I’ll just show some examples of what I’ve been eating. It’s actually been pretty easy to put together healthy meals for myself, even though this seemed daunting at first. I thought it would be too difficult and too expensive to not always eat what the family was eating. It turns out that this was just one of many excuses I’d been storing up in my head!

I have lost a little weight, which has been encouraging.


So, here is a snapshot of what my healthy eating has been looking like. Most of these are pretty simple, throw together, low cook dishes without a real recipe. Just how I like it.


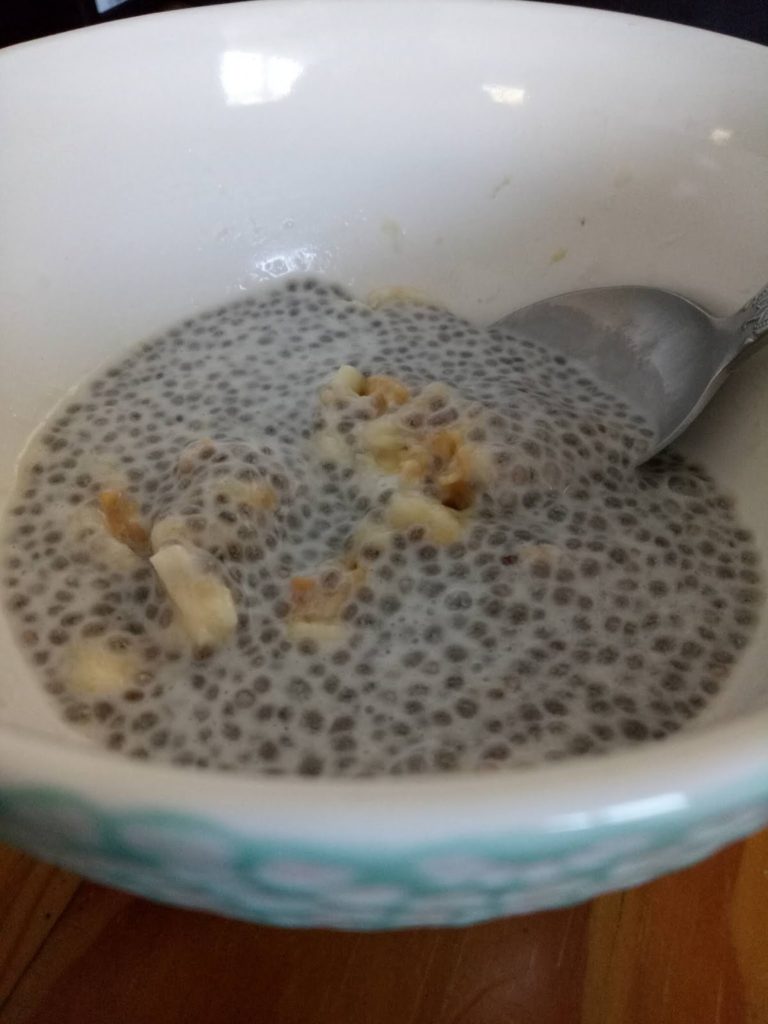
Lets start with sweets. (Also just how I like it!) Chia vanilla pudding with peanut butter banana. It looks sloppy and not all that appetising but as an afternoon snack, it is THE BOMB!

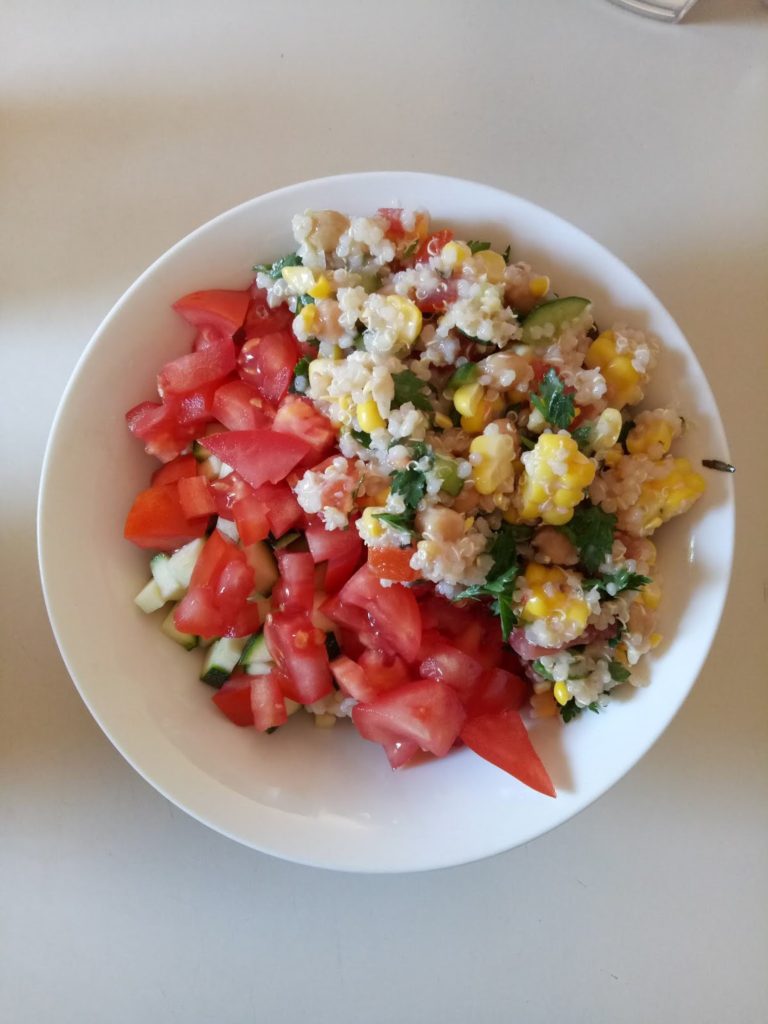
I can’t take credit for the delicious Quinoa and corn salad, my husband made that (he is an awesome cook). Thrown together with some chopped raw zucchini and tomato and voila! Lunch!


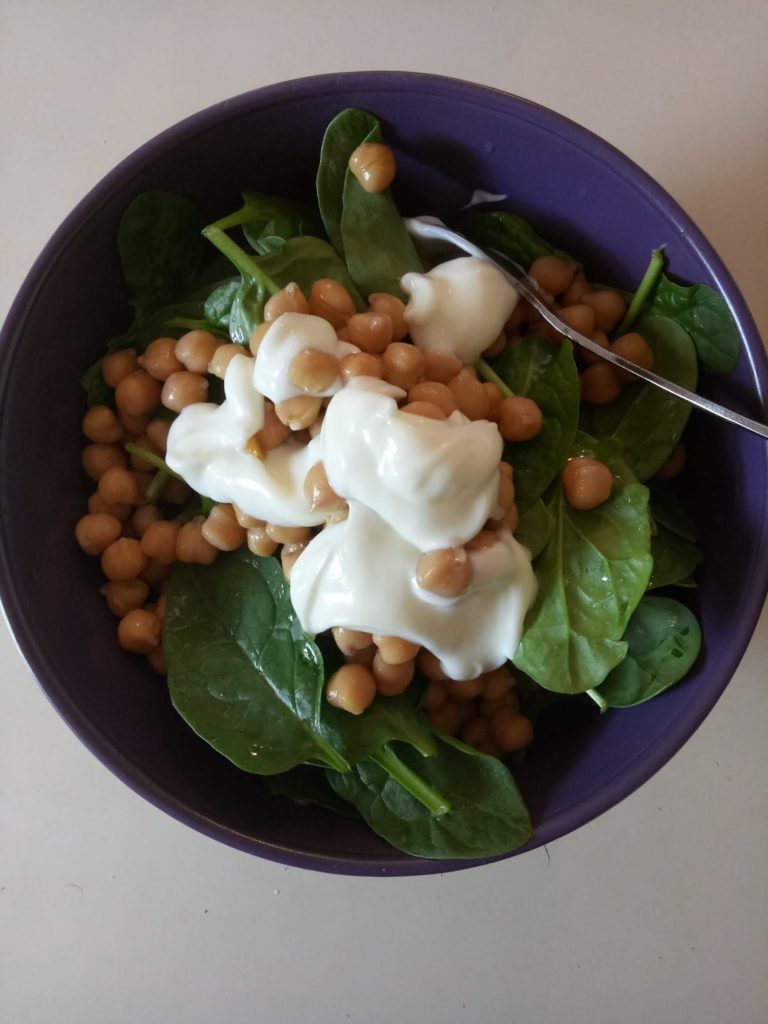
Baby spinach and chickpea salad with lemon and yoghurt dressing. Another light and easy lunch.

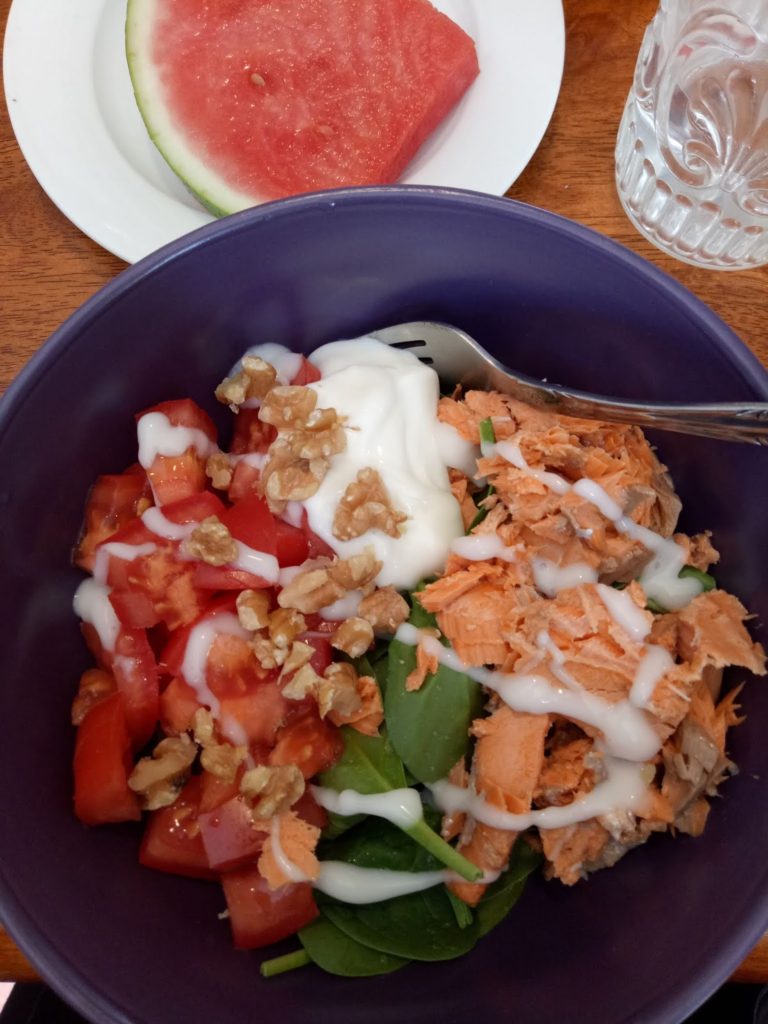
There is a bed of brown rice under the tomato, spinach leaves, red salmon and walnuts. Topped with low fat yoghurt and low fat mayonnaise. 

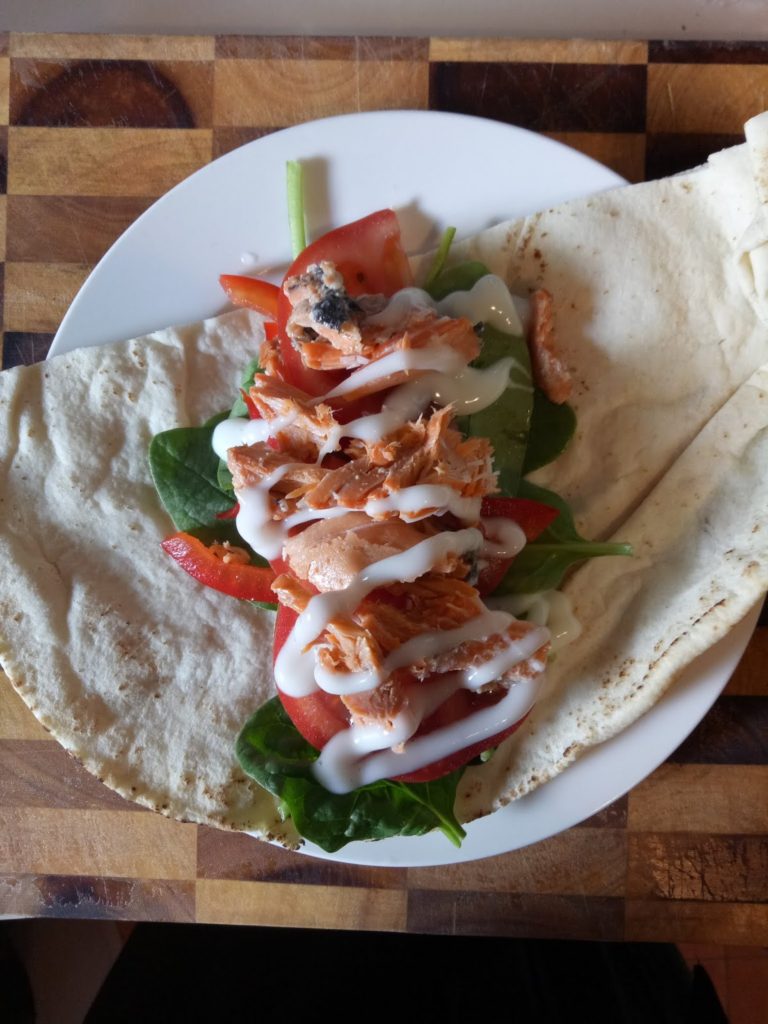
Salmon and salad pita wrap.


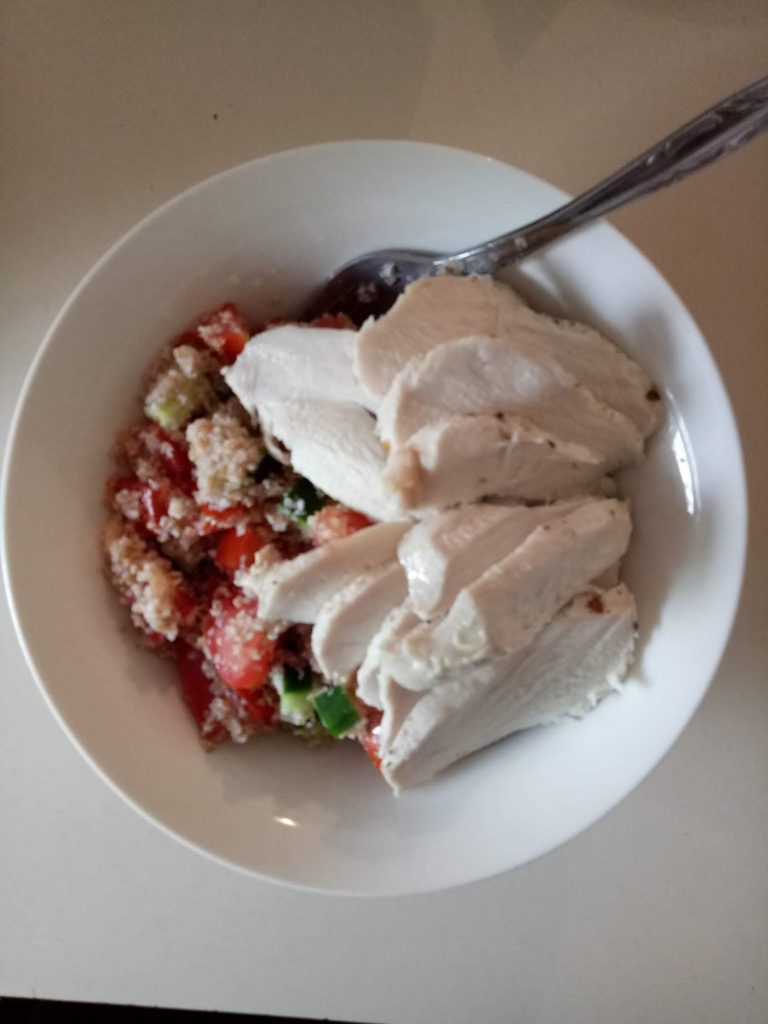
Half a chicken breast, drizzled with sesame oil, seasoned and baked in foil in the oven and served with a bulgur wheat, tomato and cucumber salad. Squeeze of lemon juice and done.

OK, here comes the recipe, because, if you’re like me, one of your biggest challenges is your sweeter than sweet tooth.

Lets call them my

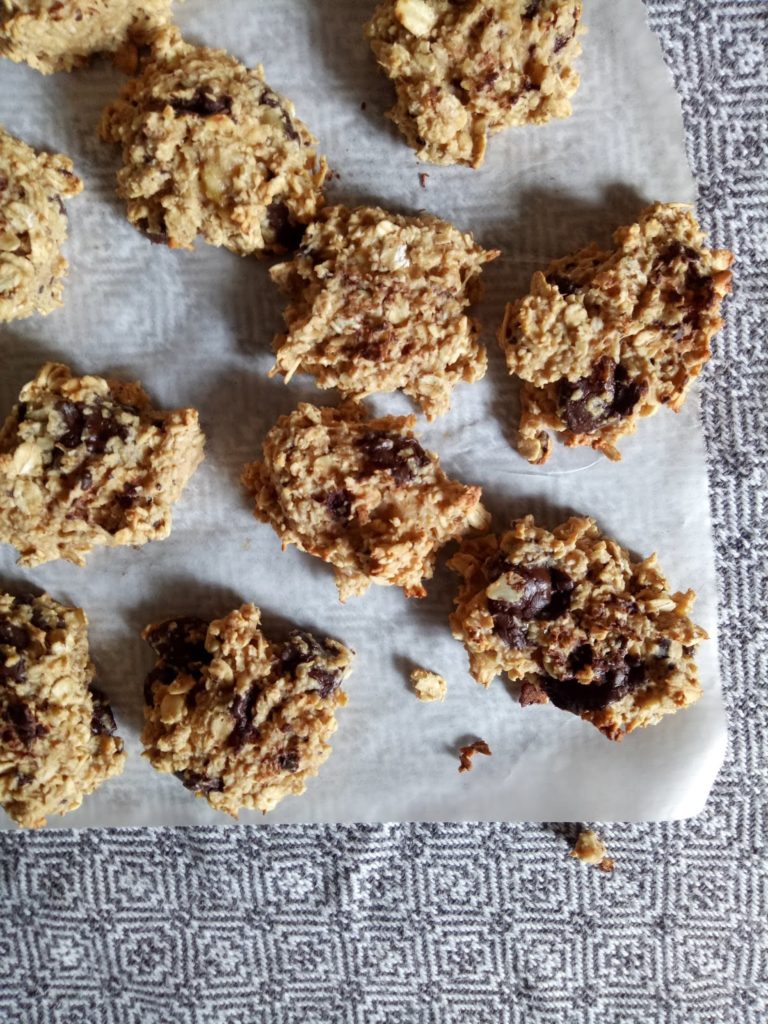
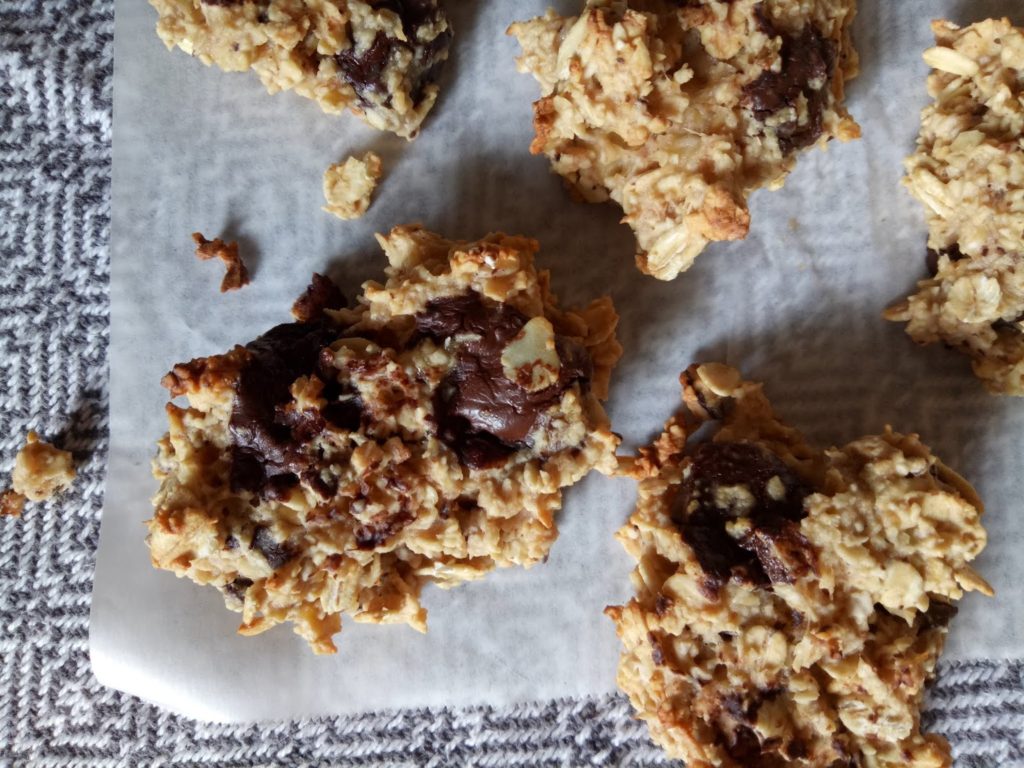
Rustic Banana Biscuits

Ingredients:

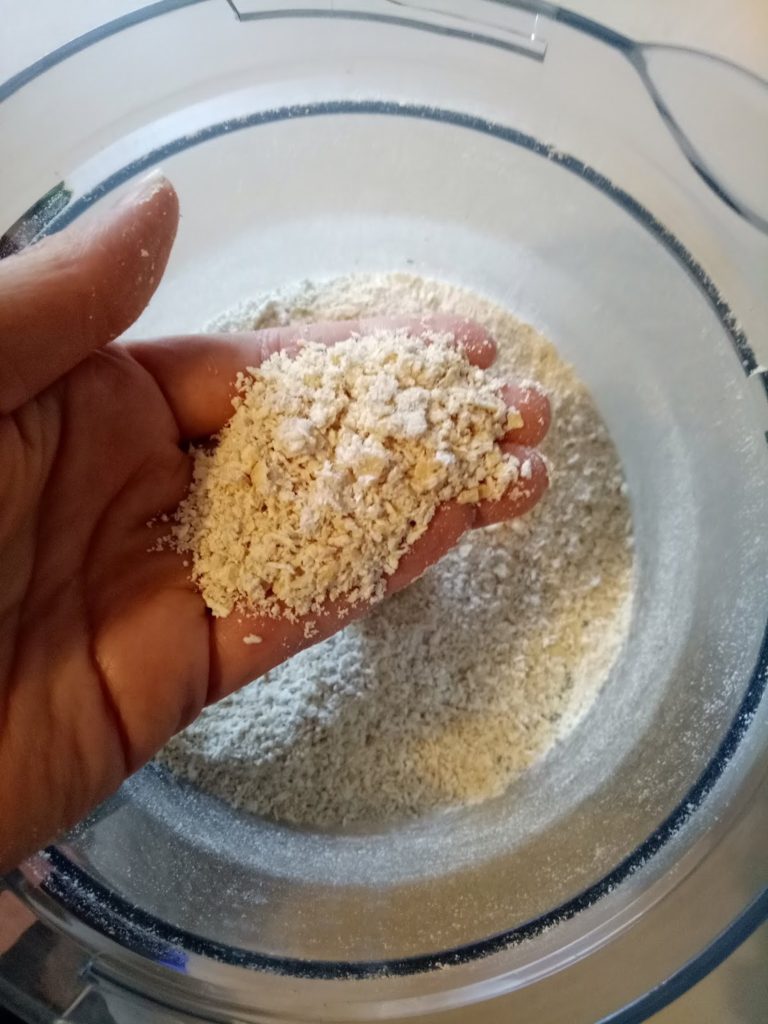
2 cups rolled oats, blitzed in a food processor
2/3 of a cup of rolled oats extra
2 large, very ripe bananas
1 small egg
1 tablespoon peanut butter
50grams dark chocolate, chopped into chunks


Preheat oven to 180 degrees celsius (350 F). Blitz your 2 cups of rolled oats in the food processor until fairly smooth.

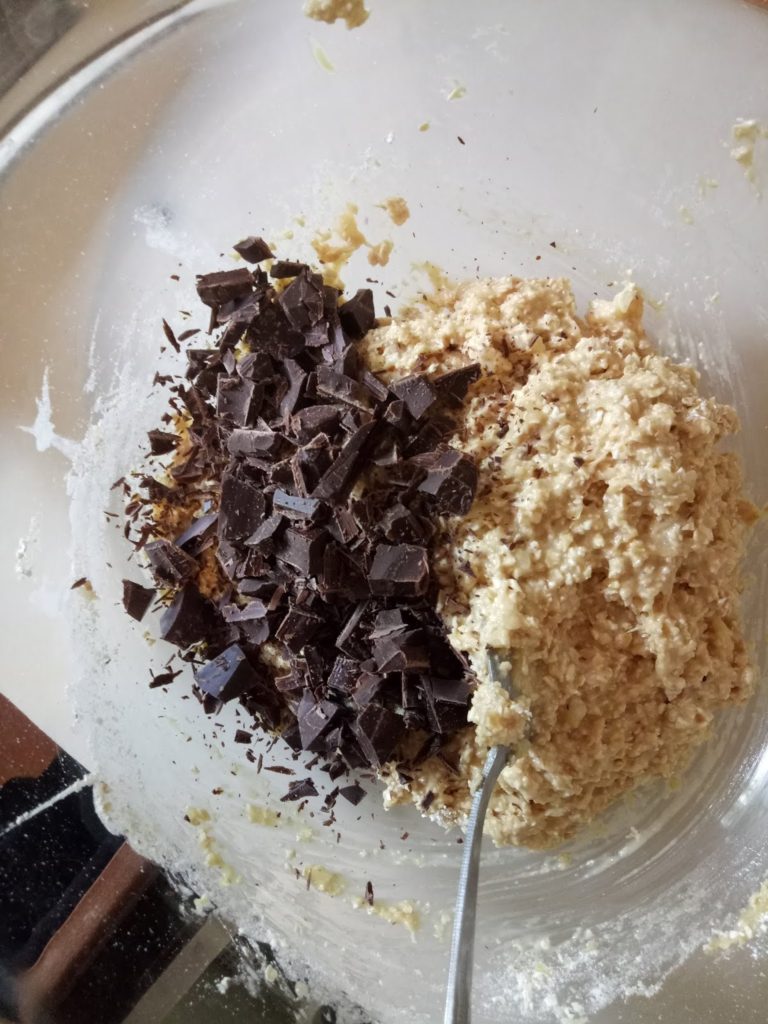
Mash your bananas, stir in the peanut butter. Whisk in egg with a fork. Add both batches of oats and mix well. Add the chocolate, mixing all ingredients together.


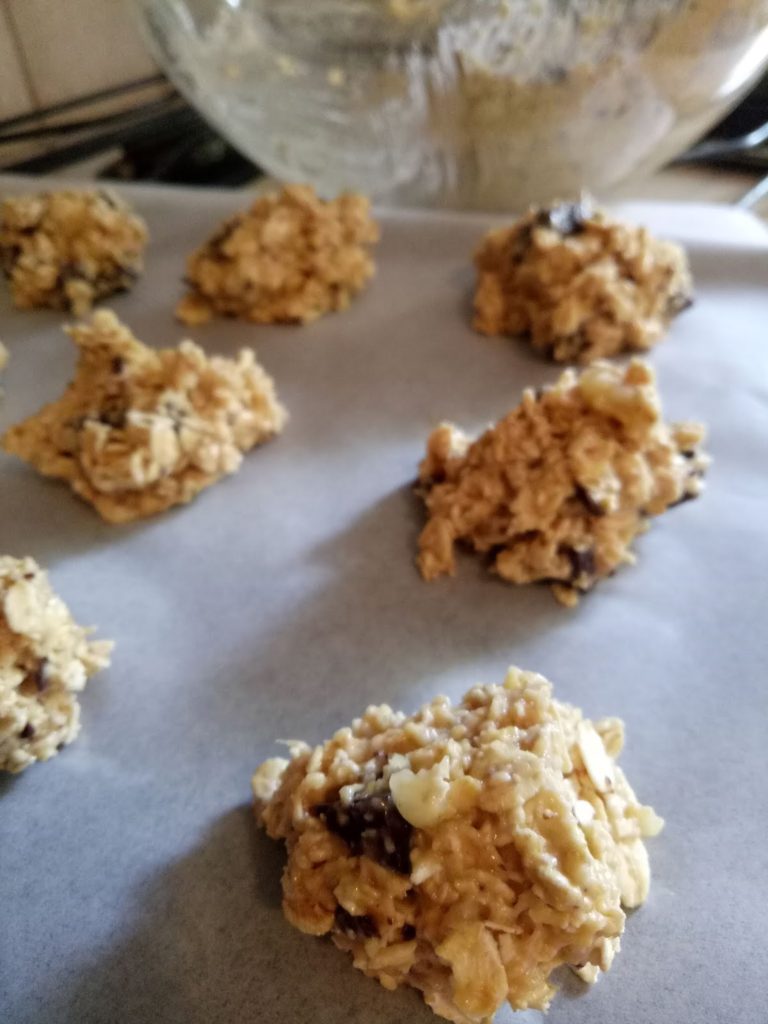
Place scant dessertspoon full of mixture in blobs on a tray lined with baking paper. Press tops lightly with a fork.

Bake for 12 minutes or until browning. Cool on a baking rack.


Perfect for a healthy afternoon snack with a hot cup of tea.

Bon appetit!

I have made a Facebook group so that I have a place to share information and support others (as well as get some much needed support myself!) Please join if you would like to be involved! 

Did you like this post? Would you like me to share more of my healthy journey? Let me know by leaving a comment, I’d love to hear your thoughts!


Filed Under: Health and home, Recipes Tagged With: healthy eating, healthy lifestyle, my recipes, weight loss and health

Whole wheat raspberry and banana hot cakes

by Kelly 3 Comments


I got a grain mill! Yes, the 10 year wait was worth it, it is a Hawos Billy 100 and it’s really wonderful. It was a huge toss up between electric and hand operated, but I’m so glad I went with electric as I think having to hand grind would put me off wanting to use it.

Today I have a recipe to share that I made with my first batch of freshly ground wheat. Wow, what a blessing to have food that nutritious and delicious!


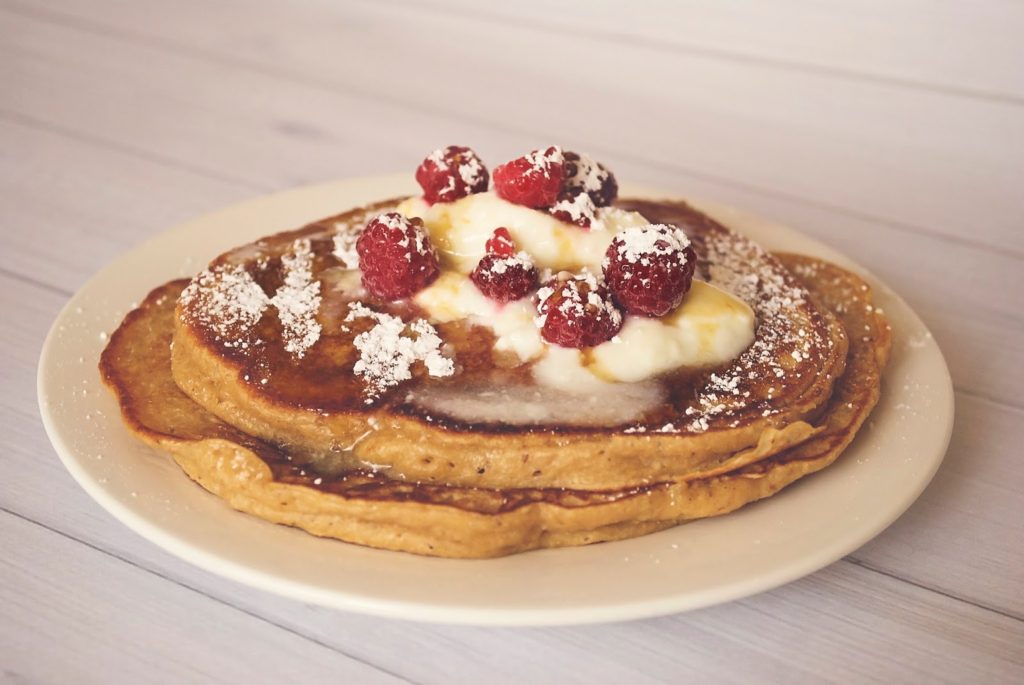
This was my healthy lunch experiment for the kids and they turned out so beautifully! The children quickly became like lions to the prey, they absolutely loved them. Moist, fluffy and so healthy!

Ingredients

4 cups of freshly ground whole wheat flour (or packaged whole wheat flour)
2 tablespoons LSA mix (ground linseed, sunflower and almond)
4 teaspoons baking powder
1 teaspoon cinnamon
5 egg whites, beaten until stiff
1 egg yolk
1/4 cup of date syrup or honey
1 over ripe banana, mashed
3 cups milk (full fat, low fat or skim are fine)
2 tablespoons natural yoghurt
1/2 cup raspberries (I used frozen)

Method

Place all dry ingredients together in a large bowl. 
Beat egg whites until stiff.
Whisk together egg yolk, syrup (or honey), banana, milk and yoghurt. 
Pour these wet ingredients into the dry and mix thoroughly. Fold in the beaten egg whites along with the raspberries.
Fry in a hot, non stick pan or a regular pan with a little rice bran oil to prevent sticking. 

Serve warm. I served with a dollop of yoghurt, dusting of icing sugar, raspberries and drizzled with maple syrup.
For a special dessert these would be awesome with whipped cream or ice-cream and raspberry coulis. 

Filed Under: Uncategorized Tagged With: healthy eating, my recipes, Recipes and food, weight loss and health

It’s cheap, it’s healthy, it’s No Bake Date Slice!

by Kelly 3 Comments

I love medjool dates but unfortunately, at around $20 a kilo they’re a bit much for our modest budget. I thought I’d start experimenting with the much cheaper (at $2.99kg) dried, packaged, pitted dates.
And I’ve had success! This is a delicious, healthy and economical treat. I love to have a piece in the middle of the day or in the afternoon with a cup of tea and the children love it too.
Recipe

40 dried and pitted dates
1 cup desiccated coconut
1 cup rolled oats
1.5 tablespoons cocoa powder
1 tablespoon tahini
1 tablespoon honey
1 teaspoon vanilla extract
2 – 3 tablespoons date syrup *see method

Place dates in a large bowl and add enough hot water to just cover the dried fruit. Soak for at least an hour, longer is fine.
Strain dates, reserving liquid. *This liquid is your date syrup.

Place all ingredients into a food processor and blend thoroughly. 

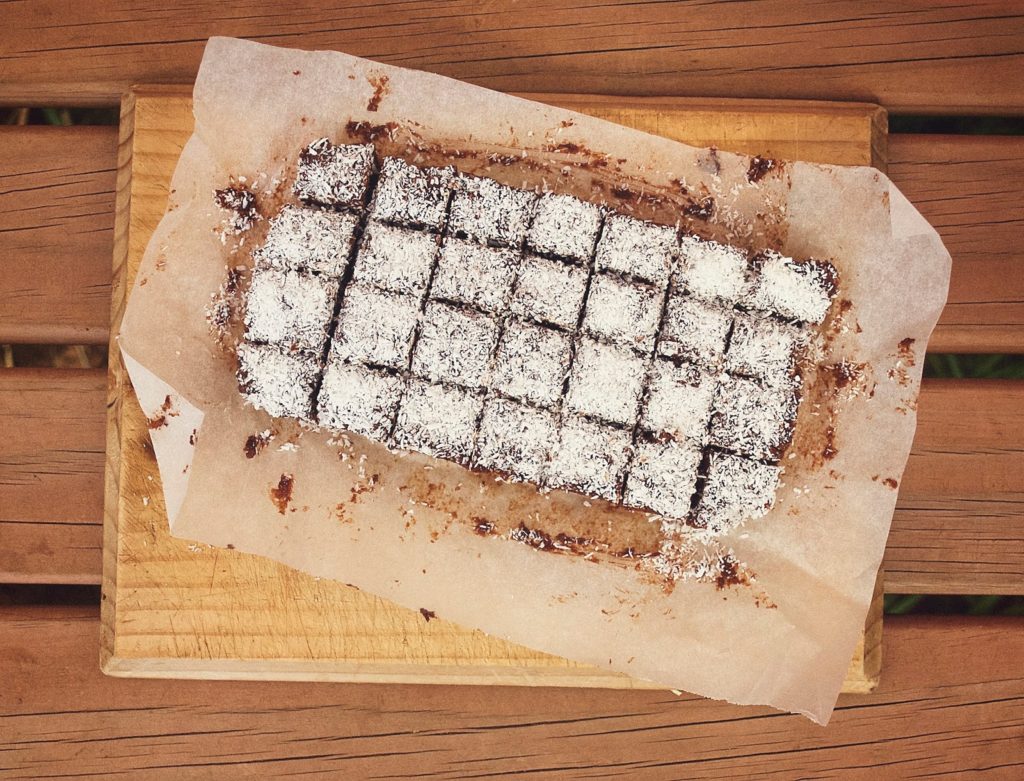
Press the processed mixture into a tin or container lined with non stick baking paper (I use a bread loaf tin). Let the baking paper fall over the edges of the tin, this makes it easy to pick up later. The back of a spoon is useful for pressing. Sprinkle with extra coconut if desired.

Place in the fridge for at least 2 hours to set. Take out of tin using the edges of the baking paper to pick it up. Cut into squares and keep in an airtight container in the fridge.

Note: Date syrup is also delicious on yoghurt if you have leftovers and can also be used as a sweetener or topping for fruit.

Filed Under: Uncategorized Tagged With: healthy eating, my recipes, Recipes and food, weight loss and health

Primary Sidebar

Categories

Archives

Meta

  • Log in
  • Entries feed
  • Comments feed
  • WordPress.org

Copyright © 2025 Kelly Casanova Weaving Lessons on the Foodie Pro Theme