• Skip to main content
  • Skip to primary sidebar

Kelly Casanova Weaving Lessons

  • Hi! I’m Kelly!
    • Disclosure
  • Online Weaving School Class Index
    • Common account issues
    • Common technical issues
    • What do I get with a membership?
  • New to rigid heddle weaving? Start here!
    • Never heard of the rigid heddle loom?
    • How to weave neat edges on the rigid heddle loom
    • Rigid heddle weaving
    • Rigid Heddle Weaving Patterns
  • Patterns
  • Subscribe

healthy recipe

Peanut Chocolate Slice Recipe

by Kelly 4 Comments

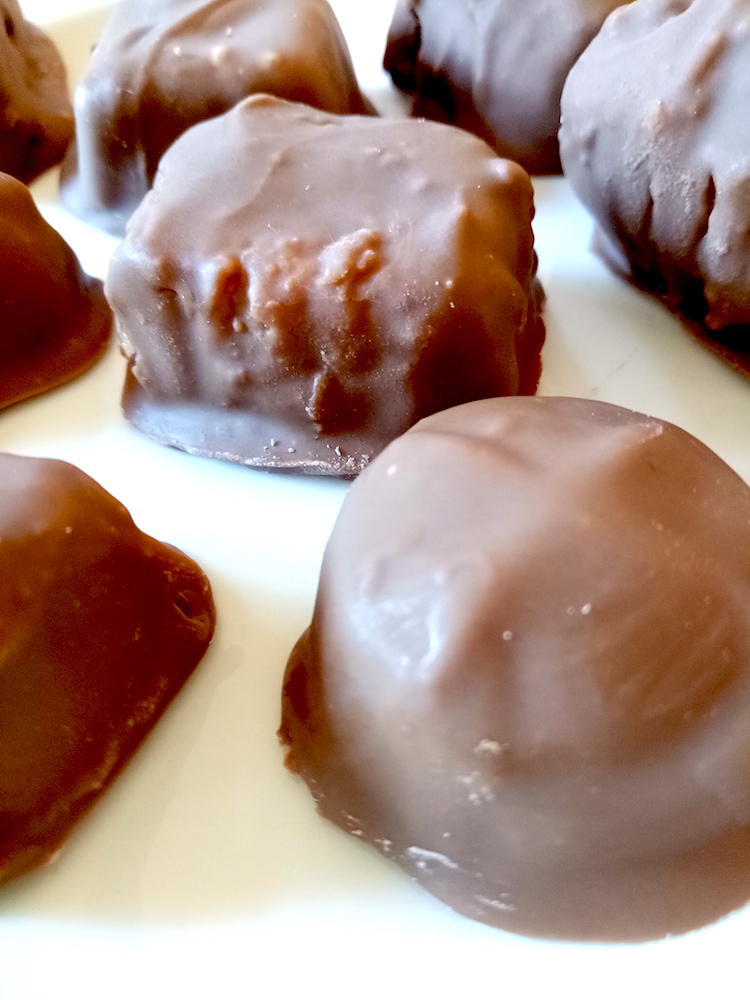
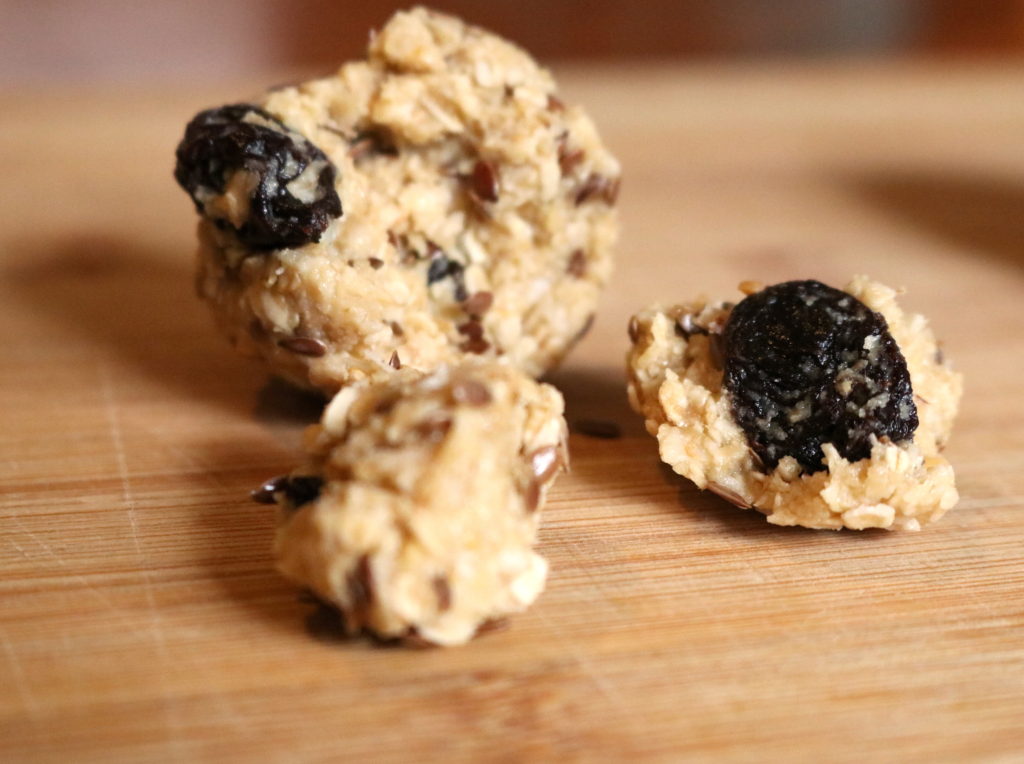
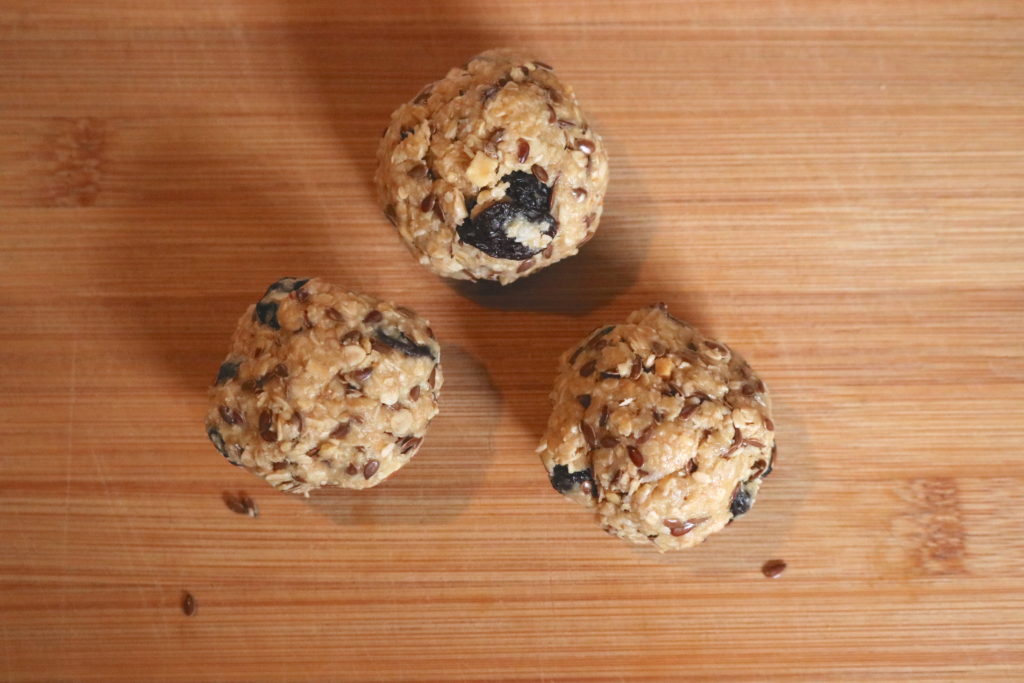
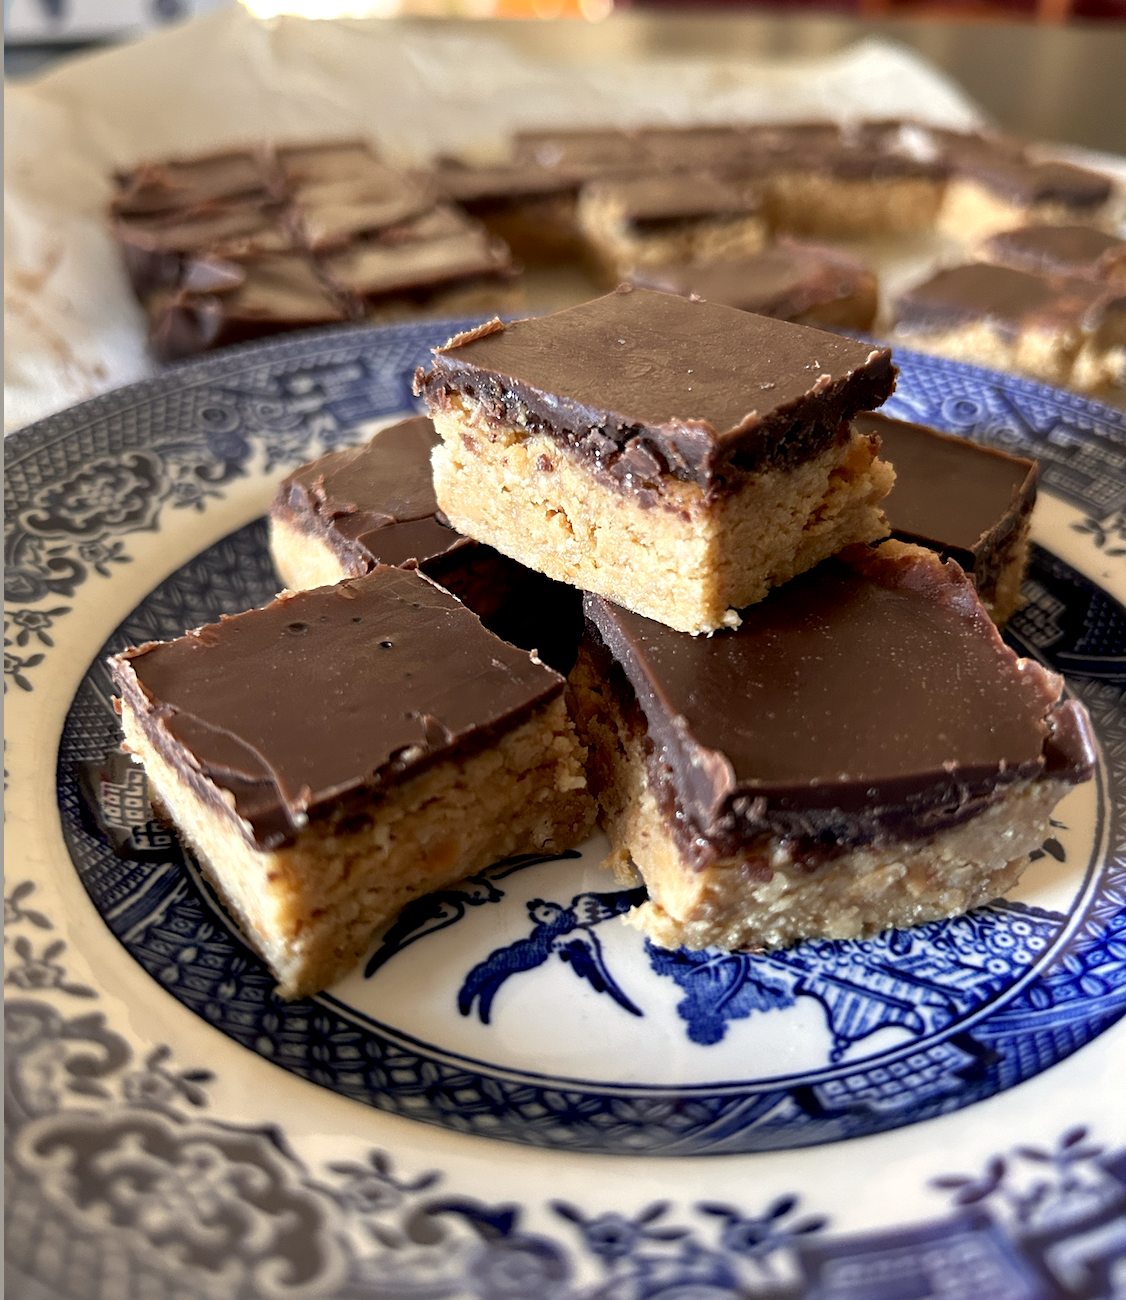
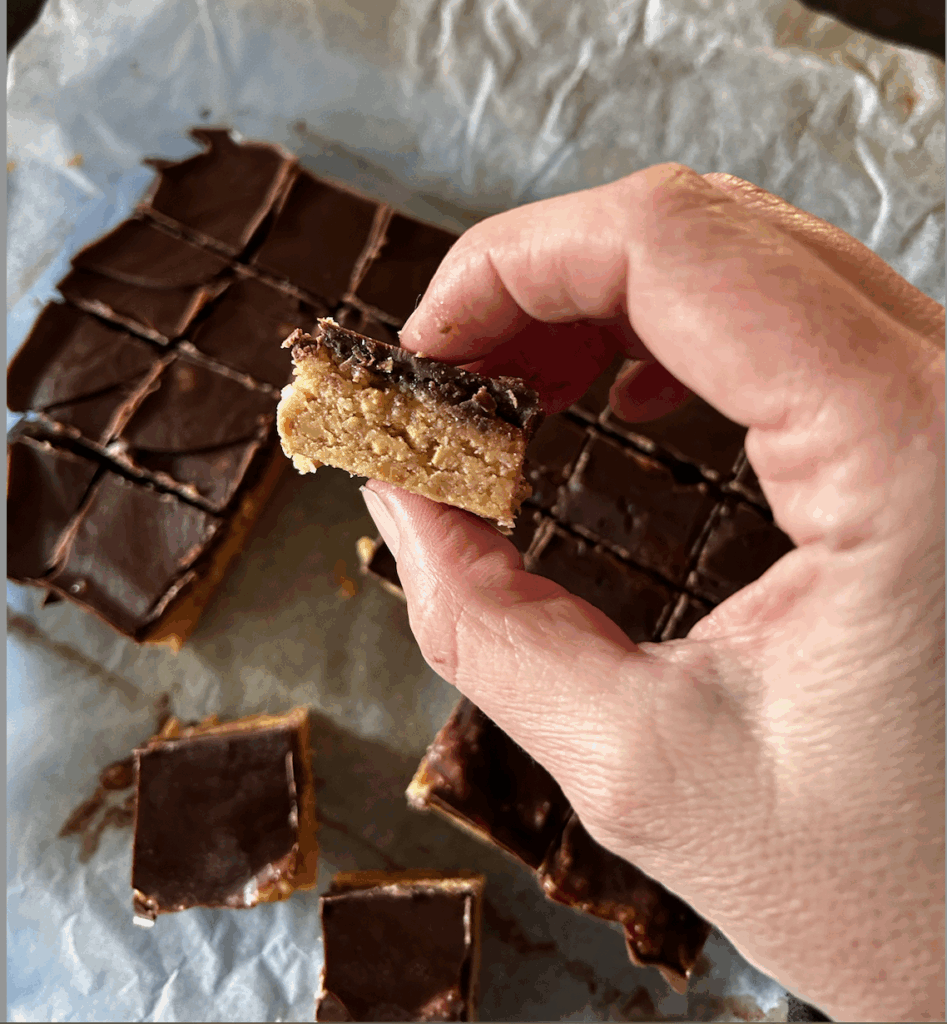
This peanut chocolate slice recipe is currently one of my favourite treats to eat! It is so easy to make, doesn’t use complicated ingredients and it’s a great healthy alternative to a sugar filled sweet.

With nourishing and delicious ingredients like almond meal, raw honey, natural peanut butter and raw coconut oil, you may well be just like me and want to eat this every single day!

You get to decide on your portion sizes to fit with your lifestyle. I make my portions quite small and usually eat one square a day, maybe two on a Sunday 😊

Recipes like this one are very adaptable to personal tastes and situations. Don’t want the honey? Leave it out! Prefer to use melted dark chocolate as your topping? Yummo!

Peanut Chocolate Slice

No bake, easy make, healthy sweet treat slice!
Print Recipe Pin Recipe
Prep Time 10 minutes mins
Servings: 20 squares
Ingredients Method Notes

Ingredients
  

  • 1 cup Almond meal
  • 6 tbsp Natural peanut butter
  • 1 tbsp Raw cold pressed coconut oil
  • 1 tbsp Raw honey
Topping
  • 1.5 tbsp Cocoa powder
  • 1/4 cup Raw cold pressed coconut oil
  • 1 tbsp Raw honey
  • 1 tsp Vanilla extract

Method
 

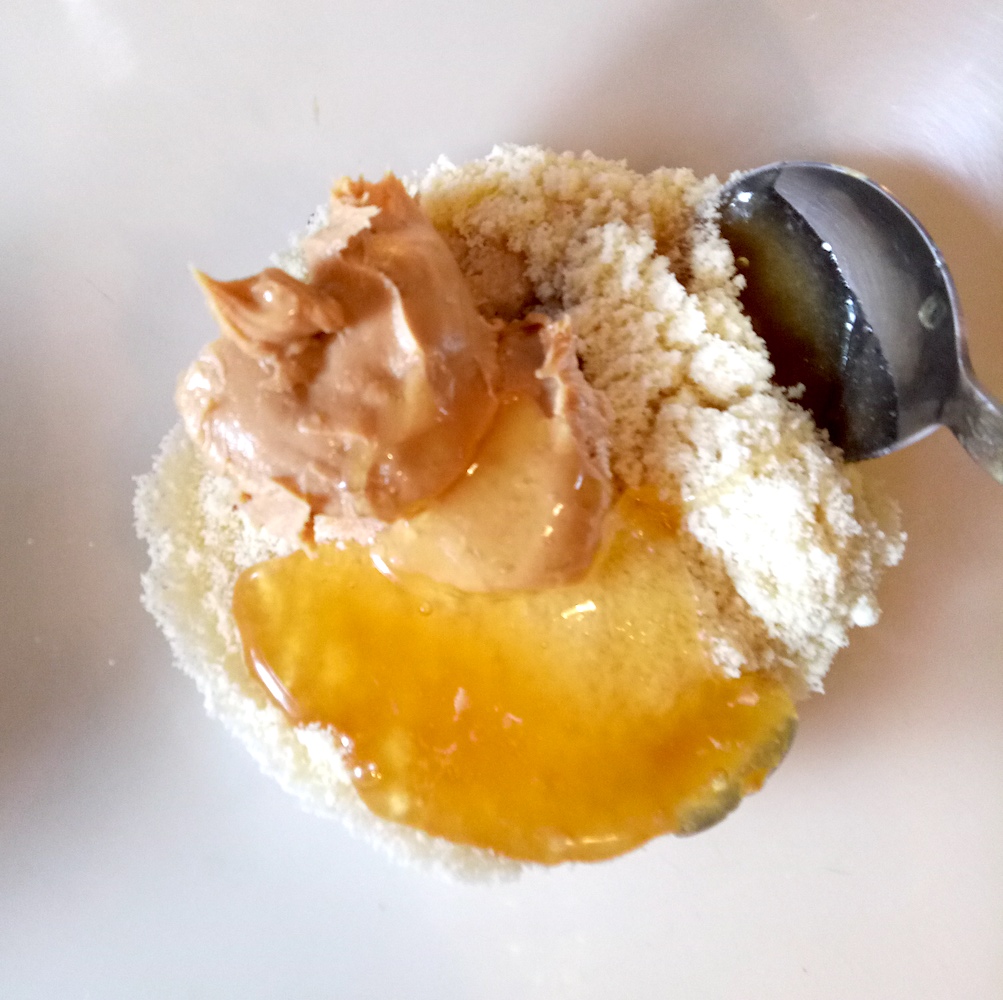
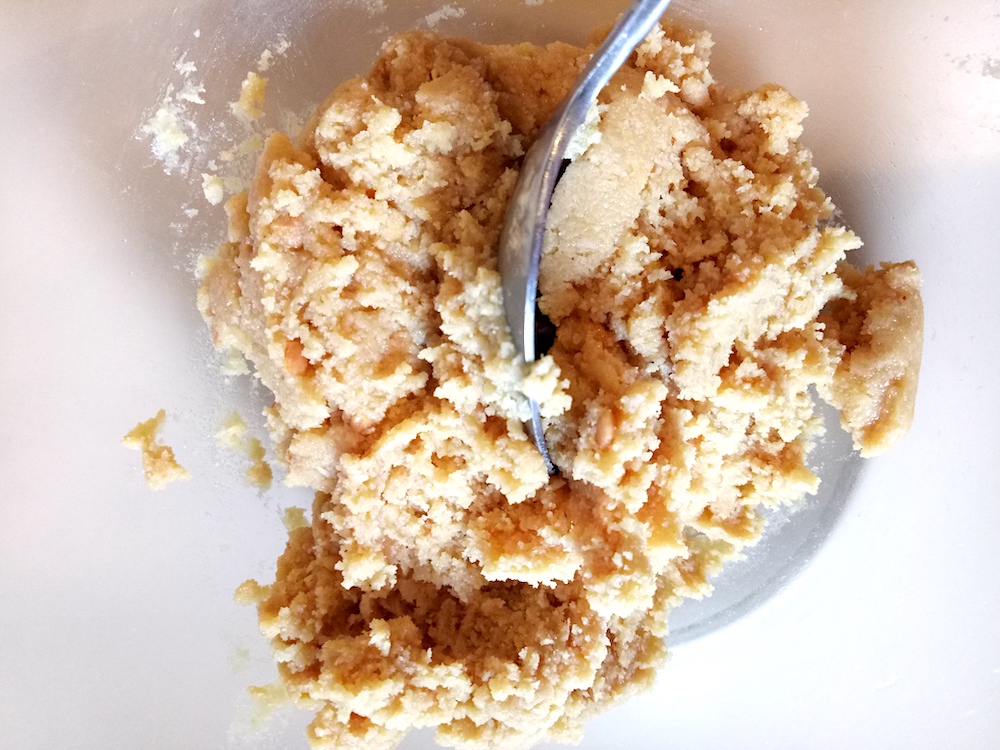
  1. Mix together the almond meal, peanut butter, coconut oil, honey and vanilla in a large bowl.
  2. Mix thoroughly until you have a cookie dough like consistency.
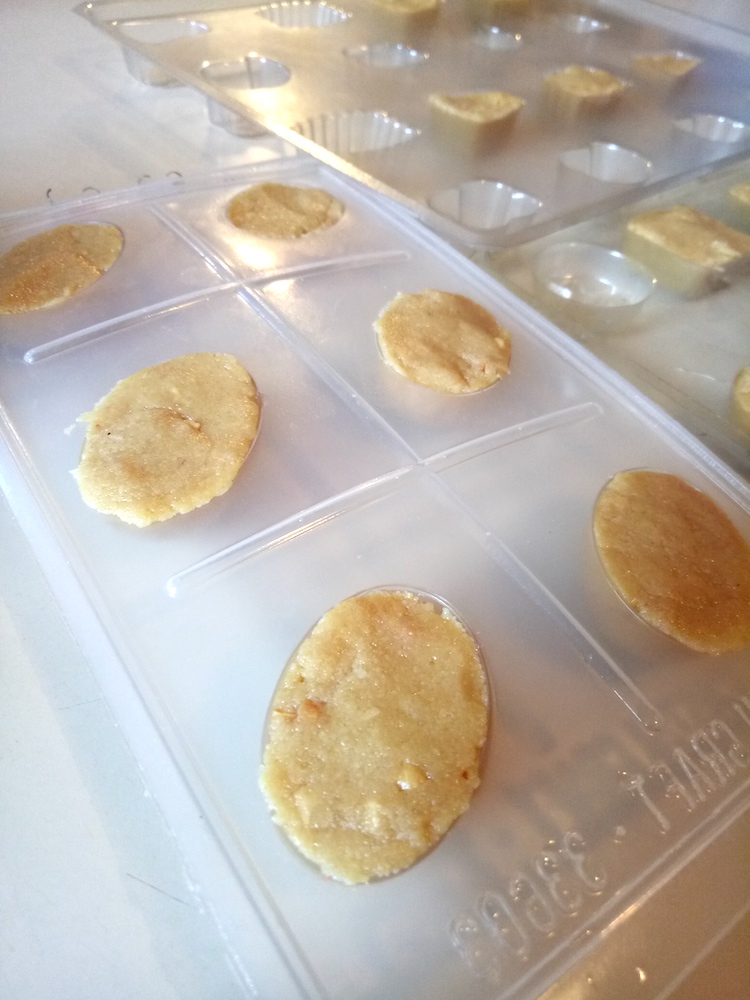
  3. Place in a bread baking tin lined with non stick paper and press down to flatten out.
  4. Refrigerate while you make the topping .
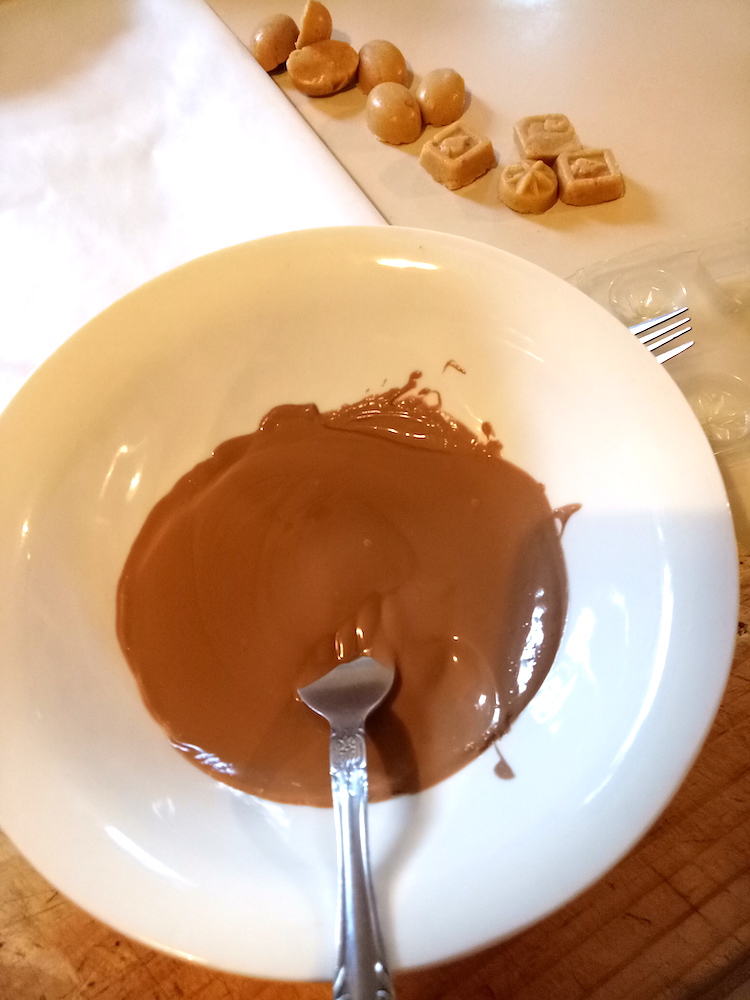
  5. Melt the coconut oil, stir in honey and cocoa.
  6. Pour over the top of the base and refrigerate once more. You can speed it up by placing the tin in the freezer if you prefer.
  7. When the slice has set (give it a couple of hours if you can!) turn out onto chopping board and cut into squares or bars if you prefer.

Notes

The taste of the slice only improves over time. If you can resist (I know, it’s hard!) leave it until at least the next day before you start eating. 
Store in the fridge for up to a week or keep for 3 months in the freezer (yes, you can eat pieces straight from the freezer 😉)

If you are interested in health, peri menopause, living well with illness and weight loss, check out my Youtube channel here:

I hope you enjoy this nourishing recipe and if you do, please leave me a comment to let me know, I always appreciate your feedback.

Best wishes for a happier, healthier and hopeful day!

Kelly

Filed Under: Health Reset, Recipes, Weaving Tagged With: easy to make, healthy recipe, no bake, peanut chocolate slice, recipe

Choc Coated PB Lumps

by Kelly 12 Comments

When I was a teenager I had a friend whose Mum made the most delicious peanut butter balls, coated in chocolate. It seemed every time I visited, there were balls in milk, dark and white chocolate, freshly made and ready to be eaten.

Unfortunately, they were also very unhealthy, made with lots of butter and icing sugar.

*This post contains affiliate links

I later came across the American “Buck eyes” which seem to be very similar to my friend’s peanut butter balls. Lately I’ve had a real hankering for these delectable balls, but they don’t exactly fit in with my attempts towards healthy eating and lifestyle.

I thought there must be a way to obtain a similar flavour to the traditional buck eyes in a healthier way.

It turns out there is!

The ingredients are really simple. This is something I’ve come to really love about healthy food, ingredients are usually very minimal because you are using good, natural food close to it’s natural state. It’s a wonderful way to eat.

For this ingredient amount, you will get about 12 chocolate lumps. You can easily double the recipe for a larger crowd.

So, this recipe uses lovely almond flour (almond meal), my secret addiction (peanut butter), vanilla extract, honey and my other not so secret addiction (dark chocolate). You can use either milk or dark chocolate, but if you’re opting for the healthiest option, dark is the way to go.

I used crunchy peanut butter, but you could use smooth if that is your preference.

Now, a little disclaimer. Although the taste is very similar to the unhealthy version, the texture of these is quite different – a little more grainy and cakey. Which doesn’t bother me in the slightest, but I just wanted to let you know.

Choc Coated PB Lumps

5 from 3 votes
Print Recipe Pin Recipe
Prep Time 15 minutes mins
Ingredients Method

Ingredients
  

  • 3/4 cup Almond meal (almond flour)
  • 2 tbsp Peanut butter
  • 1 tbsp Honey
  • 1 tsp Vanilla extract
  • 100 grams Dark or milk cooking chocolate

Method
 

  1. Place all ingredients except the chocolate in a bowl.
  2. Mash together until fully mixed and forming a paste.
  3. Push mixture into moulds (if using) or roll into balls if you prefer. If using moulds, it's easiest to place them in the freezer for half an hour. Otherwise, regrigerate until very firm.
  4. Melt cooking chocolate over a double boiler or you can sit a ceremic bowl on top of a small saucepan with a little water.
  5. Using 2 forks, dip your peanut butter pieces or balls in the melted chocolate and place on non stick baking or parchment paper.
  6. When all are dipped, place in the fridge to harden, then store in the fridge until you're ready to eat some.

Another disclaimer is that the chocolate coating part is a little messy and the end product a little blobby. Hey, they may not be as Instagram worthy as some, but once it’s in my mouth it’s all the same, so who cares? 😆

If you roll the mixture into balls, you can eat just as they are, without the chocolate coating, if you prefer. Or, if you love the chocolatey aspect but have run out of melting chocolate, you could try rolling the balls in cocoa. I did this recently, and while the result is not as decadent as melted chocolate, they were still totally delicious. Like most of my recipes, these are quite adaptable!

Just recently I decided to try making my own almond flour instead of buying it pre-made. The benefits of making your own are twofold.

  • The almond flour freshly ground will contain more nutrients than flour that has been sitting in a packet on a shelf for months.
  • It is much cheaper to buy whole almonds than to purchase already ground.

I actually think freshly ground tastes better too!

Balls, rolled in cocoa

If you’re interested in grinding your own almond flour you do need to have a food processor or other appropriate grinder.

I found that I couldn’t get my fresh almond flour ground quite as finely as the commercial stuff, as there is the risk of the almonds becoming too wet as you grind, if you over grind.

But interestingly, I found that I preferred the slightly grittier consistency of the freshly ground whole almonds.

I hope you enjoy this recipe! Please comment below if you try it and if you enjoy it, please leave me 5 stars to let me know!

Filed Under: Health and home, Recipes Tagged With: easter, healthy chocolate, healthy eating, healthy recipe, healthy treat

Goodness Gracious Energy Balls

by Kelly 6 Comments

I seem to be craving sweet, nutrient dense foods frequently in the afternoons.

A cup of tea with something sweet around 3-4pm seems to be just what I need. I used to have a sweet, commercial cookie to dip in my tea, but that is way behind me now!

Something that I love about switching to a healthier lifestyle is that I have found I don’t have to compromise on taste or treats – I just need to find a way to make it tick some healthy boxes.

*This post contains affiliate links

And, if it’s quick and easy to prepare a batch that I can then have waiting for me in the fridge or pantry – even better!

These little energy balls tick all the boxes and then some!

They are sweet, slightly salty, substantial, economical and so fast to make.

To throw these together, I only used ingredients that were already in my pantry and that are always there.

The goodness and simplicity of oats, combined with favourites such as honey and peanut butter, (I can not get enough of the stuff!) coconut, linseeds (flaxseeds) , plump raisins, tahini and vanilla extract. So simple, so delicious!

A recipe like this is so adaptable too, you can put in whatever healthy ingredients you have on hand that you think will work.

*Change the linseeds for sunflower seeds.

*Add some chopped nuts to the mix.

*Switch honey for maple syrup or other natural sweetener.

*Switch the raisins for craisins, chopped dried fig, chopped dates or sultanas.

*Add in some chopped, dark chocolate.

*Dip half of each ball in some melted dark chocolate.

Goodness Gracious Energy Balls

5 from 1 vote
Healthy snack balls that taste amazing!
Print Recipe Pin Recipe
Prep Time 10 minutes mins
Servings: 14 serves
Ingredients Method

Ingredients
  

  • 1.5 cups Quick or rolled oats
  • 0.5 cups Dessicated coconut
  • 2 tbsp Linseeds (whole)
  • 3 tbsp Raisins
  • 2 tbsp Peanut butter
  • 3 tbsp Tahini
  • 2 tbsp Honey
  • 2 tsp Vanilla extract

Method
 

  1. Mix all ingredients together in a large bowl. I find it easiest to get my hands into the bowl and squeeze everything together. Once well combined, squeeze and roll into balls and store in the fridge.
    *Note – if your mixture is a little dry, add more honey
    ** If you want to make your balls a little more decadent, add some chopped, dark chocolate!

If you try out this recipe, I’d love to hear if you enjoyed it!

Filed Under: Health and home, Recipes Tagged With: bliss ball, healthy lifestyle, healthy recipe, recipe, recipes

Primary Sidebar

About Kelly Casanova

Hand crafted boat shuttles

Categories

Archives

Meta

  • Log in
  • Entries feed
  • Comments feed
  • WordPress.org

Copyright © 2026 Kelly Casanova Weaving Lessons on the Foodie Pro Theme