• Skip to main content
  • Skip to primary sidebar

Kelly Casanova Weaving Lessons

  • Hi! I’m Kelly!
    • Disclosure
  • Online Weaving School Class Index
    • Common account issues
    • Common technical issues
    • What do I get with a membership?
  • New to rigid heddle weaving? Start here!
    • Never heard of the rigid heddle loom?
    • How to weave neat edges on the rigid heddle loom
    • Rigid heddle weaving
    • Rigid Heddle Weaving Patterns
  • Patterns
  • Subscribe

recipe

Corn Flake Slice (easy recipe!)

by Kelly 4 Comments

Corn flake slice is one of those absolute classic grandma recipes.
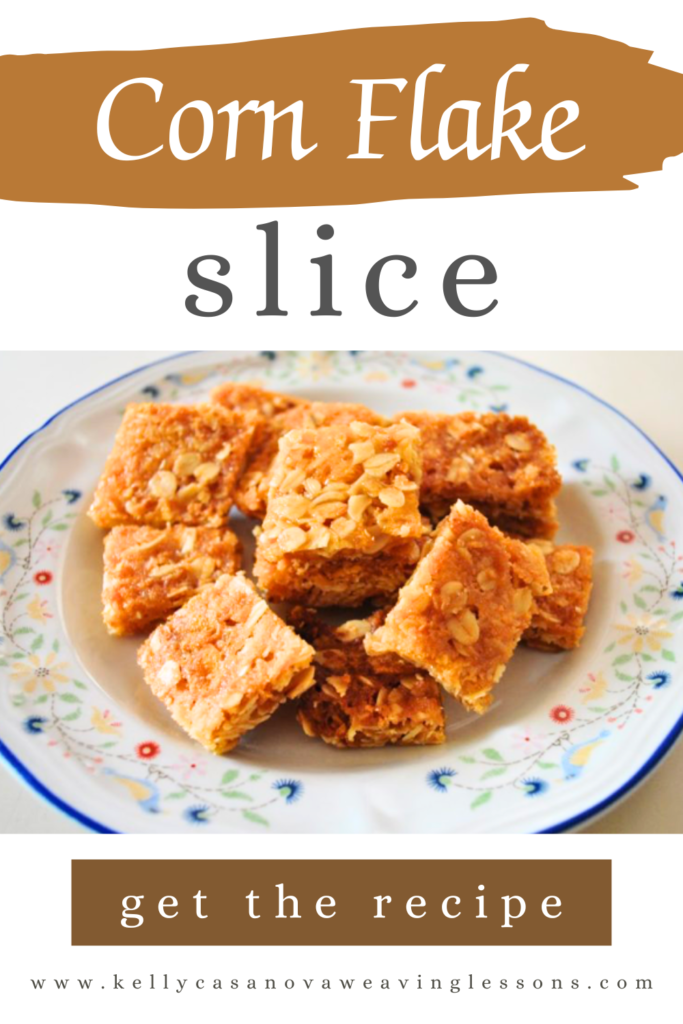
I got my corn flake slice recipe from my mother in law and have used it so many times. It’s a real hit with children of all ages and was often featured in shearing sheds at smoko time.

One of the great things about a recipe like corn flake slice is that it’s so quick and easy to bake up with ingredients you are likely to have in your pantry already – no special shopping trips for fancy ingredients.
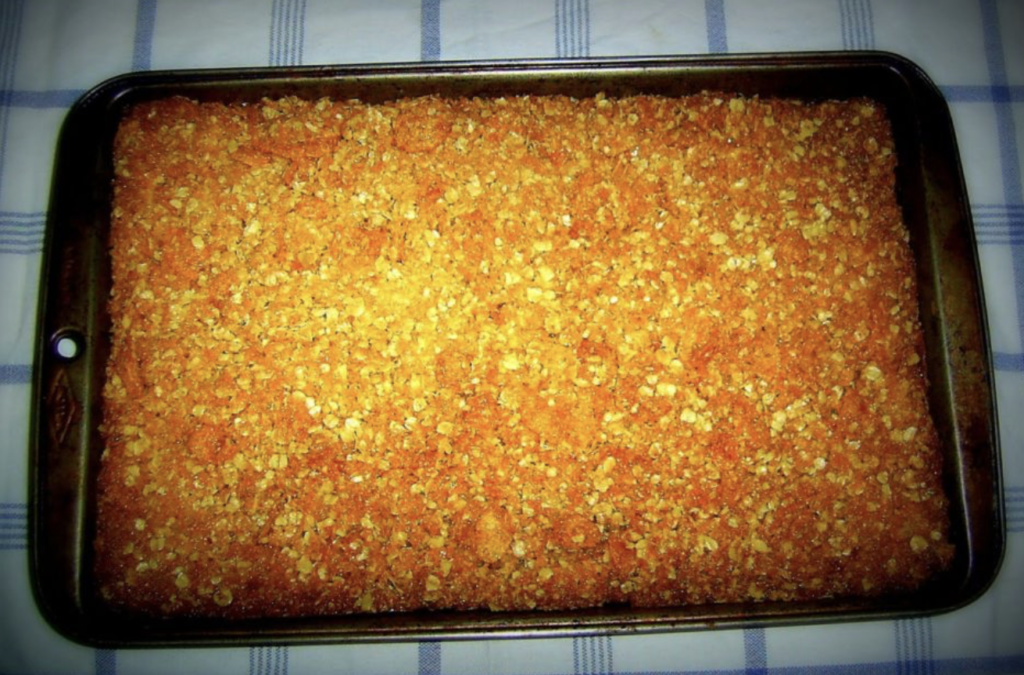
If you don’t have corn flakes in your home supply already, they are easy to come by and one of the most affordable cereals.

You will also want to have a basic slice tin (you might know it as a brownie pan). I find it well worth having this specific tin size, I use mine all the time.
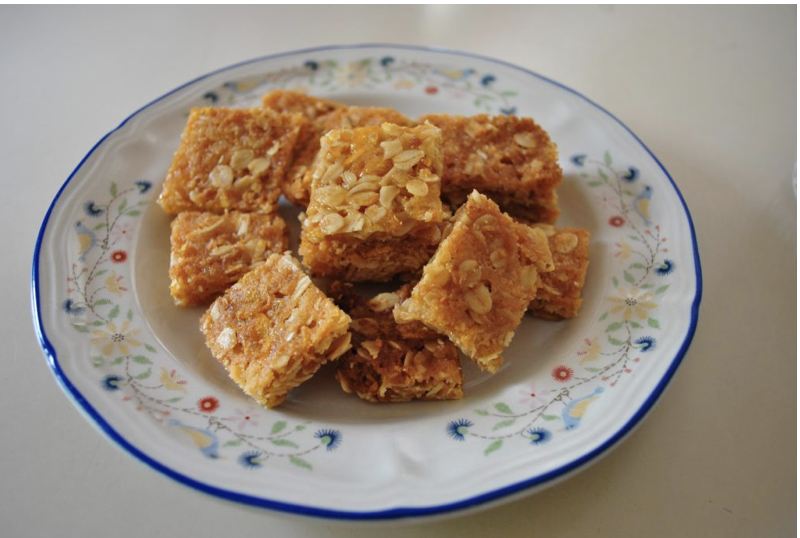
Corn Flake Slice (very, very easy!)

Print Recipe Pin Recipe
Ingredients Method

Ingredients
  

  • 125 grams butter
  • 1 tablespoon honey
  • 1 cup rolled oats
  • 1/2 cup white sugar
  • 1 cup cornflakes
  • 1 cup desiccated coconut

Method
 

  1. Preheat oven to a moderate (around 180 degrees celsius or 170 fan forced).
  2. Melt butter and honey together.
  3. Add to mixed dry ingredients.
  4. Place in a shallow slice tin, press to even and flatten out a little.
  5. Bake in the oven until golden brown (about 15 minutes) and leave in tin to cool.
  6. Turn out and cut into squares.

It’s important to let your slice cool completely before cutting so that it hardens and holds together. Store in an airtight container.

I hope you enjoy this vintage recipe that was handed down to me.

Happy Baking!

This post contains affiliate links. For more information please see my disclosure policy.

Filed Under: Recipes, Weaving Tagged With: baking, corn flake slice, easy recipe, recipe, Recipes and food

Old fashioned rock cake recipe

by Kelly 3 Comments

Rock cakes are a firm favourite in our family, a recipe that I come back to over and over. If you’ve never heard of a rock cake, the way I make them is like a muffin but more buttery and substantial.

They are quick to make, use relatively few ingredients and are pretty healthy. They could be made healthier with wholemeal flour and a sugar substitute, but I’m happy to serve these to my kids as they are, knowing that they are fresh, home baked with no additives or preservatives 🙂

Our kids love to eat them warm from the oven, tops sliced off and spread with butter that melts in. They also love to top them with jam and cream (especially if the jam is home made!)

Rock cakes also freeze beautifully, so I usually make a double batch and freeze half.

The recipe below makes approximately 9 large rock cakes.

Rock Cakes

5 from 1 vote
Old fashioned rock cakes are a family favourite!
Print Recipe Pin Recipe
Ingredients Method

Ingredients
  

  • 2 cups Self raising flour
  • 1/4 tsp Salt
  • 1/2 tsp Mixed spice
  • 90 grams Butter
  • 1/3 cup Sugar
  • 1/2 cup Dried fruit (I use raisins, currants, sultanas)
  • 1 Egg Room temperature
  • 1-3 cup Milk (amount will vary) Use enough milk to make a thick batter that just drops off the spoon
  • 2 tbsp Raw sugar Optional – for topping

Method
 

  1. Preheat oven to 190C and prepare a muffin tin with muffin patty pans. It helps to grease the top of the tray very lightly to prevent sticking. 
  2. Sift flour, salt and spices into a large bowl. Add the chopped butter and rub into the flour until it resembles breadcrumbs. This step can be done in a food processor if you’re feeling lazy (but then you have to wash the food processor bowl, so not worth the trouble to me!) .
  3. Stir in the sugar and dried fruits. Add the egg and some of your milk and start mixing. You’re going for a thick, sticky batter, not dry at all. 
  4. When thoroughly mixed, spoon the batter into the patty pans, filling about 3/4 of the way. This will give you a large cake that doesn’t spill over the edge of the tin too much.
  5. Sprinkle the tops of the batter with raw sugar (this is optional). Bake for around 18 minutes or until the tops are golden.

I hope your family enjoys these rock cakes as a snack or dessert!

Filed Under: Recipes, Weaving Tagged With: recipe, Recipes and food, rock cakes

Healthy Hot Chocolate

by Kelly Leave a Comment

I started looking around for a healthy hot chocolate preparation recently with the desire to replace my not so healthy evening chocolate drink of Milo.

It’s not that I don’t love Milo – I really do, and I’ve been drinking it since I was a kid, but it contains a lot of sugar.

I’ve also started taking collagen powder recently and was looking for something I could incorporate the powder into to make it taste better. I’m not a fan at all of the flavour of unflavoured collagen powder!

What I found while looking for the ultimate healthy hot chocolate mix was quite interesting. I found that:

  1. There are many, many healthier hot chocolate powders available
  2. They are prohibitively expensive
  3. Most have ingredients that you can put together at home yourself

So I set about making my own recipe, using simple ingredients that I had on hand.

The thing about a recipe like this is you can cater it to suit yourself in so many ways. For example, instead of using hot water you could use your favourite milk or milk alternative as the liquid. Just warm all the ingredients together, make sure they are stirred well and you have a deluxe version!

If you’re looking for a dairy milk alternative, any of the following would work for this recipe:

  • Coconut milk
  • Almond milk
  • Oat milk

You could use your favourite sweetener in place of the honey (like monkfruit sweetener or stevia)

If you don’t like the taste of cinnamon, just leave it out. You could do other add ins like protein powder or magnesium powder to increase the health benefits. There are lots of options!

If you are a lover of dark chocolate (hello!) you could also melt and mix that in.

Kelly

Healthy Hot Chocolate

Print Recipe Pin Recipe
Prep Time 1 minute min
Servings: 1 serve
Ingredients Method

Ingredients
  

  • 1 tsp Cocoa powder
  • 1 scoop Collagen powder
  • 1/4 tsp Cinnamon powder
  • 1 teaspoon Raw honey
  • 250 ml Hot/warm liquid I use a mixture of hot water and dairy milk

Method
 

  1. Add the dry ingredients and honey to your cup. Pour in the hot liquid and stir well. Add milk or other liquid, if using.

Filed Under: Health and home, Recipes, Weaving Tagged With: hot chocolate, recipe, Recipes and food, weight loss and health

Zucchini Bread Recipe

by Kelly 4 Comments

Many years ago, my sister in law used to make this bread. It was in the days when the zucchinis from the garden were plentiful and Autumn weather had set in. Baking this bread always brings back very fond memories of that time for me.

Jump to Recipe

I feel that that naming the recipe “bread” is a little misleading, as it’s really more similar to a cake in taste and texture.

  • This post contains affiliate links. For further information, see my disclosure policy.
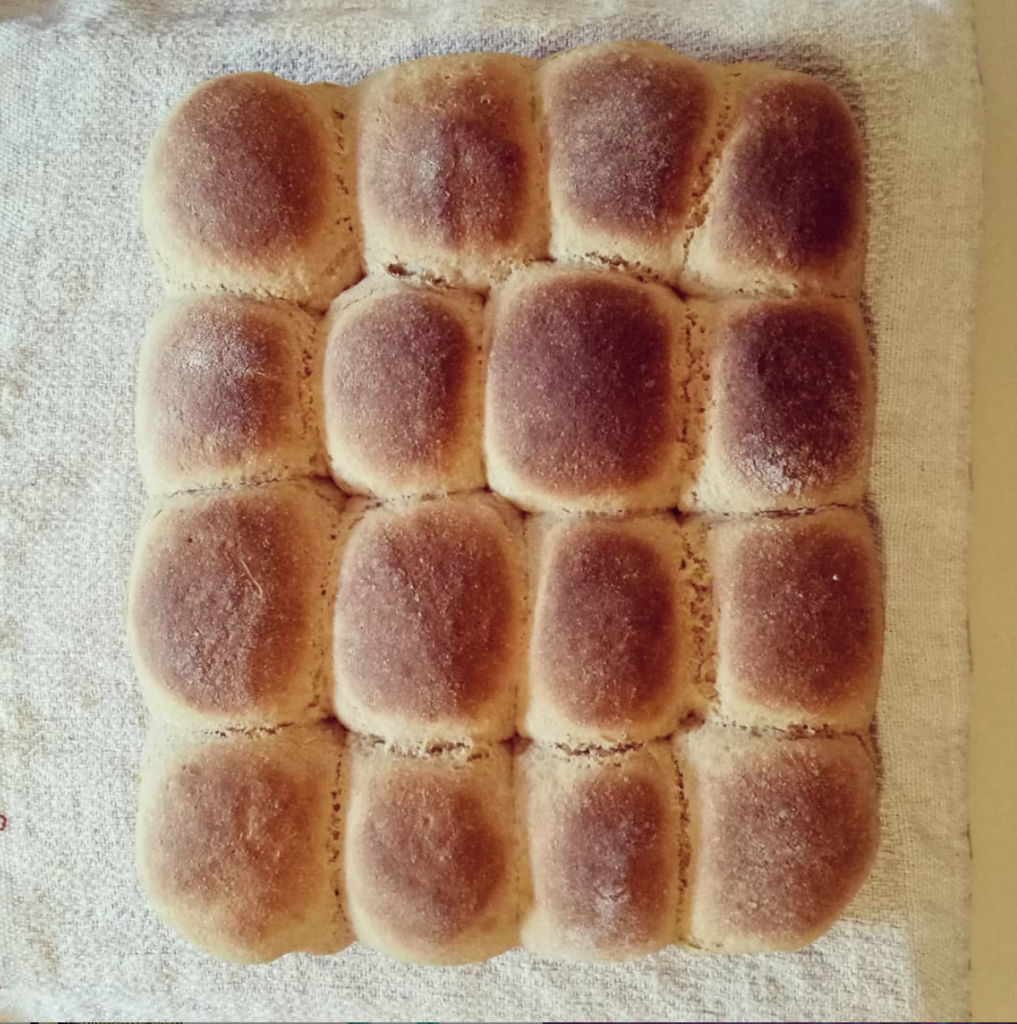
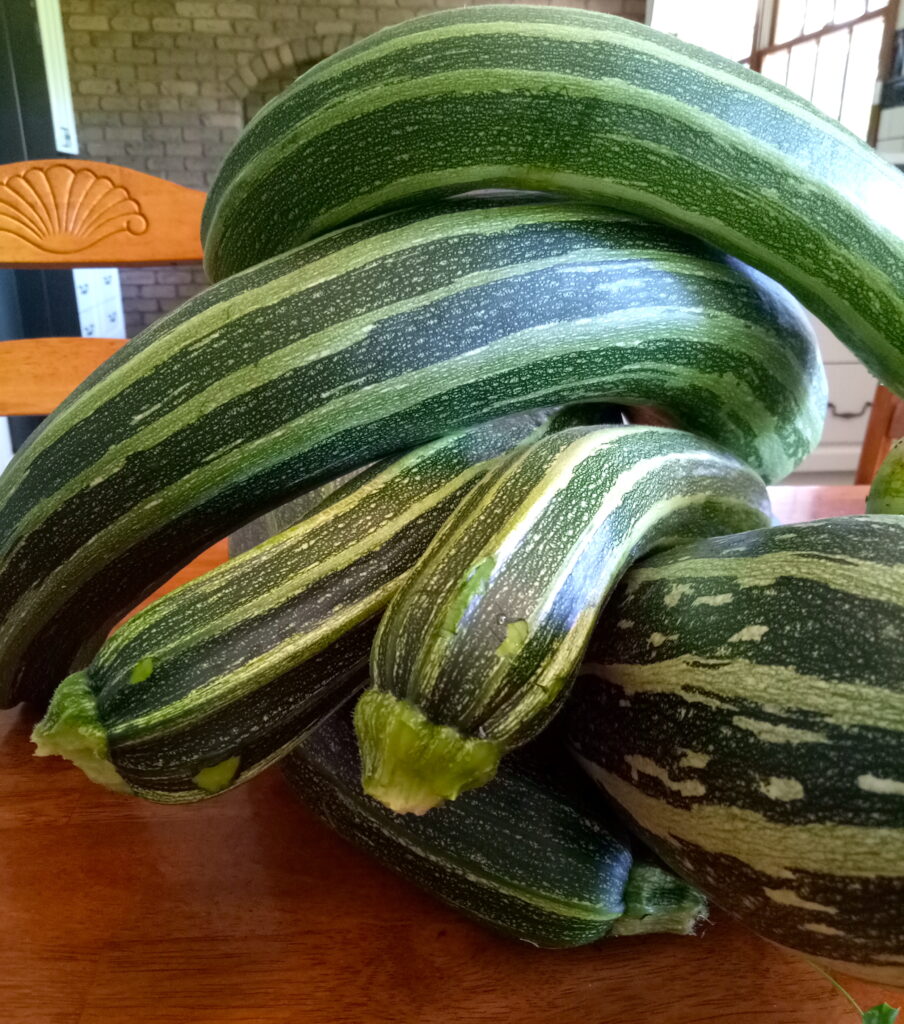
Currently, we are knee deep in zucchinis. So, so many zucchinis. Grating, roasting, steaming, freezing, making relish. So, this beautiful zucchini bread is a lovely treat and a great way to use up excess fresh zucchini.

Another thing I love about this recipe is that it uses everyday ingredients that I always have on hand. Ingredients like flour, sunflower oil, vanilla extract, walnuts and ground cinnamon are all easy to come by.

This is also a very simple, one bowl, mix and bake cake. That’s my kind of baking!

There is no need to skin your zucchinis prior to grating, just make sure they are washed first. Leaving the skin on adds colour and keeps more of the nutrients in the vegetable.

You will need a medium to large mixing bowl to mix up the ingredients. I love to pull out my vintage manual hand beaters for beating the eggs, oil and vanilla.

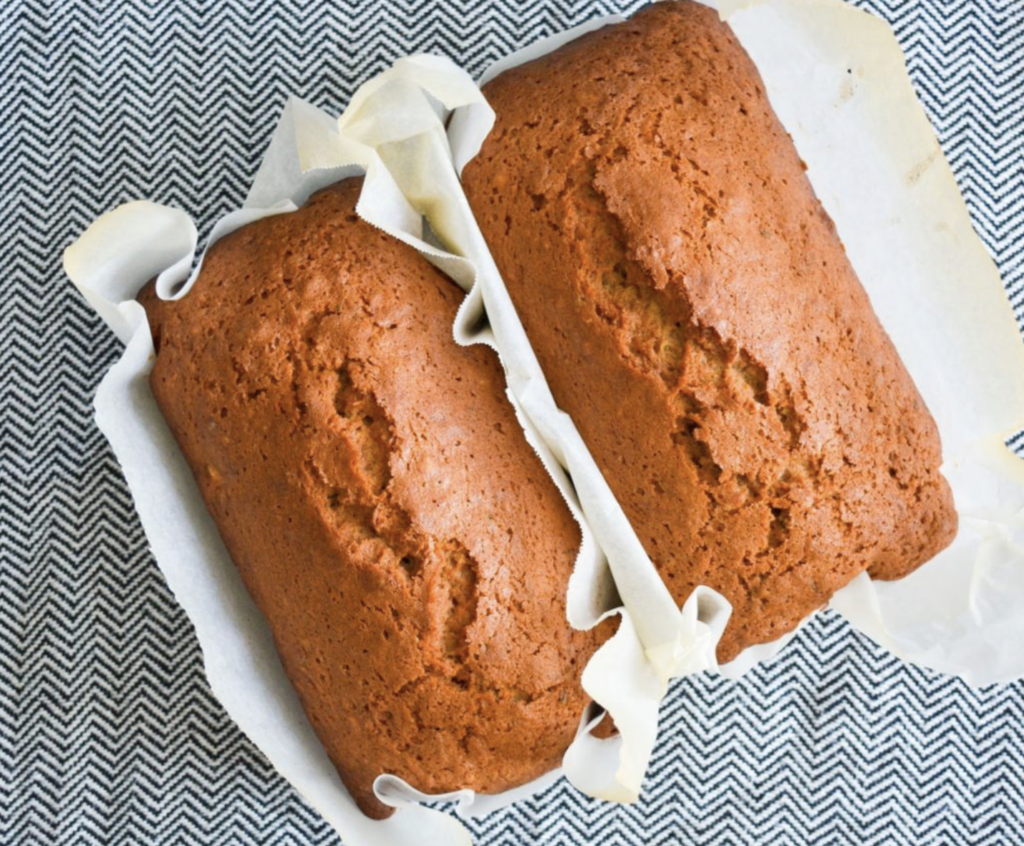
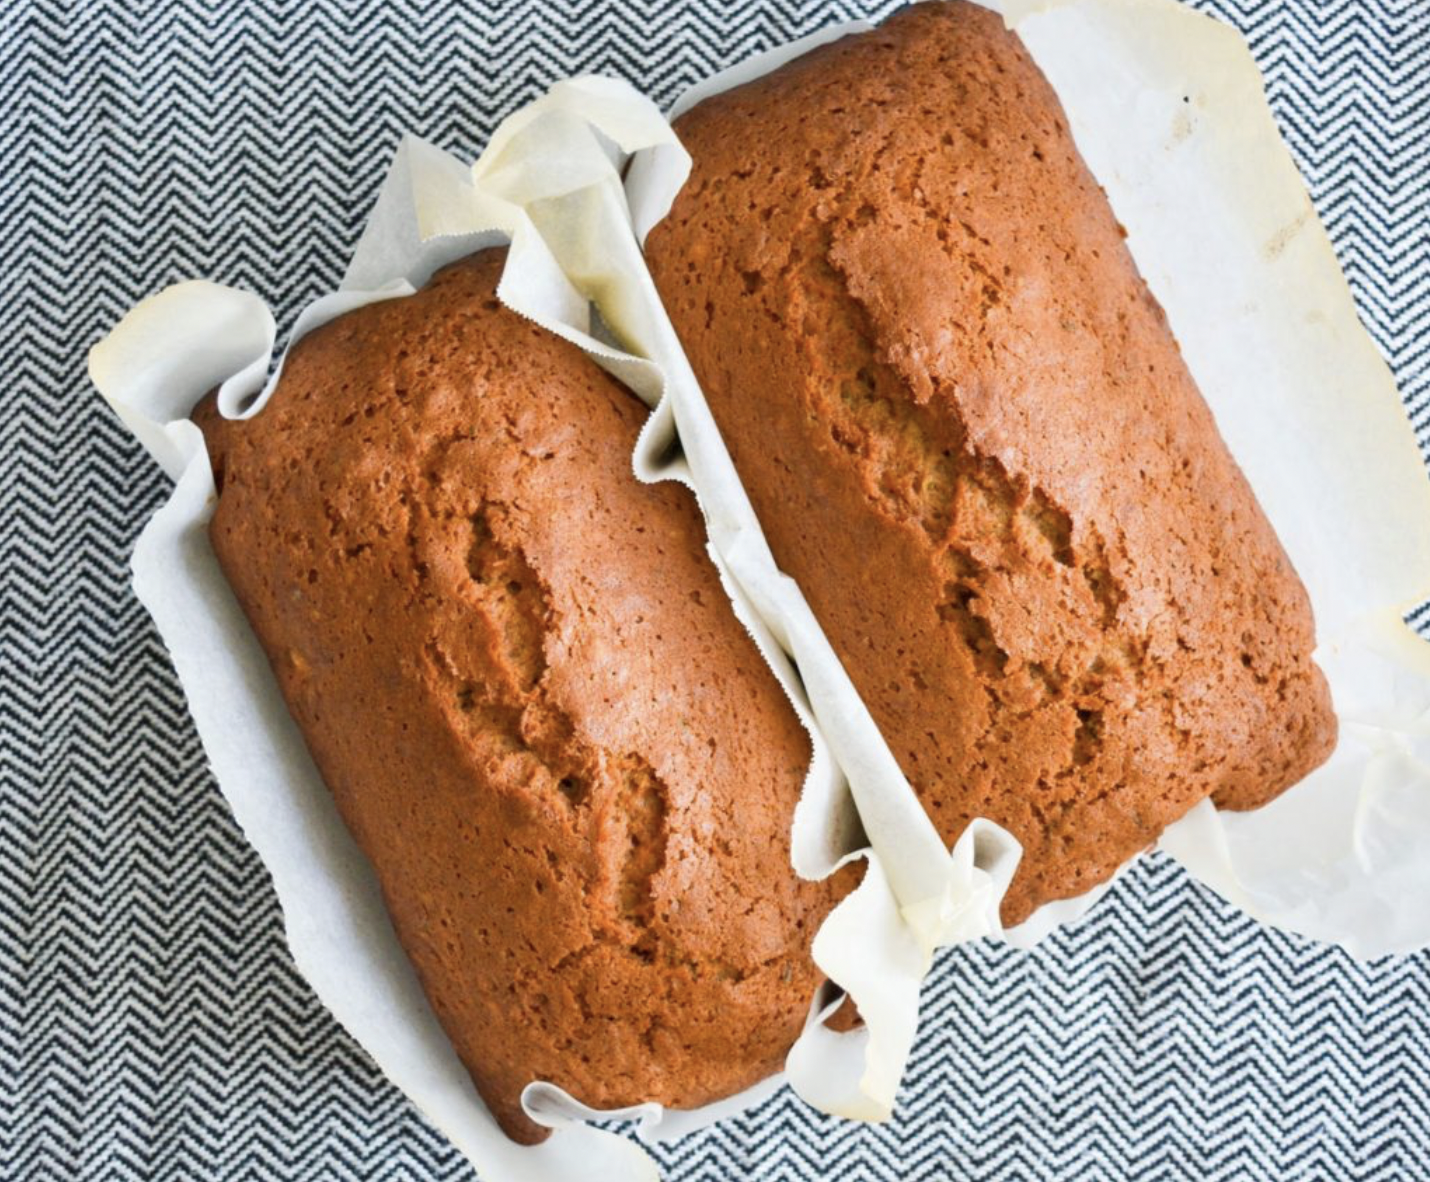
I use loaf baking tins and I always line them with non stick baking paper, even if the tins are non stick. This helps to preserve the tins for a long time, and I use the same sheets of paper over and over until they are no longer useable – I get many uses out of them. This is, of course, optional.

This recipe makes 2 generous sized loaves.

Zucchini Bread

5 from 1 vote
Print Recipe Pin Recipe
Prep Time 20 minutes mins
Cook Time 1 hour hr 15 minutes mins
Ingredients Method

Ingredients
  

  • 3 Eggs
  • 2 and 1/4 cup Caster sugar (Superfine)
  • 3 tsp Vanilla extract
  • 1 cup Vegetable oil (I use sunflower)
  • 2 cups Grated zucchini (skin on)
  • 3 cups Plain flour
  • 1/4 tsp Baking powder
  • 1 tsp Salt
  • 1 tsp Bicarbonate of soda (baking soda)
  • 3 tsp Ground cinnamon
  • 1 cup Walnuts, chopped

Method
 

  1. Preheat oven to 180 degrees celsius (350 Fareneit)
  2. Grease and line 2 x 14cm x 22cm (5.5″ x 8.5″) bread loaf tins.
  3.  Beat eggs until they become pale in colour and fluffy in consistency.
  4. Add the sugar, oil and vanilla. Beat until thick.
  5. Stir in the grated zucchini.
  6.  Sift the flour, baking powder, bicarbonate soda, salt and cinnamon into the wet ingredients. Fold the ingredients together.
  7.  Fold in walnuts, if using.
  8. Pour equal amounts into the 2 tins. Bake for 1 hour or until a skewer inserted into the centre comes out clean. Allow to sit in tins for 5 minutes before turning out onto a baking rack to cool. Lovely to eat warm or cool.

The sugar content is quite high (though, remember you are making two loaves, not one) and I can imagine that you can substitute or even just reduce the amount, as it is quite sweet anyway.

*Tip* If you have a glut of zucchinis, you can grate and freeze the flesh. That way you can have zucchini on hand throughout the year to make recipes like this one year round. Simply defrost the frozen zucchini and use as normal.

Want to make a double batch and freeze the extra loaves? This recipe is perfect to freeze, so go for it – I do this frequently 😉

I hope you try this recipe, let me know if you try and enjoy it!

Filed Under: Recipes, Weaving Tagged With: baking, recipe, Recipes and food, zucchini bread

Kelly’s Basic Raisin Bread Recipe

by Kelly 2 Comments

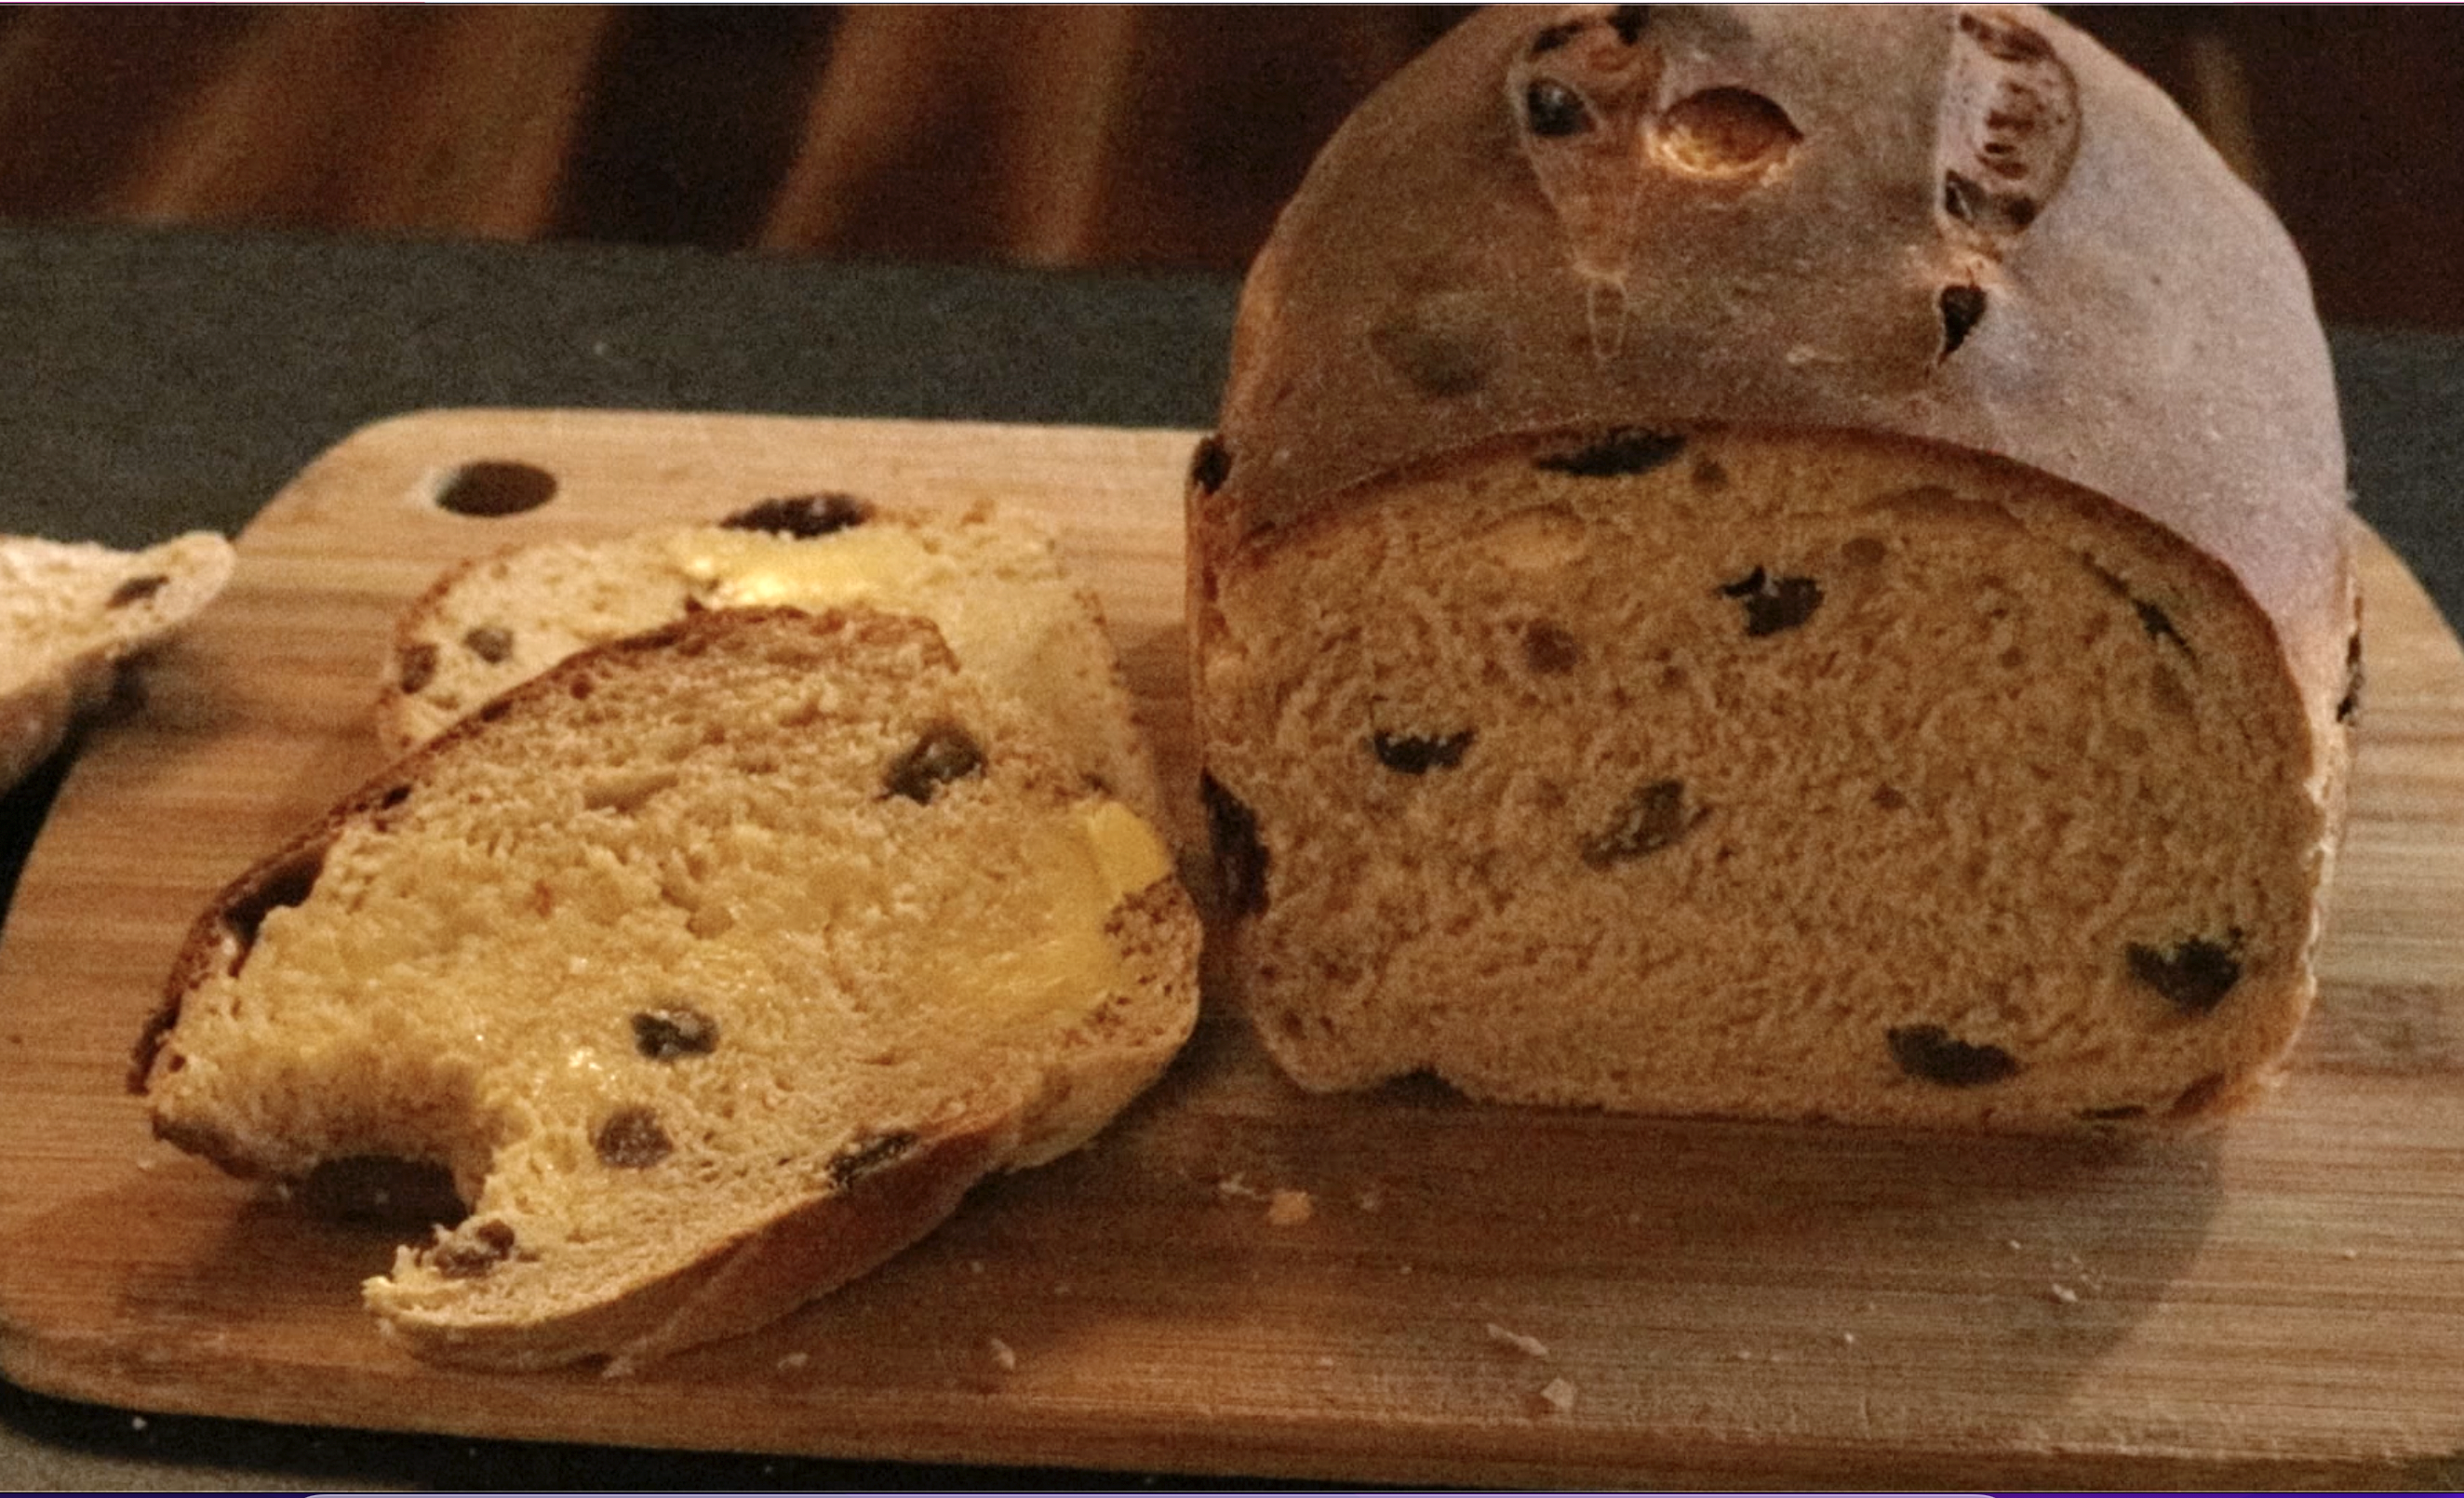
OK, so you can call it raisin bread, fruit bread, or whatever. I don’t mind, I just know that I love to eat this stuff!

It tastes absolutely wonderful on the day of baking, spread with soft butter or as toast on following days. My girls are slightly disgusted that I absolutely love to slather my raisin bread toast with peanut butter, but there you have it 😋

Jump to Recipe

I’ve been making this version of raisin bread for years, but most of the time I will call it fruit bread, as I tend to use sultanas rather than raisins.

*This post may contain affiliate links. Please see my disclosure policy for more information.

The beauty of it is you can add whatever dried fruit you like. Dried figs are gorgeous, currants, raisins, sultanas and dried apricots (I recommend dried organic apricots if you can get them, they taste so much better!) all work very well.

You also have the option of playing with the spice levels. Although this recipe only uses a mild dose of ground cinnamon, you can alter this if you are a spice lover and want more flavour. Add in some Christmas spices like nutmeg or other mixed spices if that is more your style!

This recipe makes 2 good sized loaves.

A word about bakeware. I generally bake 6 loaves of bread a week, all at one time. Sometimes they will all be just regular bread, often I do 4 regular and 2 raising bread and this tends to last my family a week.

I have fancy bread tins and non fancy bread tins. To be honest, I don’t find any difference between the two. A tin like this one will not cost you a fortune and will last for many years if you look after it.

My routine for bread tins is that I line them with non stick baking/parchment paper. I reuse these pieces of paper until they are so used that they are breaking apart. I haven’t counted, but I do know that I get many, many reuses from one piece when baking bread. I don’t care if they end up looking all browned and ratty, I conserve them as much as I can so I’m not overusing paper.

Using the paper also means that I don’t wash my bread tins very often and don’t need to.

Kelly’s Basic Fruit Bread Recipe

A simple fruit bread that is delicious fresh or toasted
Print Recipe Pin Recipe
Servings: 2 loaves
Ingredients Method

Ingredients
  

  • 1 kg White flour
  • 2 tsp Dried Instant Yeast
  • 2.5 tsp Salt
  • 2 tsp Cinnamon
  • 2 tbsp Brown sugar
  • 3 tbsp White sugar
  • 2.5 tbsp Melted butter
  • 550 ml Warm milk *More may be needed
  • 1 Large Egg, whisked
  • 1 cup Sultanas *Raisins and other dried fruits may be used

Method
 

  1. Warm the butter and milk together until butter is mostly melted.
  2. Add sultanas to warm liquid and set aside.
  3. Place all dry ingredients together in a large bowl (or the mixing bowl of your stand mixer).
  4. Whisk dry ingredients together briefly until blended.
  5. Add whisked egg to the warm milk and whisk in
  6. Add wet ingredients into dry. You can use the dough hook on your stand mixer, or mix by hand. If mixing my hand, spend a few minutes kneading the dough on a lightly floured bench until smooth.
  7. If your mixture seems too dry, add a little more milk in small amounts until the consistency is better. You don't want a super stiff dough, nor do you want a sloppy dough. Something in between is good!
  8. Place dough in an oiled bowl and cover. Allow to rise until doubled in size – usually this takes around 1.5 hours, depending on the room temperature.
  9. Remove dough from bowl and knead lightly. Cut into 2 equal portions.
  10. Place in lined bread loaf tins or place rounds on lined trays.
  11. Cover and allow to rise once more, this time for around 30 minutes.
  12. Preheat oven. Fan forced 210 celsius (410 Fahrenheit), regular 220 celsius (428 fahrenheit).
  13. After the second rise, slash the loaves and place in oven for 35 minutes. *Please note, this time can vary between ovens.
  14. Remove from oven and tins and place on a cooling rack.
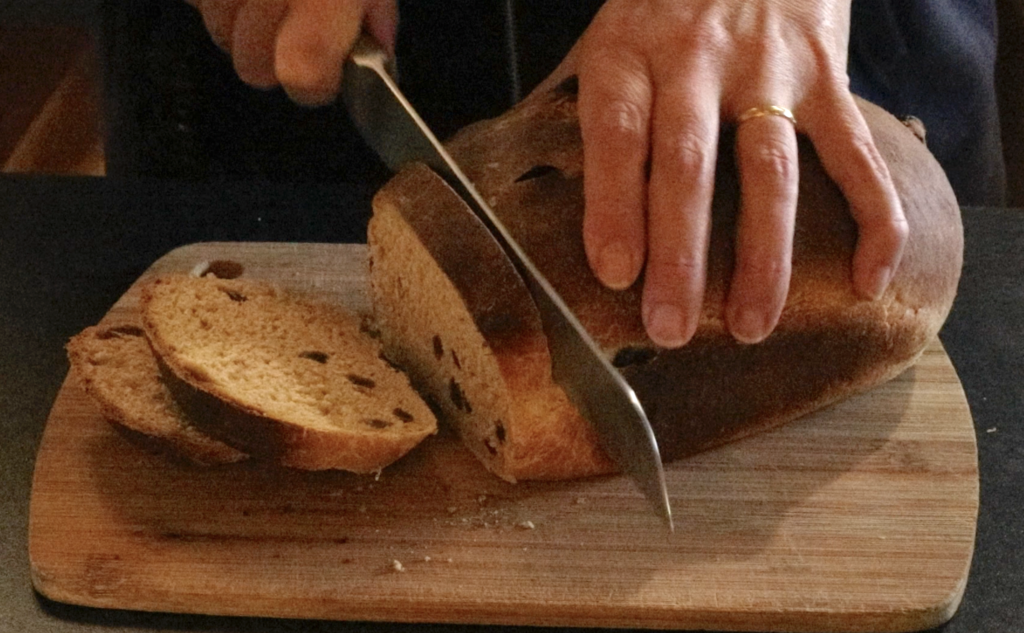
  15. It is best to allow the loaves to cool completely before slicing – if you can wait that long…

You can see me baking this recipe in this video:

I have some other recipes you may be interested in:

Soft and Sweet Bread Rolls

Milk and Honey Bread

No Knead Whole Wheat Bread Recipe

Easy Flat Bread Recipe

Filed Under: Recipes, Weaving Tagged With: raisin bread, recipe, Recipes and food

Soft and Sweet Bread Rolls

by Kelly 2 Comments

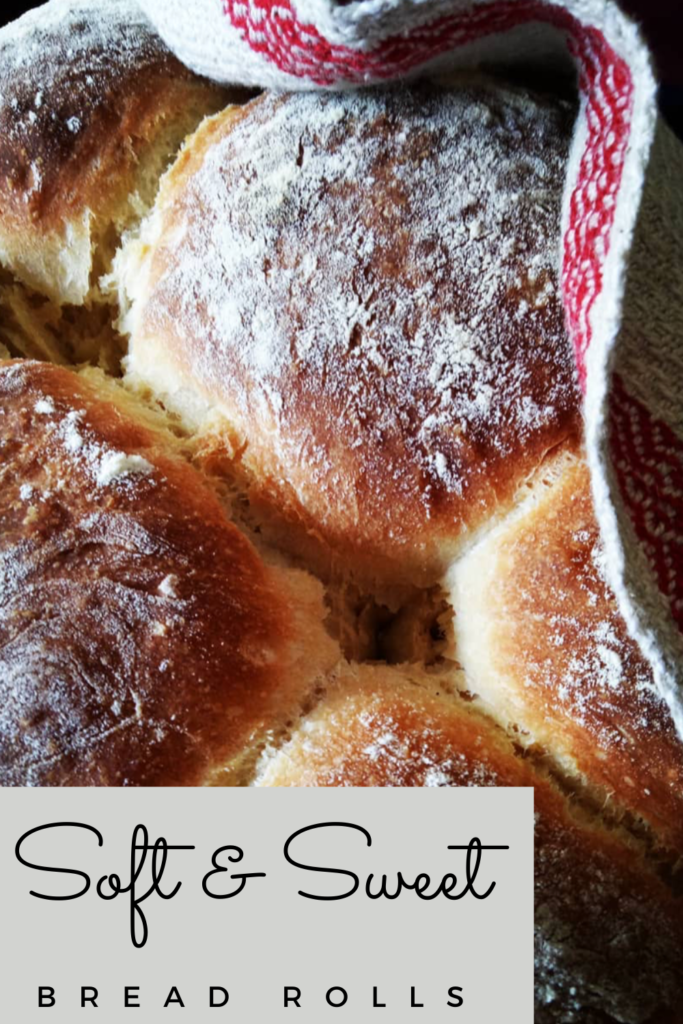
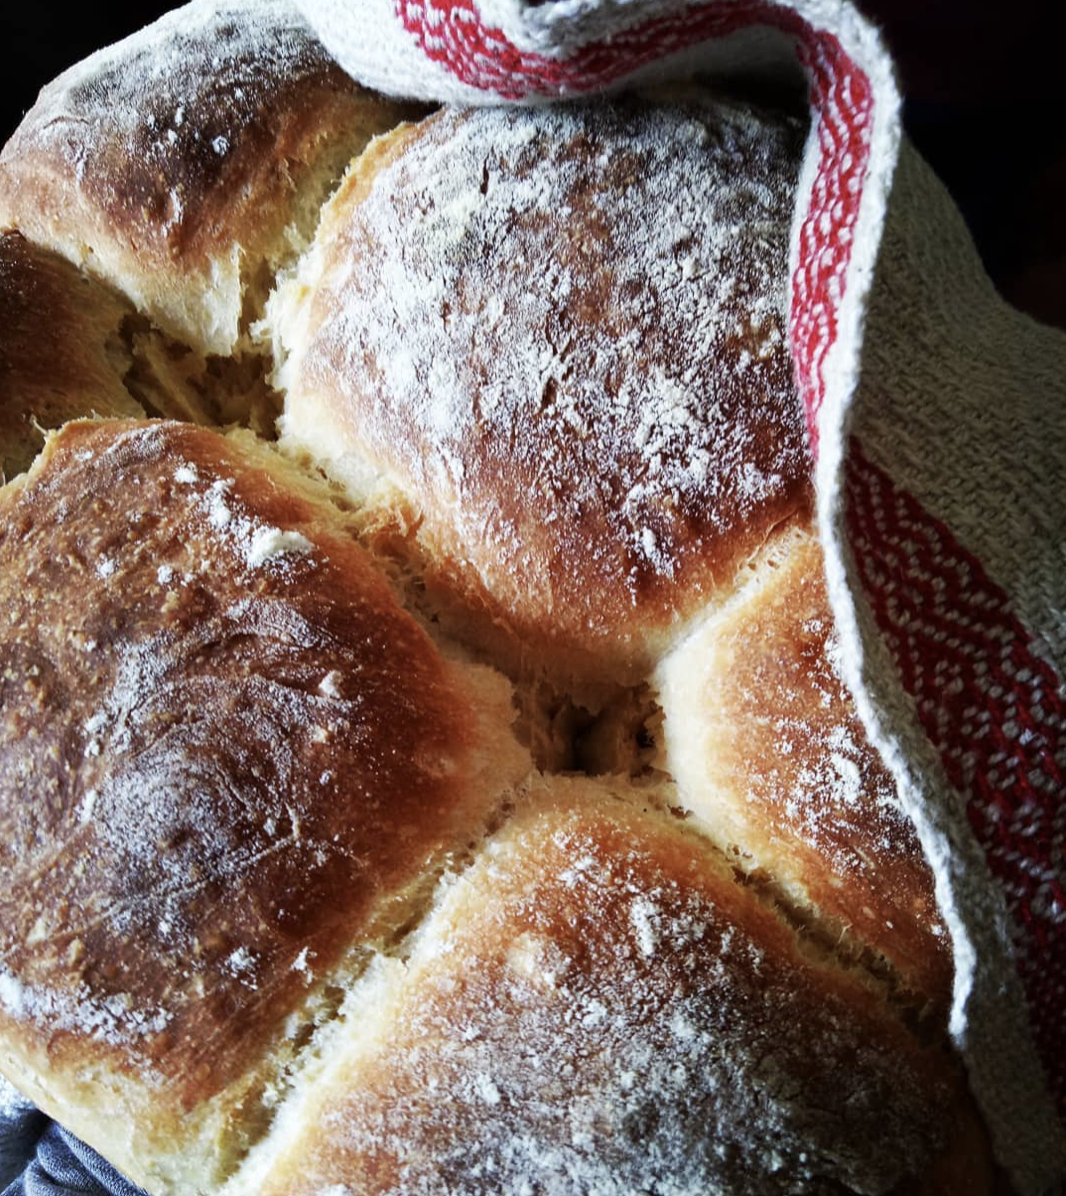
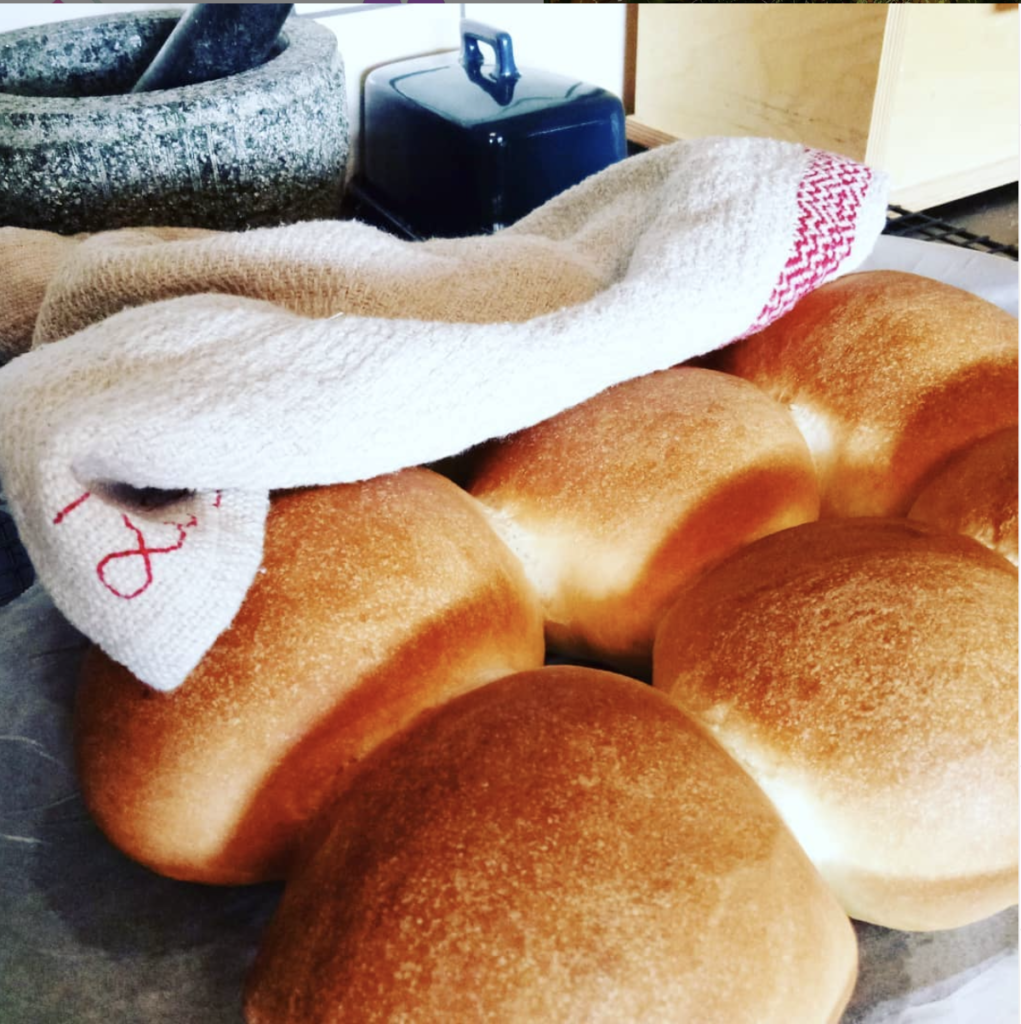
Our family just loves fresh, home baked bread.

I bake all the bread for my family, four loaves at a time. That way we have some fresh and some to store in the freezer for the following days.

But there are some days (more often than I care to admit!) when we’ve run out of loaves and I need to do something fast! Those are the days that my rolls make an appearance. They are much quicker to make than bread loaves and I can get them to the table super fast.

These rolls are very similar to how I make my scrolls, but you bake the dough as rolls instead of being rolled up with fillings.

There are many fillings you can serve in the rolls once they are baked. You can serve them warm or allow to completely cool first. Here are some serving ideas:

I posted on Instagram that I was serving bacon and avocado rolls and everybody wanted to know about them!

Bacon and avocado-

Serve the rolls while still warm. Cut open, spread with mayonnaise, mashed avocado, cheese and fried bacon.

With soup-

You can make the rolls “dinner roll” size if desired. Serve warm, spread with butter. This makes a real meal out of your soup and completes it perfectly.

Egg and bacon rolls-

Similar to the avo and bacon, only this time you also fry eggs with your bacon. Serve with or without cheese and mayonnaise.

Dinner roll sized

Ham and salad-

Allow rolls to cool before cutting open. Serve with ham and whatever salad you like, whether it’s some mixed leaves or a coleslaw.

Hamburger or Veggie burger-

These rolls make great hamburger buns! Fry your meat or veggie patty and team with your favourite extras in the roll. Personally, we’re fans of hamburgers “with the lot”! You can make Hawaiian style burger by adding a ring of tinned pineapple.

For afternoon tea-

These are delicious enough to serve with butter and jam or marmalade for an English style afternoon tea.

Grilled cheese-

My kids love it when I do this. Cut the rolls in half. Using a grill, lightly toast both sides of each half. Top the halves with cheese and place back under grill until melted. Delicious for lunch or paired with soup.

Kelly

Soft and Sweet Bread Rolls

Delicously light and soft rolls for any meal
Print Recipe Pin Recipe
Prep Time 10 minutes mins
Cook Time 30 minutes mins
Rising time 1 hour hr 20 minutes mins
Servings: 9
Ingredients Equipment Method

Ingredients
  

  • 800 grams Bread flour You can do all white flour or a mix. I like to do 200grams wholemeal and 600grams white flour.
  • 1 tbsp Dry active yeast
  • 2 tbsp White sugar or honey
  • 2 tsp Salt
  • 3 tbsp Sunflower oil
  • 2 & 2/3 cup warm water or milk I use milk powder in water

Equipment

  • Stand mixer (optional)
  • Oven

Method
 

  1. Place all dry ingredients in mixer bowl, fitted with a dough hook. Place in a mixing bowl if mixing by hand. Mix lightly to combine.
  2. Combine oil and warm water/milk in a jug. If using honey, add it with the liquids also.
  3. Set the mixer on minimum and gradually pour the wet ingredients into the dry. Keep mixing until well combined, then turn the machine up to number 1 mixing for 5 minutes. If mixing by hand, mix all ingredients until thoroughly combined, then knead for 5 minutes.
  4. Place some oil in the bottom of the bowl to prevent the dough from sticking while rising.
  5. Place a clean towel over the bowl and allow the dough to double in size. The time this takes depends on the room temperature. It can take anywhere from 30 minutes to 1 hour.
  6. When doubled in size, take the dough out of the bowl and press down to expel air. Cut into roughly 9 equal pieces. If you want larger rolls, make 6 equal pieces. Form the pieces into little rounded ball shapes and pinch underneath to ensure seams are underneath.
  7. Place into greased or non stick baking tray (I like to use non stick baking paper to line it). Place the balls in lines to fit your tray. The balls should touch each other. Cover loosely with the towel once more.
  8. Preheat oven to 220 degrees celsius (428F) conventional or 200 (392F) fan forced. Allow the rolls to rise for around 15 – 20 minutes.
  9. Bake in oven for 20-30 minutes (this will vary according to your oven) or until nicely browned.
  10. Remove from oven and place rolls on a cooling rack.

Would you prefer to see this post in video format? Let me know in the comments if you do, and I’ll see what I can come up with 😉

If you are interested in baking your own bread, check out these resources:

Milk and Honey Bread

Whole Wheat No Knead Bread Recipe

Zucchini Bread Recipe

Easy Flat Bread Recipe

Cheese and Bacon Scrolls

I hope this recipe blesses you and that you love these yummy rolls as much as our family!

Filed Under: Health and home, Recipes, Tutorials, Weaving Tagged With: breadrolls, recipe, recipes

How to make bread – my No Knead Whole Wheat Bread Recipe

by Kelly 25 Comments

I’ve been making home baked bread for my family for at least 15 years (yes, I supply ALL the bread, but I have helpers too!) I started baking our bread at home for a few reasons – curiosity, nutrition, economy and self sufficiency. It is the perfect time right now to learn how to bake bread at home.

The idea of knowing exactly what was going into our bread, the superior taste and the cheapness of making it has made baking our own a priority.

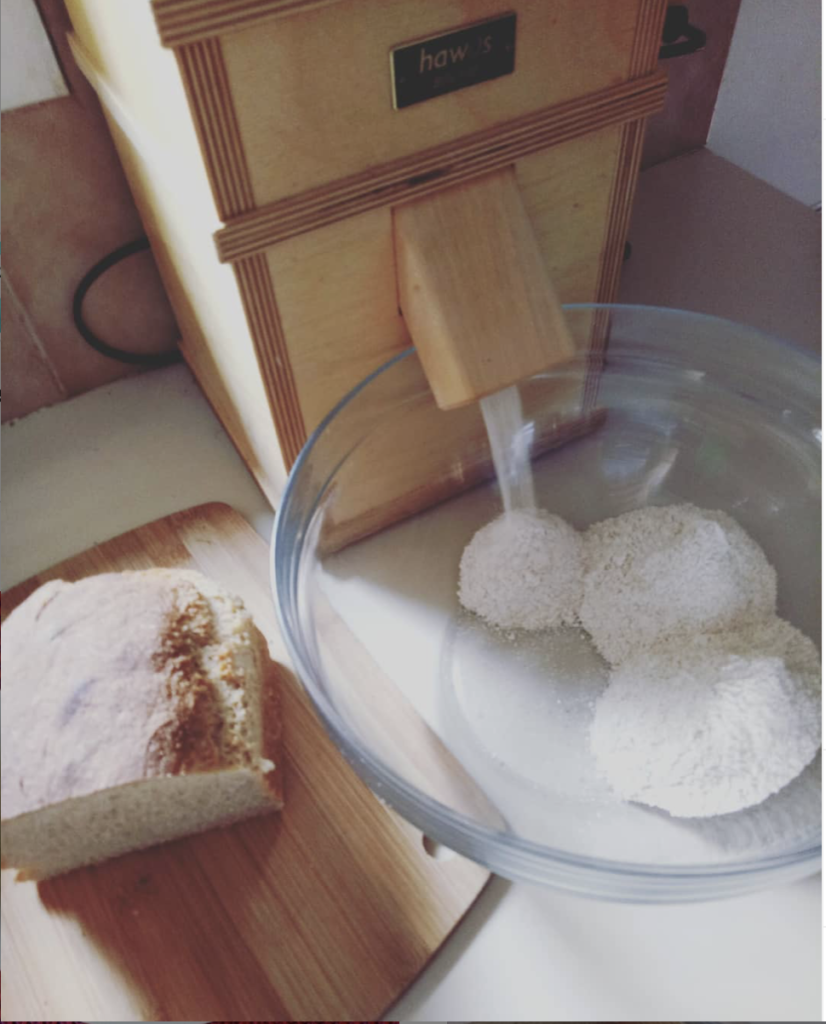
Around 4 years ago, I bought a Hawos Billy 100 grain mill after wanting one for 10 years (I’m very patient 😎). It sits out on the kitchen bench as it’s in constant use. The first time we set up the mill and ground some wheat, I tasted some on it’s own and was immediately hooked. I had bought commercial wholemeal flour from the supermarket, but grinding it fresh is really next level.

*This post contains affiliate links

I buy my wheat from Simply No Knead and have it delivered. If you’re in the U.S. and looking for some wheat to grind , you can get hard white wheat berries here. If you’re wondering about the differences between red and white wheat, check out this helpful article.

Milling our own grain is a huge blessing at this time when currently there is no commercial flour available to buy due to coronavirus related panic buying. I bulk buy my wheat in 20 kg bags and have plenty of it, I’m so thankful.

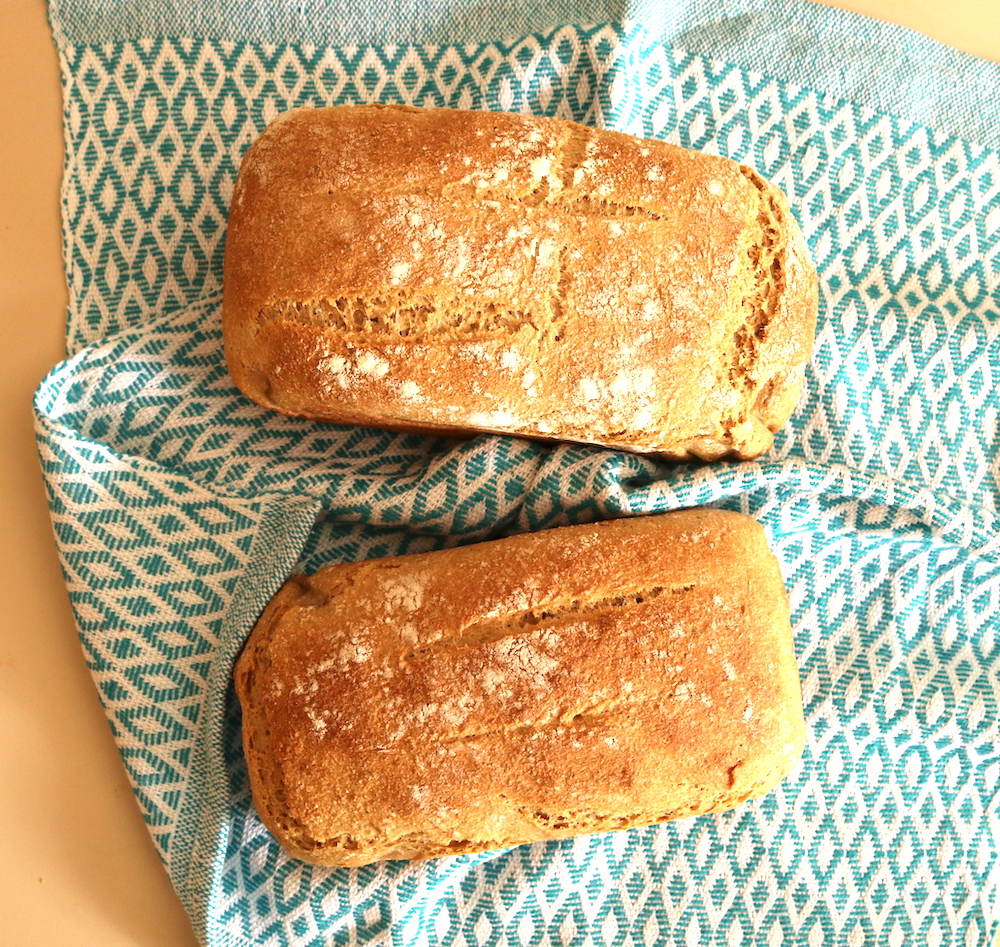
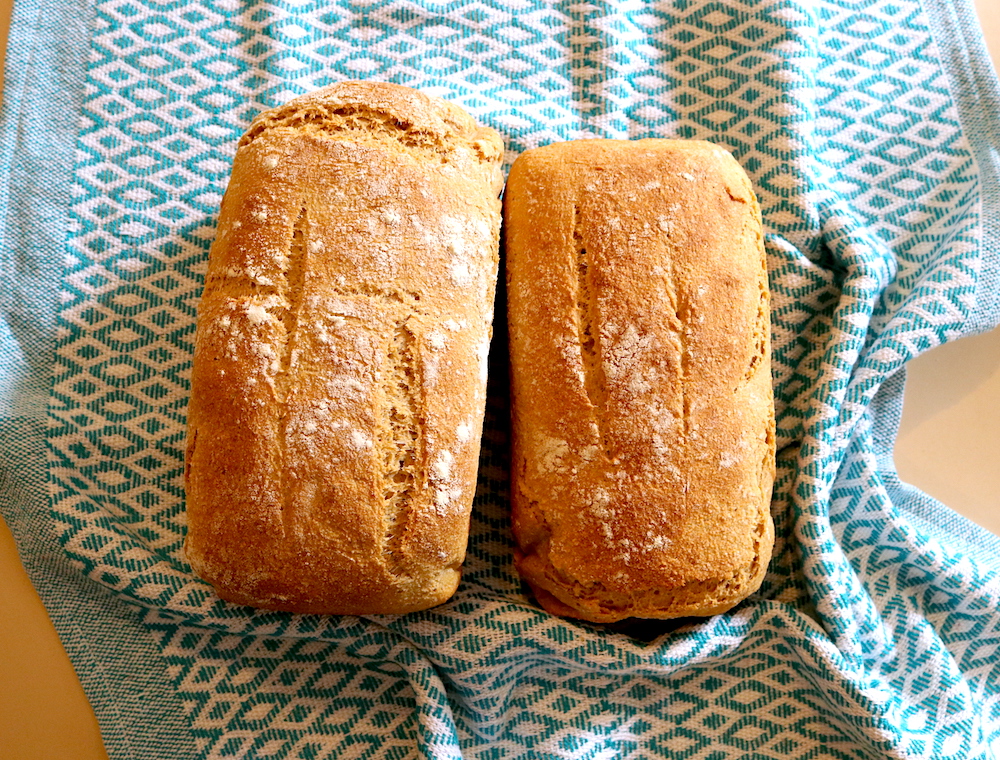
I’ve always wanted to share with you all how I make bread. Over the many years of baking for my family, I’ve devised my own methods to make the process faster, easier and more achievable. My methods are no knead, low mess, low ingredients and very straightforward. I’ve tweaked my methods to streamline the process and am very happy to share this with you!

Now, if you have flour and wish to use that, go ahead! This recipe is very adaptable and has the same basic components of flour, yeast, salt, water and oil. You can use white or wholemeal flour, or a combination, they all work. You may have to adjust your liquid amounts slightly, as wholemeal flour takes up more water.

If you prefer your bread on the sweet side, you may want to add in two tablespoons of cane sugar or two tablespoons of honey. I do this occasionally as an extra treat for the kids.

Then you will just need a large mixing bowl, a wooden spoon, 2 bread tins, and you’re ready to bake some delicious bread! If you are going to make bread a lot, you will want a good bread knife, it will take the headache out of slicing. My husband gifted me this Mundial Serrated Knife right at the beginning of my bread baking journey and I use it every single day. Alright, let’s check out the recipe!

Let’s just go over some measurements first so that we’re clear on amounts. If you don’t know how much grain to mill to get the required amount of flour, 5.5 cups of whole wheat grains grinds up to 7.5 cups of flour. This amount of grain and flour also equals 1 kilogram (2.2 pounds). 1 litre of water is equivalent to 1.05 quarts.

Kelly

No Knead Wholewheat bread

5 from 2 votes
Print Recipe Pin Recipe
Servings: 2 loaves
Ingredients Method

Ingredients
  

  • 7.5 cups Wholewheat flour (I use freshly milled)
  • 1.5 tsp Instant dried yeast
  • 2.5 tsp Salt
  • 1 litre Warm water (Around 1 quart)
  • 3 tbsp Sunflower oil

Method
 

  1. Weigh and mill your whole wheat grain, if using. Otherwise, measure out your commercial wholewheat flour into a large bowl.
  2. Add yeast and salt to flour and mix through with a wooden spoon.
  3. Mix the warm water and oil together in a jug.
  4. Make a well in the middle of your flour and pour all of the liquid in.
  5. With a wooden spoon, mix gently to begin combining the wet and dry ingredients.
  6. When the water is no longer "sloshy", use a chopping action with the wooden spoon to bring ingredients together. You want to eliminate any dry flour spots.
  7. Once combined and completely wet, let the dough sit in the bowl for 3 – 5 minutes.
  8. Using the folding technique shown in the video, fold the dough whilst turning the bowl slightly. Fold it around 5 times. Then allow dough to sit for 3 – 5 minutes again.
  9. Repeat the folding technique 2 more times for a total of 3 times. You will notice the dough begin to change and become elastic.
  10. Sprinkle with flour, cover with a cloth and allow to sit until approximately doubled. Depending on the temperature in your kitchen, this could be 1 – 2 hours. My dough took around an hour to double in a warmish kitchen.
  11. Oil or flour your bench surface and tip the dough out. It will be stretchy and airy.
  12. Fold the dough in on itself on each side. Cut in half with a sharp knife.
  13. Shape the two pieces of dough into loaves according to the video instructions. Place in prepared loaf tins.
  14. Sprinkle with flour and cover with cloths to rest for around 30 minutes. Begin to preheat your oven to 225 degrees celsius (437 farenheit).
  15. Score your risen loaves with a sharp knife and place in the oven for 35 minutes.
  16. Remove from the oven and tins and place on a cooling rack. Allow to cool completely before cutting open.

Did I tell you that this bread freezes well? I make up a batch of 4 loaves at a time, the maximum amount my oven will hold. I usually keep one loaf out for the next couple of days (if it lasts that long, often it does not) and put the rest in individual freezer bags, tie them up well and freeze until needed.

You will want to watch the video I’ve put together in order to learn the techniques I use, as these are crucial to the success of your loaves.

I hope you enjoy this recipe and bake some bread for your family! Please leave any questions in the comments section, let me know if you are going to give it a try, or if you already have. I’d love to hear from you!

Until next time…

Happy baking!

Filed Under: Health and home, Recipes, Tutorials Tagged With: how to make bread, make bread at home, recipe, wholewheat bread recipe

Goodness Gracious Energy Balls

by Kelly 6 Comments

I seem to be craving sweet, nutrient dense foods frequently in the afternoons.

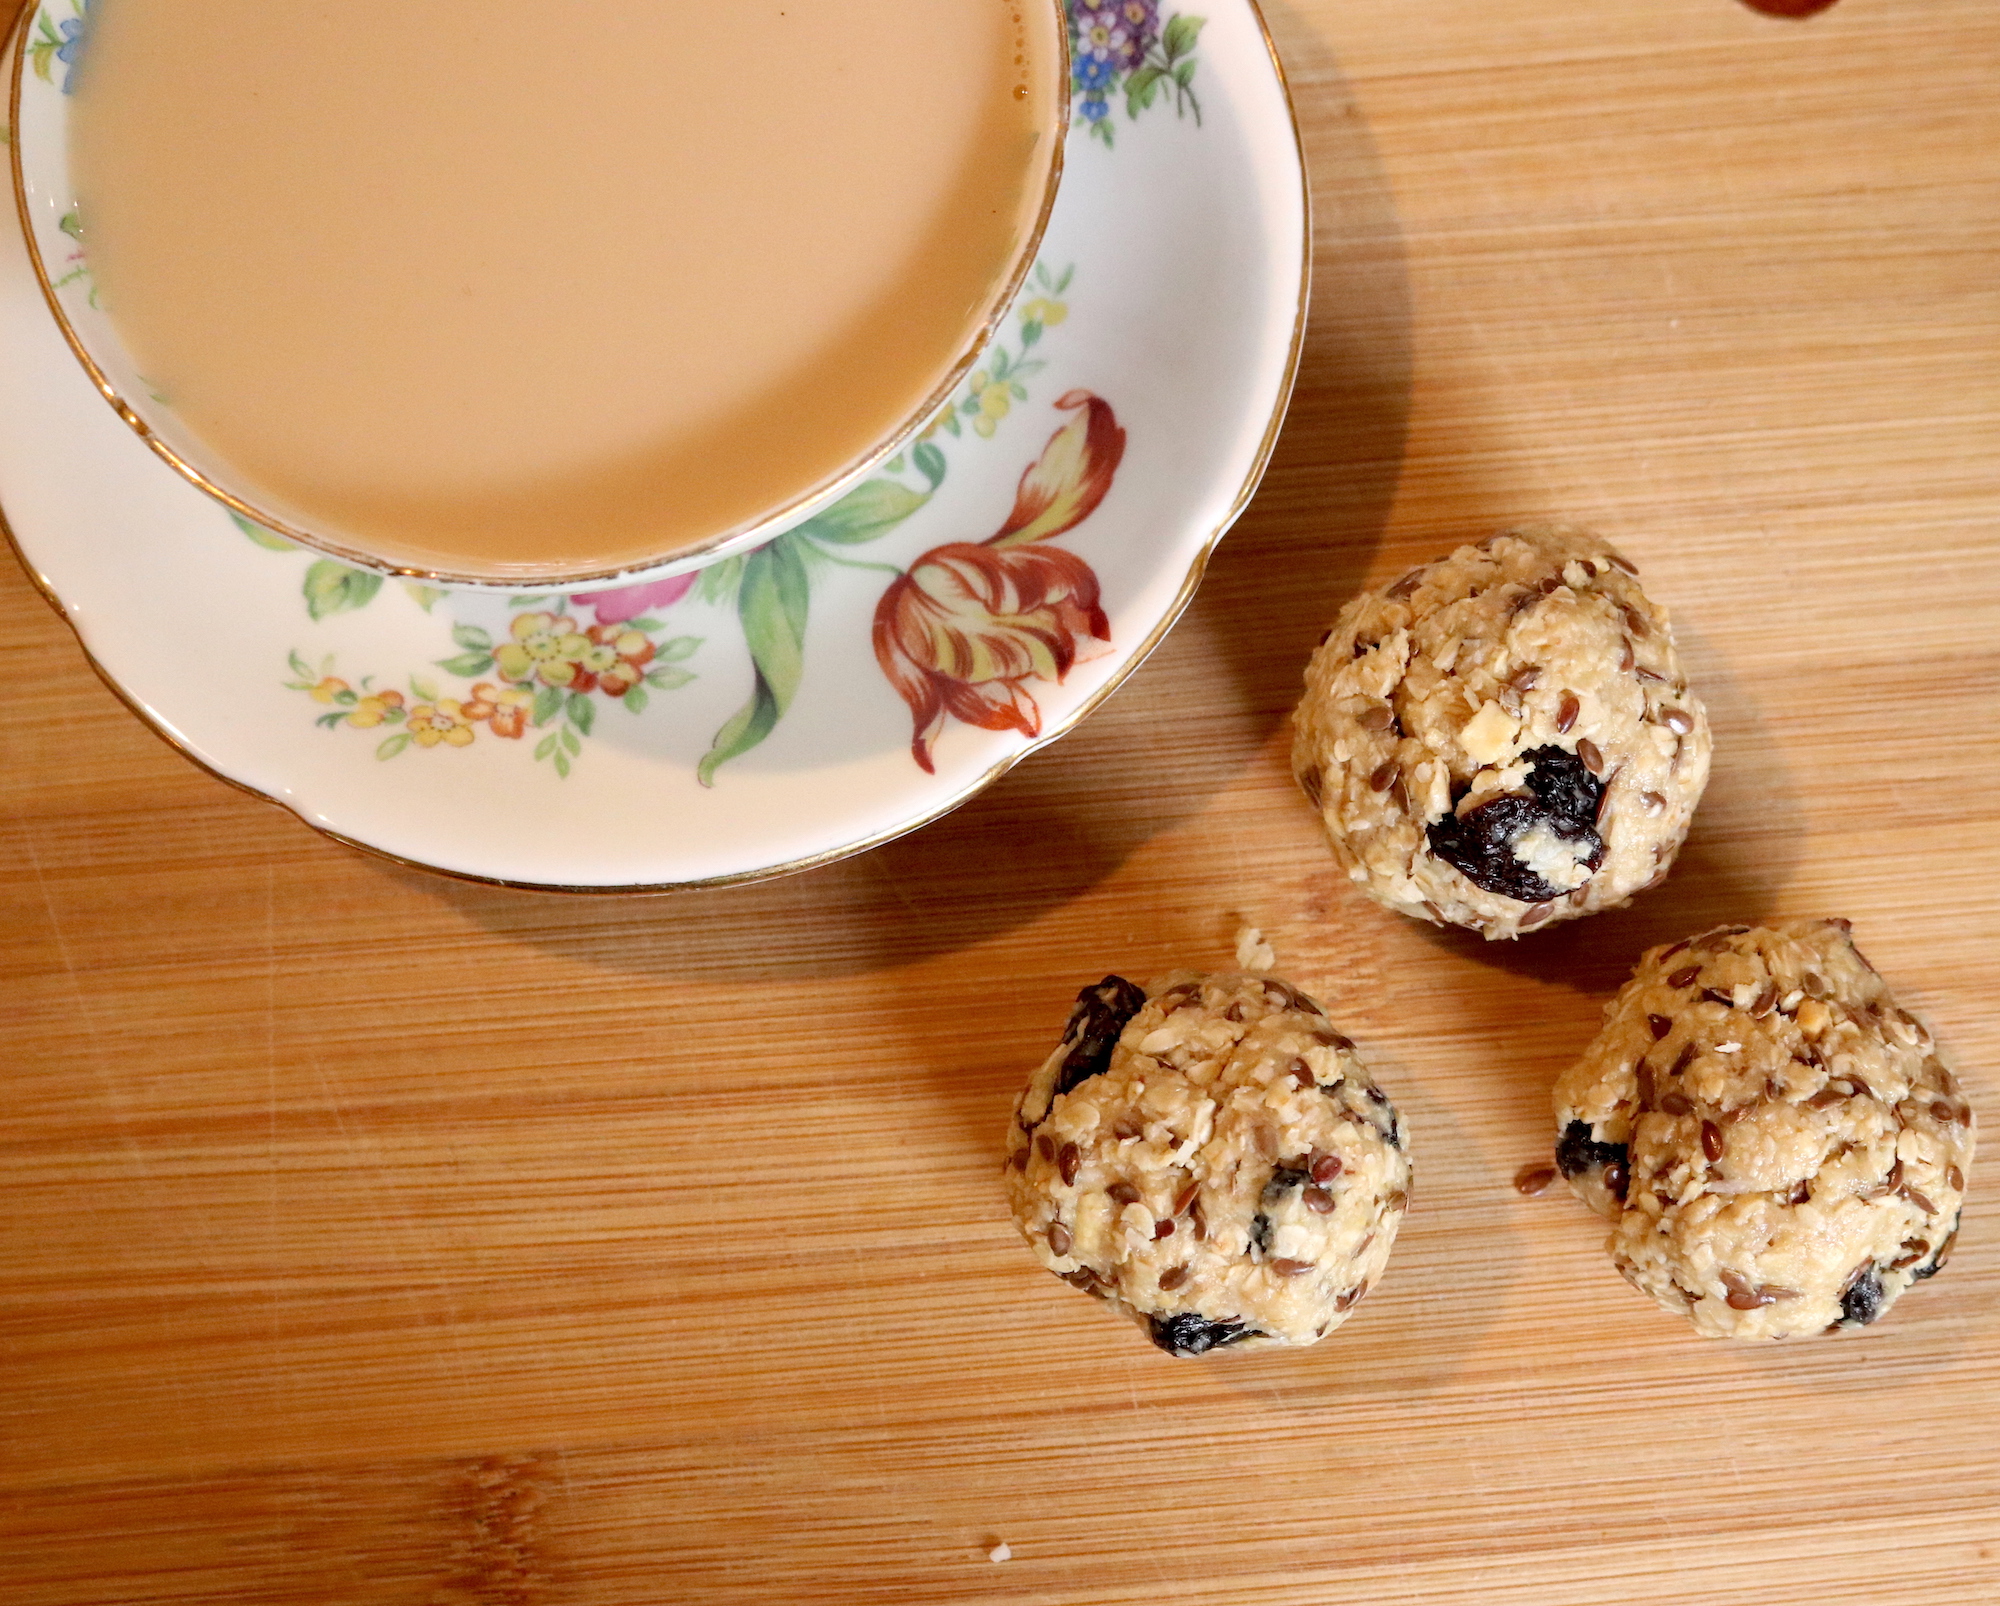
A cup of tea with something sweet around 3-4pm seems to be just what I need. I used to have a sweet, commercial cookie to dip in my tea, but that is way behind me now!

Something that I love about switching to a healthier lifestyle is that I have found I don’t have to compromise on taste or treats – I just need to find a way to make it tick some healthy boxes.

*This post contains affiliate links

And, if it’s quick and easy to prepare a batch that I can then have waiting for me in the fridge or pantry – even better!

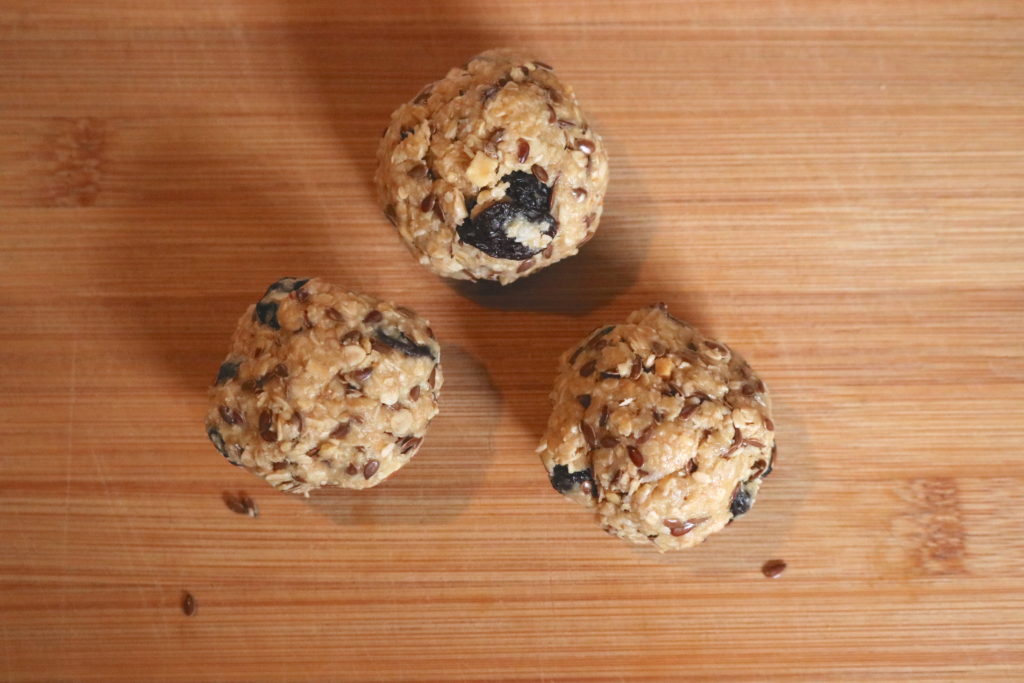
These little energy balls tick all the boxes and then some!

They are sweet, slightly salty, substantial, economical and so fast to make.

To throw these together, I only used ingredients that were already in my pantry and that are always there.

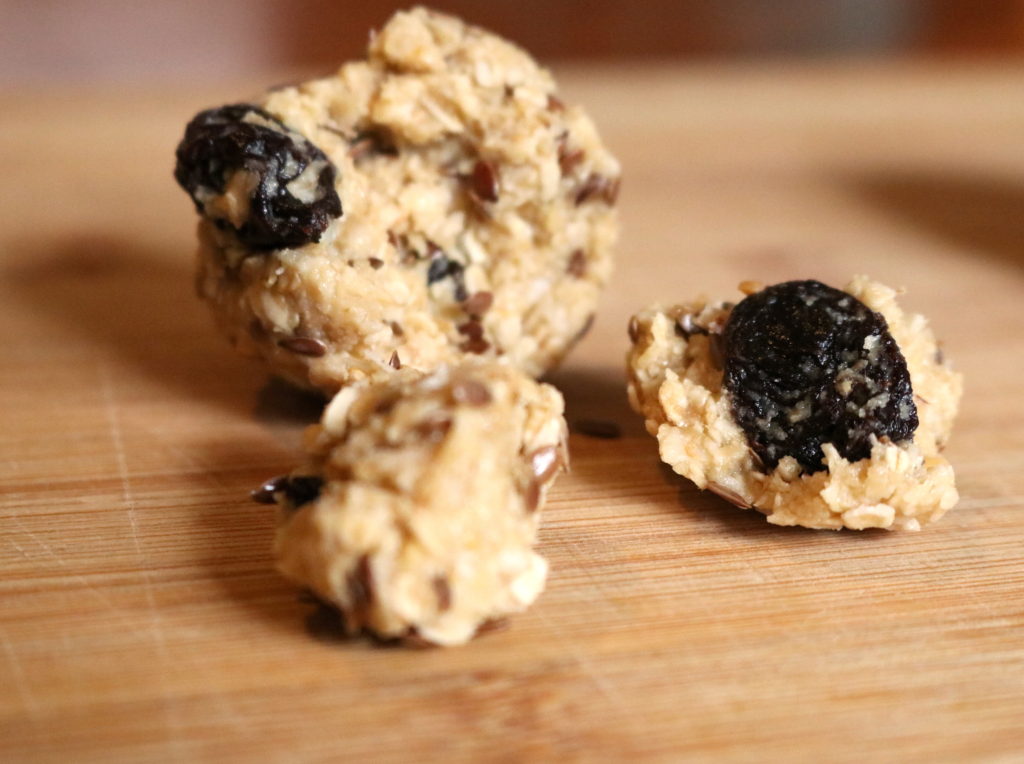
The goodness and simplicity of oats, combined with favourites such as honey and peanut butter, (I can not get enough of the stuff!) coconut, linseeds (flaxseeds) , plump raisins, tahini and vanilla extract. So simple, so delicious!

A recipe like this is so adaptable too, you can put in whatever healthy ingredients you have on hand that you think will work.

*Change the linseeds for sunflower seeds.

*Add some chopped nuts to the mix.

*Switch honey for maple syrup or other natural sweetener.

*Switch the raisins for craisins, chopped dried fig, chopped dates or sultanas.

*Add in some chopped, dark chocolate.

*Dip half of each ball in some melted dark chocolate.

Goodness Gracious Energy Balls

5 from 1 vote
Healthy snack balls that taste amazing!
Print Recipe Pin Recipe
Prep Time 10 minutes mins
Servings: 14 serves
Ingredients Method

Ingredients
  

  • 1.5 cups Quick or rolled oats
  • 0.5 cups Dessicated coconut
  • 2 tbsp Linseeds (whole)
  • 3 tbsp Raisins
  • 2 tbsp Peanut butter
  • 3 tbsp Tahini
  • 2 tbsp Honey
  • 2 tsp Vanilla extract

Method
 

  1. Mix all ingredients together in a large bowl. I find it easiest to get my hands into the bowl and squeeze everything together. Once well combined, squeeze and roll into balls and store in the fridge.
    *Note – if your mixture is a little dry, add more honey
    ** If you want to make your balls a little more decadent, add some chopped, dark chocolate!

If you try out this recipe, I’d love to hear if you enjoyed it!

Filed Under: Health and home, Recipes Tagged With: bliss ball, healthy lifestyle, healthy recipe, recipe, recipes

Primary Sidebar

Hand crafted boat shuttles

Categories

Archives

Meta

  • Log in
  • Entries feed
  • Comments feed
  • WordPress.org

Copyright © 2025 Kelly Casanova Weaving Lessons on the Foodie Pro Theme