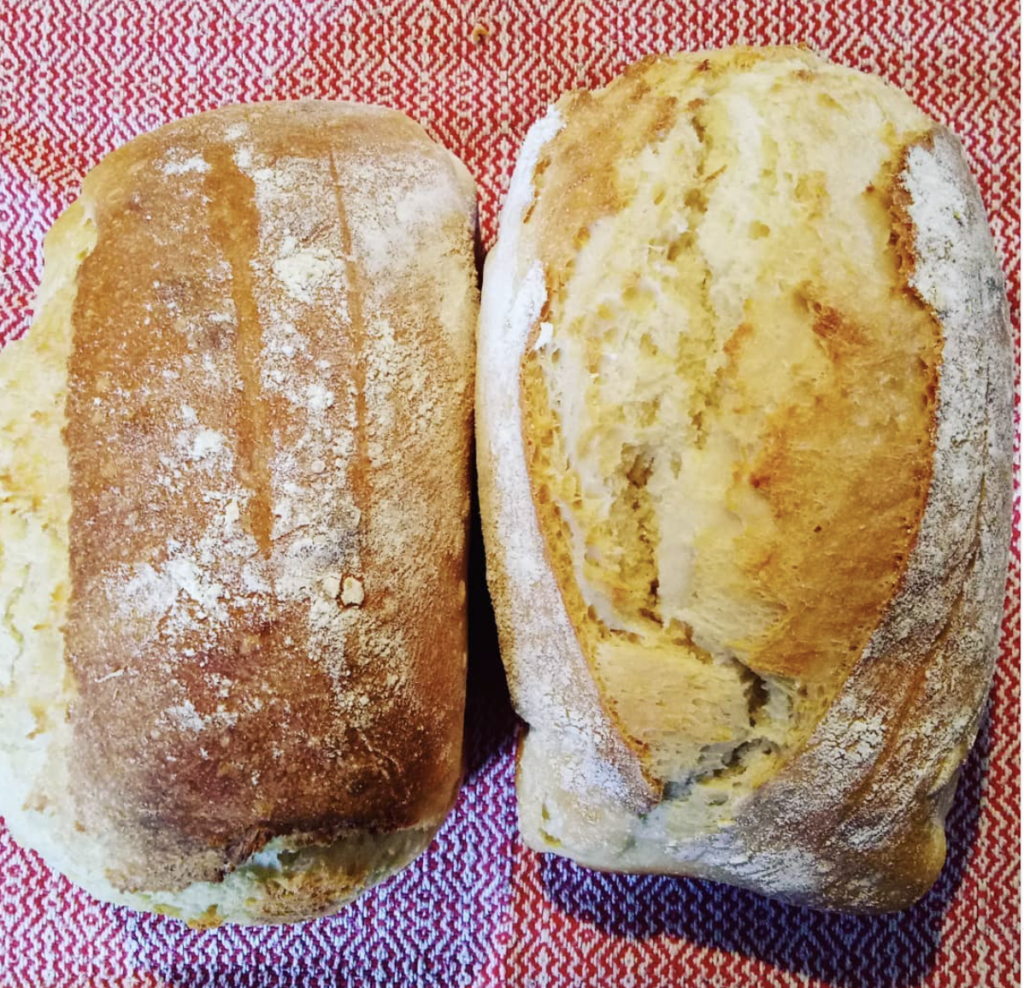
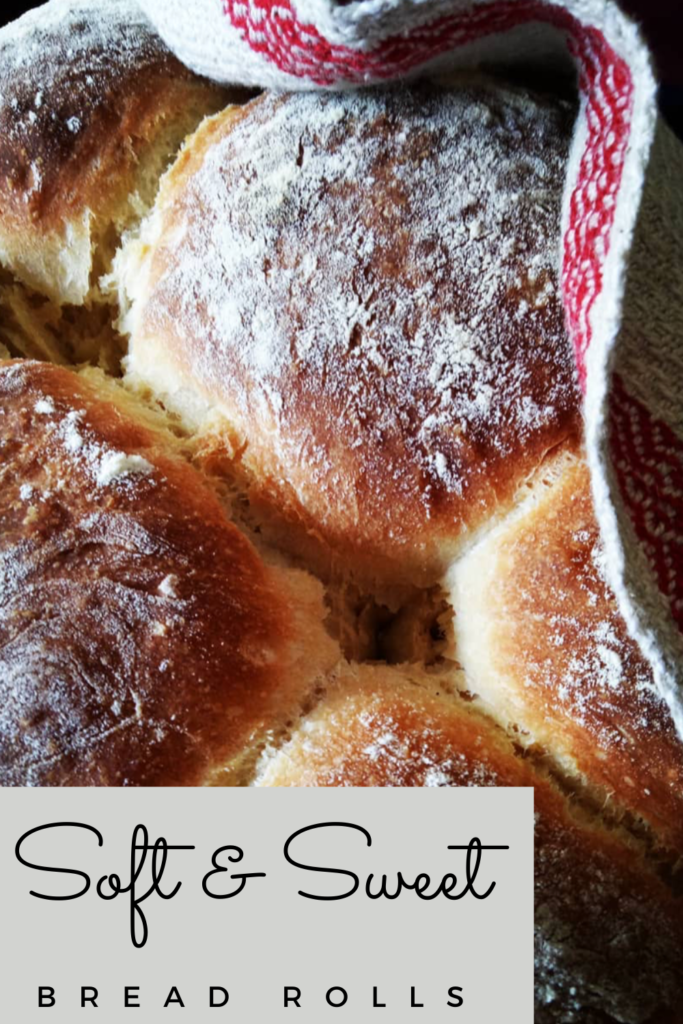
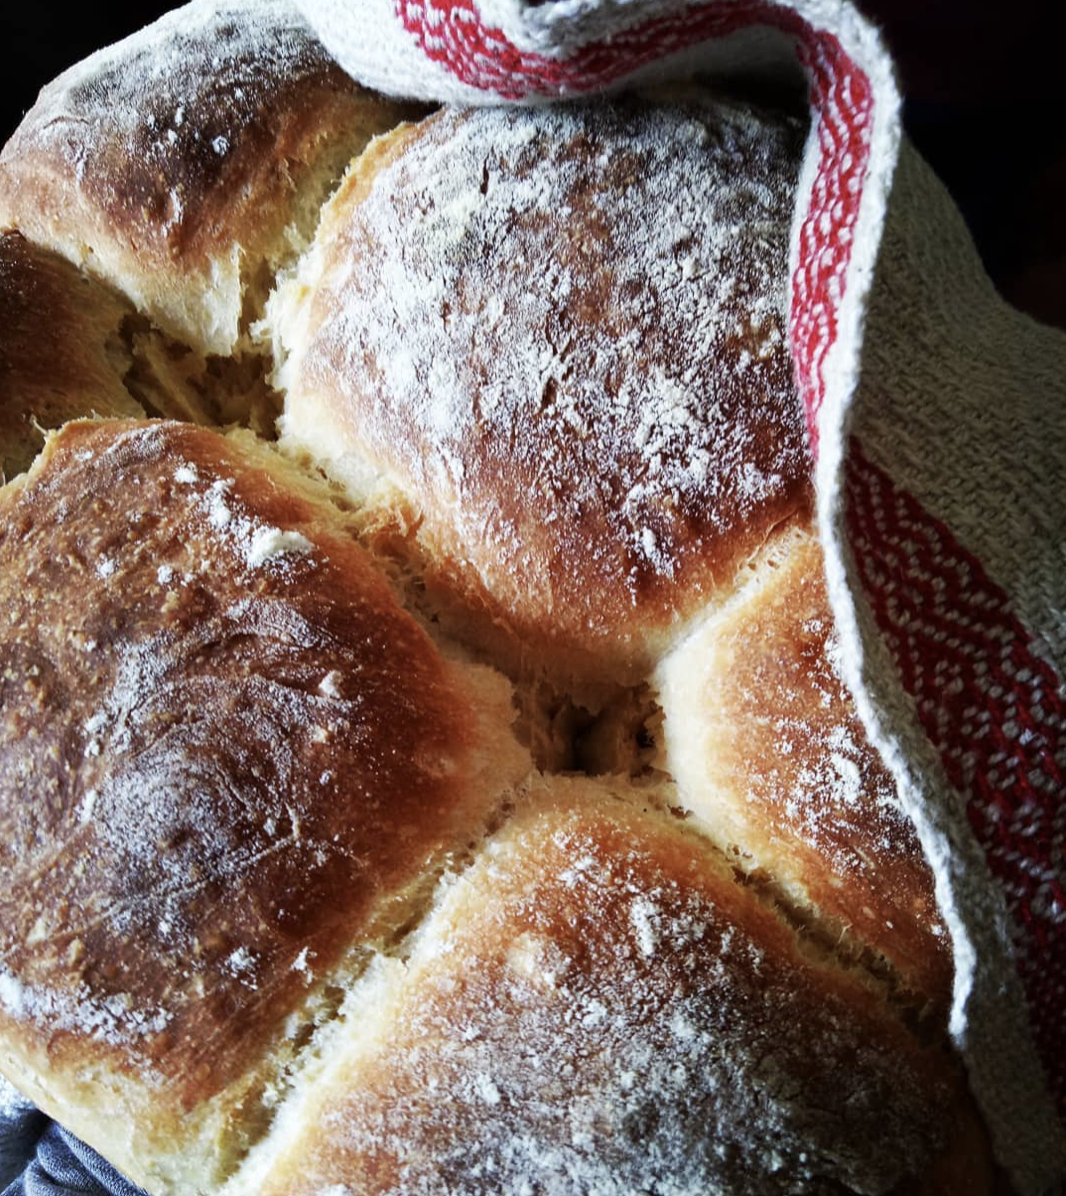
Our family just loves fresh, home baked bread, especially soft and sweet bread rolls!
I bake all the bread for my family, four loaves at a time. That way we have some fresh and some to store in the freezer for the following days.
But there are some days (more often than I care to admit!) when we’ve run out of loaves and I need to do something fast! Those are the days that my rolls make an appearance. They are much quicker to make than bread loaves and I can get them to the table super fast.
These rolls are very similar to how I make my scrolls, but you bake the dough as rolls instead of being rolled up with fillings.
There are many fillings you can serve in the rolls once they are baked. You can serve them warm or allow to completely cool first. Here are some serving ideas:
I posted on Instagram that I was serving bacon and avocado rolls and everybody wanted to know about them!
Bacon and avocado-
Serve the rolls while still warm. Cut open, spread with mayonnaise, mashed avocado, cheese and fried bacon.
With soup-
You can make the rolls “dinner roll” size if desired. Serve warm, spread with butter. This makes a real meal out of your soup and completes it perfectly.
Egg and bacon rolls-
Similar to the avo and bacon, only this time you also fry eggs with your bacon. Serve with or without cheese and mayonnaise.
Ham and salad-
Allow rolls to cool before cutting open. Serve with ham and whatever salad you like, whether it’s some mixed leaves or a coleslaw.
Hamburger or Veggie burger-
These rolls make great hamburger buns! Fry your meat or veggie patty and team with your favourite extras in the roll. Personally, we’re fans of hamburgers “with the lot”! You can make Hawaiian style burger by adding a ring of tinned pineapple.
For afternoon tea-
These are delicious enough to serve with butter and jam or marmalade for an English style afternoon tea.
Grilled cheese-
My kids love it when I do this. Cut the rolls in half. Using a grill, lightly toast both sides of each half. Top the halves with cheese and place back under grill until melted. Delicious for lunch or paired with soup.
Ingredients
Equipment
Method
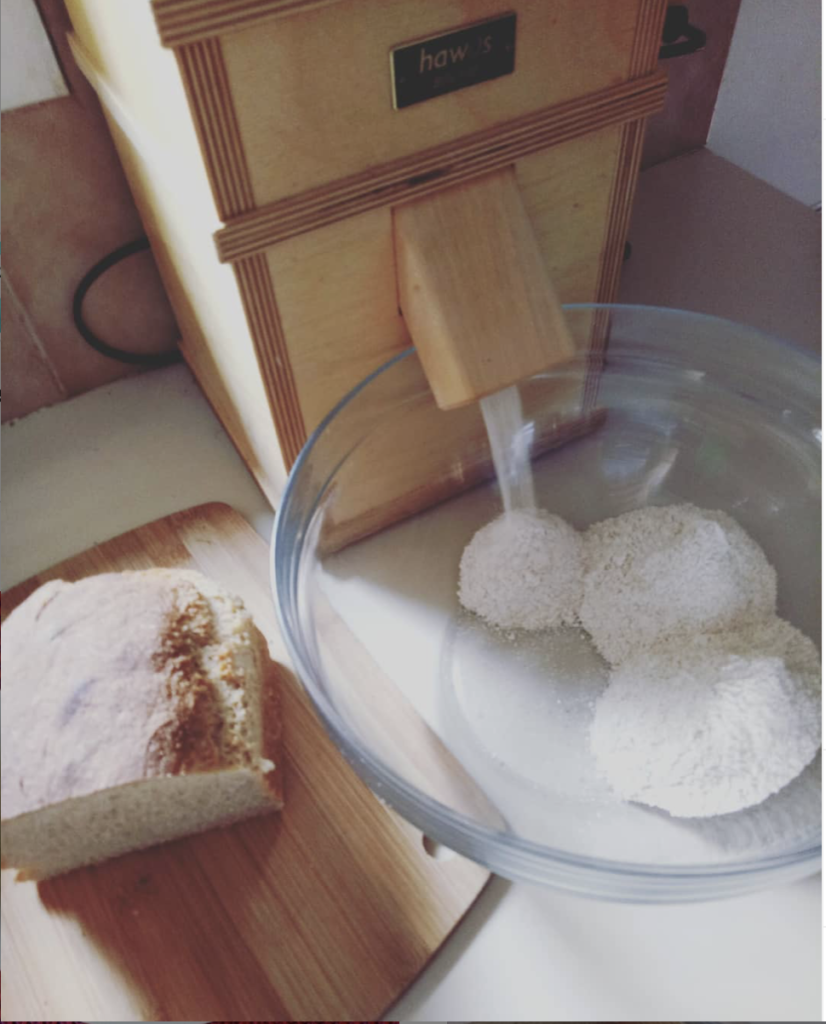
- Place all dry ingredients in mixer bowl, fitted with a dough hook. Place in a mixing bowl if mixing by hand. Mix lightly to combine.
- Combine oil and warm water/milk in a jug. If using honey, add it with the liquids also.
- Set the mixer on minimum and gradually pour the wet ingredients into the dry. Keep mixing until well combined, then turn the machine up to number 1 mixing for 5 minutes. If mixing by hand, mix all ingredients until thoroughly combined, then knead for 5 minutes.
- Place some oil in the bottom of the bowl to prevent the dough from sticking while rising.
- Place a clean towel over the bowl and allow the dough to double in size. The time this takes depends on the room temperature. It can take anywhere from 30 minutes to 1 hour.
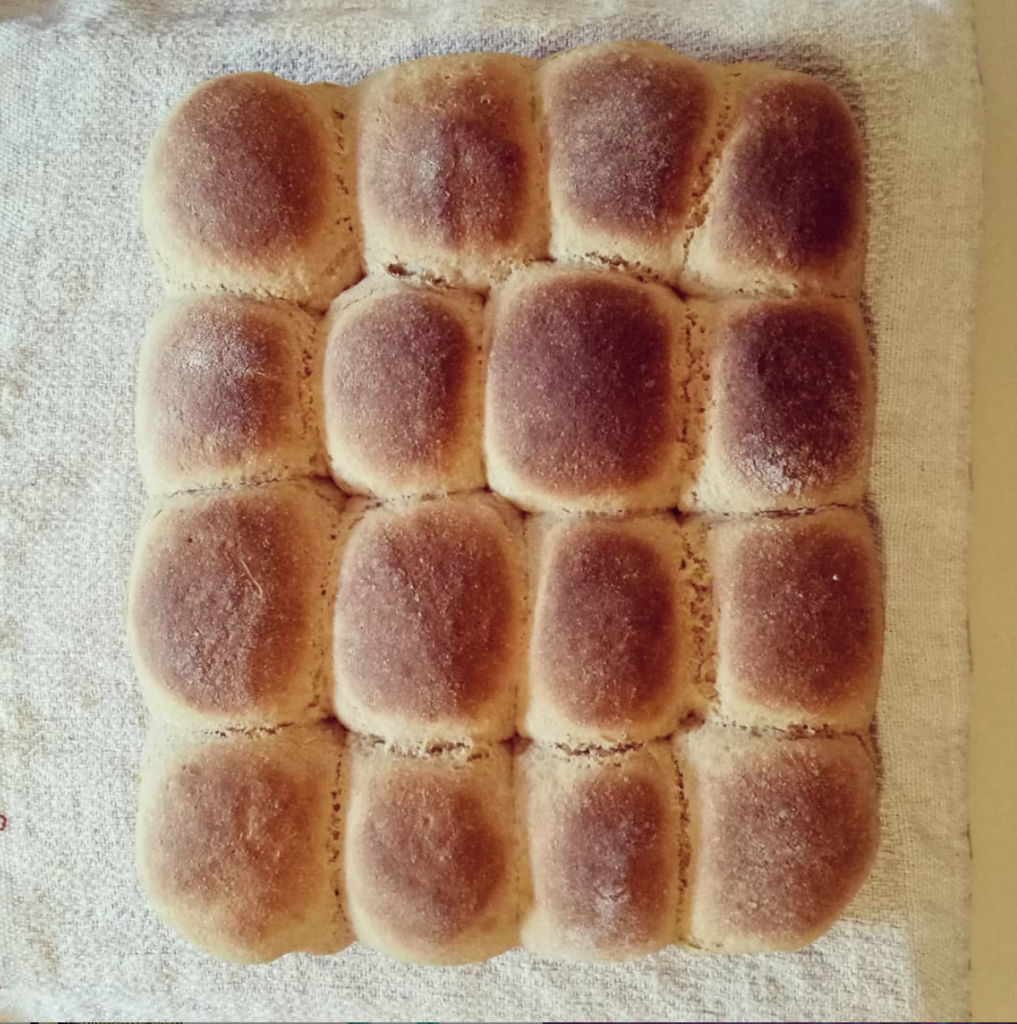
- When doubled in size, take the dough out of the bowl and press down to expel air. Cut into roughly 9 equal pieces. If you want larger rolls, make 6 equal pieces. Form the pieces into little rounded ball shapes and pinch underneath to ensure seams are underneath.
- Place into greased or non stick baking tray (I like to use non stick baking paper to line it). Place the balls in lines to fit your tray. The balls should touch each other. Cover loosely with the towel once more.
- Preheat oven to 220 degrees celsius (428F) conventional or 200 (392F) fan forced. Allow the rolls to rise for around 15 – 20 minutes.
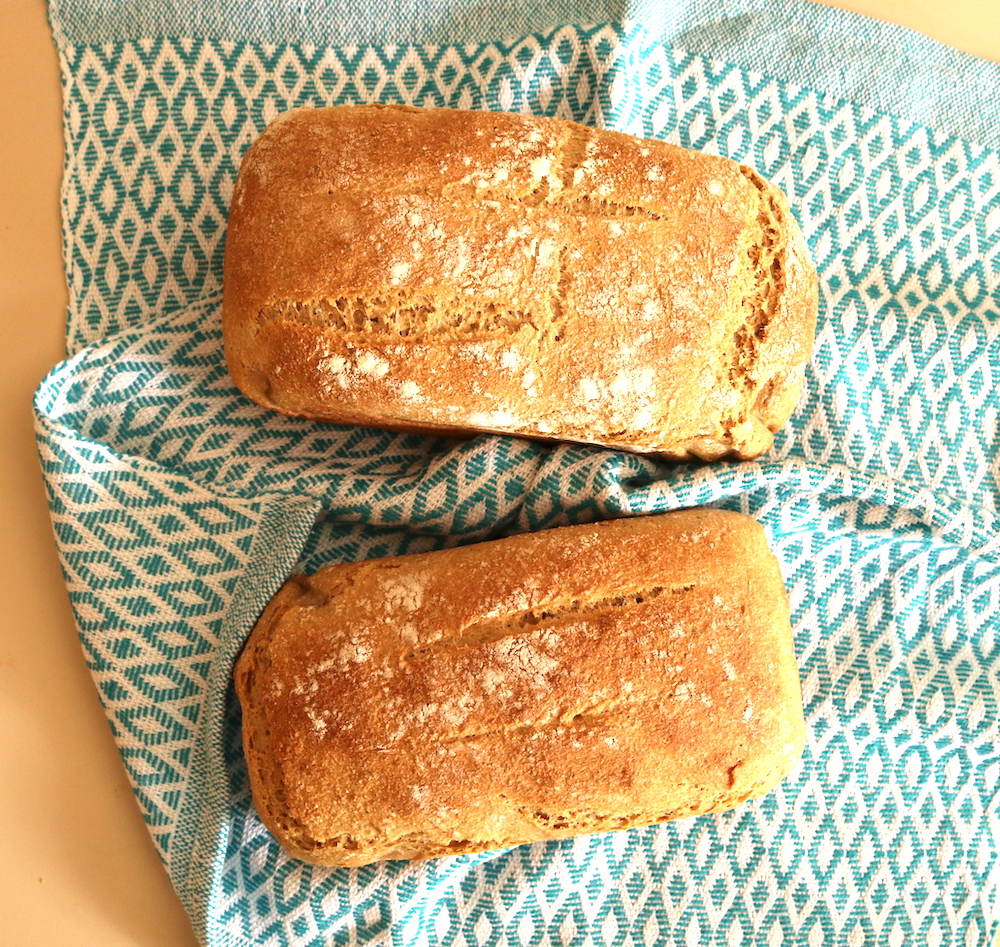
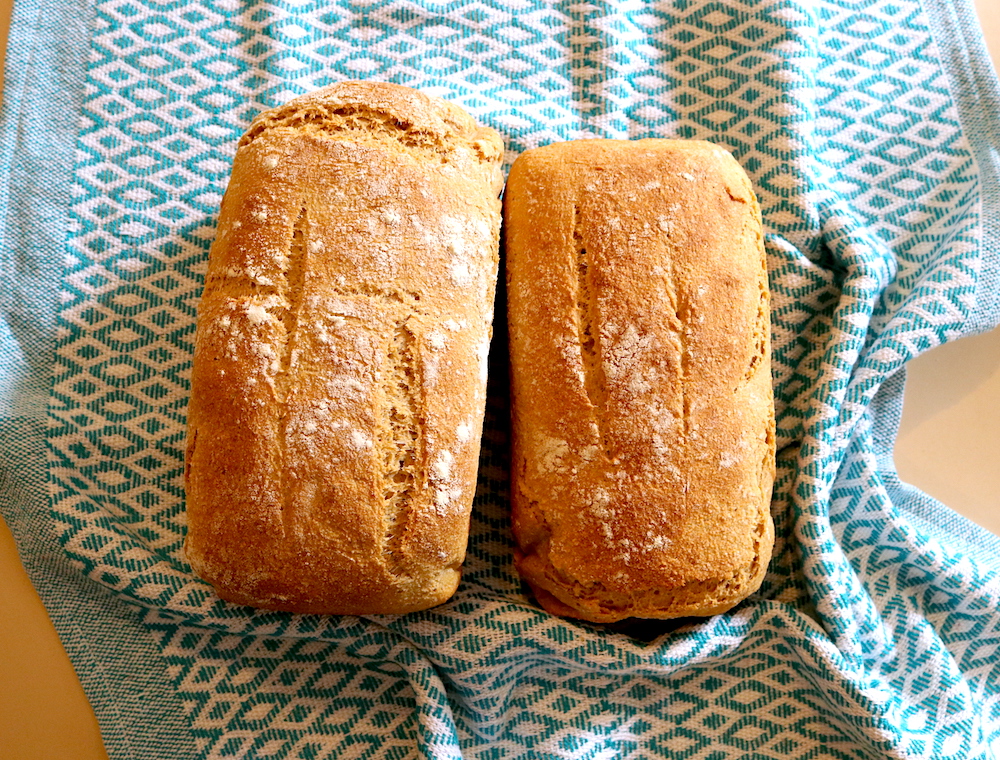
- Bake in oven for 20-30 minutes (this will vary according to your oven) or until nicely browned.
- Remove from oven and place rolls on a cooling rack.
If you are interested in baking your own bread, check out these resources:
Whole Wheat No Knead Bread Recipe
I hope this recipe blesses you and that you love these yummy rolls as much as our family!