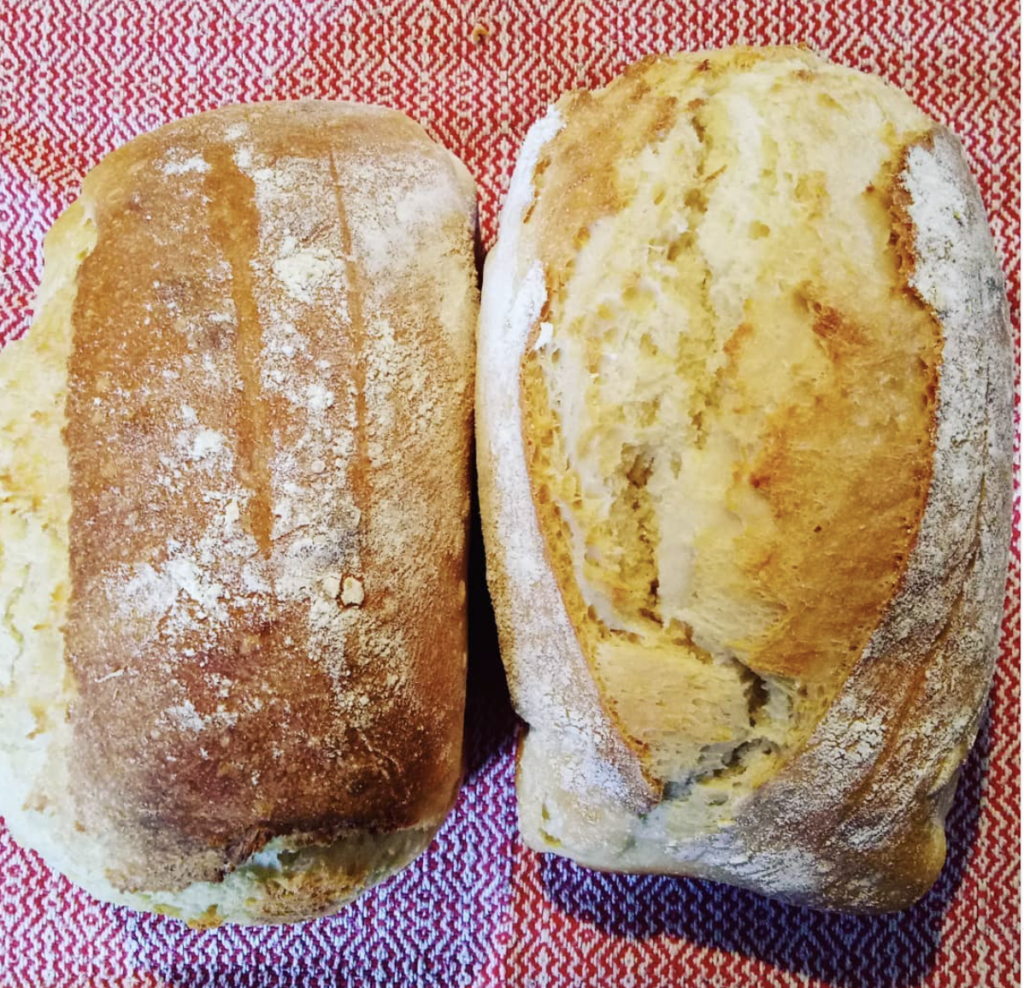
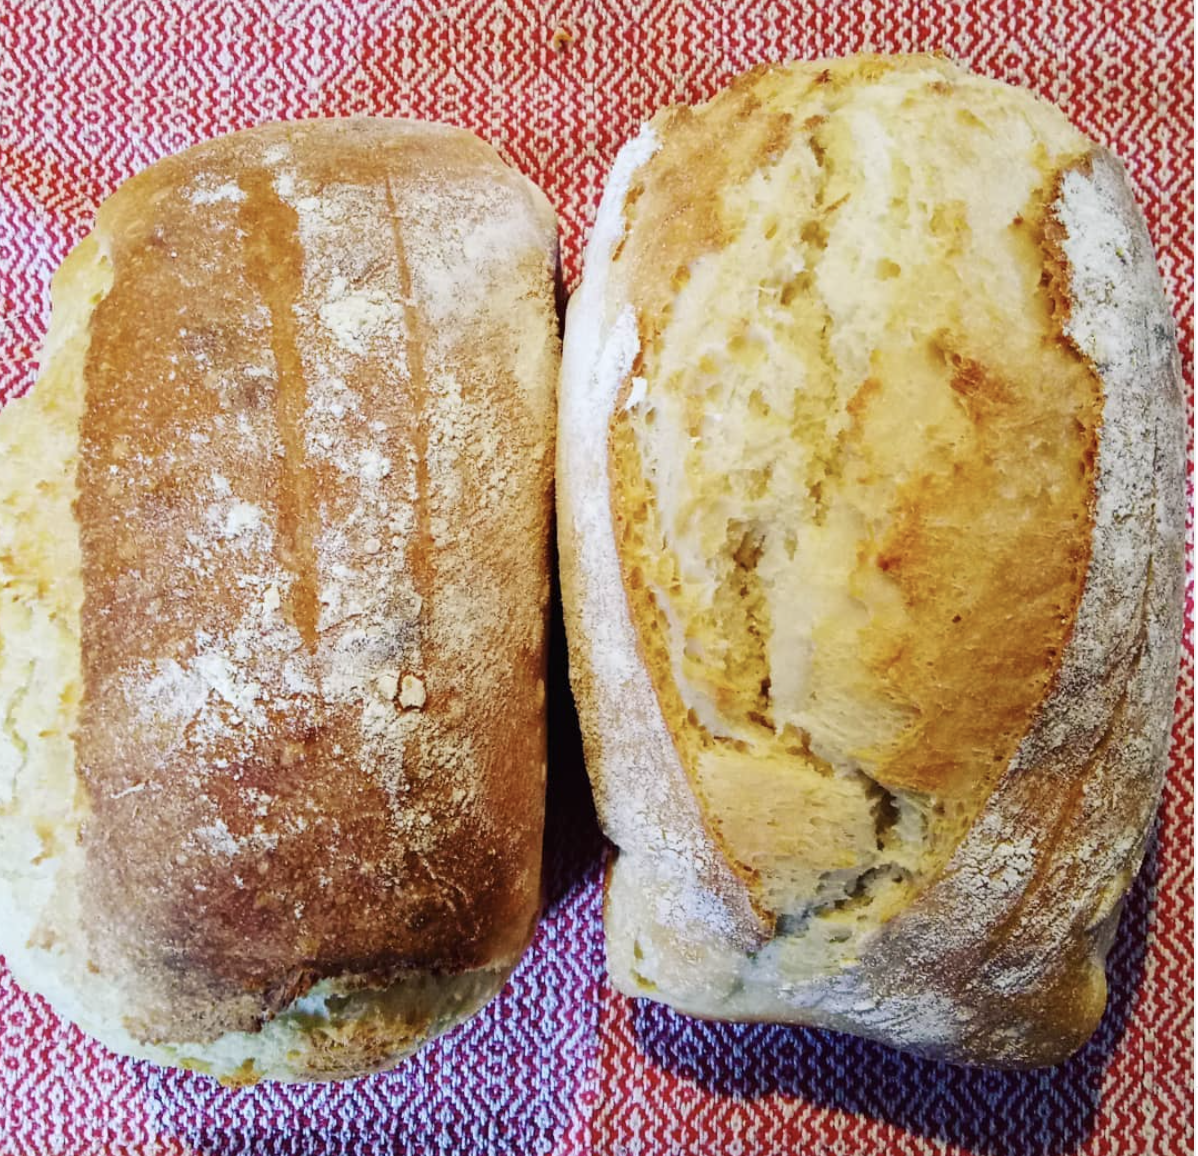
Milk and honey bread is a luxury bread, or at least, I think so!
Soft, sweet, moist and light all at once!

Milk and honey bread is a real treat in our home and the kids absolutely love it.
*This post contains affiliate links
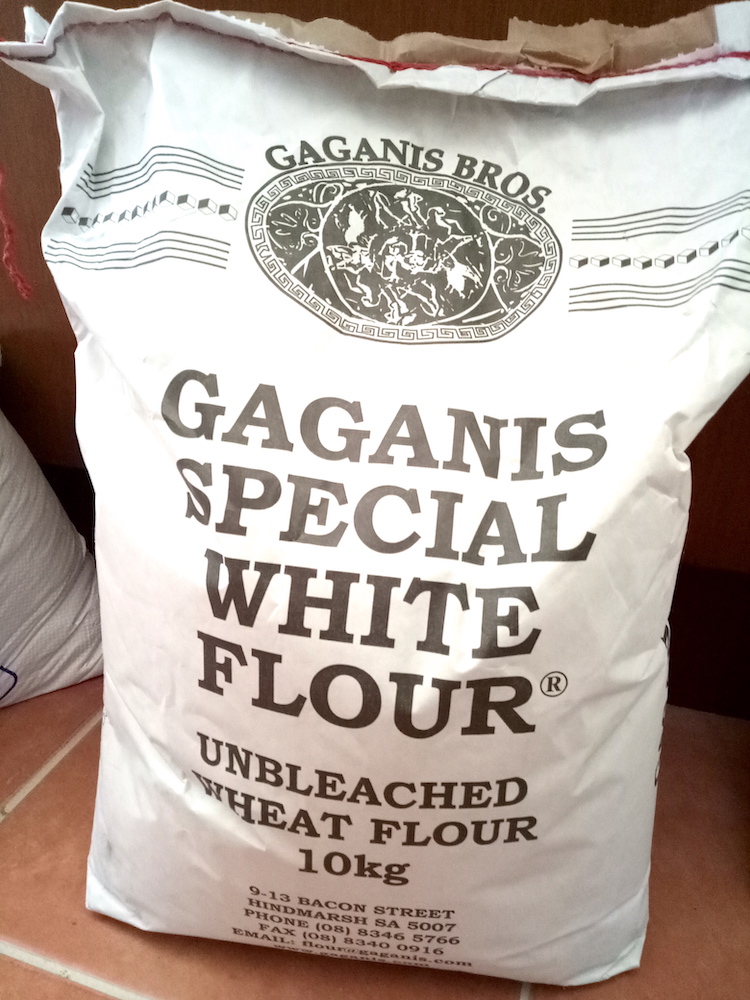
Since the coronavirus pandemic began I had not been able to find white flour anywhere to buy. I know it’s been the same for many of you, as the need and desire for home baking has increased and suppliers were overwhelmed with trying to restock.
I’m so grateful to have my grain mill and we do love whole wheat bread (find my own recipe here), but occasionally I love to make an all white bread for my family as a treat.

Well, this week, my husband was able to buy a 10kg bag of unbleached white flour. I usually buy 25kg bags, but when he walked in with the 10kg bag it was as if he had walked in with a sack of gold, I was so excited!
So, the first thing I decided to do with this new bag of white flour was to make the milk and honey bread that I had not been able to bake for so long.
This bread makes wonderful sandwiches and is especially delicious when eaten on the same day it’s baked. But, I must tell you that it makes the.most.wonderful. toast on the next and subsequent days!
There are only 6 basic ingredients to this recipe. It takes a little longer with a few more steps than my Whole Wheat Bread recipe, but trust me, it’s worth the effort!
This recipe makes 2 x 500gram or 1 pound loaves. I find it easiest to bake them in loaf tins, (these ones look great!) as the dough is very moist and doesn’t cope so well with being a round loaf on a tray – it won’t hold shape that way.

Ingredients
Method
- Whisk warm milk and honey together in a large bowl. Sprinkle the yeast over the top and allow to sit for 5 minutes.
- Whisk in 3 cups of white plain flour, 1 at a time. Cover this mixture with a clean kitchen towel and allow to sit for 30 minutes.
- Whisk the salt into the yeast and flour mixture.
- Whisk in the warm water, making a thin batter like mixture.
- With a wooden spoon, stir in the remaining flour, 1 cup at a time. If your mixture is too wet, you can add more flour. If it is too dry, don't add the full amount of flour recommended (which is why we add 1 cup at a time). Aim for a dough that is very moist, quite sticky, but not too difficult to handle.
- Use my dough turning method as outlined in the post.
- Sprinkle dough lightly with flour, cover with clean kitchen towel and leave to rise until doubled in size, usually 1 – 2 hours, depending on your room temperature.
- Shape the dough into 2 loaves and place them in loaf tins, either oiled or lined with baking paper. Cover again with towel.
- Preheat oven to 225 degrees celsius or 437 farenheit.
- Allow dough to rise 20 – 30 minutes or until the dough looks nice and risen in the tins. Slash the tops and place in the oven.
- Bake for 35 – 40 minutes or until golden brown on top.
- Cool loaves on a baking rack.
To review the dough turning method as shown in this video:
I hope you enjoy this bread as much as my family does. If you try the recipe and love it, will you do me the big favour of leaving a 5 star review? I would appreciate that so much! I would also appreciate if you try this recipe and are on Instagram, please tag me so that I can share your loaves in my stories. Feel free to use the hashtag #kellysmilkandhoneybread as well.
As always, if you have any questions about this recipe, please leave a comment, I love to hear from you.
Until next time…
Happy Baking!
