• Skip to main content
  • Skip to primary sidebar

Kelly Casanova Weaving Lessons

  • Hi! I’m Kelly!
    • Disclosure
  • Online Weaving School Class Index
    • Common account issues
    • Common technical issues
    • What do I get with a membership?
  • New to rigid heddle weaving? Start here!
    • Never heard of the rigid heddle loom?
    • How to weave neat edges on the rigid heddle loom
    • Rigid heddle weaving
    • Rigid Heddle Weaving Patterns
  • Patterns
  • Subscribe

sourdough

Easy Sourdough Granola Recipe: A Delicious Twist for Healthy Homemade Breakfasts

by Kelly Leave a Comment

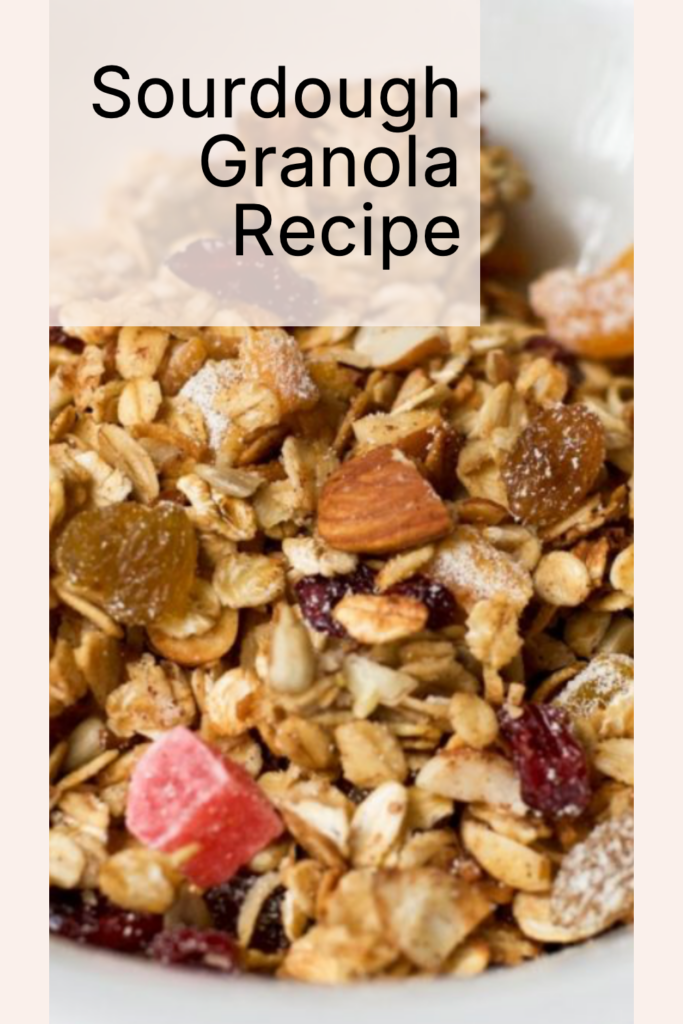
Looking for a delicious way to use up your sourdough discard? Try making homemade sourdough granola! This easy recipe combines the wholesome goodness of homemade granola with the unique flavor and crunch that sourdough starter adds.

It’s a game-changer for your breakfast or snack routine—perfectly crispy, flavourful, and a great way to reduce food waste.

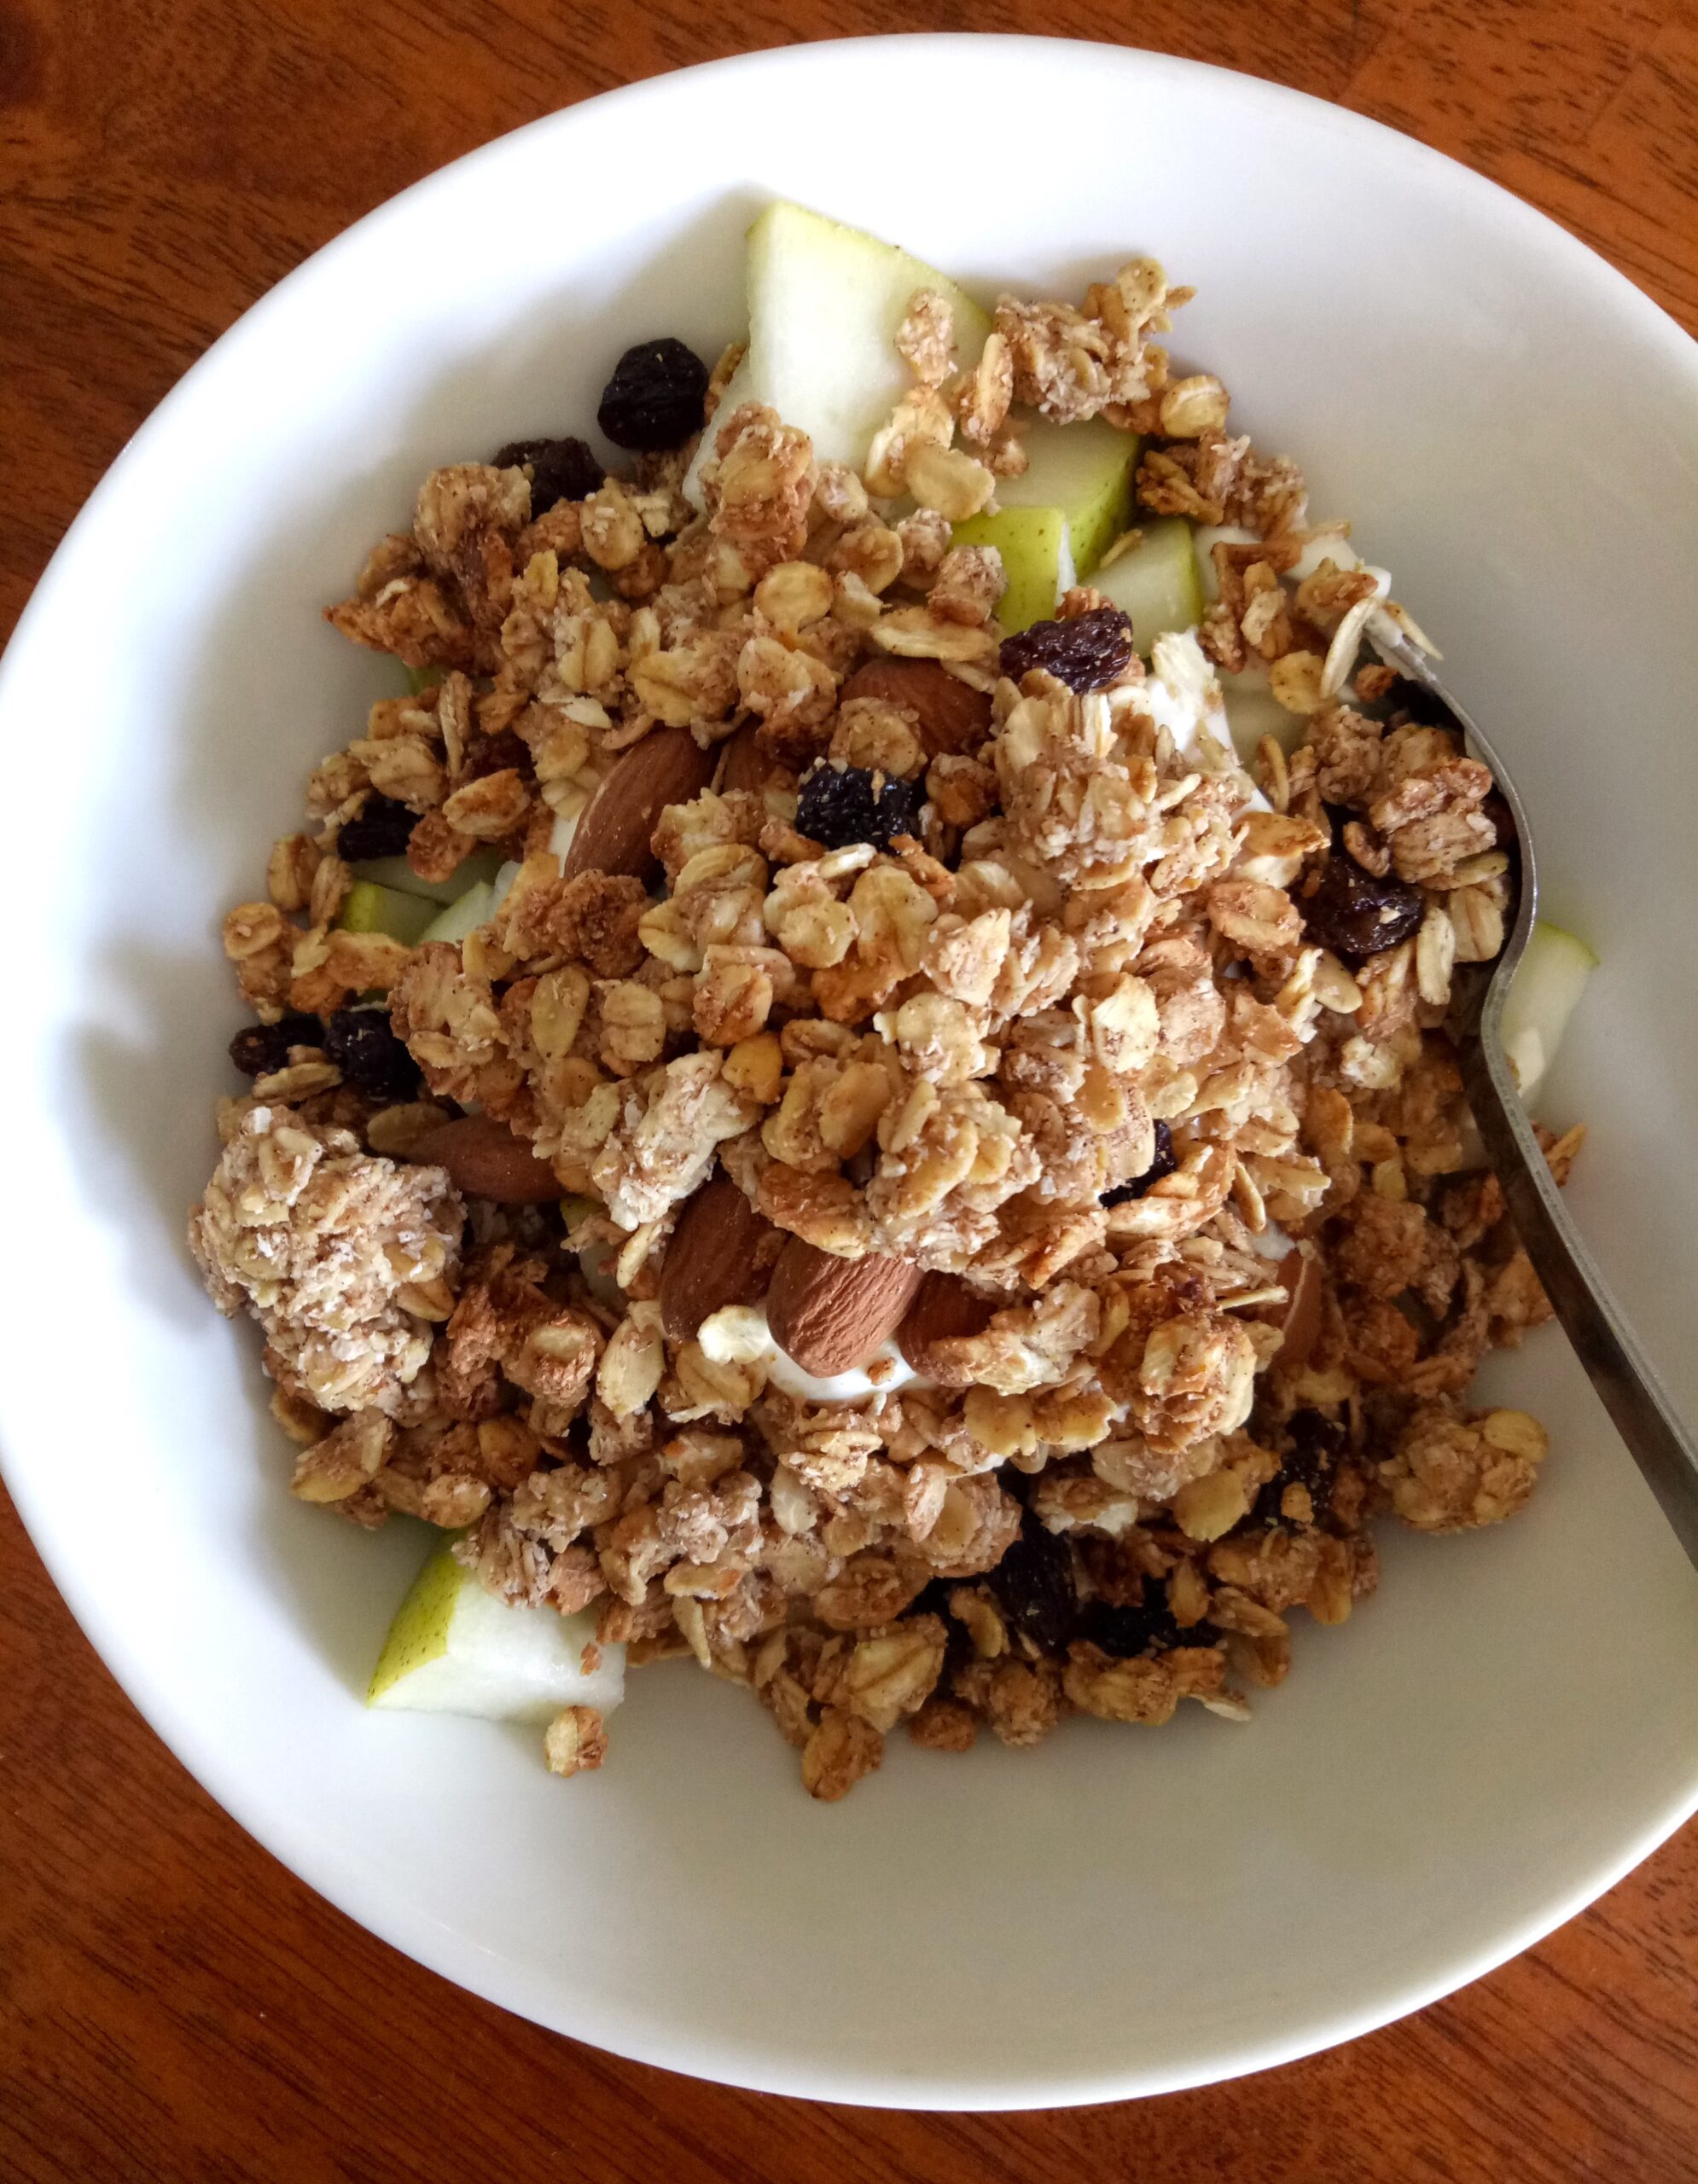
Sourdough granola makes the perfect breakfast topping for fresh fruit and creamy Greek yogurt—a delicious and nutritious way to start your day!

Jump to Recipe

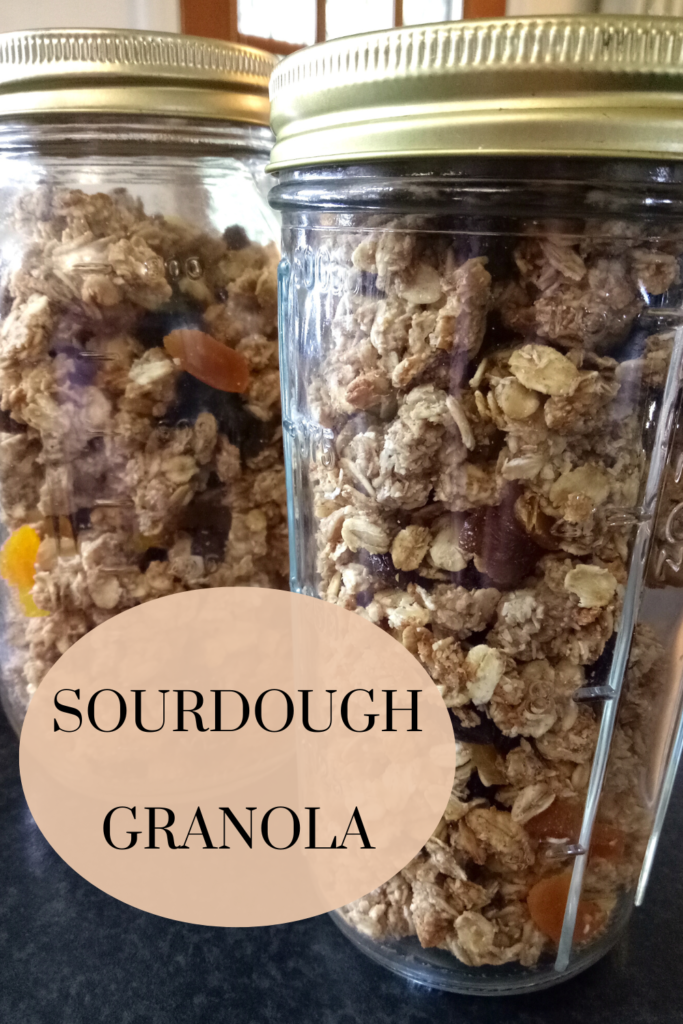
Personally, I love little clusters in my granola, and in the past I have used egg white (like in this recipe) to achieve a bit of chunkiness. But using sourdough starter binds all the ingredients together into clumps so well that there is no need for any additional binders.

You can control the level of crunch by experimenting with the baking times. For more crunch, bake longer. For less crunch, bake a little less.

You can also choose to have add ins or to just make the base recipe, depending on your own taste preferences. I love add ins and these are put in at the end of baking.

Some add in ideas that I regularly use are dried fruits like sultanas, apricots, figs, dates and apple. If you are a fan of nuts, any nut goes well with this recipe! One of my personal favourites is almonds.

This is such a simple and adaptable recipe, just mix wet ingredients and dry separately, then mix together before baking.

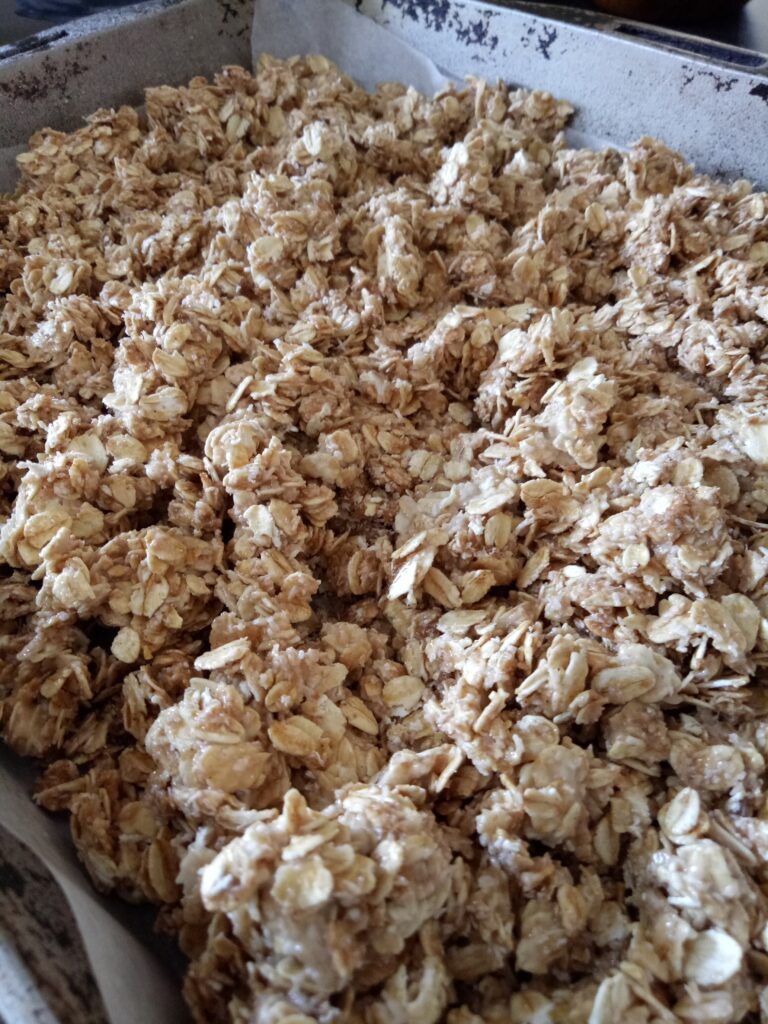
The dry ingredients all get thoroughly coated, making a clumpy, crunchy granola once baked.

Sourdough Granola

Print Recipe Pin Recipe

Ingredients
  

  • 5 cups Rolled oats
  • 1 cup Desiccated or shredded coconut
  • 2 tsp Cinnamon powder
  • 1 cup Sourdough discard or starter
  • 3 tbsp Olive oil
  • 2 tsp Vanilla extract
  • 1/2 cup Honey or brown sugar (or equal mix of the two)
  • Drizzle Maple syrup (optional)
  • 3/4 cup Dried fruit of your choice
  • 1/2 cup Nuts of your choice (optional)

Instructions
 

  • Pre heat oven to 160 degrees Celsius
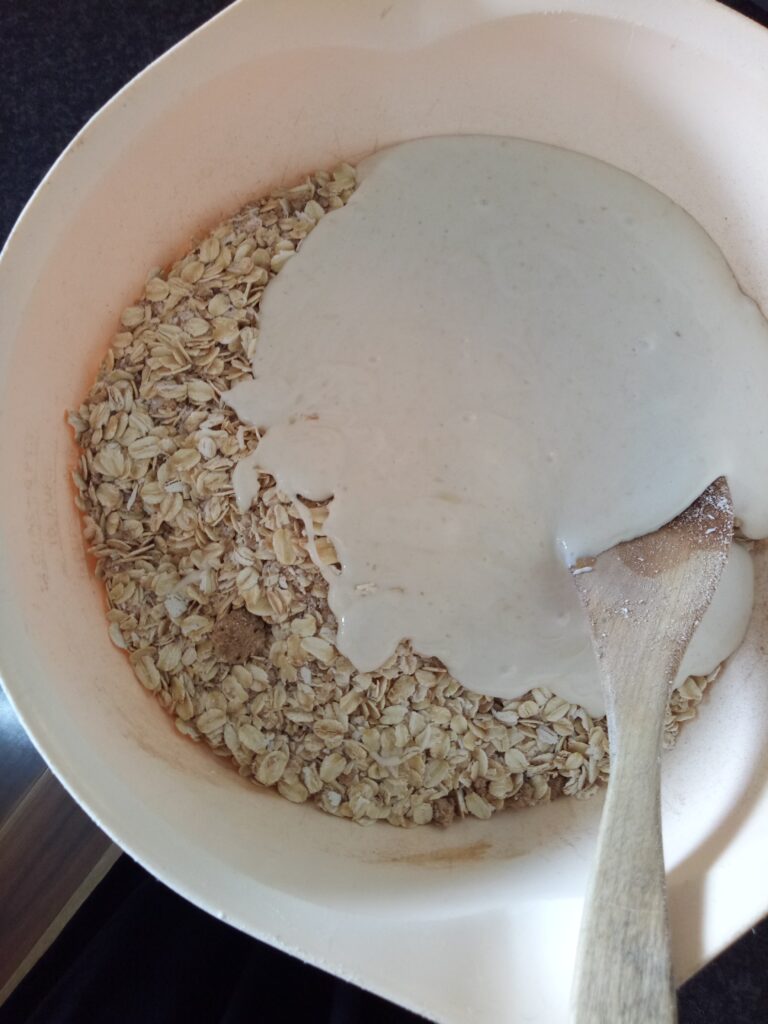
  • Place all dry ingredients (except fruit and nuts) in a large bowl and mix.
  • Place all wet ingredients in separate bowl or glass jug and mix thoroughly.
  • Pour wet ingredients over dry and mix thoroughly.
  • Line a large roasting tray or a tray with sides. I use non stick baking paper. Alternatively, use a non stick tray.
  • Tip your mixture into the tray and even out to make an even layer.
  • Place in the oven for 10 minutes, remove the tray and turn the granola with a spatula.
  • Place back in the oven and repeat until desired darkness is achieved. I recommend a total cooking time of 30 – 40 minutes.

Don’t forget to stir in your add ins at the end, if you’re using them! Once completely cooled, store in an airtight container (I like to use mason jars).

You can eat this granola on it’s own as a snack, on top of fresh fruit, with milk of your choice or one of my personal favourites, on top of yoghurt.

If you love to customise, here are some add in options:

Add ins (examples of)

1/2 cup chopped peanuts

1/4 cup chopped almonds

1/4 cup sunflower seeds

1/4 cup chopped macadamias

1/4 cup chopped cashews

1/4 cup pistachios 

1 cup LSA (linseed, sunflower and almond meal) mix

Chopped dried fruit eg. apricots, peach, paw paw, apple, dates, cranberries

Rules for add ins

*For seeds and nuts, add these in at the dry mix stage. 

*For dried fruit add ins, mix in when the muesli has finished baking.

Allow the muesli to cool before placing it in an airtight container. Serve with milk or use as a delicious topping on stewed fruit and yoghurt. 

Sourdough granola isn’t just a delicious treat for your own table—it also makes a thoughtful and delightful gift! Simply place it in an attractive jar, tie it with a ribbon, and you’ve got a homemade present that’s sure to impress. Whether you’re enjoying it as a crunchy breakfast topping or sharing it with loved ones, this recipe is a wonderful way to make the most of your sourdough discard while adding a little extra joy to every day.

I hope you love it as much as I do! 👩‍🍳

*This post contains affiliate links. For further information please see my disclosure policy.

Filed Under: Health and home, Recipes, Weaving Tagged With: granola, my recipes, recipes, Recipes and food, sourdough

Delicious light rye sourdough artisan bread recipe

by Kelly 3 Comments

Jump to Recipe

Make sure you follow the Light Rye Sourdough loaf recipe steps, but I am adding some further details below for clarity.

Start by whisking your honey (I use locally produced honey) into the water. I always make sure that my water is at room temperature. Then add your sourdough starter and whisk.

I like to use my danish dough whisk for this step, it helps to combine the starter and water beautifully. Ideally, you won’t have any lumps of starter. If you don’t have a dough whisk, you can use a balloon whisk or a regular old spoon.

In the next step you add the salt and flours and mix to combine, again the dough whisk works great for this. You don’t need to over mix, you just want the wet and dry ingredients combined so that there are no surprise pockets of dry flour left.

Your dough will look kind of rough and shaggy. Now that the flours are incorporated, cover the dough (I use plastic wrap for this as it creates some humidity and prevents drying out) and leave it to sit for around 1 hour.

Now we start stretch and folds at half hour intervals, for a total of 5 times. If you’ve never heard of stretching and folding dough, check out this Youtube video (though I don’t do it as neatly and carefully as they do!) Wet hands are a must for stretch and folds.

By the time you do your last stretch and fold you should have a lovely smooth and glossy dough. Cover and allow to sit until the dough has increased by around 30%. Setting it in a warm place helps. It’s tricky giving an exact time for how long this will take, due to room temperature variables. Suffice to say, it will take longer in winter than it will in summer!

When your dough has increased sufficiently, you can shape (again, Youtube is your friend for this – search “shaping a boule”).

Now you can complete the second rise, which can either be done in the fridge overnight (as detailed in the recipe below) or on the bench, covered with plastic wrap or a damp towel for a “same day” bake.

I only bake on the same day when the weather is warmer, otherwise the dough will take a long time to rise. On a warm day, I will let it second rise for around 2 -4 hours.

The refrigerator method can be convenient for “next day” baking as you can wake up in the morning, remove your dough from the fridge, warm your oven and have fresh bread by lunchtime (just remember to allow for cooling time).

Light Rye Sourdough

5 from 1 vote
Print Recipe Pin Recipe

Ingredients
  

  • 160 grams Active sourdough starter
  • 350 mls Water (room temperature) * More water may be needed
  • 1 tbsp Raw honey
  • 200 grams Light rye flour
  • 300 grams Strong white baker's flour
  • 1 & 3/4 tsp salt

Instructions
 

Make the dough

  • Place water and honey in large bowl and whisk together to combine.
  • Add sourdough starter to water and mix until starter is dispersed in water.
  • Add flours and salt and mix until a shaggy dough forms. If the dough seems dry, add some water in small amounts.
  • Cover the bowl and allow to sit for around 1 hour.

Stretch and folds

  • With wet hands, stretch and fold the dough, rotating the bowl 4 times total.
  • Cover and sit for 30 minutes.
  • Continue the stretch and folds, followed by a 30 minute rest for a total of 5 times. (Total time – 2 hours).
  • Cover and allow the dough to prove at room temperature. The amount of time will depend on how warm your kitchen is. This stage may take 1 hour, it may take 6 hours. You want your dough size to increase by around 30% – not to double.
  • At the end of this step, your dough should look light, slightly puffy and glossy. You may see bubbles, this is a good sign.
  • Tip the dough onto a well floured surface and shape. Place into a bowl lined with baking paper/non stick parchment paper or a banneton basket and place in refrigerator overnight, covered.
  • In the morning, remove the dough and place on bench.
  • Heat a cast iron dutch oven with the lid on at your hottest oven temperature. I use a fan forced oven at a temperature of 240 degrees celsius. I place the dutch oven in the middle of the oven.
  • After 30 minutes, remove the dutch oven and take off the lid. Careful, it's very hot!
  • Slash the dough using a knife or lame. I do this before it goes near the dutch oven, to avoid the possibility of burning myself. Use the baking paper as a kind of sling to move the dough to the dutch oven.
  • Turn the oven down to 220 degrees.
  • Place the lid back on and put the dutch oven back in the oven for 20 minutes of covered baking.
  • Remove the lid and continue to bake uncovered for another 25 minutes.
  • Take the dutch oven out and again, use the baking paper to pick up the loaf and place it on a cooling rack, removing the baking paper as you do.
  • Allow the loaf to cool completely before slicing.
Keyword baking, bread, sourdough

I hope you enjoy this bread as much as my family does!

Until next time…

Happy Baking!

Filed Under: Recipes, Weaving Tagged With: baking, bread, make bread at home, Recipes and food, sourdough, sourdough light rye loaf

Sourdough

by Kelly 2 Comments

I’ve tried sourdough starters from scratch many times. Some of the starters went really well but baked really poorly. Others just went off. I became despondent. But something about the warmer weather gets me to thinking about sourdough and I always feel like having another go. This time around I decided to increase my chances of success by buying a starter. I got a partially dehydrated starter from Sourdough Companion, followed the instructions to “wake it up” and away I went!

After the starter was activated (about 24 hours after adding water) I divided it in two to start the feeding stage. The one on the left was fed with organic white flour and filtered water. The one on the right was fed with wholemeal flour and filtered water. I wanted to divide them in case of disaster – my hope was that at least one would survive.
24 hours later they looked like they do in the picture above. Increased in size, lovely bubbly holes and a pleasant, slightly sour aroma.


After this first feeding the starter was ready to bake with. Wanting to remain on the cautious side, I decided to bake plain white loaves. Very simple ingredients – white flour, starter, salt and water.
I baked on a very warm day, so total rising time was around 6 hours, which was perfect. They turned out great!


Two days later I did my second bake. I kept the starters in the fridge in between and got them out for 2 hours before using. This time I tried overnight proving – one batch of dough in the fridge and one out on the bench top on a relatively cool night. I didn’t get as much rise (even overnight which ended up being about 14 hours total proving time!) However, the resulting bread still had a great taste and dense, springy texture.


I’m very happy to be able to add sourdough to my bread making repertoire and now plan to bake sourdough twice a week and yeasted bread once or twice a week (my 5 year old does not have the acquired taste for sourdough yet!) My starters are happily living in the fridge in between bakes and do very well after an outing and a feed.


Filed Under: Uncategorized Tagged With: baking, bread, Recipes and food, sourdough

Primary Sidebar

Categories

Archives

Meta

  • Log in
  • Entries feed
  • Comments feed
  • WordPress.org

Copyright © 2025 Kelly Casanova Weaving Lessons on the Foodie Pro Theme