Search Results for: weaving
Craft studio clean up!
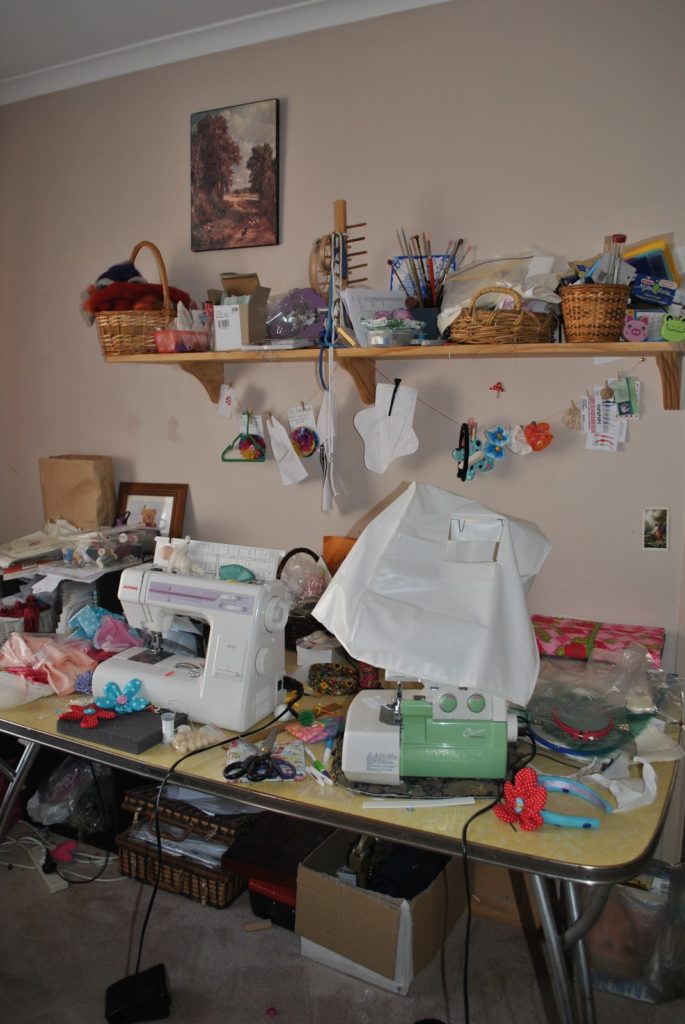
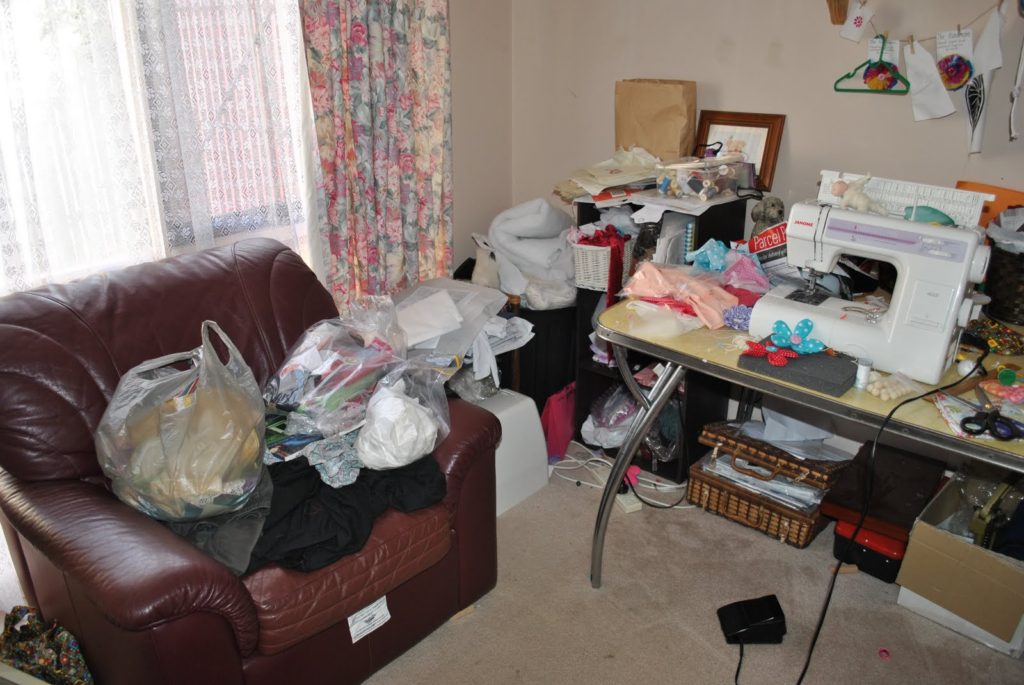
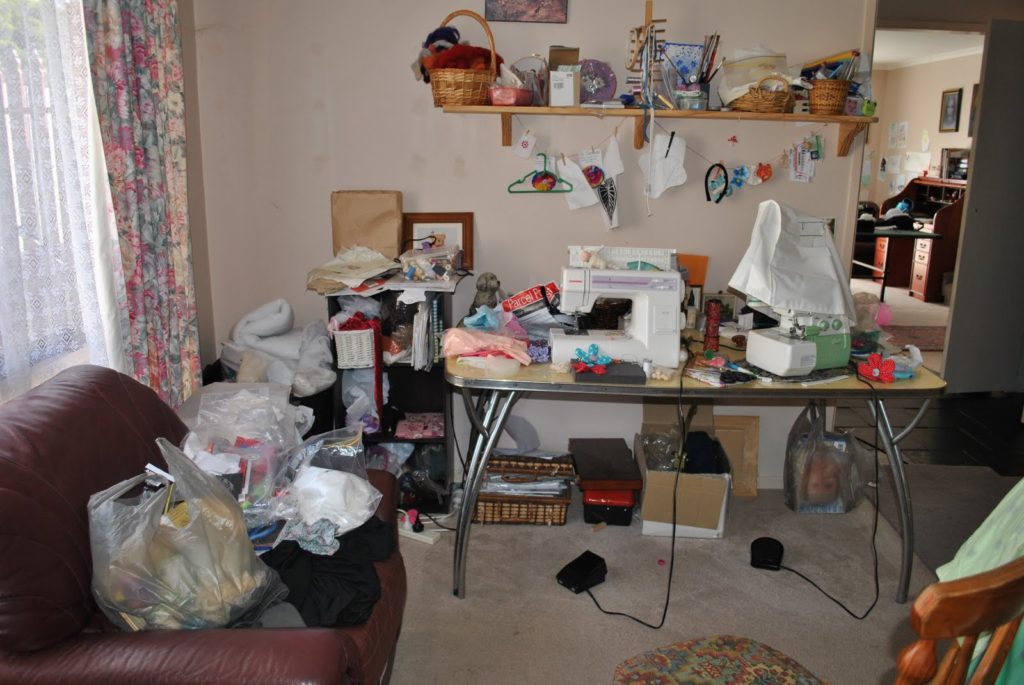
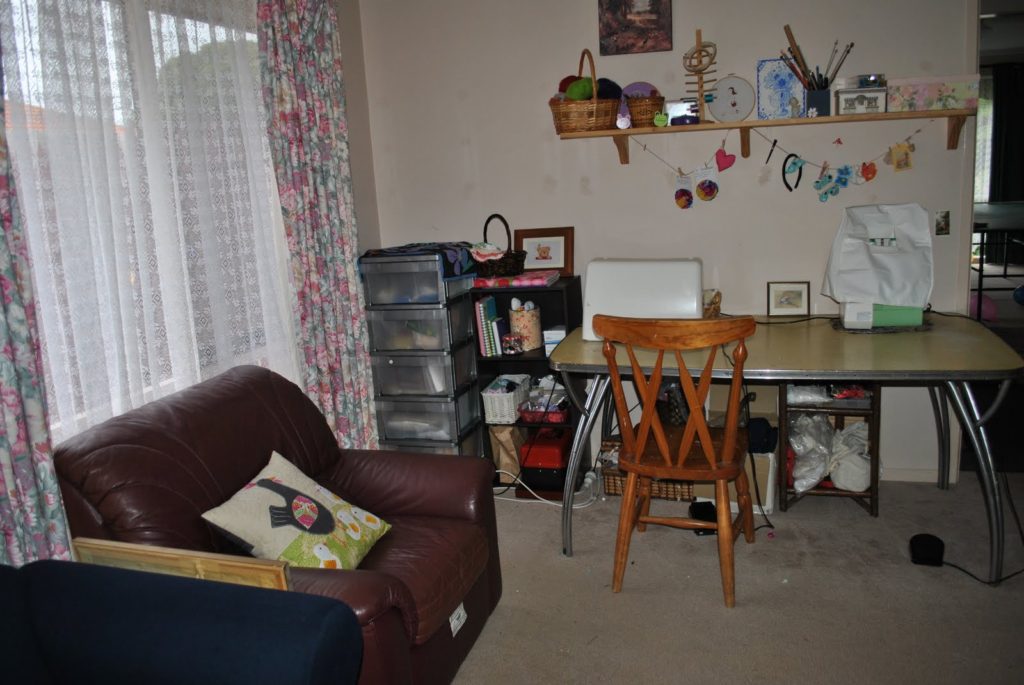
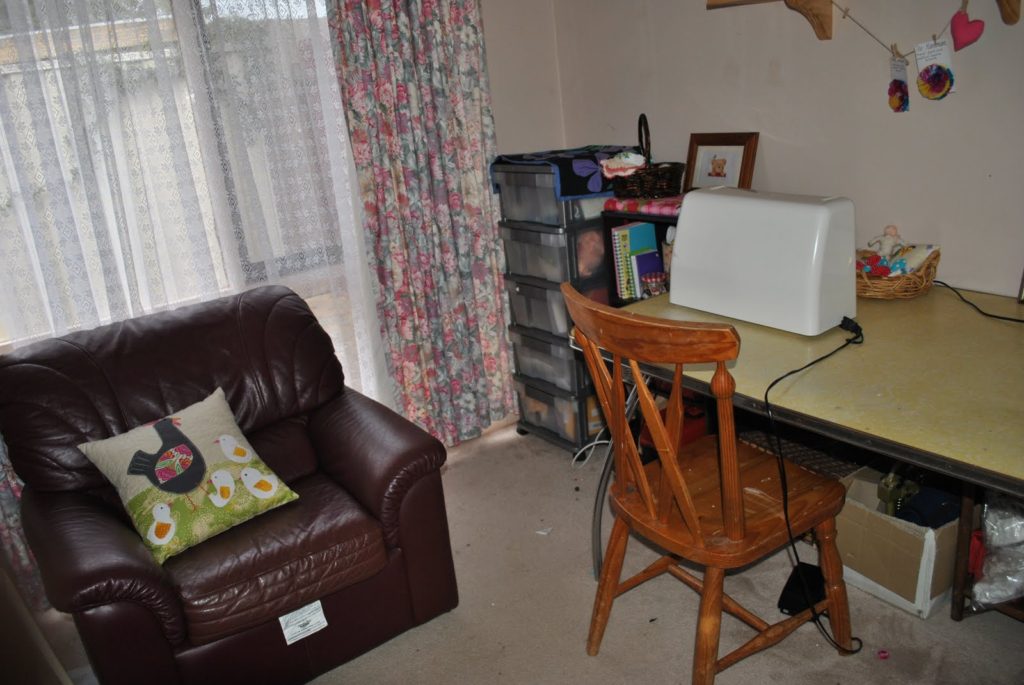
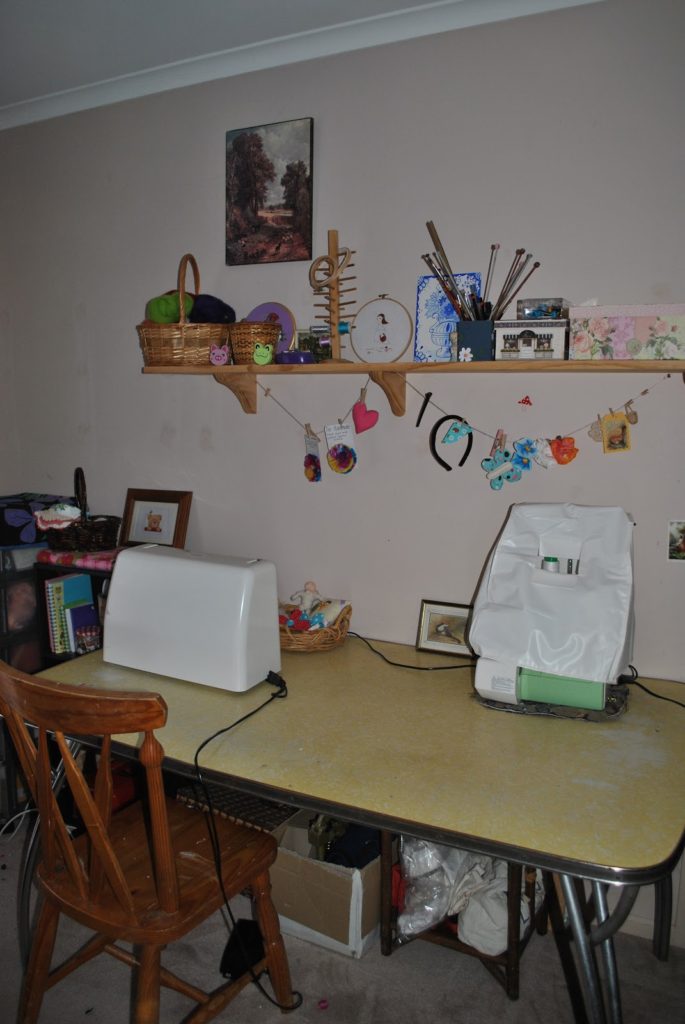
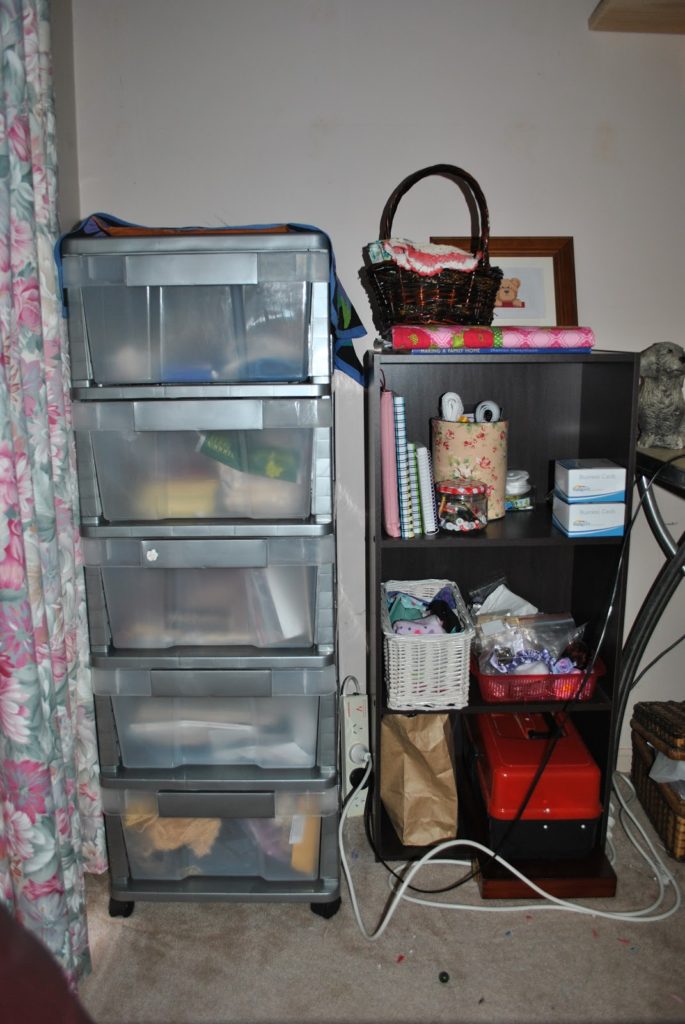
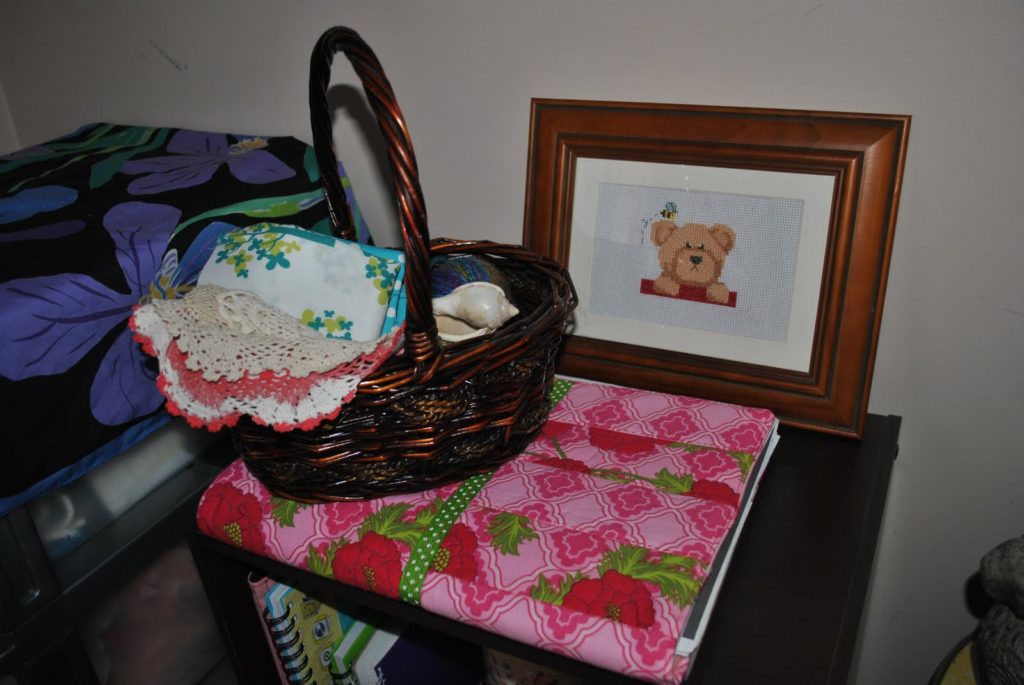
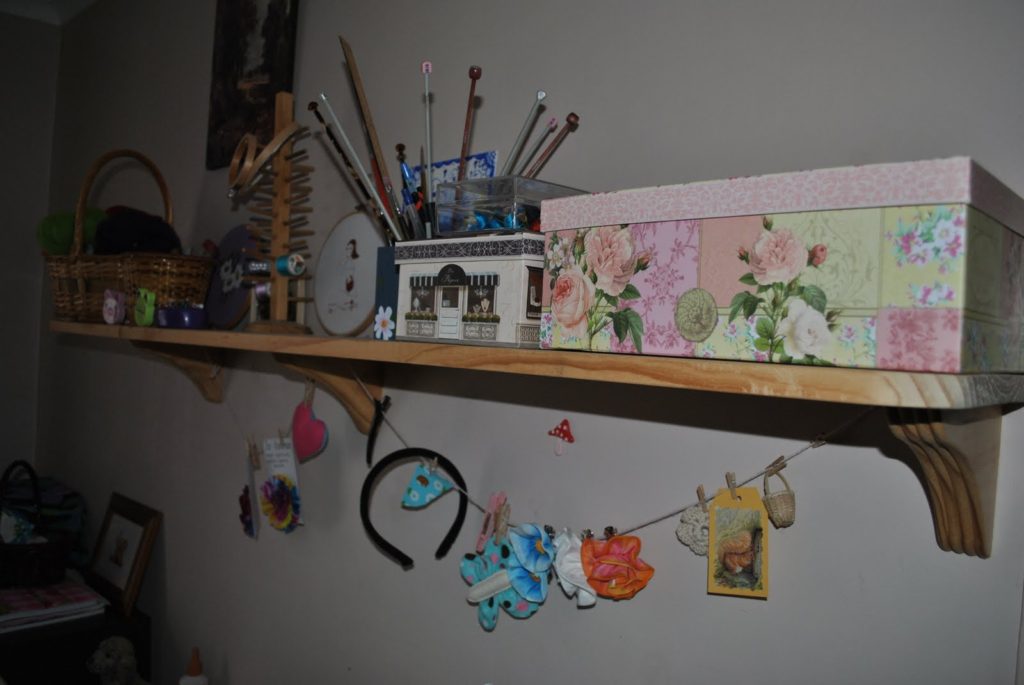
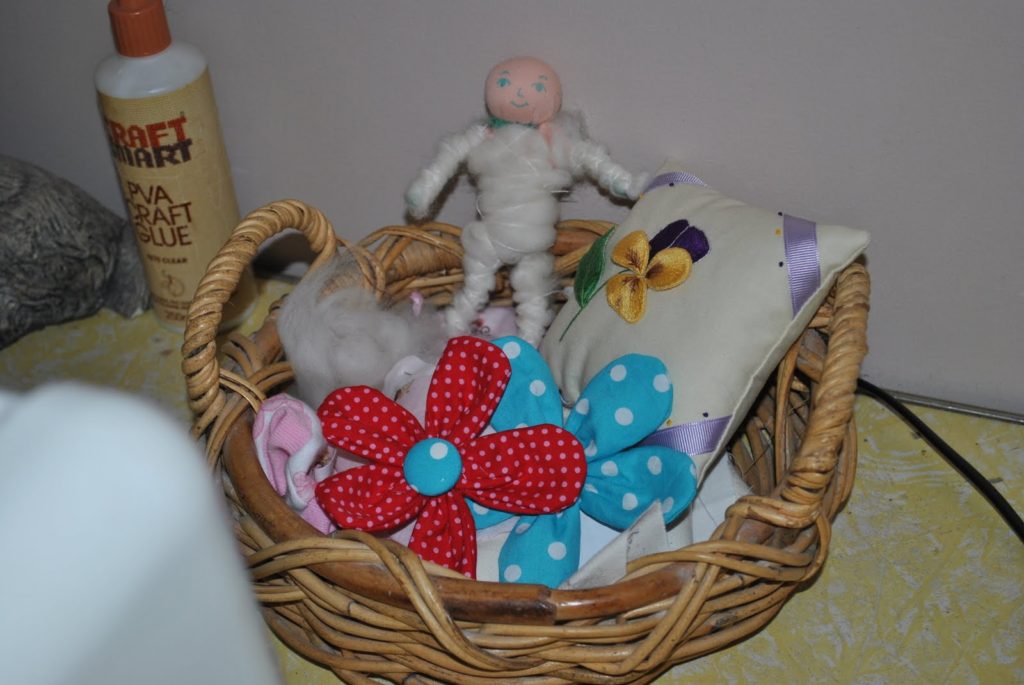
So, my space had gotten messy to the point of me being unable to sit down at the table without feeling overwhelmed and totally creatively stifled. Take a look for yourself!
How could I let it get so bad?!
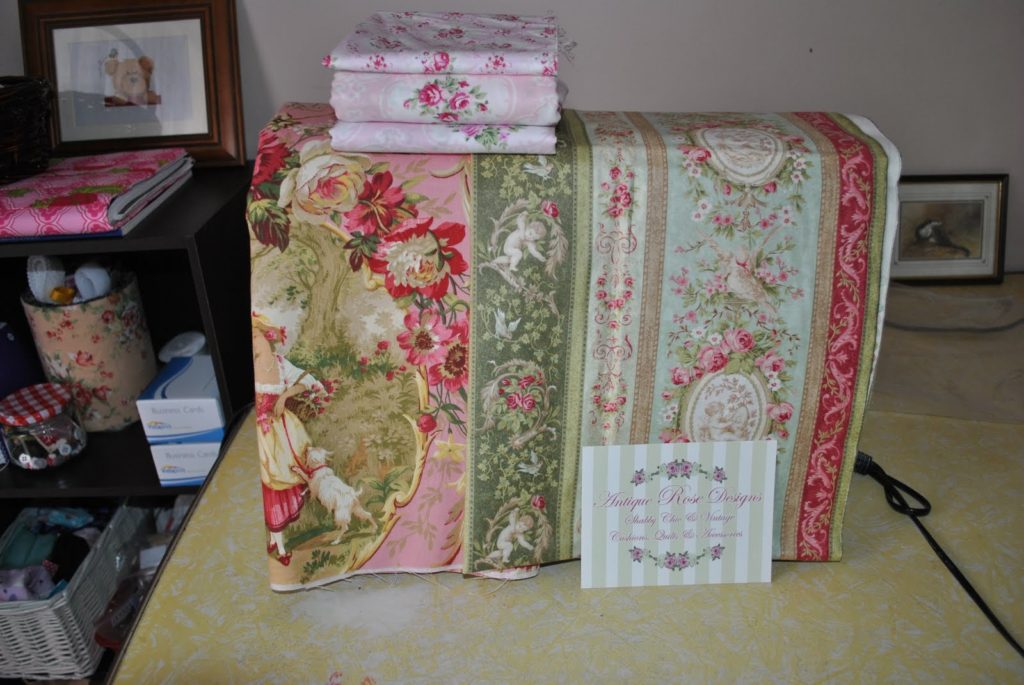
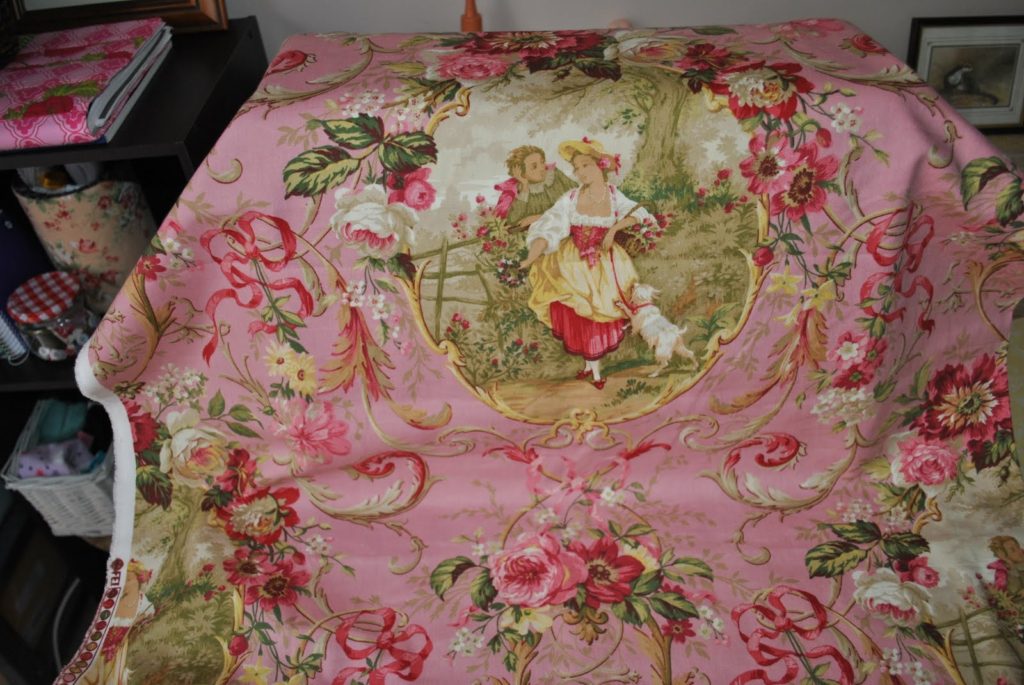
And to top off the thrill of a clean space these fabrics arrived from Carol today. Carol makes exceptionally lovely cushions, quilts etc in the shabby chic style for her business Antique Rose Designs.
Thank you God for…..
I’m not so great at maintaining what I start but if some of you join in perhaps I will be motivated.
You can post as many or as little thank you’s as you like, with or without photos. Then simply link up your blog post with Mr Linky so we can read your thank you’s!
So here is my thanksgiving for the week:
Thank you God for:
1. The warm weather we’ve had this week that has lifted our spirits and given excitement in planning our Spring garden.
2. The positive mood that has followed me around this week.
3. The small transformations in our house that are making it feel cleaner and homlier.
4. The strength to get out of bed and teach my children everyday.
I look forward to reading your thanksgiving! God bless.
Stumpwork progress
I’m half way through the stumpwork course I’m doing with the Embroiderers Guild and although it continues to be a challenge I have learned so much and am really enjoying it. I was attracted to this particular course by the reputation of the tutor Alison Cole and haven’t been disappointed – she is an excellent tutor from whom I’m learning so much.
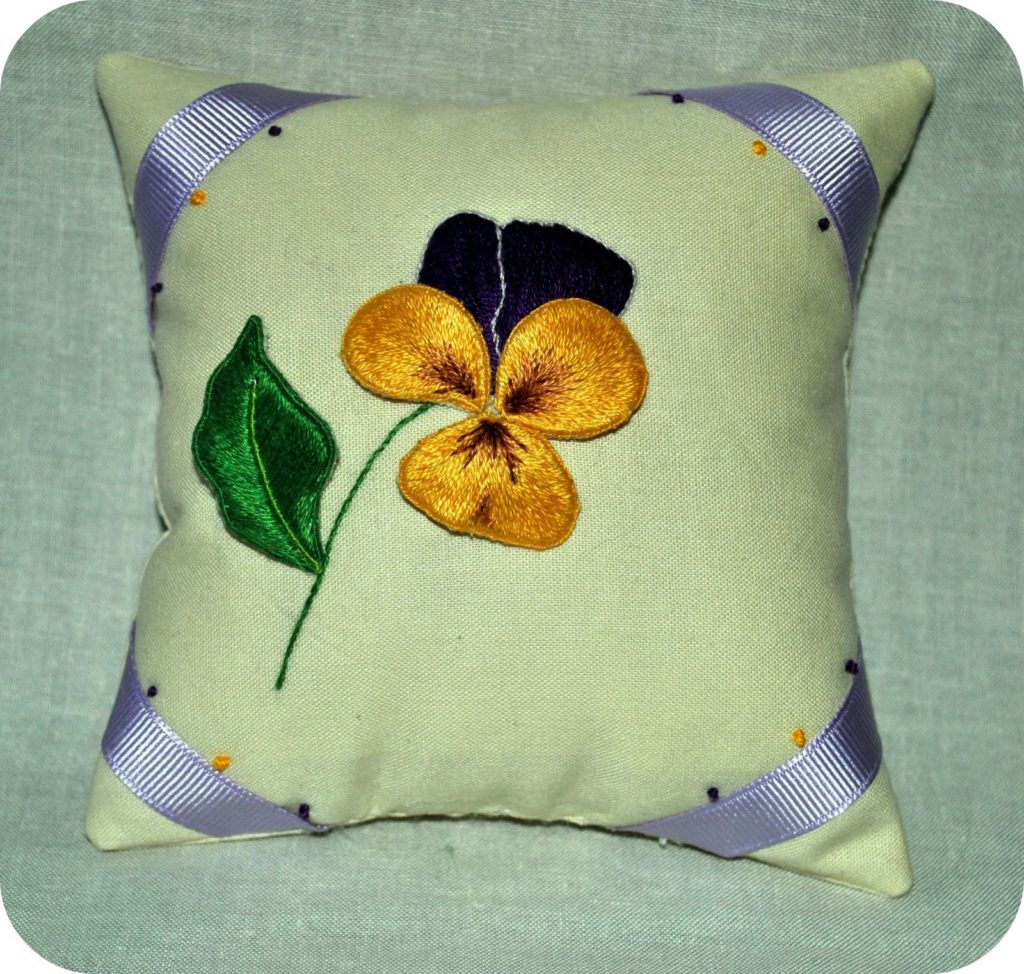
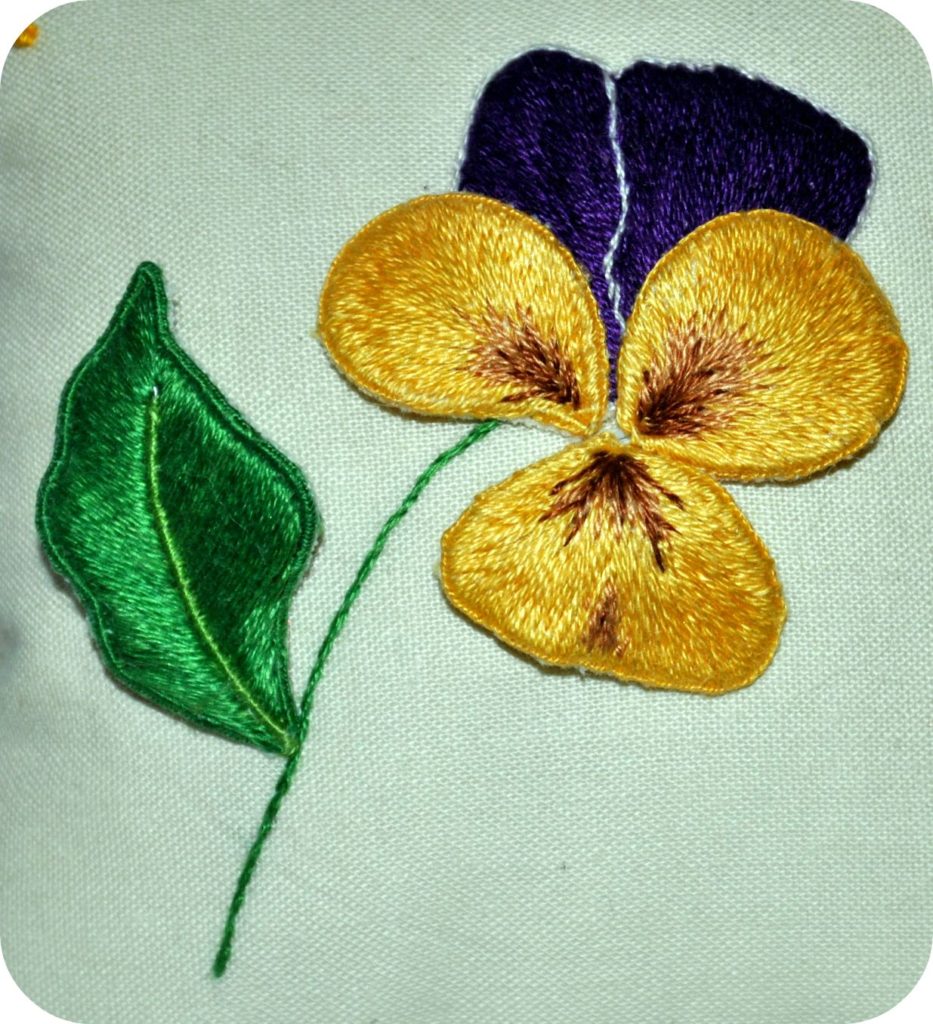
I chose to embroider a viola and make it into a pincushion. Strangely enough, it is the first pincushion I’ve ever made or owned!
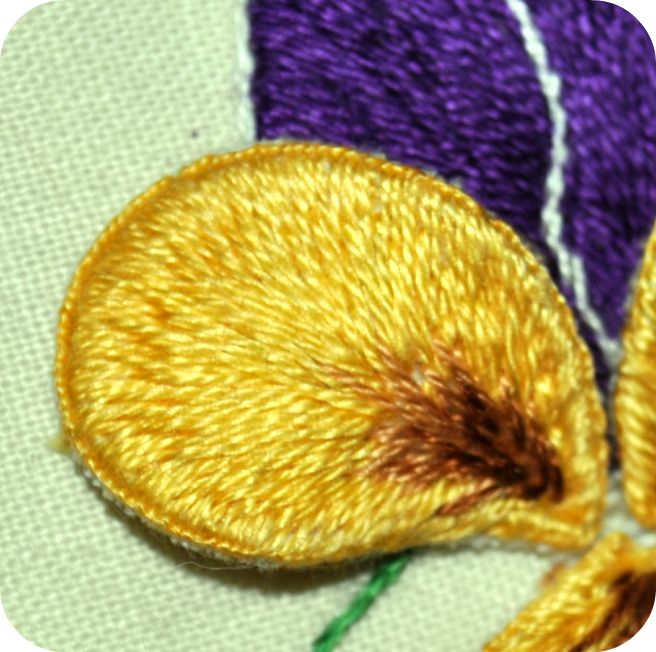
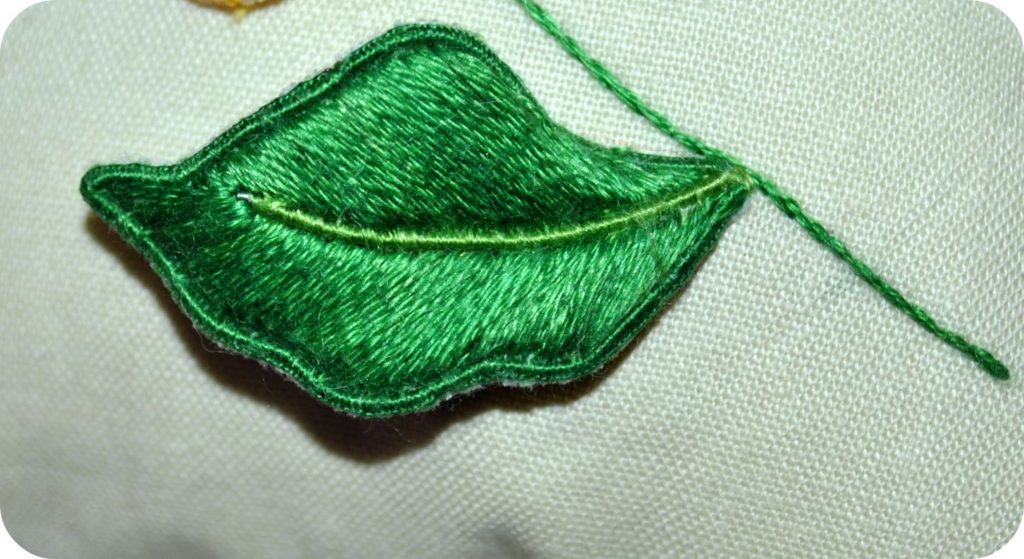
I’m really pleased with my end result and was surprised to see such improvement in my stitching. The three petals and the leaf are detached and wired. The stem and back petals are embroidered onto the fabric.
Our next assignment is to be an insect and the final work is to be our own design, a good size and using the elements we’ve learned in class. The creative brain is ticking!
A lot of people will wonder how long it takes to embroider something like this and I don’t know the answer. My focus at the moment is to advance my stitching to the highest level I possibly can – that takes time. To give you a rough idea, one of these petals could take up to 5 hours 🙂
Flower inspirations
Perhaps it is the time of year and the lack of blooms that make flowers so attractive to me at the moment. Or perhaps it’s the perusal of wonderful Rachel Ashwell books featuring marvellous roses, even reading of Tonya Todman’s heritage rose farm is terribly exciting!
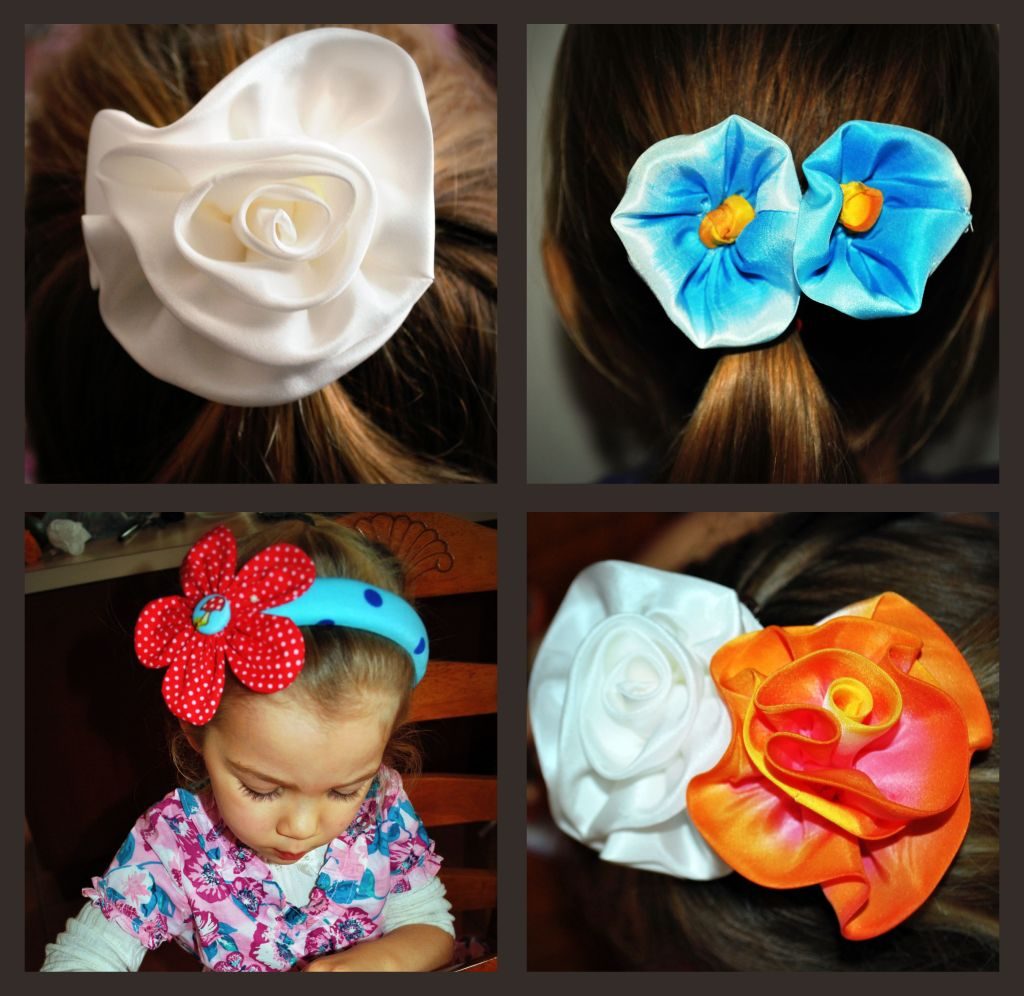
The other thing I’ve been delving into is my silk supply and silk paints. I’m working on fashioning blooms and these ones have been used for hair accessories for my long haired girls. I’m pleased with the results but now need to work on presenting the flowers in a more tidy fashion ie. the backs don’t look nearly as nice as the fronts! I do so like the hand painted ones.
What do you think?
Birthdays and sunshine
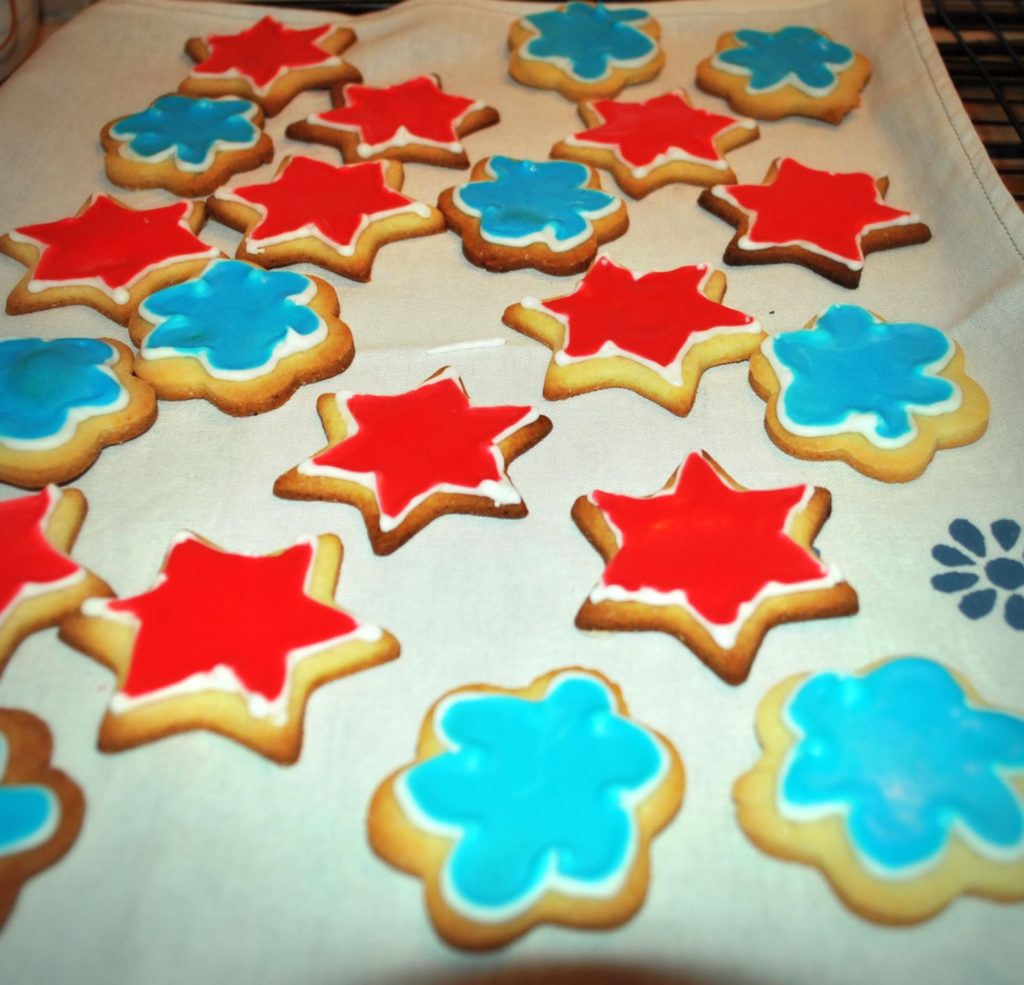
July is the month of birthdays in our family, with 4 out of the 6 of us celebrating. This means I spend a lot of July in the kitchen, but is there a more perfect time of year than Winter to be baking?
Thanks for reading along, bye for now:)
My bread
I’m often asked about the bread I make and I’m more than happy to share my loose recipe (from my head!) and methods. My bread is a culmination of trying a myriad of recipes over the years and finding that this way is the fastest, easiest and tastiest way to make good bread. I make all of our family loaves now and this is how:
1 cup wholemeal plain flour
3 cups unbleached plain flour (I use Wallaby)
1 tablespoon dried yeast
1 tablespoon salt
1& 1/2 tablespoons sugar (honey can also be used)
2 cups warm water
extra flour
I use the mixmaster with dough hooks because I have trouble with my wrists, but it can be mixed by hand also, which is what I used to do.
Place all dry ingredients in bowl and add water. Mix until you have a uniform wet and sticky dough. Now add the extra flour (usually 1/2 to 1 cup) and mix in. You want your dough at this point to be still a little sticky. Turn out onto a floured area and knead lightly. This part is not absolutely necessary but I find it gives me a better feel for how the dough should feel and how it will perform. I also just like the feel of it on my hands!
Oil your bowl lightly on the bottom and sides. Place dough back in and rub a little oil on top. Cover with gladwrap. Leave for 30 minutes to 1 hour, depending on your room temperature. When the dough has increased to twice it’s size remove from the bowl and knead lightly. Cut in half with a serrated knife and shape each piece into a rough ball or oblong loaf.
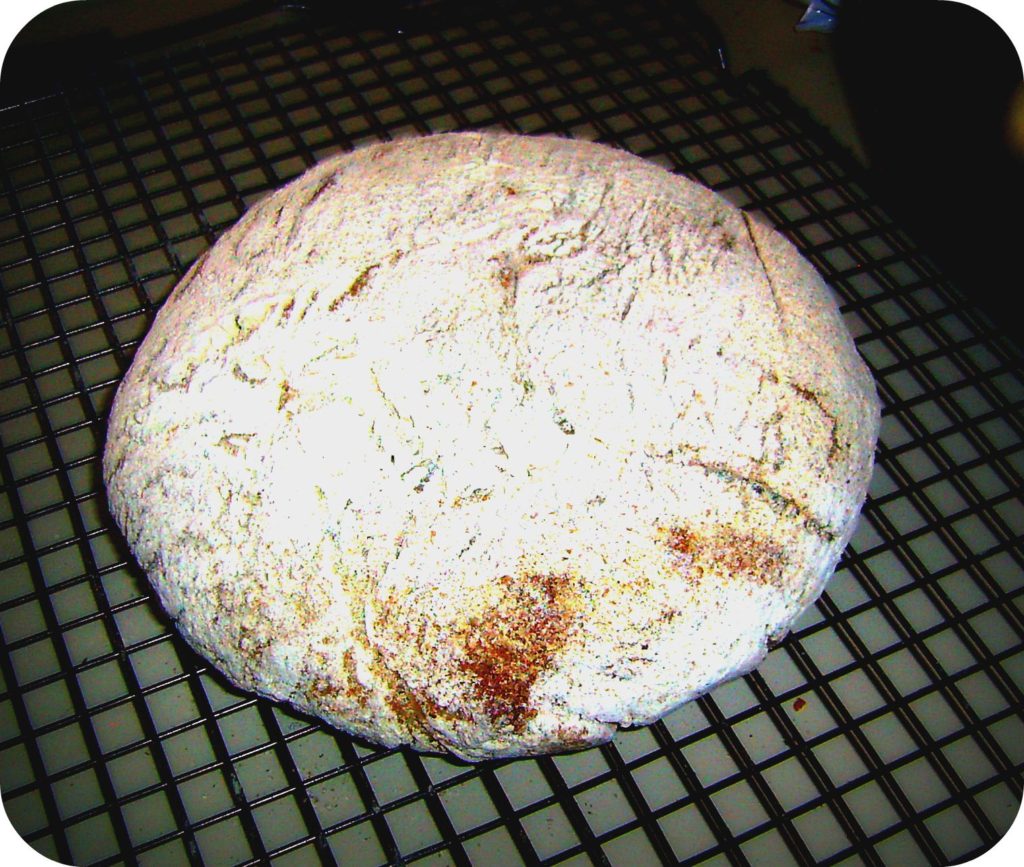
Place a dish of cool water in the bottom of the oven. Grease a biscuit tray and place both loaves (or you can use 2 trays if you wish). Slash the loaves 3 times on top with the serrated knife and sprinkle a little flour on top if you like the look.
Place tray in oven and turn on to 210 degrees celscius. That’s right – I don’t preheat!
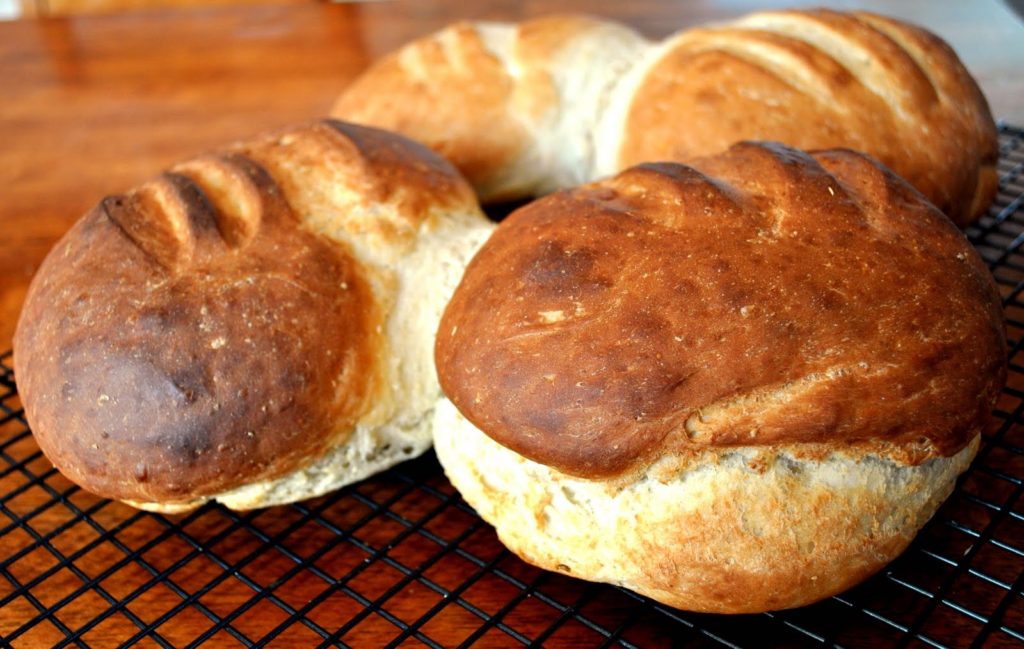
On the top rack of the oven your loaf should be done in 30 minutes – you basically want it looking nice and brown and crusty.
Remove from oven and cool on a backing rack. If, like my family, you cannot resist the amazing aroma, just cut and eat with butter while it’s hot!
These loaves freeze very well. I make 4 at a time so I don’t have to bake every day.
If you try my recipe let me know what you think. Enjoy!
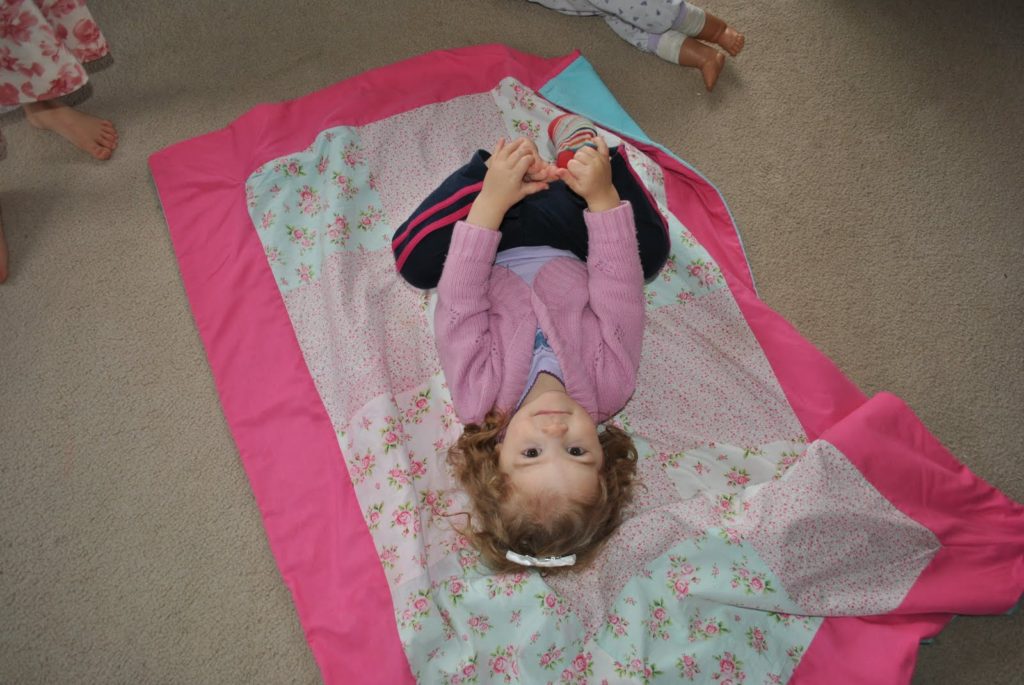
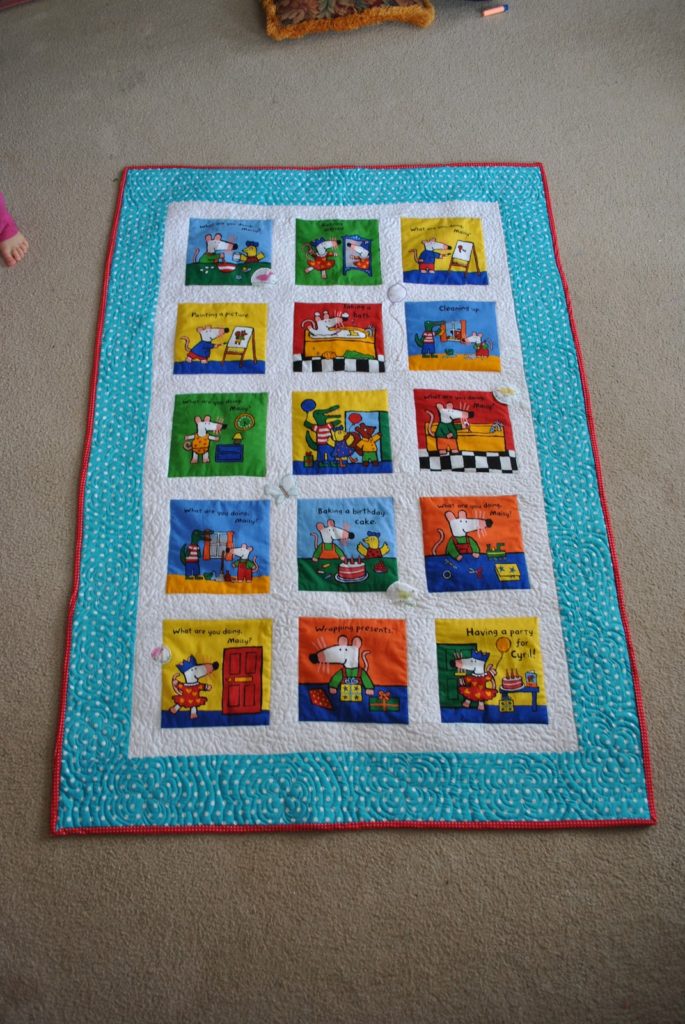
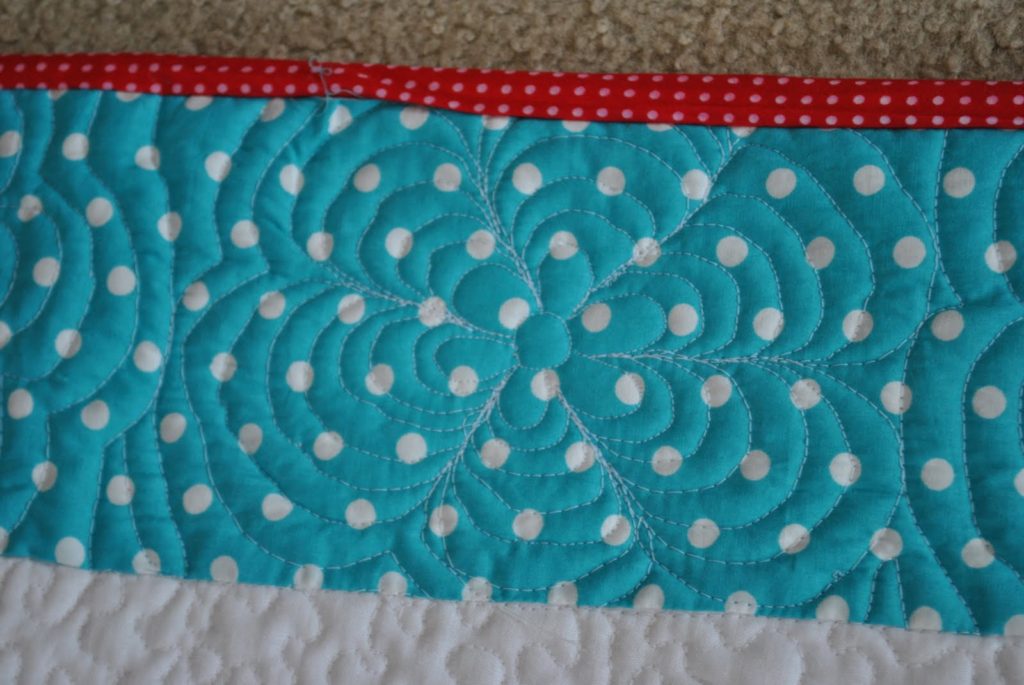
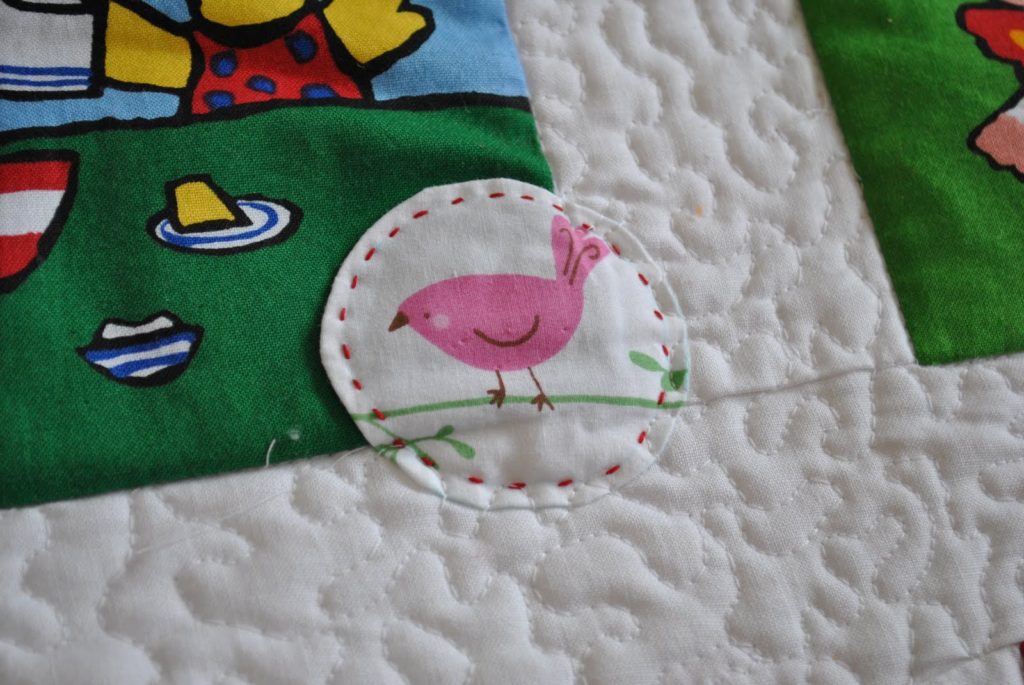
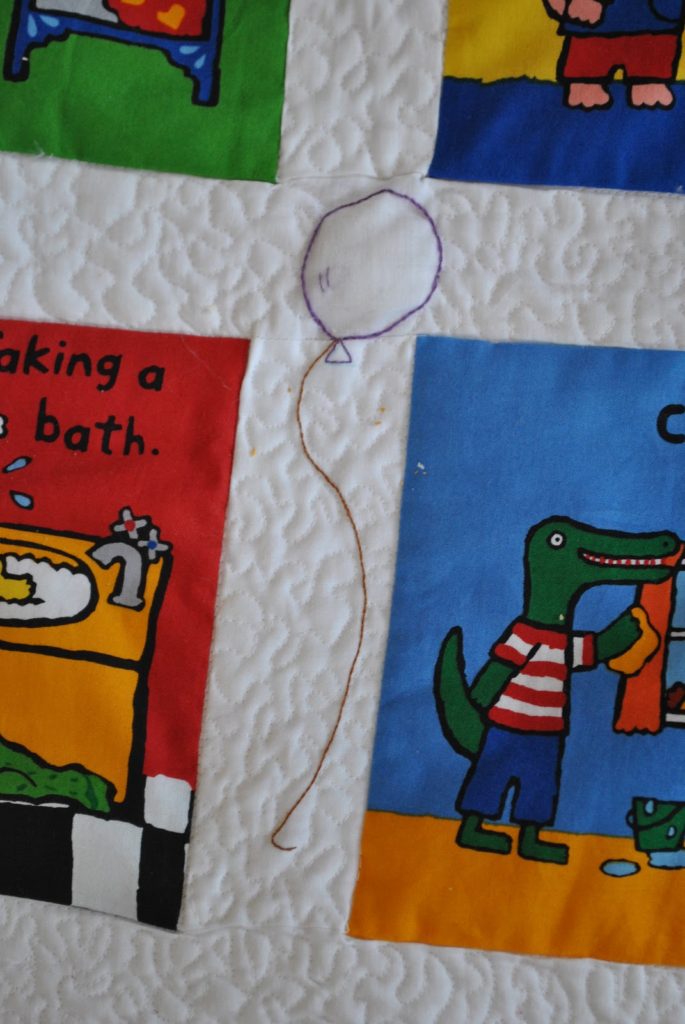
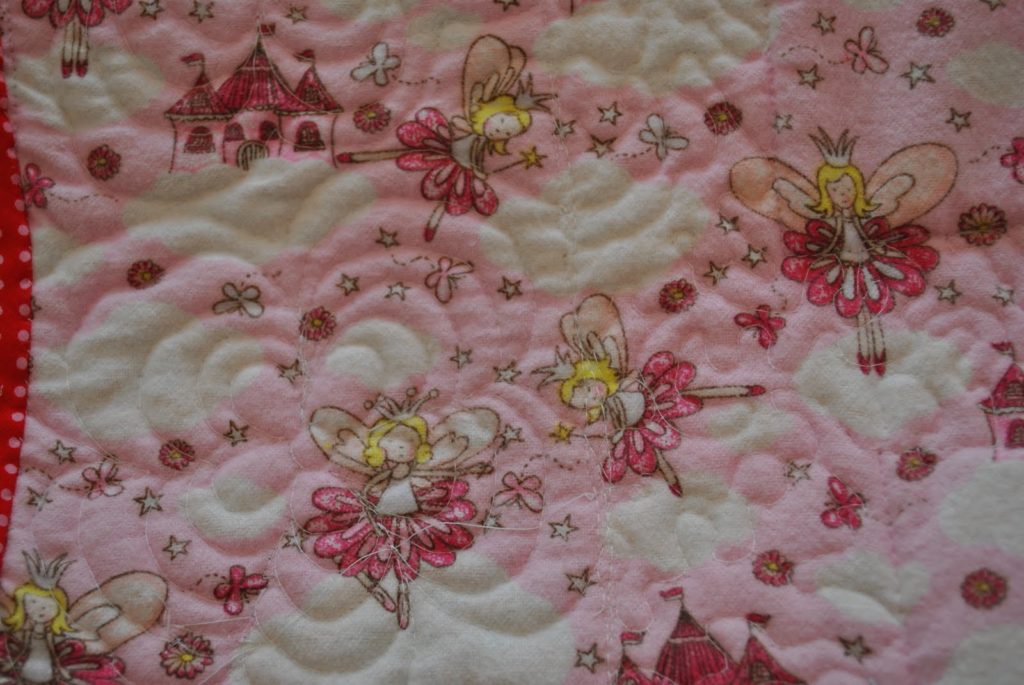
Maisy quilt
Hi
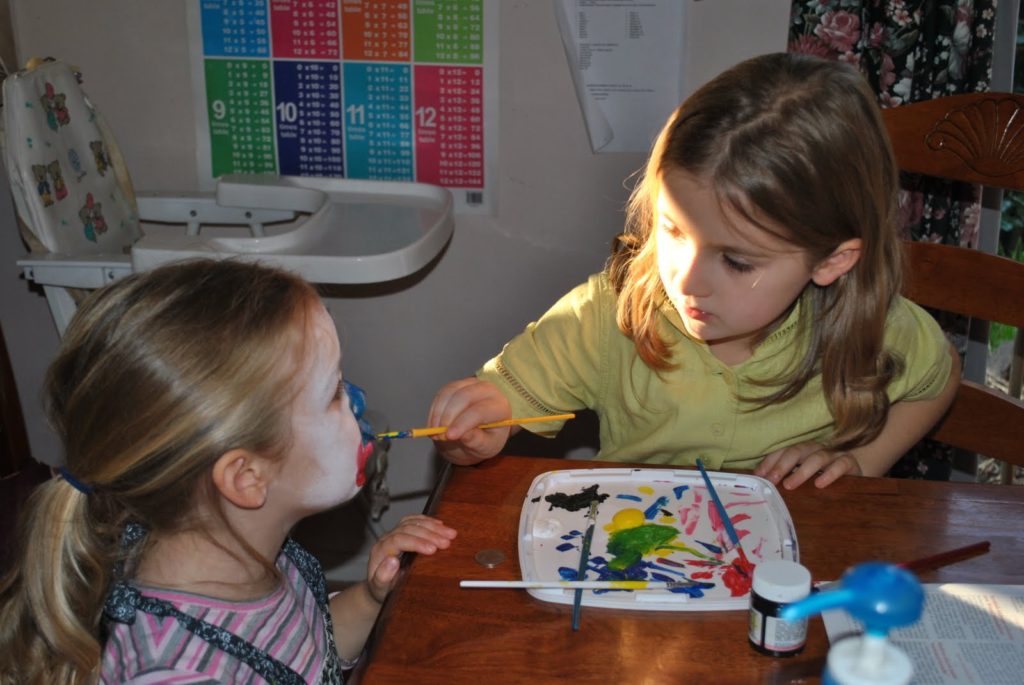
And when not facepainting they can be found at a posh tea party where one must wear floral dresses, posh hats and use their “lady” manners!
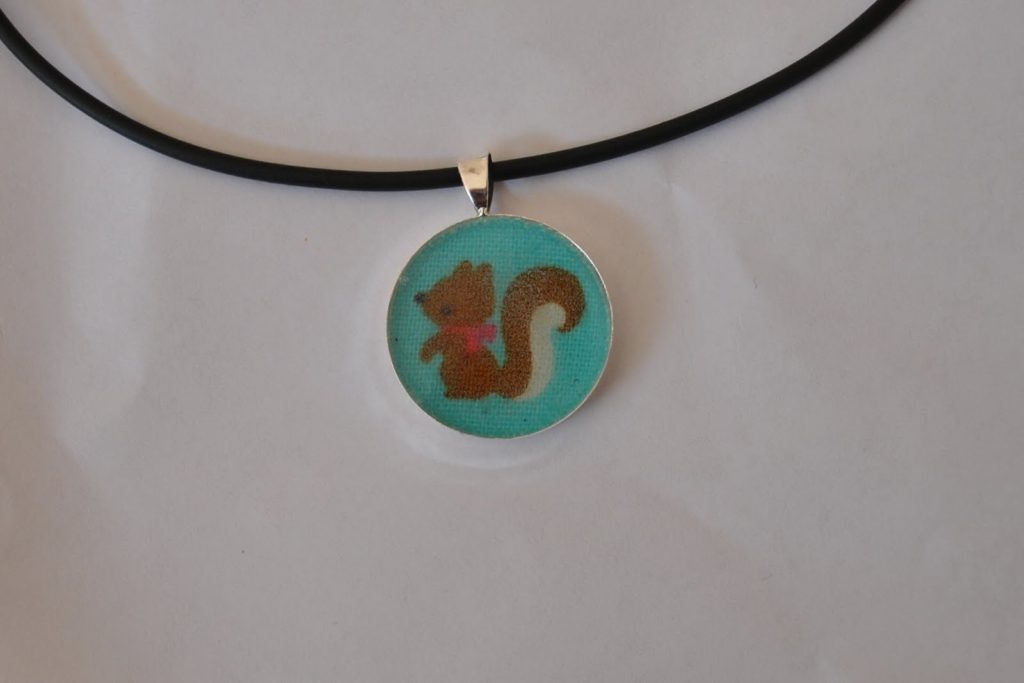
I was sent a silver bezel, among other goodies as a kindly gift from Kerrie at Jackobindi. I cut out a little circle of fabric and sealed it with mod podge, then poured clear resin on top. Cute huh?
Apart from these, and many other goings on I have been dreaming and drooling over the Harkaway Homes Catalogue. Hope springs eternal!
Have a great weekend, God bless.
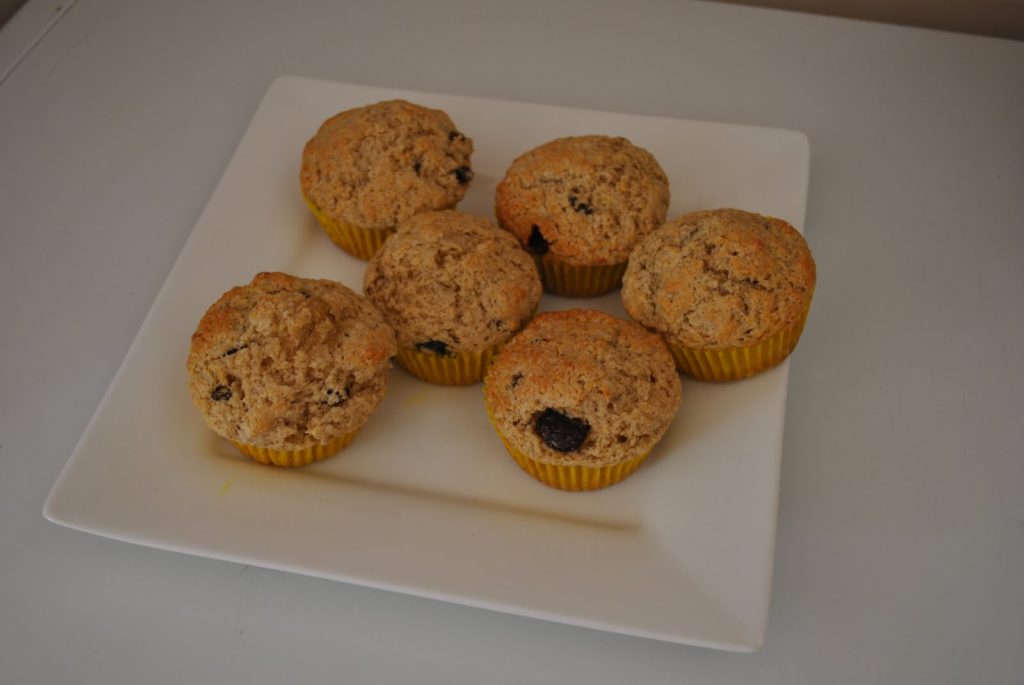
Rock Cakes
These are so simple and quick – I often make them for morning tea for the children.
2 cups SR flour
pinch salt
1/2 teaspoon mixed spice
90g butter
1/3 cup sugar
1/4 – 1/2 cup sultanas
1 egg
milk to mix
Preheat oven to 190 degrees (C) (375F). Prepare a muffin or cupcake tin with cupcake patties.
Sift flour, salt and spices, add the butter and rub with fingers until the mix resembles breadcrumbs. Mix sugar in.
Mix together sultanas and lightly beaten egg and add to flour mixture. Stir in milk until you have a thick but not dry consistency. Fill cupcake patties about 3/4 full. Sprinkle with raw sugar and put in the oven.
Bake for about 15 minutes until risen and golden brown, cool on cake racks. My kids love these hot with melted butter. Using the top of the cupcake patty pan as a guide, cut the top off your cake (as for a muffin) and spread both sides with butter. Another delicious way to have them is cooled and split with jam and whipped cream on top.

