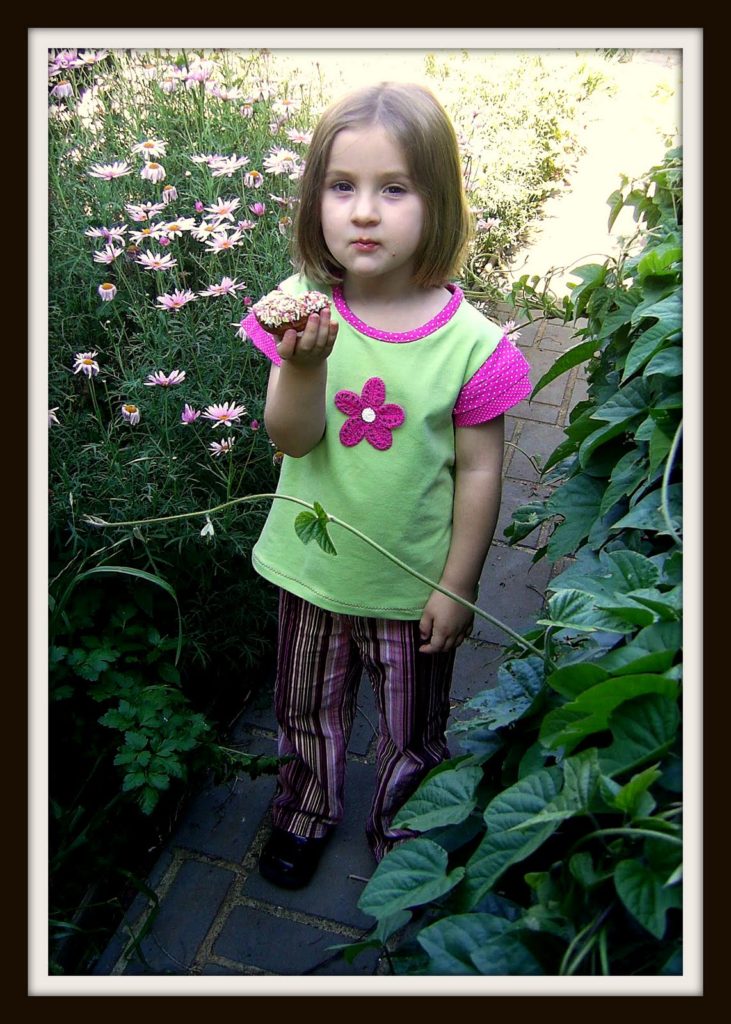
 We tend to be a hand – me – down magnet as a family which is mostly a good thing, but involves sorting through bags of clothes we often don’t want and that end up in the charity bin. Recently I saved a few items that were made with nice fabric but in a style I didn’t like or were too big for my girls. Cut out the seams etc. and ta – da! Free fabric.
So here is the first installment, a top made from 2 other tops. The crocheted flower was a gift, so, apart from the thread and the sweat of my brow the top was completely free.
Sewing
What I’ve been up to…..
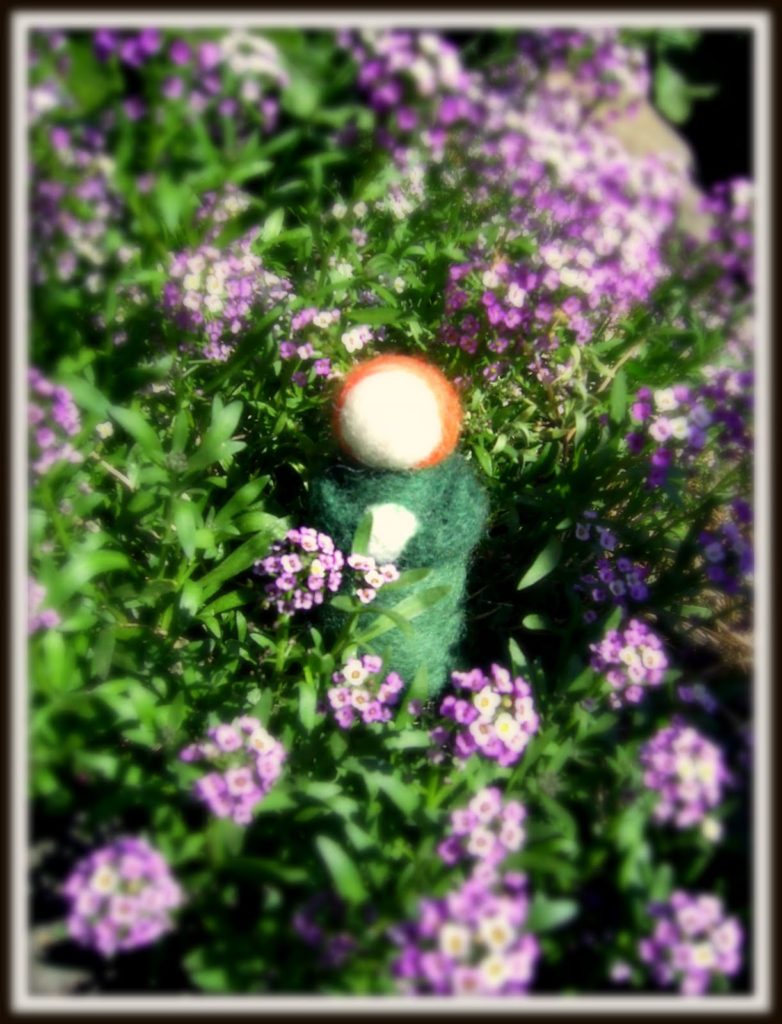 Apart from lamenting my washing machine situation (I have to wait a week just to get someone here to look at it!) I’ve been fitting in a bit of crafty time (in between being stuck in the laundry handwashing). Above is a needle felted lady, my second attempt at needle felting. Very enjoyable.
 Also on the needle felting front, a wee bundled baby for one of my baby girls. This little one was also the cause of my first needle felting related injury in the form of a stabbed thumb. Ouch!
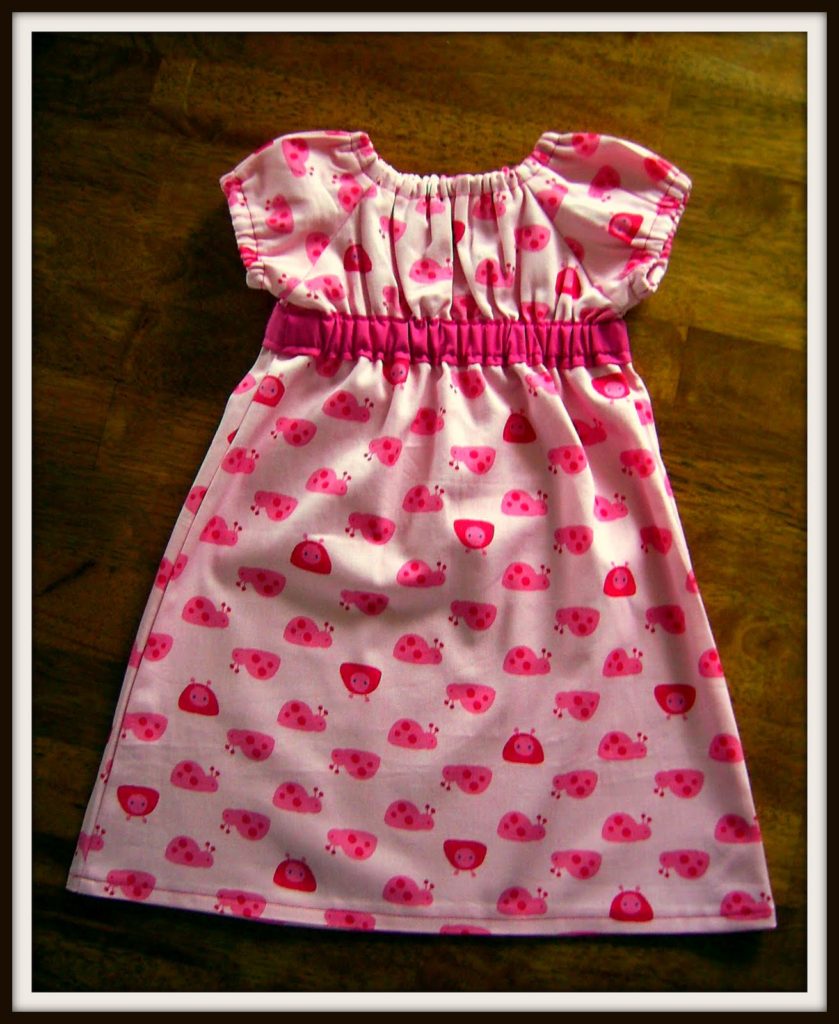 I hope you’re not tired of the Miss Madlines yet, because I’m obviously not! This little one is for a cute, cute niece of mine, about 18 months old.
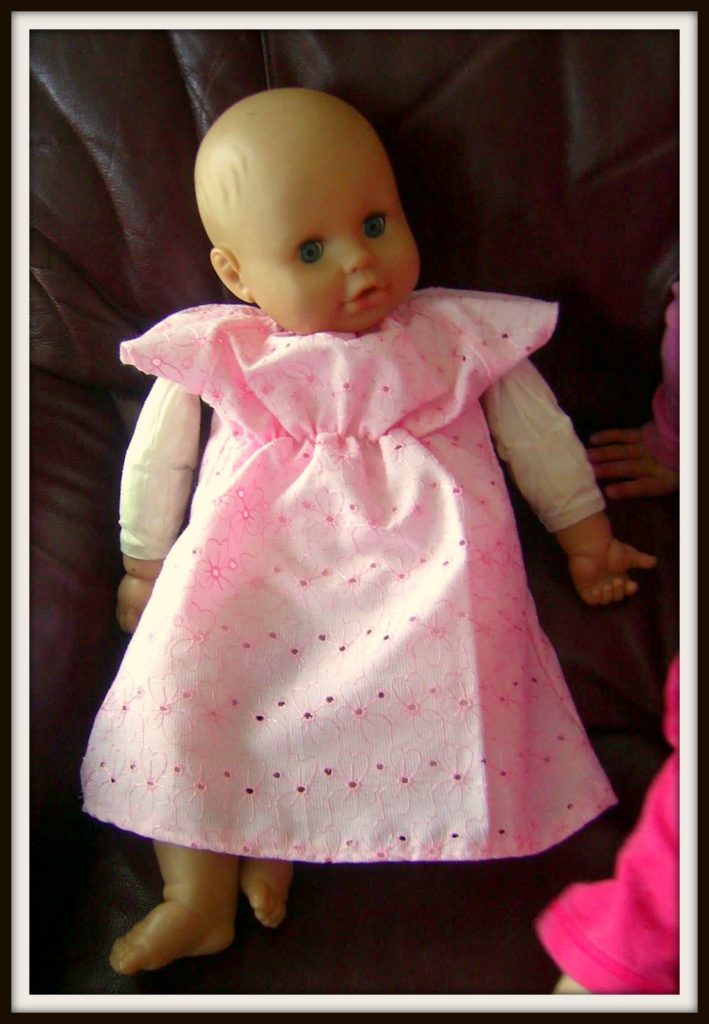
No one misses out in this house. Blog readers, meet Rosy – Rosy meet blog readers. She is one of my girl’s constant companion, so I made them matching dresses with the leftovers from Corrine’s fabric.
Nappy/ diaper liner or soaker tutorial
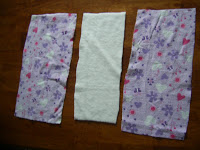 This is so easy you could do it with your eyes closed. I used to use those expensive disposable liners from the supermarket (what are they made from anyway?!) Suddenly something clicked and I started making these. There a 2 methods, one for an overlocker (serger) and one without. The overlocker method is first. You’ll need some flannel (I’ve used an old pair of pyjama pants) and something absorbent (I’m using bamboo here, you can just use a few layers of flannel if you don’t have anything else). Cut 3 rectangles. The size is up to you, my flannel pieces measure 10.5 x 5.5 inches. The absorbent material should be about 9.5 x 4.5 inches.
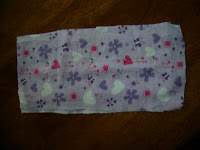 Sandwich the bamboo between the 2 pieces of flannel, with the right sides facing out. Pin all layers together roughly.
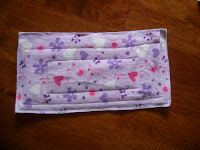 Sew a rectangle in the middle, then another one about an inch in from the edges. Overlock the raw seams and you’re done! How easy was that?!
Now for the second method.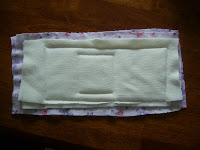 Lay your bamboo (I’ve used 2 layers of bamboo here for extra absorbency) on the wrong side of one piece of flannel and pin roughly. Sew the rectangles as for the first method. Now, turn it over so that the right side of the flannel faces out, then place your other piece of flannel on top of this with right sides together.
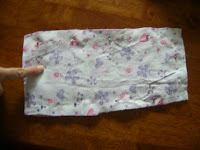 Sew a seam right around the edge, leaving one short end open. Turn the liner right sides out.
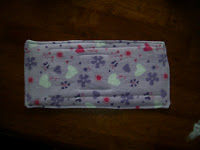 Fold the raw edges of the open end inwards and pin. Top stitch right around the edges and you’re finished.
I find washing nappies so much easier now that I use these, the liner gets soiled instead of the whole nappy.
Disclaimer: I was joking about having your eyes closed, please keep your eyes open whilst operating sewing machines!!
Another Miss Madeline
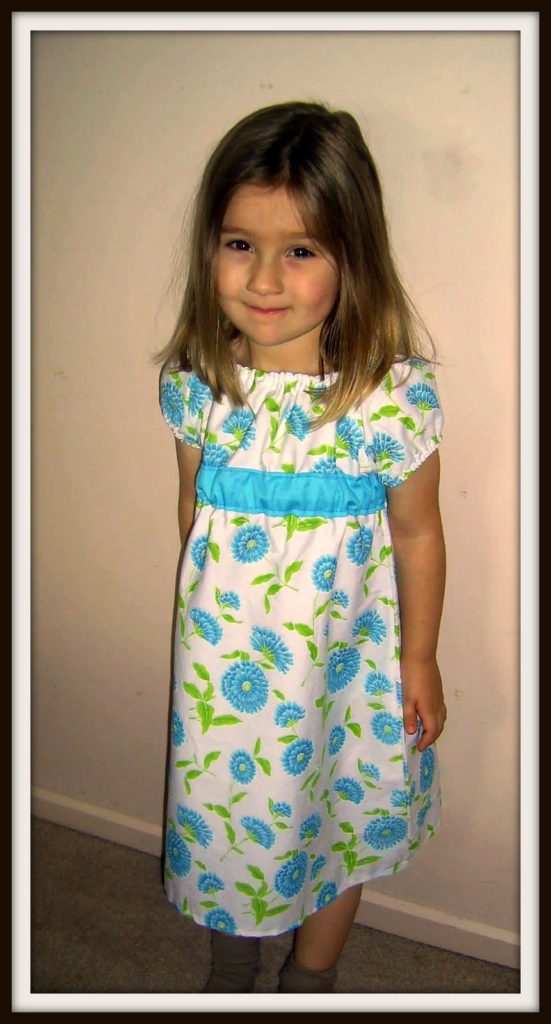 I’ve totally fallen for this pattern and the more you make, the easier it is! I bought this pretty fabric from the clearance table at Spotlight, so all up the dress cost $5 – 6 Aus. dollars! The pattern is available from the Crafty Mama’s Shop and as a PDF from You Can Make This.
I’m making one for a little niece now, quick and easy, gotta love that!
Miss Madeline
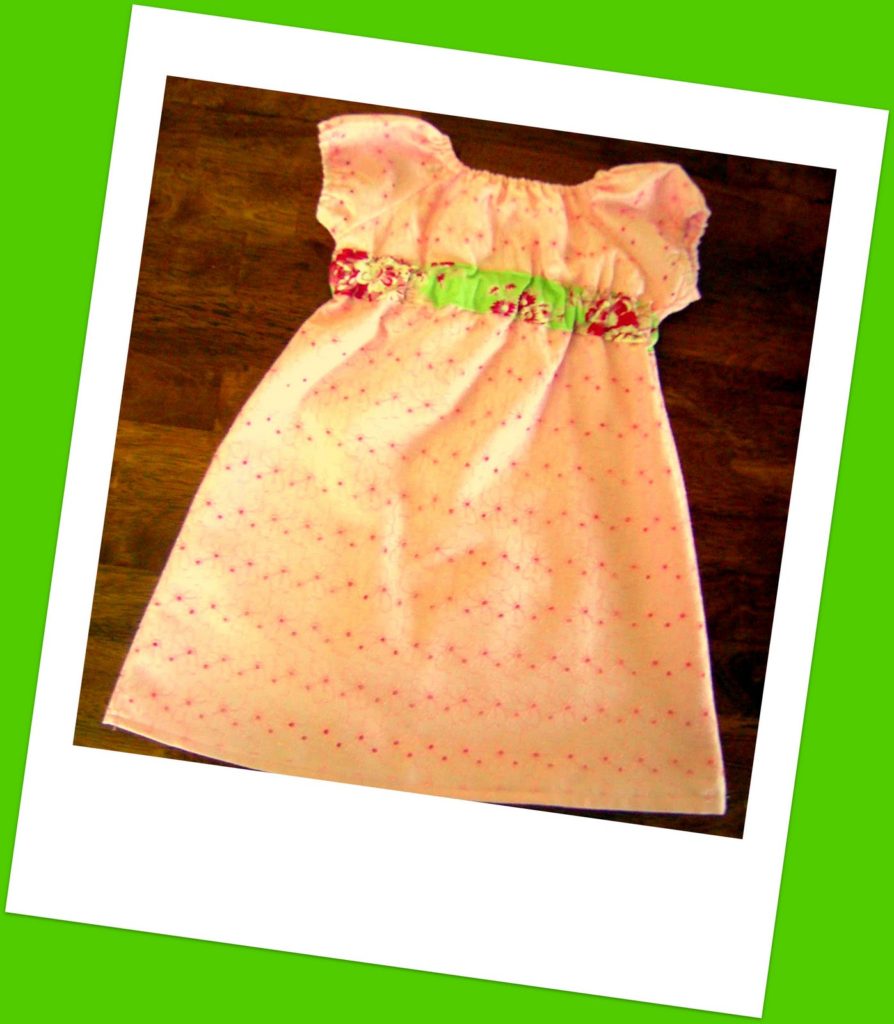 I’m so happy to finish a sewing project these days and this was a great one to sew. It’s the Miss Madeline Dress pattern, I bought mine here. This is a size 2, but there are an assortment of sizes.
This is my kind of pattern, simple design and construction with maximum effect.
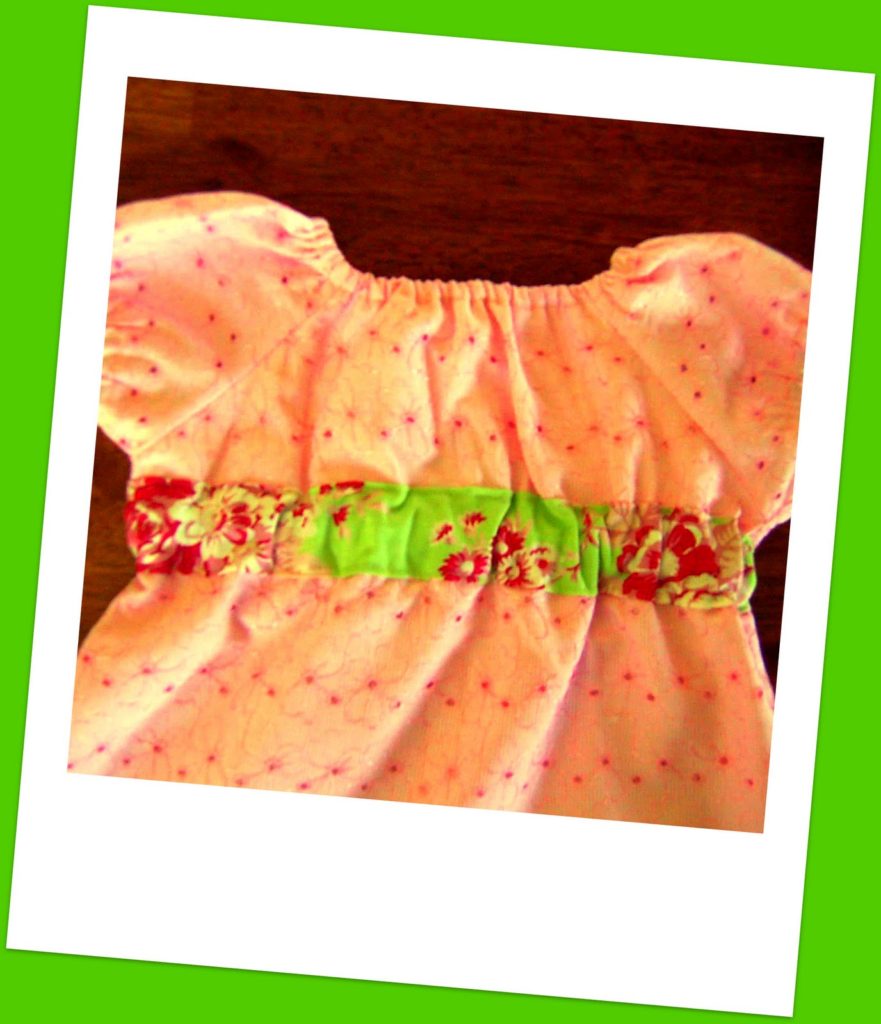
Do you recognise the fabric? I won it on Cherri’s giveaway some time ago. The waistband is a Tanya Whelan fabric. I lined the dress with a pale pink lawn.
My model wasn’t available at the time of writing, I believe she had a tough morning on the catwalk and is sleeping it off. She will be surprised to wake and find this little number waiting for her.
OK, today is absoloutely the last day to enter the giveaway!
The winner will be drawn and notified tomorrow.
Until then…….
Another Antonia top
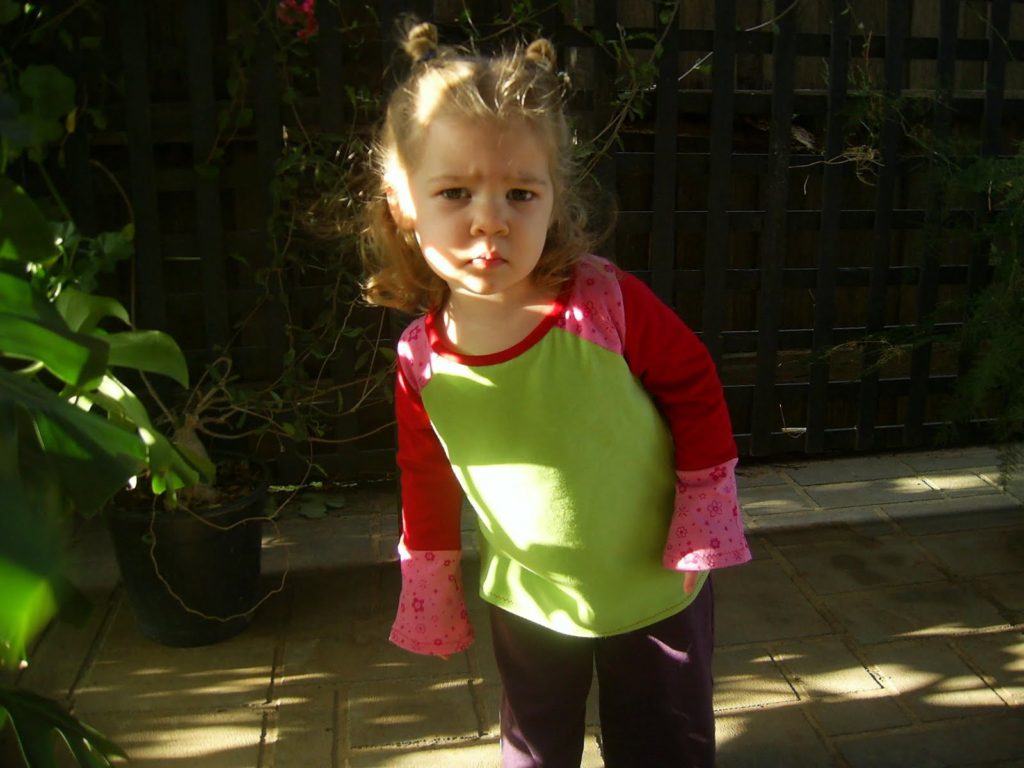 Successfully completed!
I know, she looks a little concerned, but she really loves it. This is my second Antonia top and was so much easier than the first now that I’m past the language barrier.
So I thought I’d give some tips if you’re planning to make one.
1. The instructions in English can be found here, pretty much essential if you don’t speak German!
2. I added length to the top as it runs a little short.
3. The sleeves run a little long, you may want to shorten them a bit.
4. I had no success with their way of sewing the neckline, I ended up stretching the neckline in as I normally would. I’ve also found that tacking the neckband onto the neckline first really helps with accuracy.
5. This is a great pattern for using up small amounts of knit, especially if you use the patchwork sleeves option.
6. If you have trouble, go to CraftyMamas for help, I get heaps of help there! (I also bought all the fabric for this top there).
Have a terrific weekend, we’re heading to the farm tomorrow for one of the girl’s (4th) birthday, she’s having a little party with her cousins. See you in a few days!
My husband, my hero
 He made a delicious prawn laksa for us – on Father’s Day!
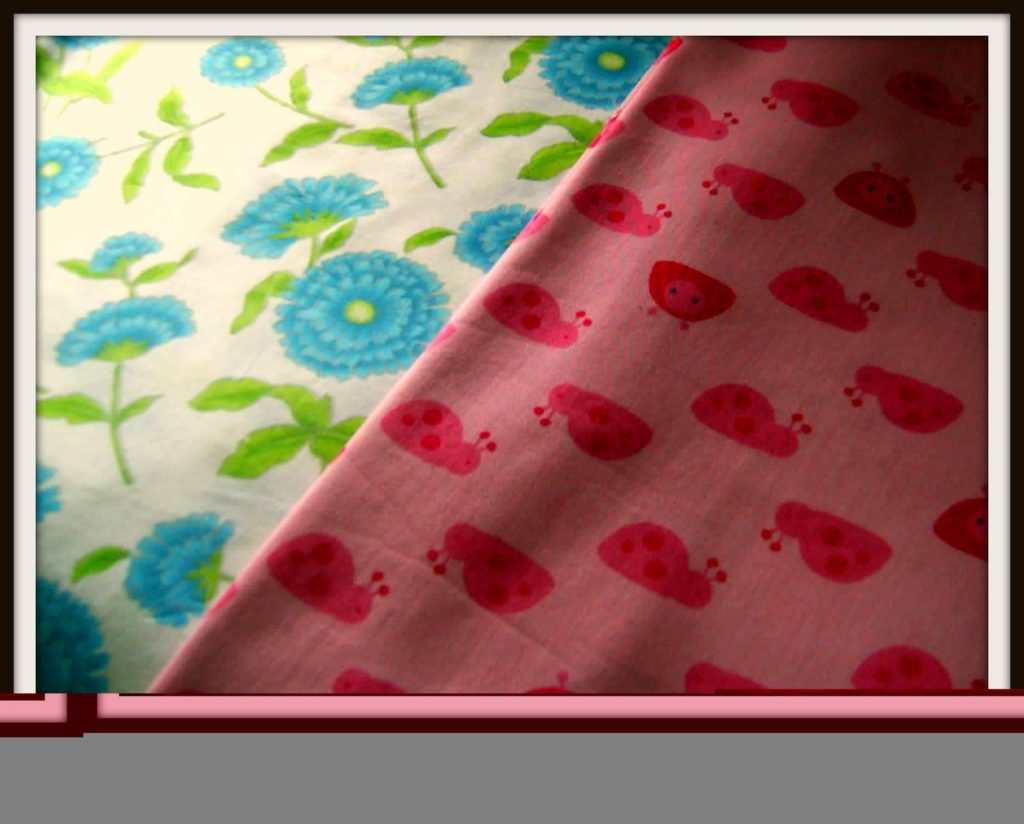 New fabric from the clearance table at Spotlight, I’m seeing summer dresses.
By the way, can anyone enlighten me as to why my photo uploads suddenly have an artistic mind of their own? (See strange grey areas at the bottom of pictures)
I’m starting a new challenge for myself to be known as the Clean Corner Challenge. As I have been somewhat distracted by a very small but very loud being, some aspects of our home have started to slide. That’s a diplomatic way of saying it’s a horrible mess and I must do something!
That something has to be small, given my limited time, so I will start with one corner at a time, beginning today. I’ll be back with pics tomorrow.
Whether you have a new baby, a demanding job, illness, or your home is just a mess, join me in making a start, one corner at a time.
p.s. I should have mentioned on the giveaway post, if you are already a follower you are automatically entered.
Blue Willow Cottage
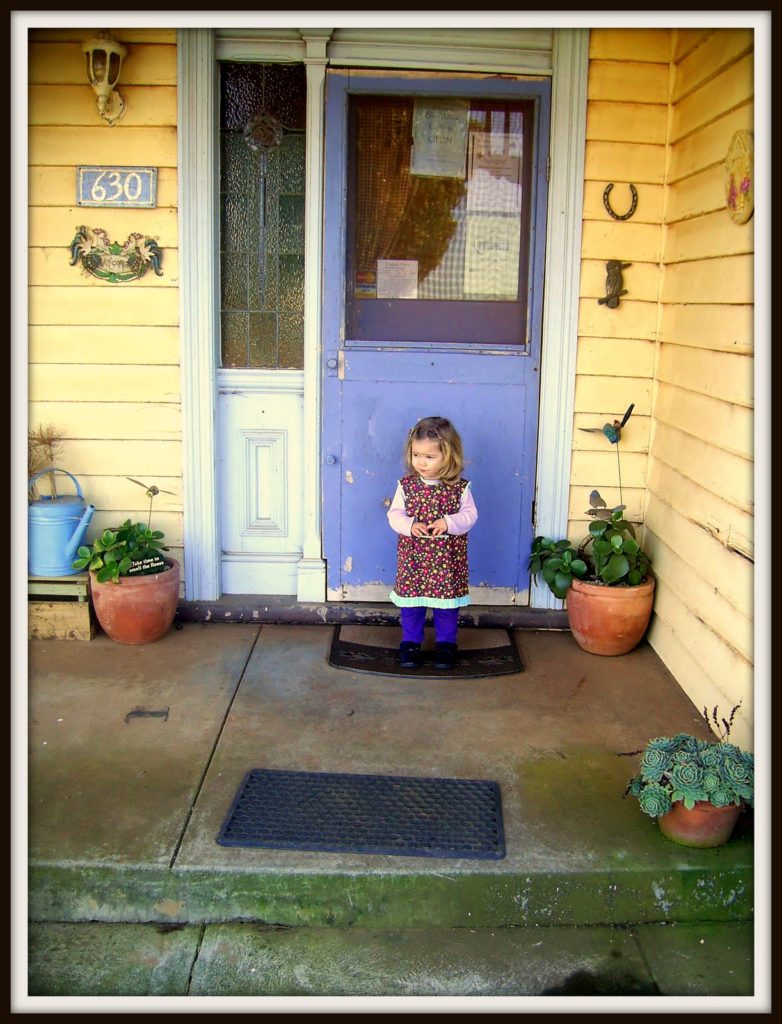 I took a morning jaunt out to Blue Willow Cottage at Werribee South. The shop is in a beautiful old farmhouse (over 100 years old) surrounded by market gardens and has a lovely, homely feel. The photo above is the entrance (ooh, is that a fairy on the doorstep?)
 I love the rustic feel of the place, the inside is just gorgeous, the walls are lined with quilts, it even has the original carpet! There are lots of fabrics, patterns, notions and everything a crafter could want.
 If you’re ever out that way its definitely worth popping in for a look.
Farbenmix Antonia top
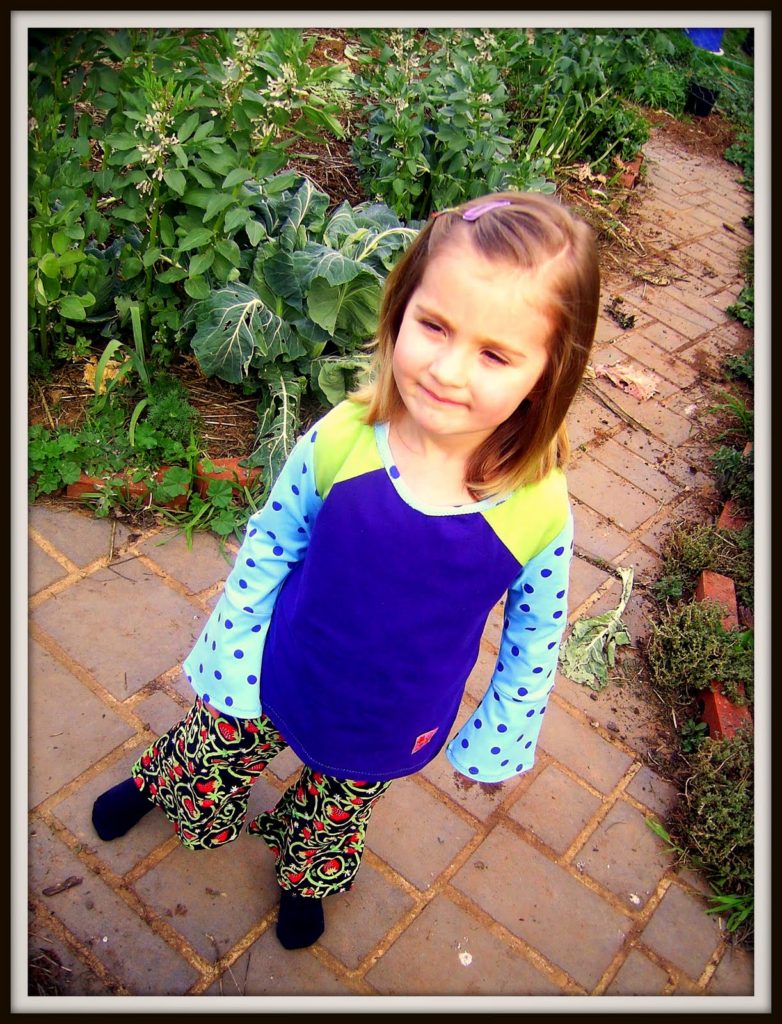 I finally finished this top today along with a big PHEW! I’ve wanted to make one of these for ages but found the neckline was way too big, so had to unpick the whole thing and re – assess. Once I did the neckline the way I normally do it turned out fine. Its the Antonia pattern from Farbenmix, the German instructions really threw me for a start but the construction is actually simple once you get going.
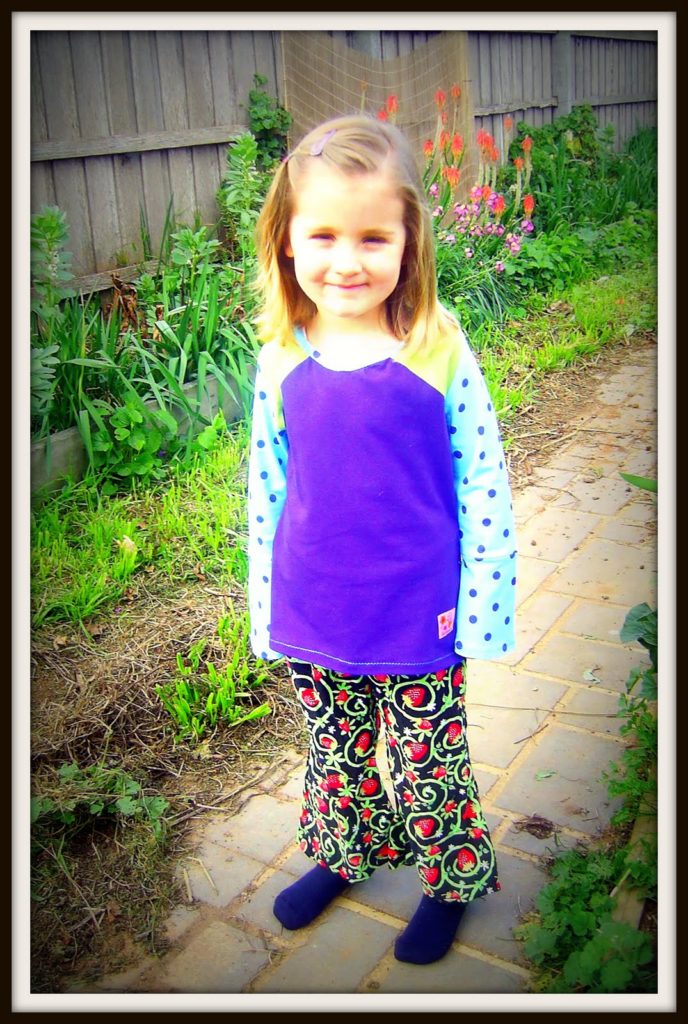 I’ll admit I had a bit of advice from the lovely CraftyMamas ladies, if you ever need a bit of help head over there, they’re very knowledgeable! I got my pattern and fabrics from the Crafty Mamas shop where there is always something cool to buy.
I’m off to make one for daughter no. 2 now!
Hand embroidered card
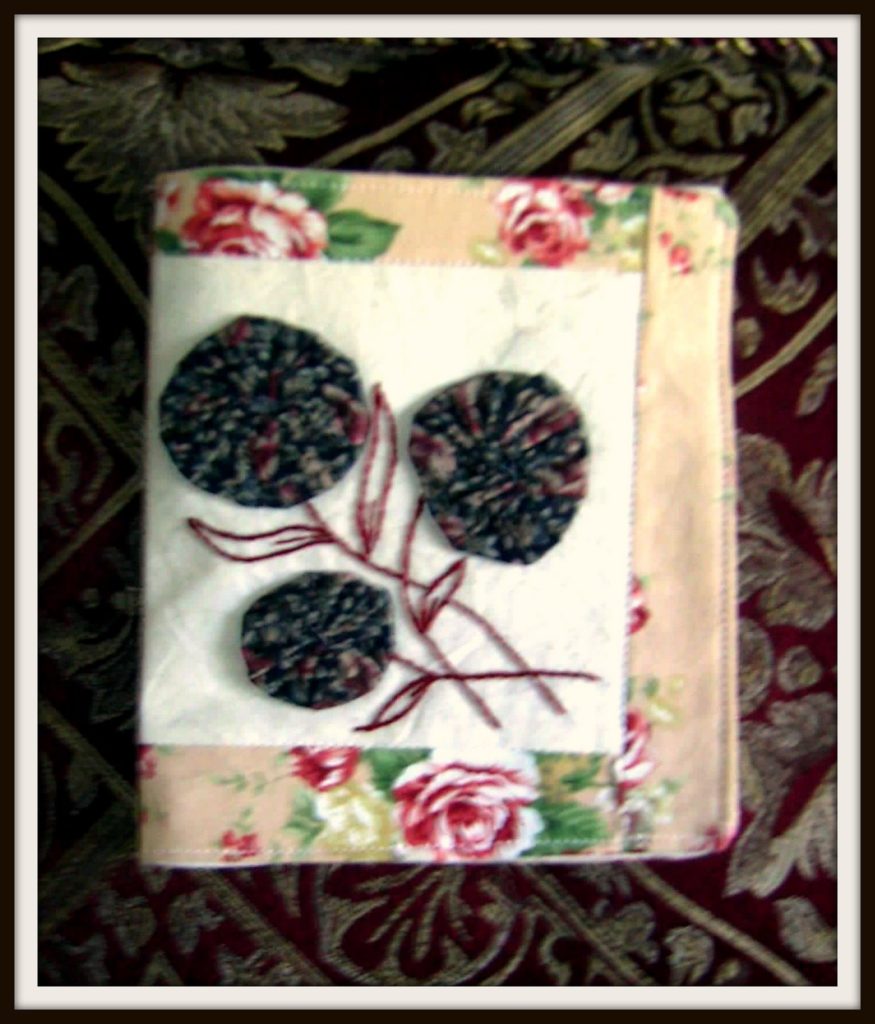 A visitor to our home was admiring some of my craft work recently and asked whether I make cards. I have been known to paint cards or, in more pressing circumstances, cut and paste. But for some reason, I’m just not that into papercrafts. Give me a scrap of fabric over a scrap of paper anyday!
So… my Nanna’s 82nd birthday is coming up. What else can you do when waiting for a baby to arrive but put hours into a gift for someone?
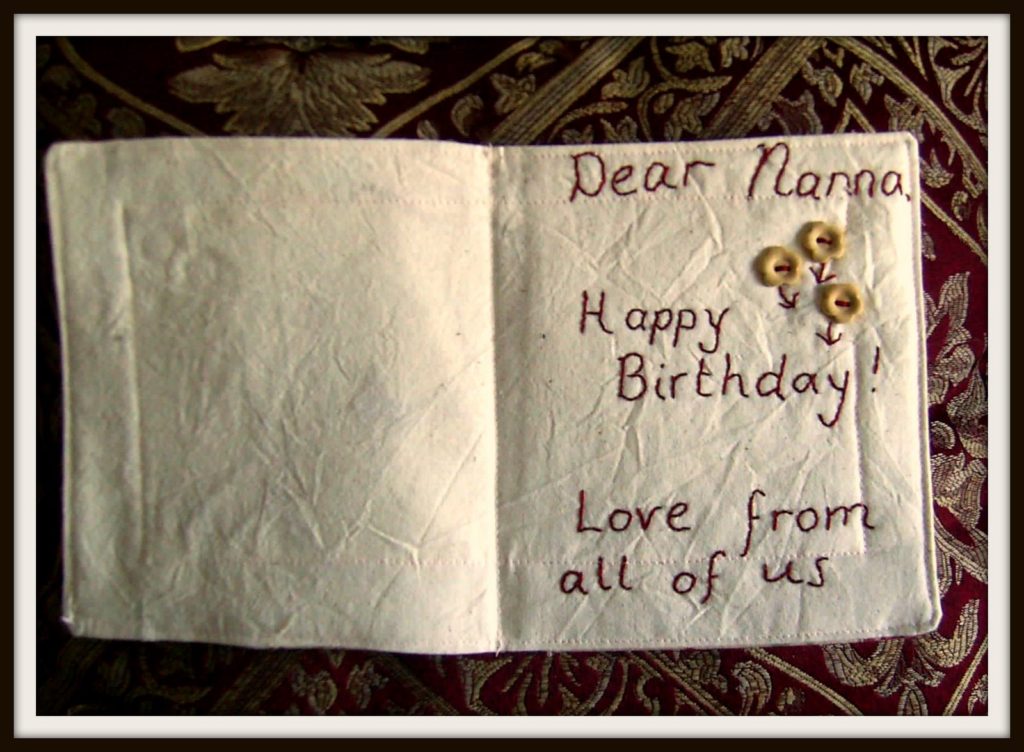
A fabric card is not difficult to make, but be prepared for the time it will take!
I do so love hand embroidering though, so relaxing, and even better when the children are in bed and you have a husband handy to chat to.
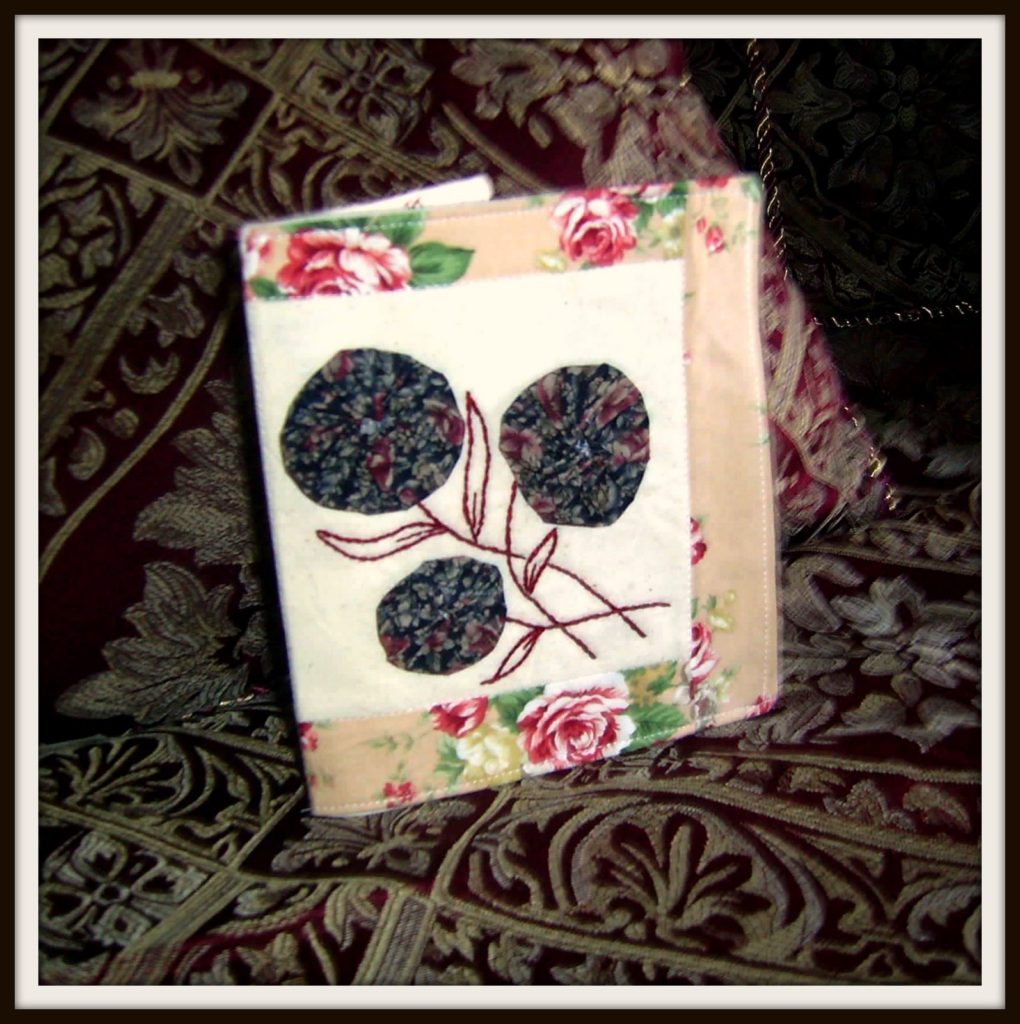 The photo isn’t good, but those are suffolk puffs (yo – yos) on the front. This is a great way to showcase a special fabric that you may only have a small amount of.
If you would like to have a go at making one but aren’t sure how to start, I’d be happy to put up a tutorial, just ask!
Yesterday was a happy one, I made my first sale through Madeit and my study grant was approved. Busy times ahead!!
