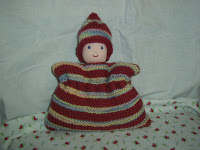
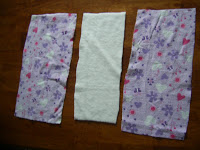
 This is so easy you could do it with your eyes closed. I used to use those expensive disposable liners from the supermarket (what are they made from anyway?!) Suddenly something clicked and I started making these. There a 2 methods, one for an overlocker (serger) and one without. The overlocker method is first. You’ll need some flannel (I’ve used an old pair of pyjama pants) and something absorbent (I’m using bamboo here, you can just use a few layers of flannel if you don’t have anything else). Cut 3 rectangles. The size is up to you, my flannel pieces measure 10.5 x 5.5 inches. The absorbent material should be about 9.5 x 4.5 inches.
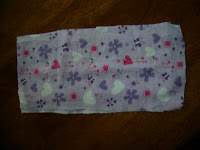 Sandwich the bamboo between the 2 pieces of flannel, with the right sides facing out. Pin all layers together roughly.
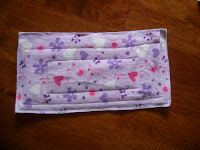 Sew a rectangle in the middle, then another one about an inch in from the edges. Overlock the raw seams and you’re done! How easy was that?!
Now for the second method.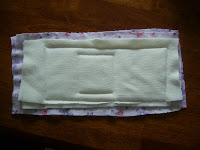 Lay your bamboo (I’ve used 2 layers of bamboo here for extra absorbency) on the wrong side of one piece of flannel and pin roughly. Sew the rectangles as for the first method. Now, turn it over so that the right side of the flannel faces out, then place your other piece of flannel on top of this with right sides together.
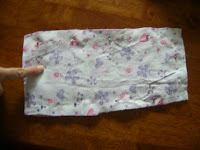 Sew a seam right around the edge, leaving one short end open. Turn the liner right sides out.
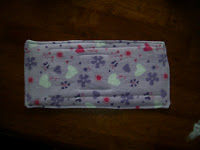 Fold the raw edges of the open end inwards and pin. Top stitch right around the edges and you’re finished.
I find washing nappies so much easier now that I use these, the liner gets soiled instead of the whole nappy.
Disclaimer: I was joking about having your eyes closed, please keep your eyes open whilst operating sewing machines!!

