

Warping your rigid heddle loom can feel like the most challenging part of weaving. But ith a few practical rigid heddle warping tips and some easy techniques, you can make the process smoother, faster, and much more enjoyable.
In this post, I’ll share my favourite methods for tensioning your warp evenly, preventing tangles, and getting your loom ready for beautiful, stress-free weaving.
Don’t over complicate it
Warping a rigid heddle loom using the direct warping method is really very simple. Yes, it will take you a couple of warps to start to feel more comfortable with the “newness” of it all (like anything!).
But something I’ve realised, especially after using the more complicated and time consuming table and floor looms, is that direct warping a rigid heddle loom is fast and easy.
Get the key ingredients for warping right and you will be well on your way to being a happy warper (if that’s a thing!)
Over complicating the warping process will lead to frustration, it is so much better to narrow it down and take baby steps without the worry.
Use a calculations sheet
A calculations sheet will take all the guess work out of the project for you. It will give you a step by step process to follow and prevent you from accidentally forgetting an important step in the warp.
If you struggle with the mathematical side of weaving, you don’t have to worry, as I think you only need a fairly basic maths level for weaving (hello calculator!) but the sheet will also help with ordering the numbers so that they make sense to you.
I have a free rigid heddle calculations sheet for you to download and use, plus a free video on how to use it available here.
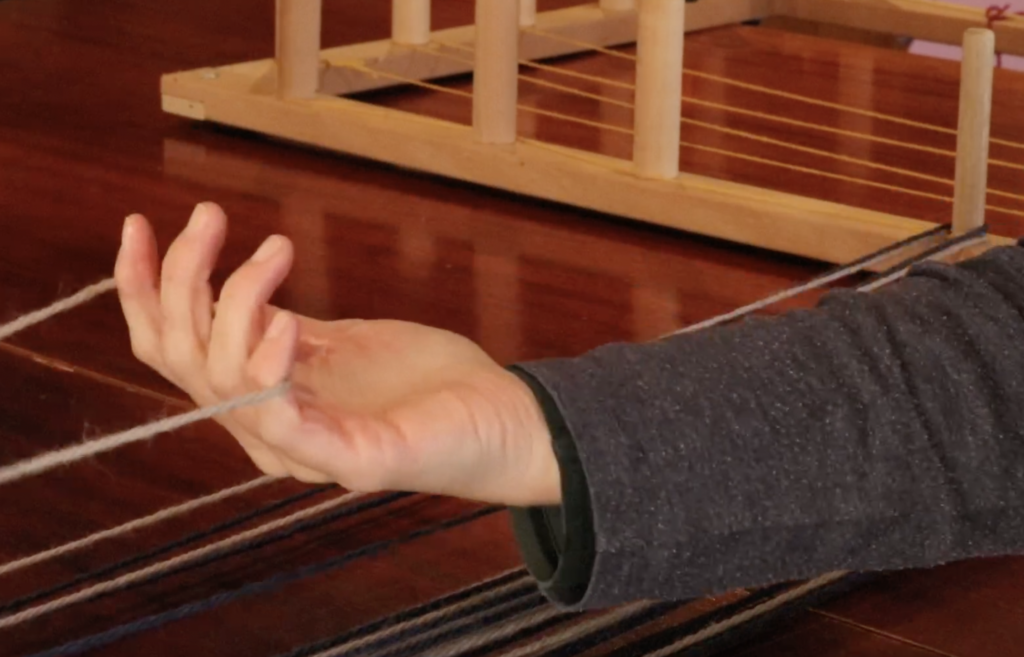
Taking threads to the warping peg
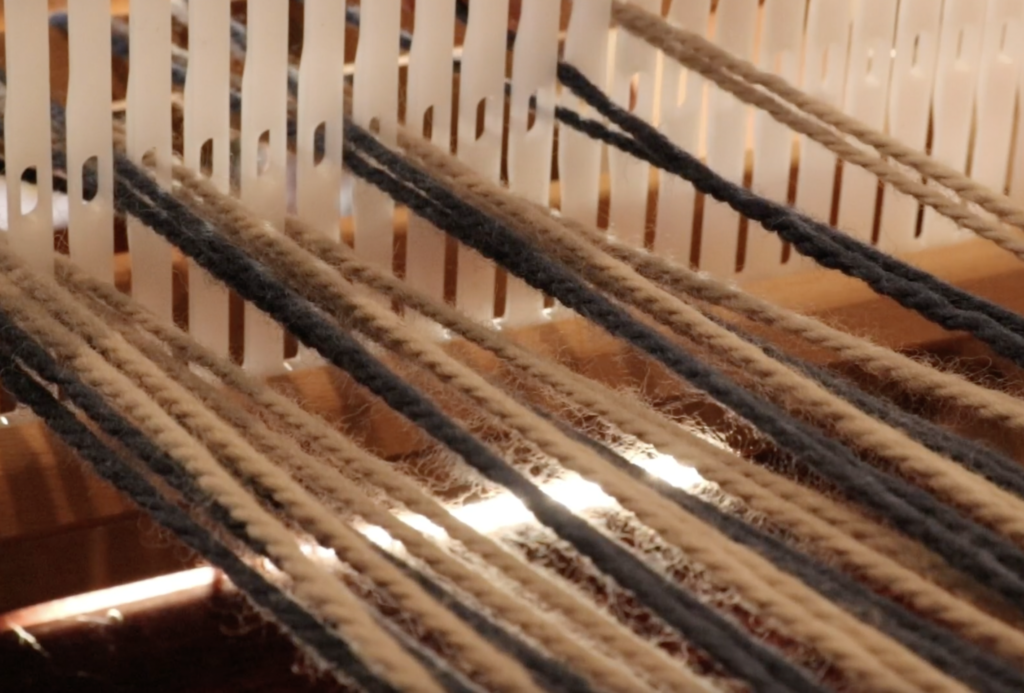
When you bring your threads through the slots in the warping process, keep everything straight and open. Keep the loop open and don’t twist your loop as you place it on the peg.
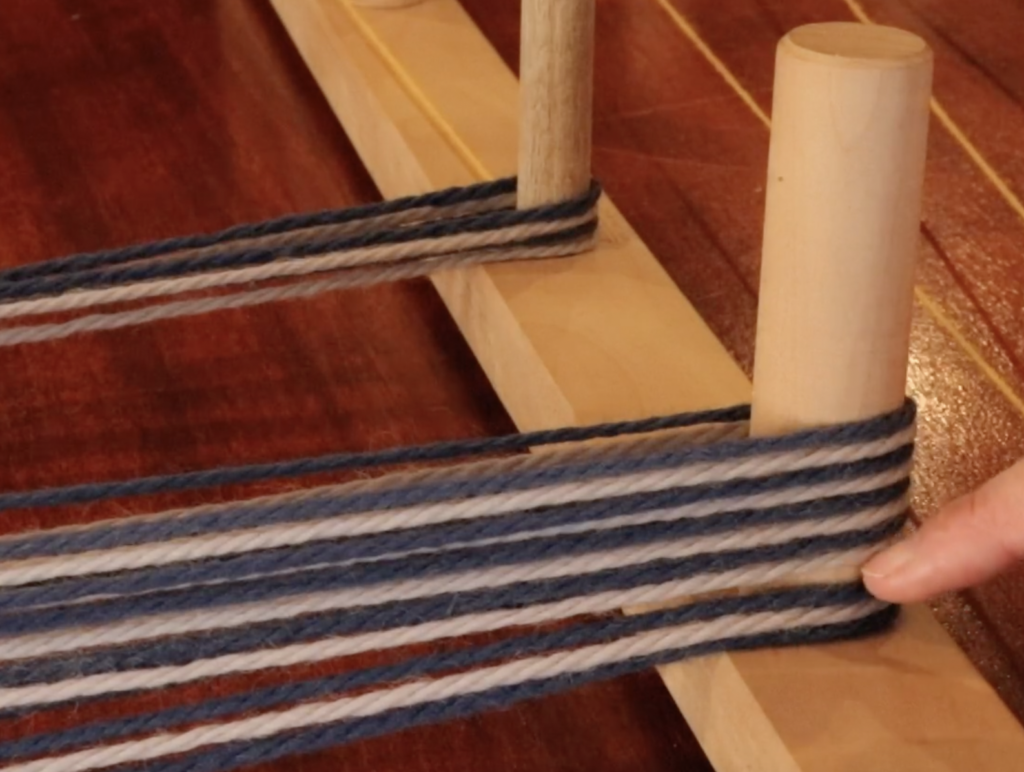
Keep threads in order on the warping peg
Place your loops on the warping peg one at a time and in order. Don’t just shove them on there willy nilly – there is a benefit to preserving order as when you come to rolling on the warp you will find a lovely, laid out warp that is well behaved!
Each loop sits just above the last one on the peg, there is no need for bunching. Keep the loops loose enough that you have space to get a finger in behind them, this will make lifting the warp off the peg easy and trouble free.
If you’re not enjoying warping, look at the reasons why
This will help you to determine steps to take to make it better and easier.
Try to make it a relaxing process, have a hot beverage or put on some music. If you make a mistake, it’s ok, mistakes are fixable! Take your time, no need to rush.
Perhaps you need some help in the form of an online class? My best selling class is my Woe to Go Beginner’s Rigid Heddle course. This class will take the mystery out of the rigid heddle loom with simple and achievable steps.
If you would like to view this post in video format, please watch here:
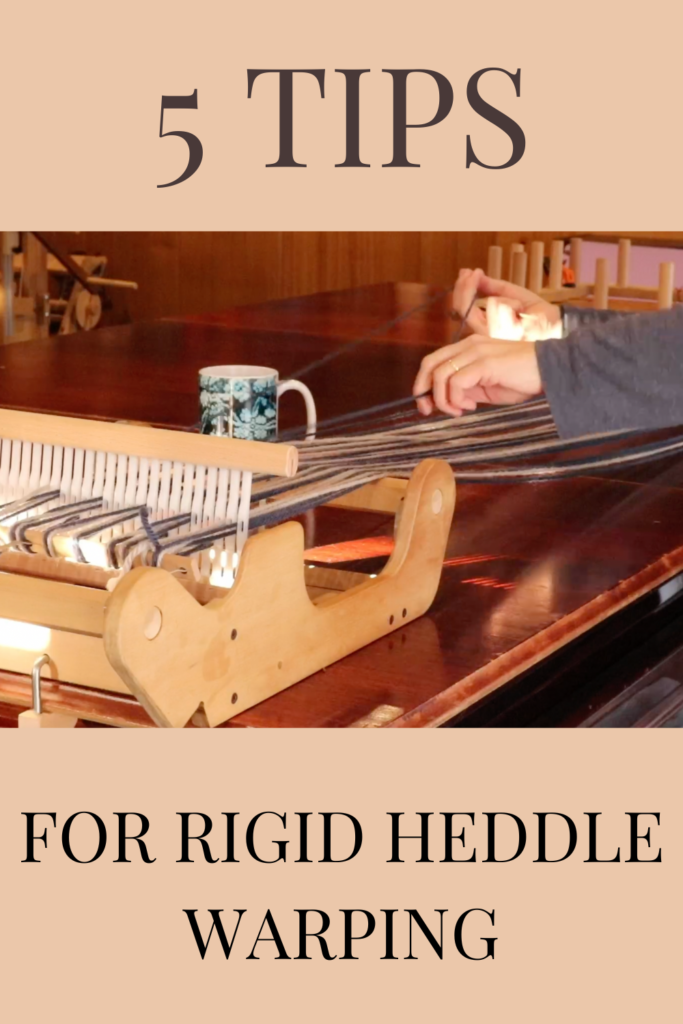
The photos you can see in this post are from The Weekend Scarf project. This is a great beginner’s or newer weaver’s project and is also great for anyone who wants a fast and fun project.
If you’re new to rigid heddle weaving, check out my free list of resources here.
I hope this article was helpful to you and until next time…
Happy Weaving!
*This post contains affiliate links. For further information, please see my disclosure policy.
Hi Kelly – This is Leonore. I am trying to move to something more complex on my RHL. I bought 8/2 cotton and am using 12.5 heddle to weave Log Cabin. I could not find a video from you on warping for Log Cabin and Weaving a Log Cabin. So the one I choose had me warping with two different colors of yarn at the same time and it turned into quite a mess. I have about 6 inches on the warp and I just stopped. I will weave this into something, but I doubt it will look like a Log Cabin pattern. Any help will be appreciated. Maybe I just missed your video on this pattern and warp session.
Hi Leonore,
I do have a log cabin class, it uses thicker yarn but it should help with what you’re trying to do –
https://kelly-casanova-weaving-lessons.teachable.com/p/log-cabin-table-runner-on-a-rigid-heddle-loom