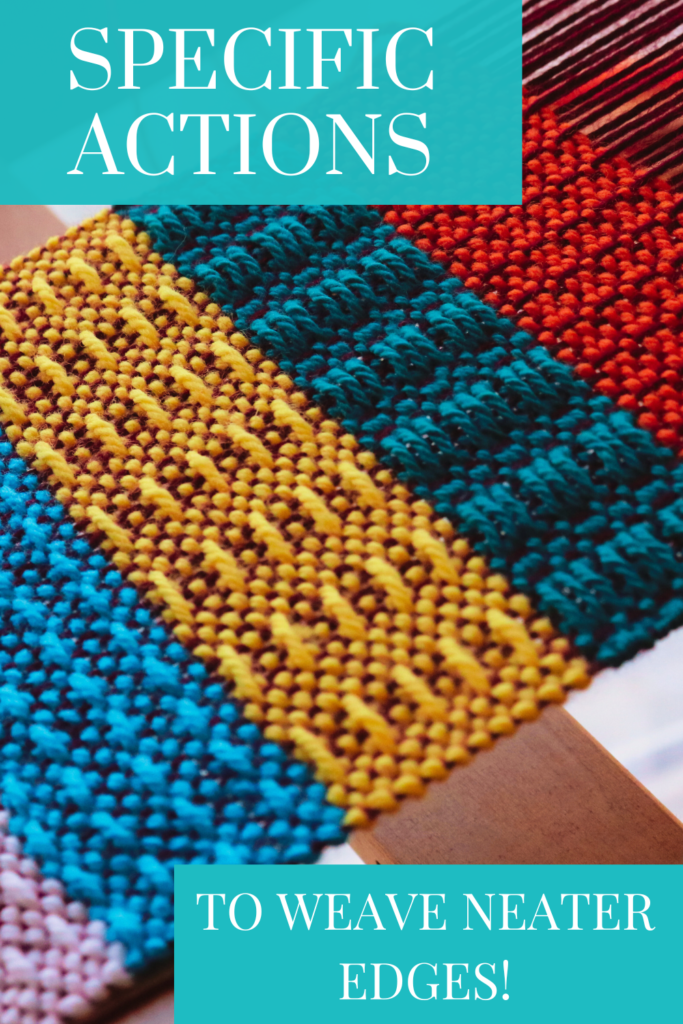
Why Does My Weaving Look Messy?
Have you ever looked at a piece you’ve woven and thought, “Why doesn’t it look as neat as everyone else’s?”
Maybe the edges are wavy, there are gaps between rows, the fabric looks uneven, or the whole project just seems a little untidy.
If so, don’t be discouraged! Every weaver experiences this at some point, and the good news is that slightly messy weaving is usually not caused by a lack of skill or talent. More often, it’s the result of a few common and simple issues that can be identified and improved upon with practice.
Let’s take a look at some of the most common reasons your rigid heddle weaving might not look as neat as you would like.
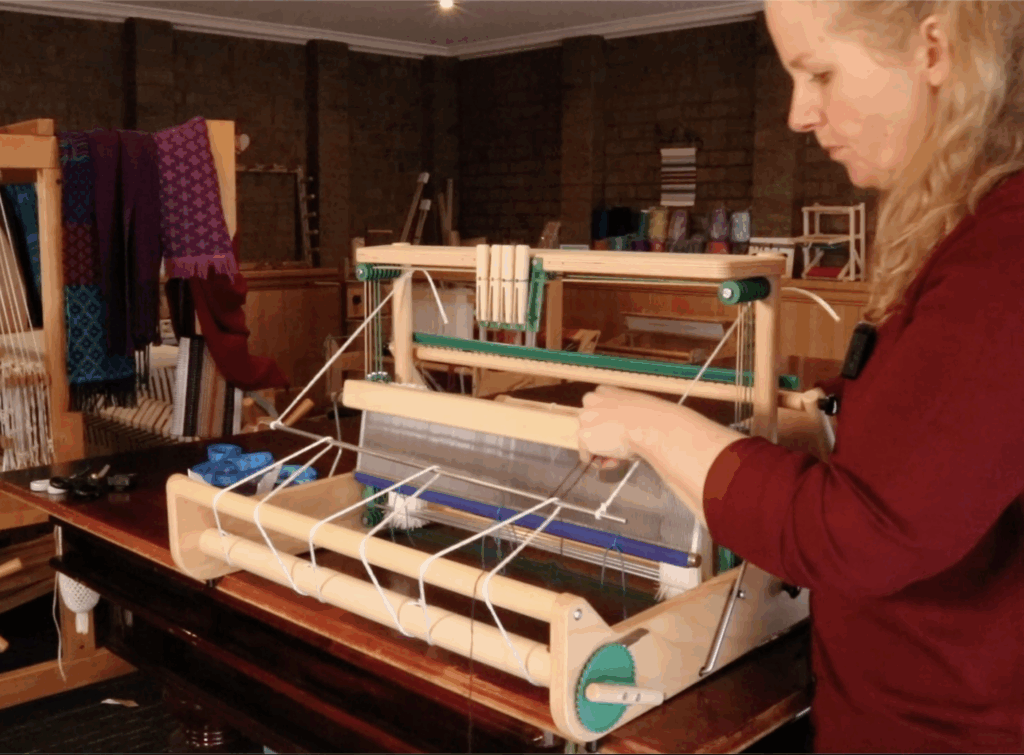
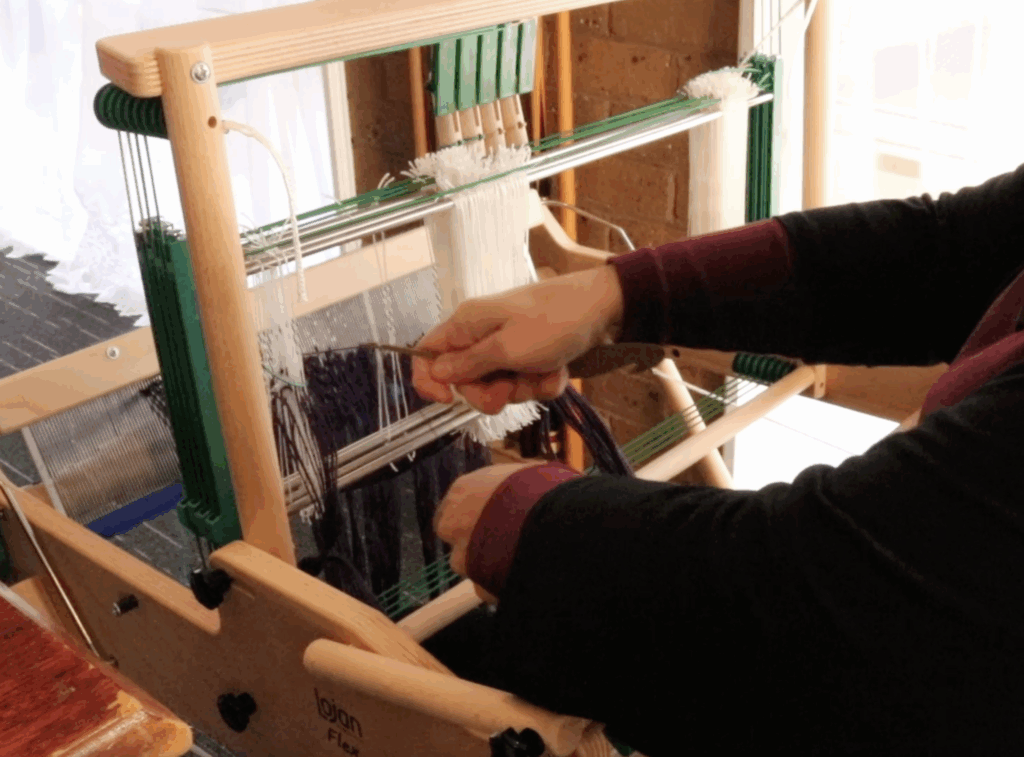
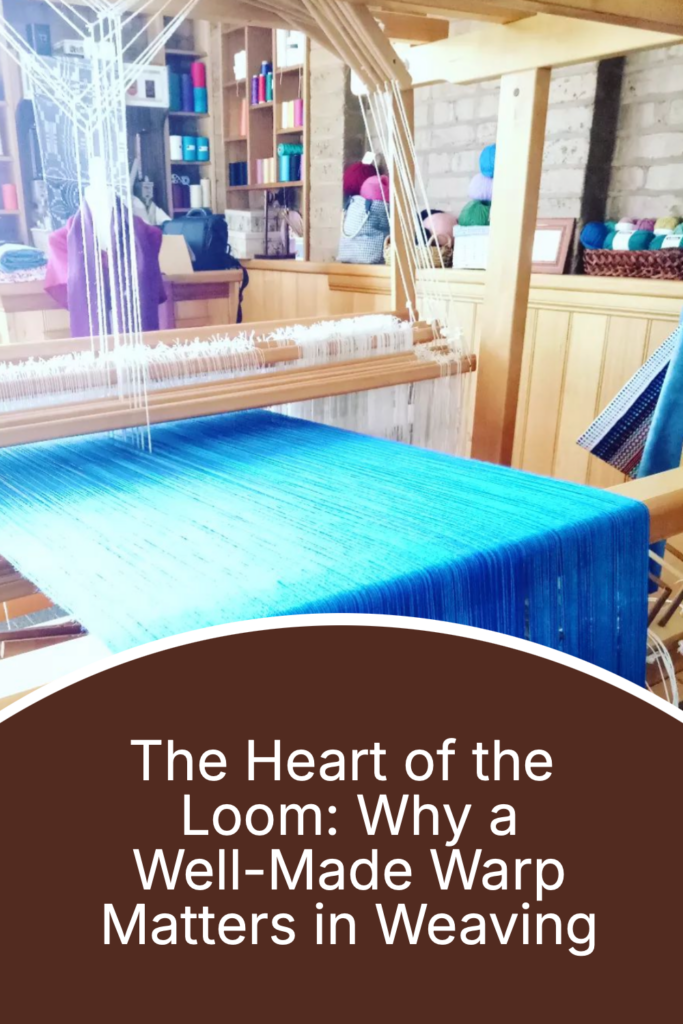
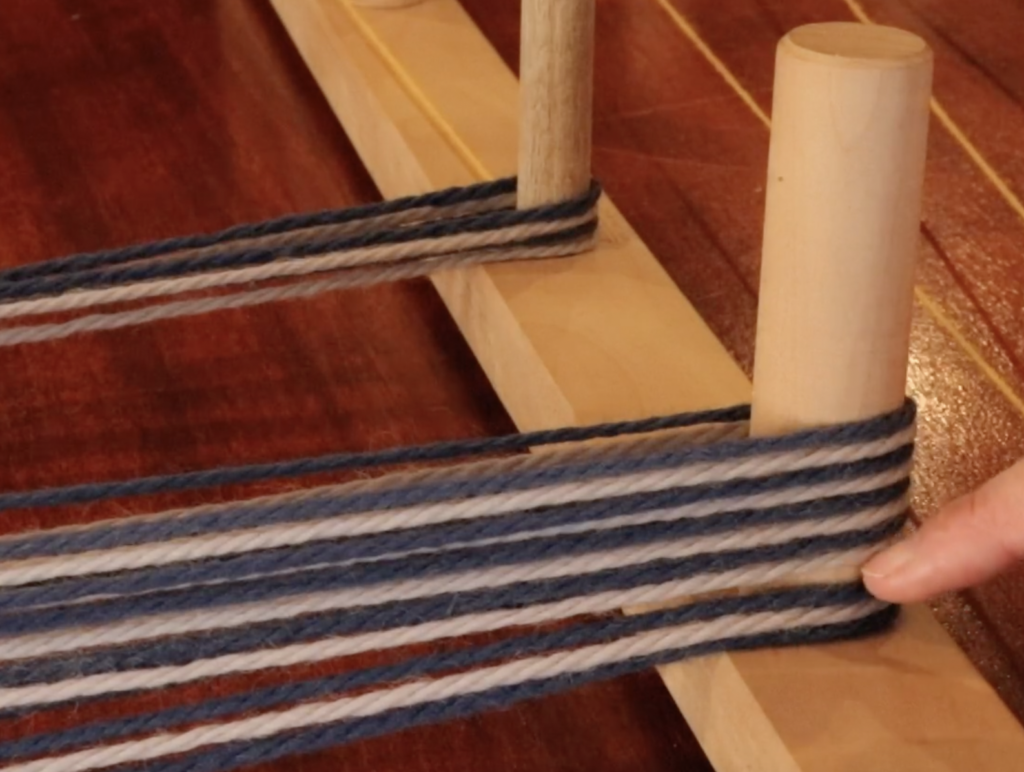
How Warp Tension Affects Your Weaving
If there’s one thing that can make the biggest difference to your weaving, it’s warp tension.
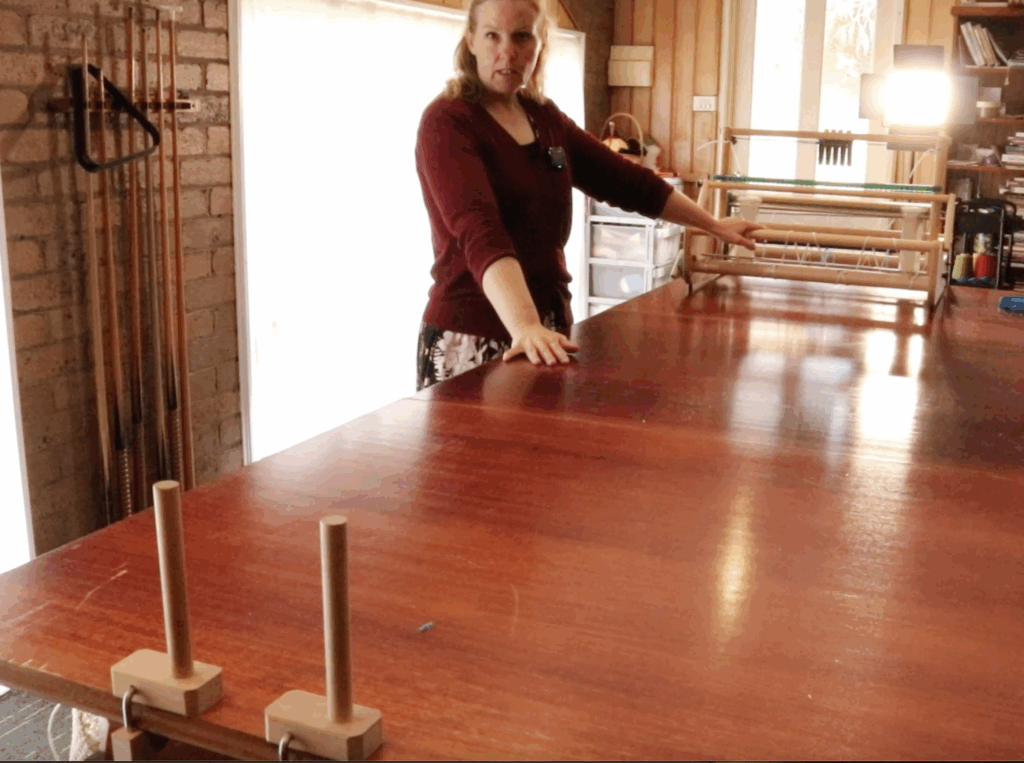
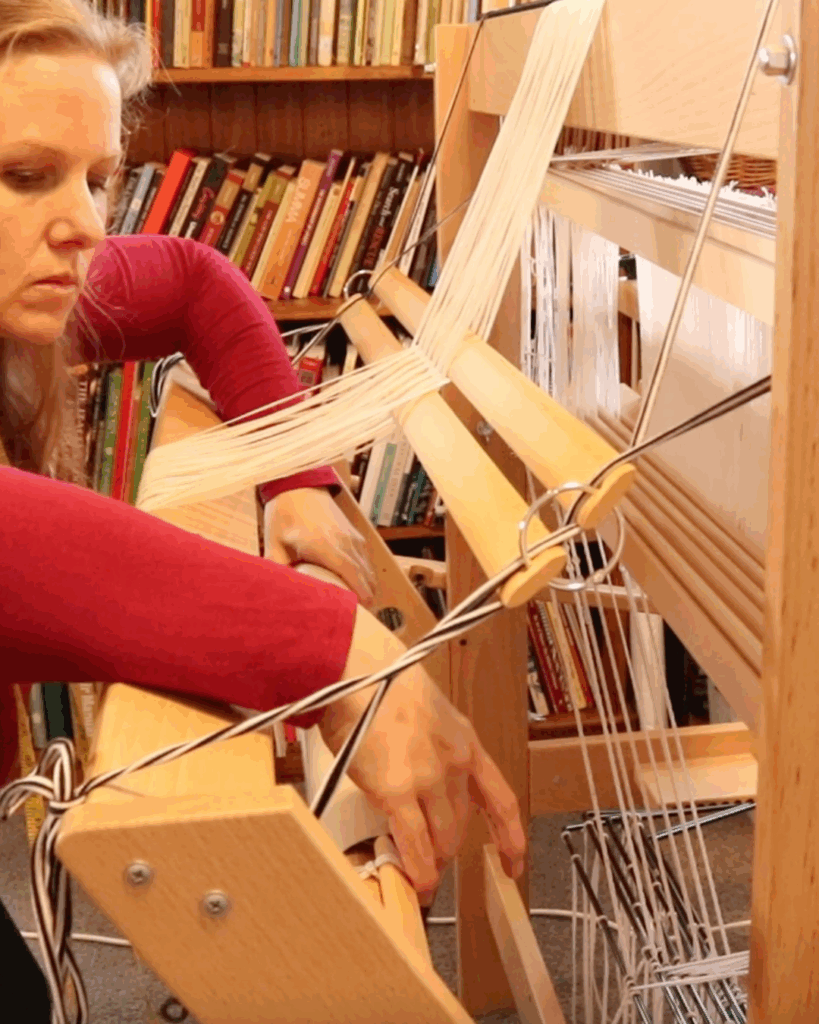
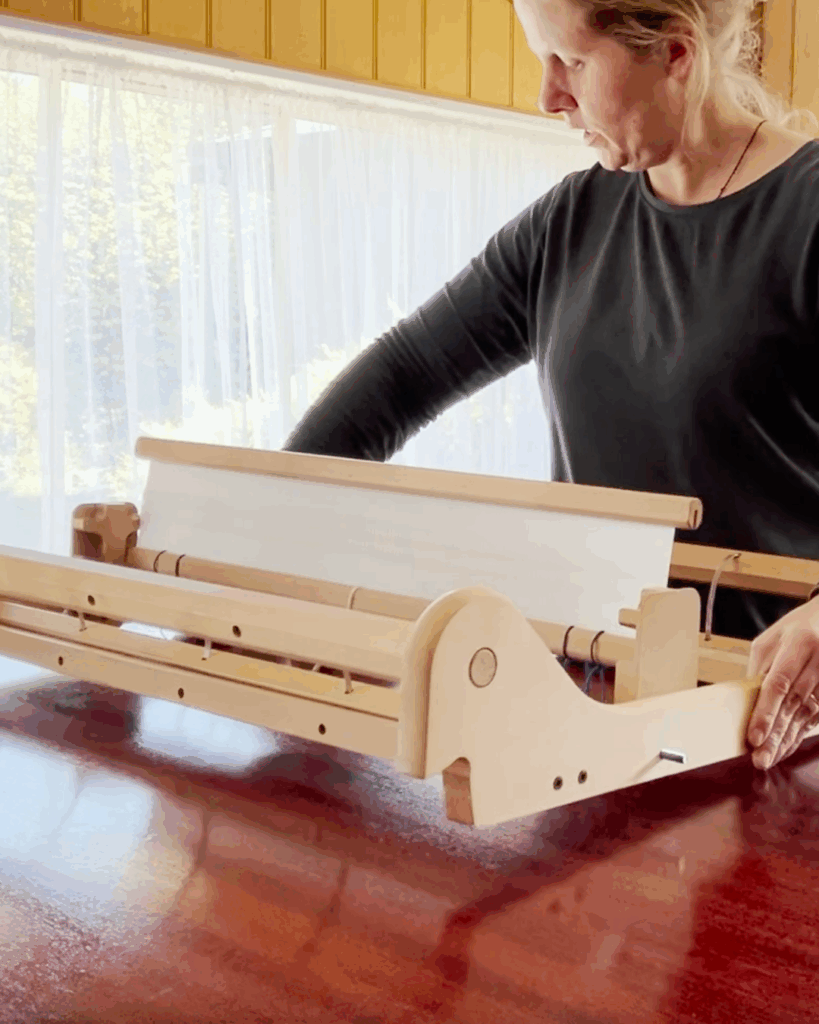
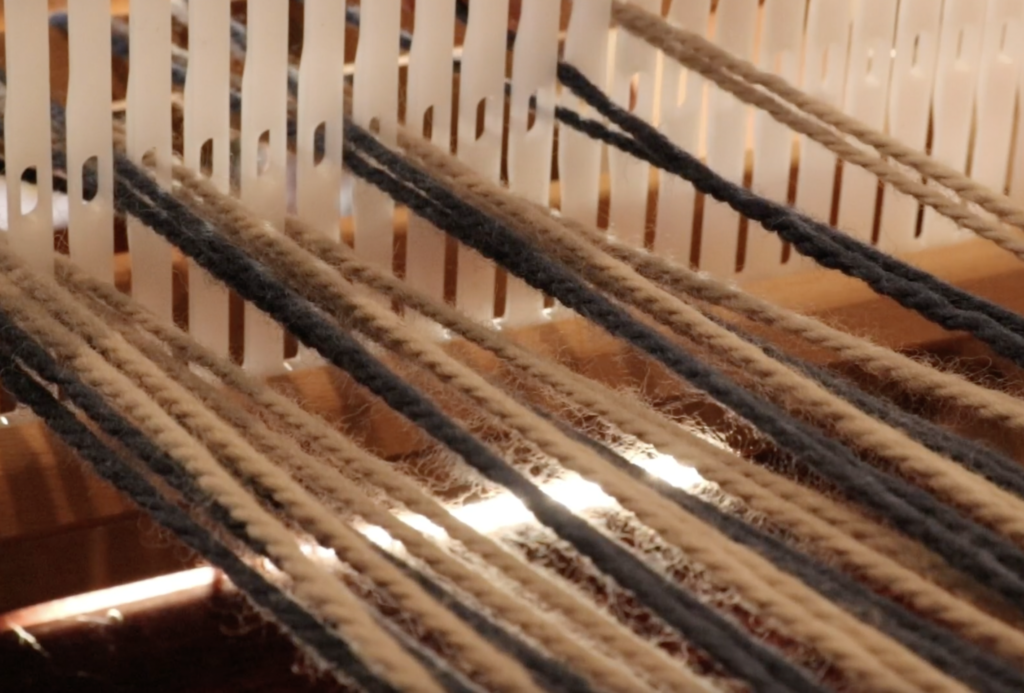
A well made warp is the foundation that everything else is built upon. If the warp isn’t tensioned correctly, you’ll find it difficult to achieve neat, consistent results no matter how carefully you weave.
A properly tensioned warp should feel firm and even across the width of the loom. It shouldn’t feel floppy or saggy, but it also shouldn’t be stretched to breaking point. Consistency is key.
When warp tension is too loose, you may notice:
- Gaps appearing in the cloth
- Uneven beating
- Difficulty keeping the weft in place
- Wobbly edges
- An overall untidy appearance
Good warp tension makes weaving easier and helps the weft settle neatly where it belongs.
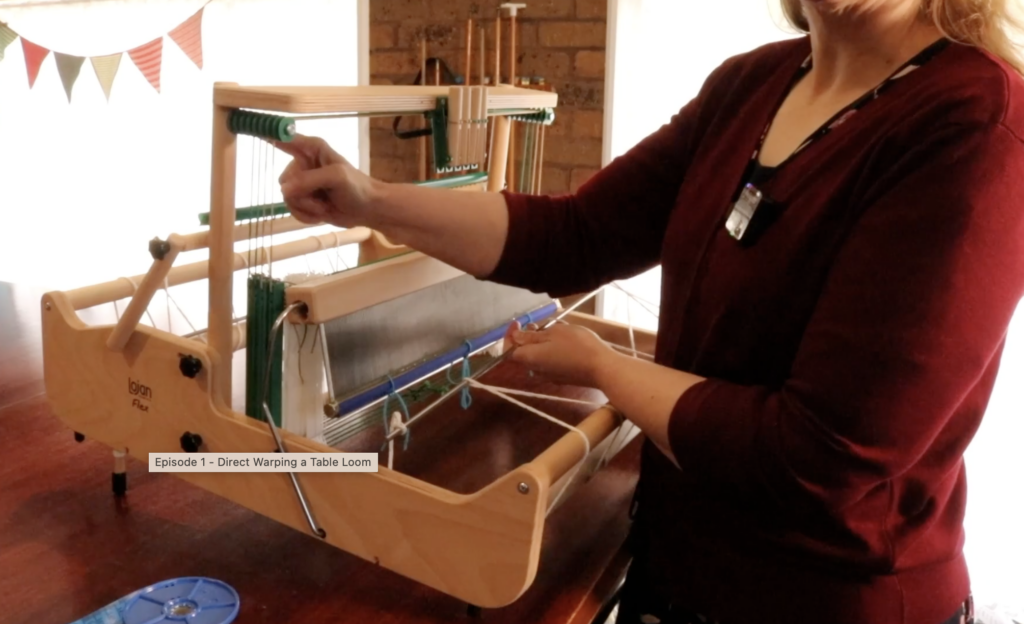
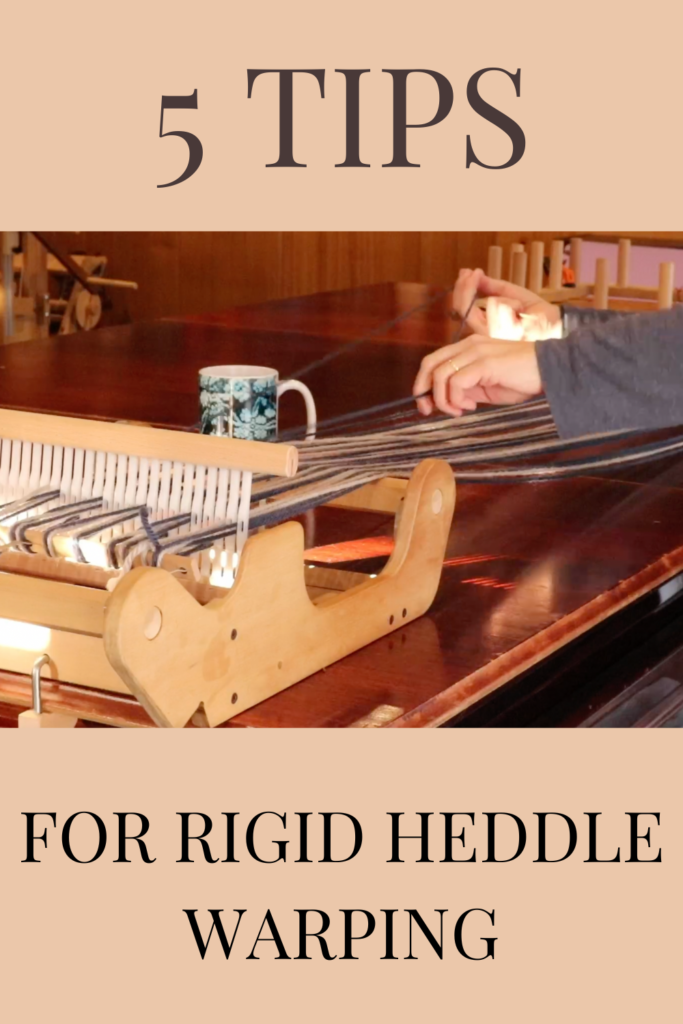
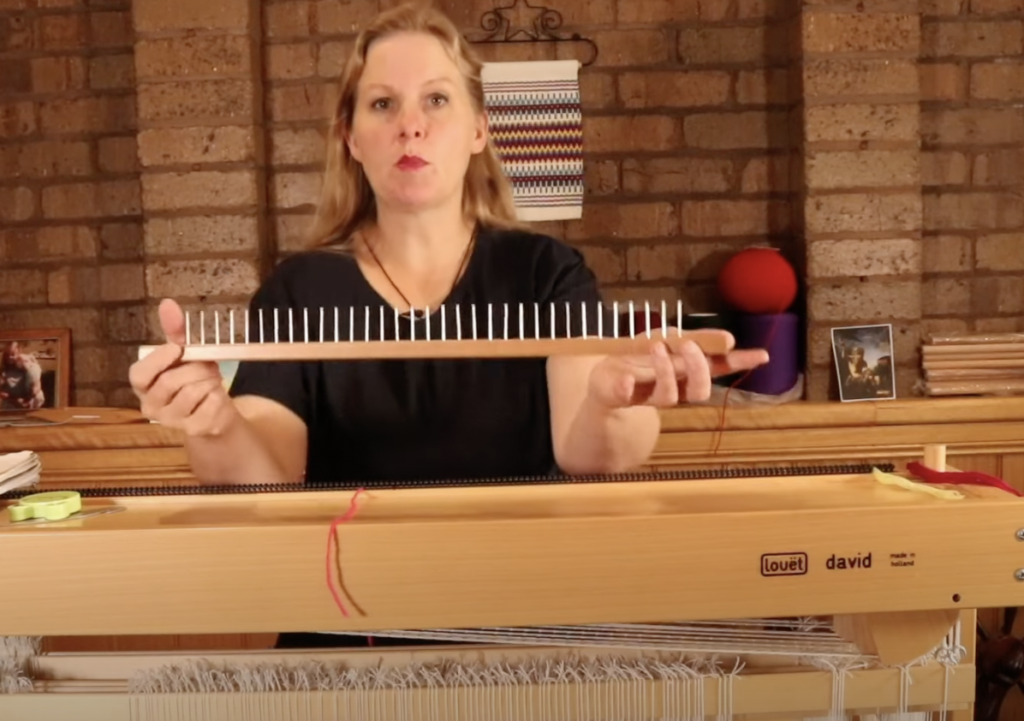
For further resources for warping, check out these links:
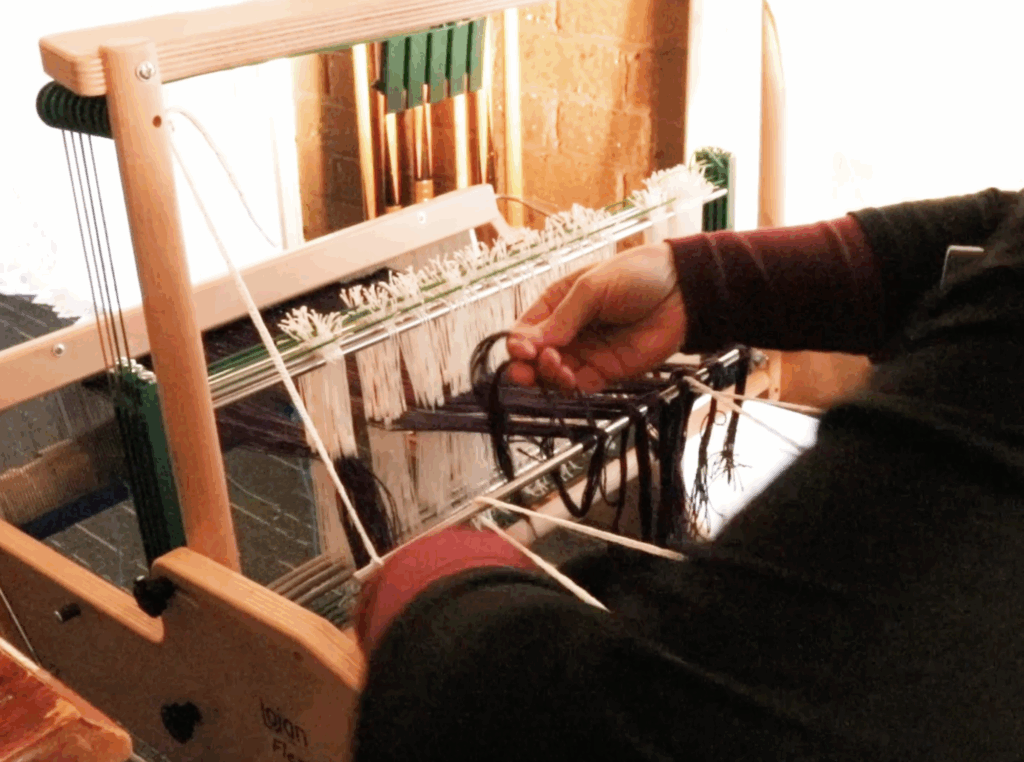
Why Are My Weaving Edges Uneven?
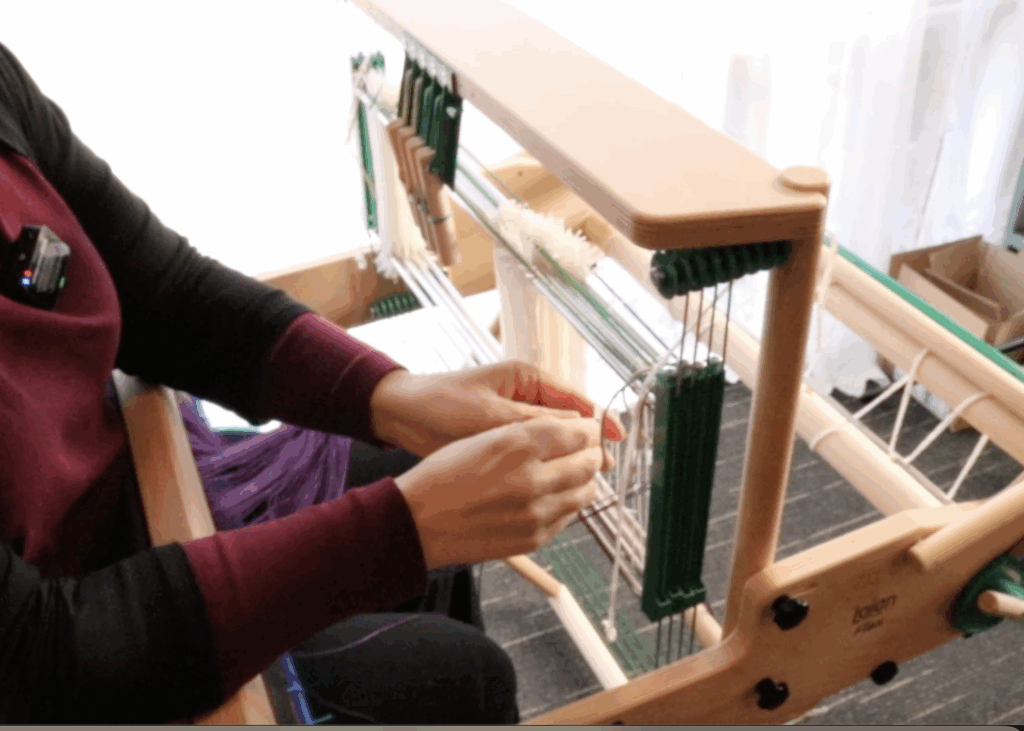
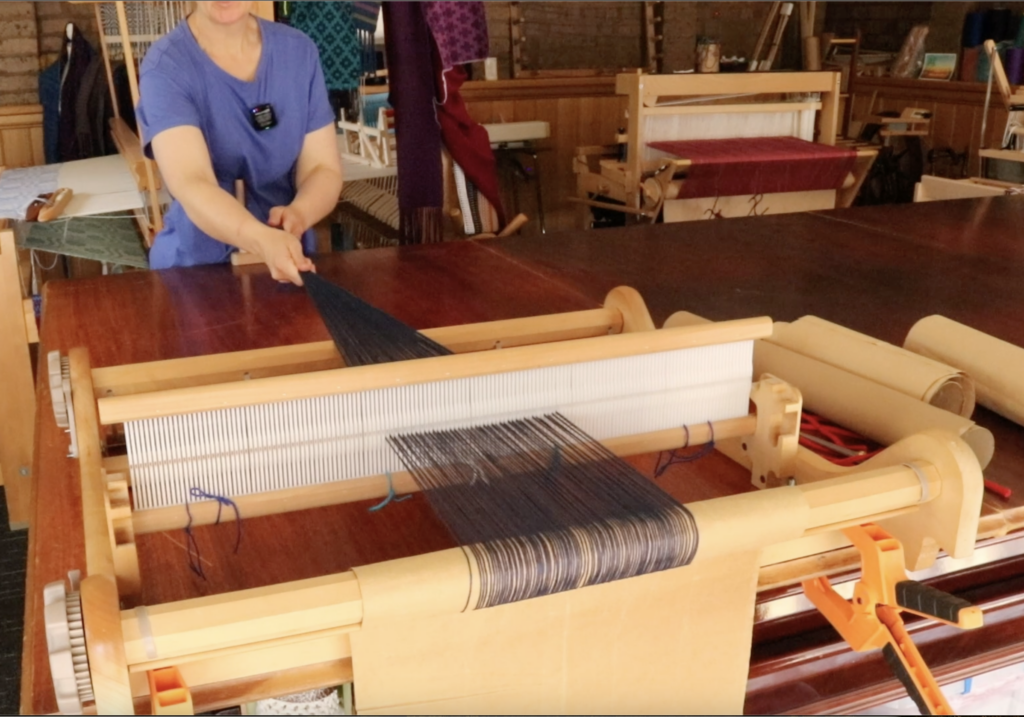
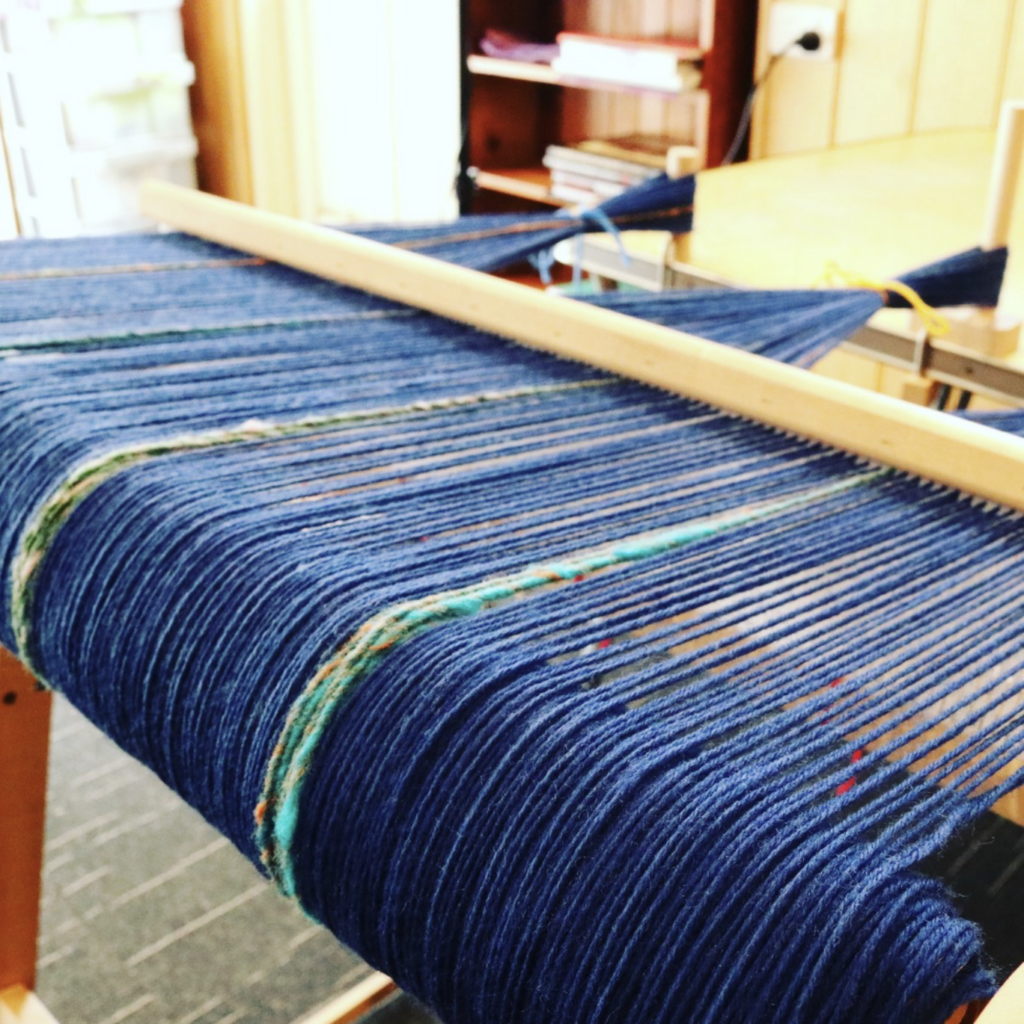
It’s not just the overall tension that matters, it’s also important that the tension is consistent across all warp threads on your rigid heddle loom.
If some threads are tighter than others, certain areas of your weaving may pack down differently or appear looser than the surrounding cloth.
Uneven warp tension can result in:
- Sections that look denser than others
- Loose threads creating gaps
- “Smiling” or “frowning” edges
- Inconsistent beating
- Distorted fabric
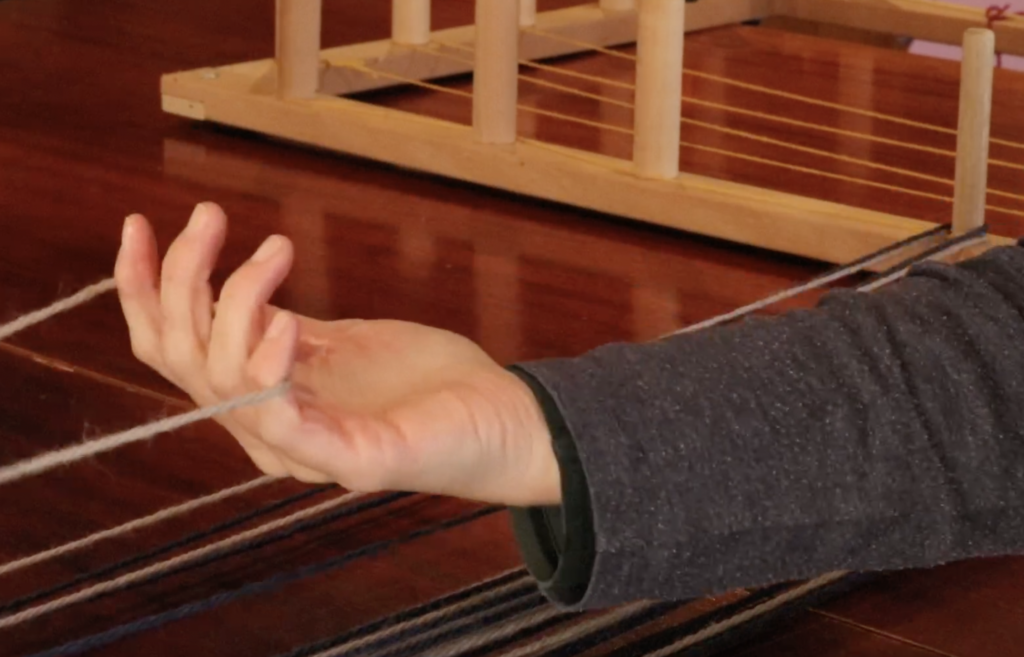
This often begins during the warping process, so taking care when winding your warp will pay off later.
Watch Your Draw-In
One of the most common causes of uneven edges is incorrect draw-in.
When we weave, the weft naturally wants to pull the edges of the warp inward. A small amount of draw-in is normal and necessary – that’s why we calculate for it in the beginning.
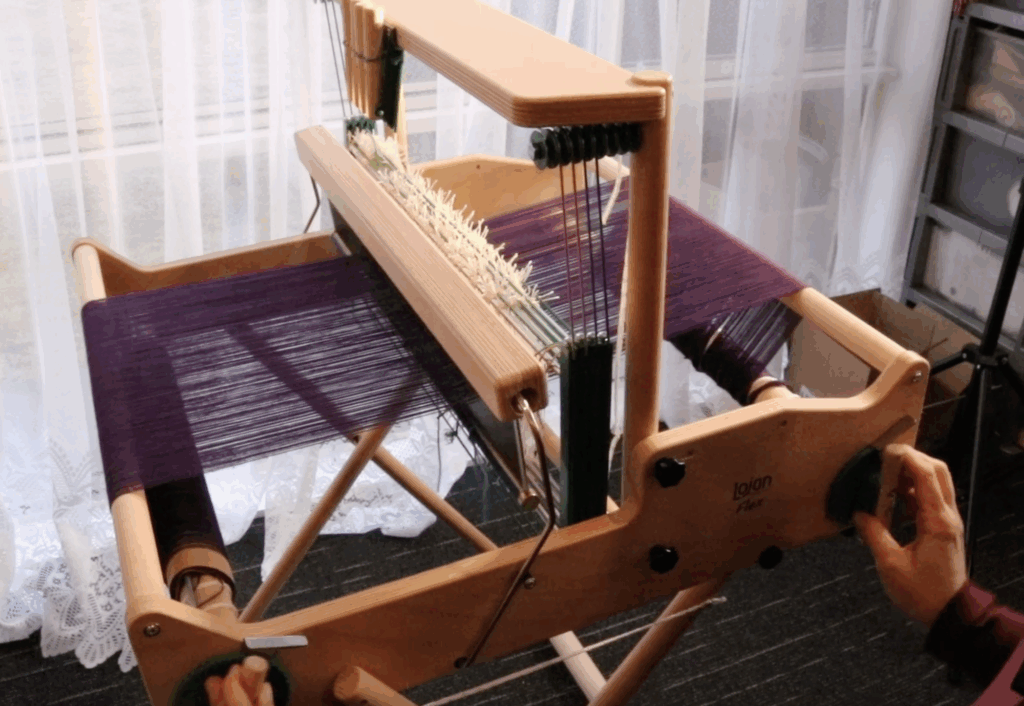
“Smiling” Selvedges
If the weft is woven with more tension than needed, the warp threads will gather together closely at the edges, creating what is known as “smiling” edges. There will be a noticeable curve upwards at both edges of your weaving.
Don’t forget to give each weft pick some room to breathe as you weave by leaving an angle or curve on it before beating. Allowing this breathing space allows the weft to settle into place naturally, rather than trying to find enough space for itself and naturally pulling in too much on the edge warp threads.
This smiling effect can also be caused by inconsistent warp tension – the warp threads at the edges are tighter than the middle warp threads. This will mean that again, your edge warp threads will become dense and the weft will fail to settle in a straight line.
“Frowning” selvedges
On the other hand, if weft tension is too loose, your edges will look inconsistent and untidy. You may have unattractive loops or bumps at your edges.
In addition to this you can end up with a “frowning” effect in your weaving. Your edges end up beating lower than the middle. Most of the time this is caused by the warp edge threads being warped more loosely than the middle of the warp.
The goal is to achieve a gentle, consistent draw-in that allows the warp threads to remain parallel as you weave.
If you experience either smiling or frowning edges, try first to assess your weft tension to determine whether that may be the issue. Adjust if necessary.
If you feel it is more of an inconsistency in warp tension issue, try some targeted wedging. You can’t make overly tight warp threads less tight, but you can certainly bolster loose ones.
Beating Too Hard, Too Soft or On An Angle
Many beginners assume that beating harder will improve their weaving, or that a super hard beat is necessary.
In reality, consistency is much more important than force.
If some rows are beaten firmly and others only lightly, the cloth can develop dense and loose areas that make it look uneven.
Likewise, if the weft isn’t beaten firmly enough, it may not settle properly into place, creating gaps and an open-looking fabric.
Rather than focusing on how hard you beat, aim for a consistent rhythm throughout the project.
Knowing how hard or soft to beat is something that will come intuitively with practice, but it does also depend largely on the type of fabric you plan to weave. For a weft faced (weft dominant) fabric, a very firm beat is appropriate. For a fabric with quite an open sett, a light beat is needed. And for a balanced weave, a medium beat is good.
Why Are There Gaps in My Weaving?
Gaps between weft rows can have several causes.
These may include:
- Loose warp tension
- Uneven warp tension
- Inconsistent beating
- The weft not being placed correctly before beating
- Yarn combinations that don’t work well together
If your weft seems reluctant to stay where you’ve placed it, it’s often worth checking your warp tension first.
Does Yarn Choice Matter?
Sometimes the issue isn’t your technique at all.
Different yarns behave differently, and some combinations simply work better together than others.
For example, a thick, lofty weft may not pack down neatly against a fine warp with a close sett. Certain slippery yarns can be more difficult to control.
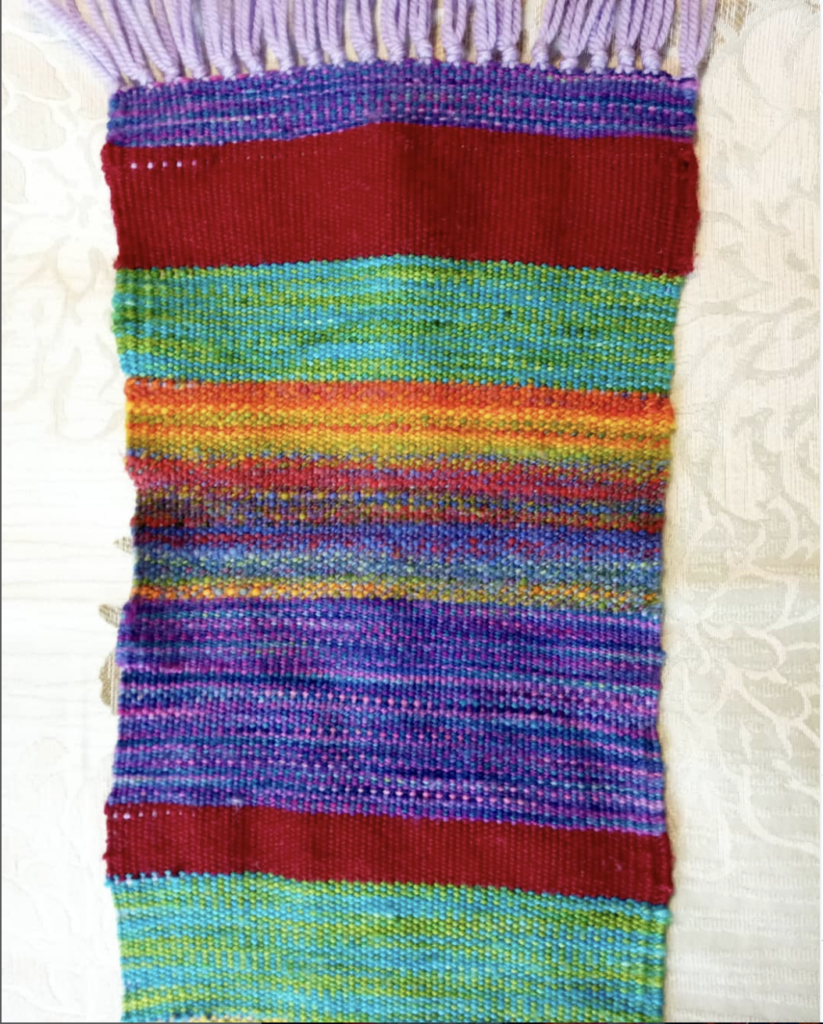
It’s also important to remember that textured yarns produce textured cloth.
If you’re using slub yarns, boucle yarns, thick-and-thin yarns, highly textured wool or novelty yarns, the finished weaving will naturally have more texture and visual variation than a project woven with smooth cotton.
That texture isn’t a flaw – it’s part of the yarn’s character. Some people may find that a textured weave looks “messy” to them. So it’s worth being aware of what your yarns might do in the weaving process, and afterwards, in the wet finishing process.
Different yarns can also have differential shrinkage, and while this can give very desirable effects if pre-planned, you can be in for some surprises if you’re unaware beforehand!
Also, if you’re unsure of yarn combination suitability, a sample is always recommended to be sure of success.
Choose Stable Warp Yarns
Not all yarns make ideal warp yarns.
Some fibres change significantly under tension. Certain acrylic yarns, for example, can stretch while being woven and then relax as the warp is advanced.
This changing tension can make it difficult (and sometimes impossible!) to maintain consistency throughout the project.
When possible, choose warp yarns that remain relatively stable under tension, such as cotton, linen or yarns and many suitable wools too.
Stop and Assess Your Work
One of the easiest ways to improve your weaving is simply to stop occasionally and look at it.
When we’re focused on throwing the shuttle and advancing the warp, it’s easy to miss small issues developing.
Every so often:
- Step back from the loom
- View the cloth from a different angle
- Hold it at arm’s length
- Take a quick photo with your phone
A photograph can reveal uneven edges, inconsistent beating or tension issues that you may not notice while sitting at the loom.
Catching a problem early often prevents a much bigger problem later.
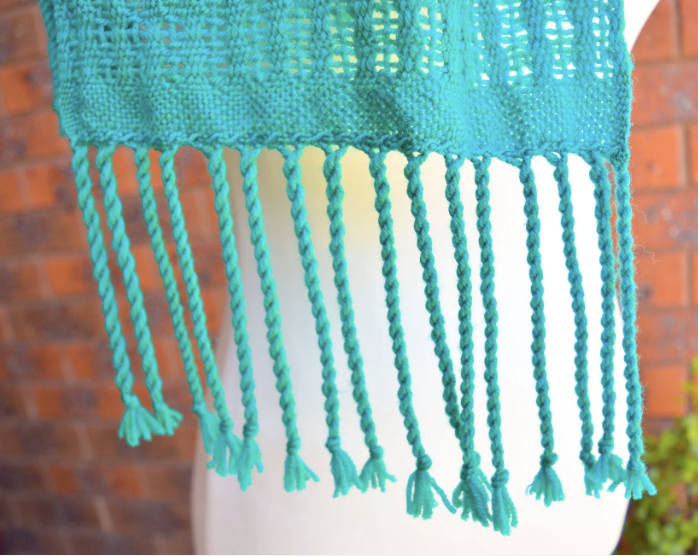
Don’t Forget the Finishing Touches
Even beautiful weaving can look messy if the finishing is rushed.
Take the extra time to:
- Trim fringes evenly
- Secure loose ends
- Tidy stray fibres
- Wet finish the project if appropriate
- Sometimes your weaving may need a gentle press with an iron
A neat fringe and careful finishing can dramatically improve the overall appearance of a handwoven piece.
A Quick Troubleshooting Checklist
If your weaving looks messy, ask yourself:
✓ Is my warp tension firm and even?
✓ Are all my warp threads under similar tension?
✓ Am I beating consistently?
✓ Am I allowing the correct amount of draw-in?
✓ Are my warp threads staying parallel?
✓ Are my yarns suitable for the project?
✓ Have I stopped to assess the cloth from a distance?
✓ Have I taken care with the finishing?
Every Weaver Starts In The Same Place
If your weaving isn’t looking the way you hoped, don’t be too hard on yourself.
Every experienced weaver has produced projects with wavy edges, uneven beating, gaps and tension problems. These aren’t signs of failure, they’re signs that you’re learning.
The wonderful thing about weaving is that every project teaches you something. As your understanding of tension, draw in, yarn selection and finishing grows, your weaving will naturally become neater, more consistent and more polished.
Keep weaving, keep observing, and keep learning. The improvements often happen much faster than you think!
If you’re just getting started in rigid heddle weaving, here are some additional resources to help you succeed:
Free Rigid Heddle Step by Step Warping + Free Printable Guide
Warping Wisely Free Youtube Course
Beginner Rigid Heddle Best Selling Online Class
Until next time…
Happy Weaving!
- This post contains affiliate links. For more information, please see my disclosure policy.