• Skip to main content
  • Skip to primary sidebar

Kelly Casanova Weaving Lessons

  • Hi! I’m Kelly!
    • Disclosure
  • Online Weaving School Class Index
    • Common account issues
    • Common technical issues
    • What do I get with a membership?
  • New to rigid heddle weaving? Start here!
    • Never heard of the rigid heddle loom?
    • How to weave neat edges on the rigid heddle loom
    • Rigid heddle weaving
    • Rigid Heddle Weaving Patterns
  • Patterns
  • Subscribe

neat edges

Ask Kelly – Specific actions for neater edges

by Kelly Leave a Comment

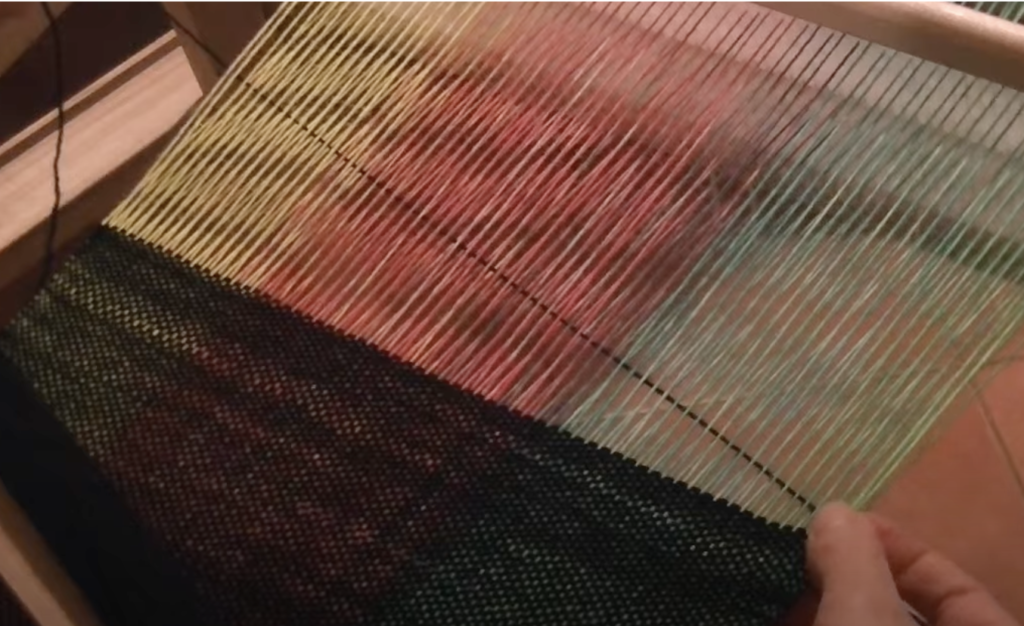
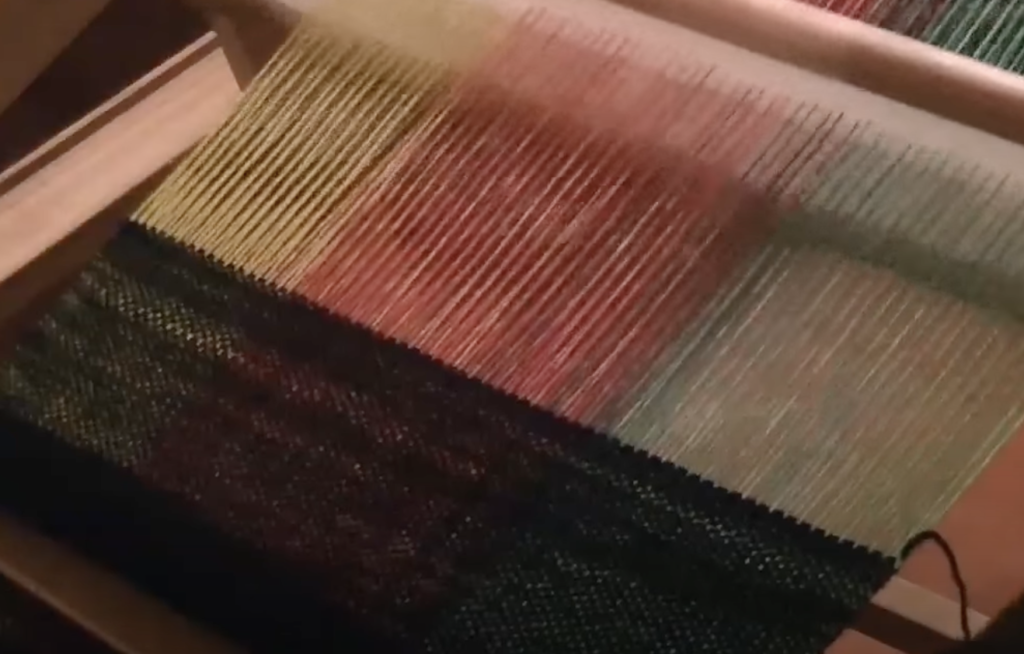
Ah, neat edges, aren’t they every weaver’s dream?

While I do think that sometimes we can tend to over obsess about obtaining the neatest edges possible, I still have to acknowledge that straight edges on hand woven fabric are a joy to behold.

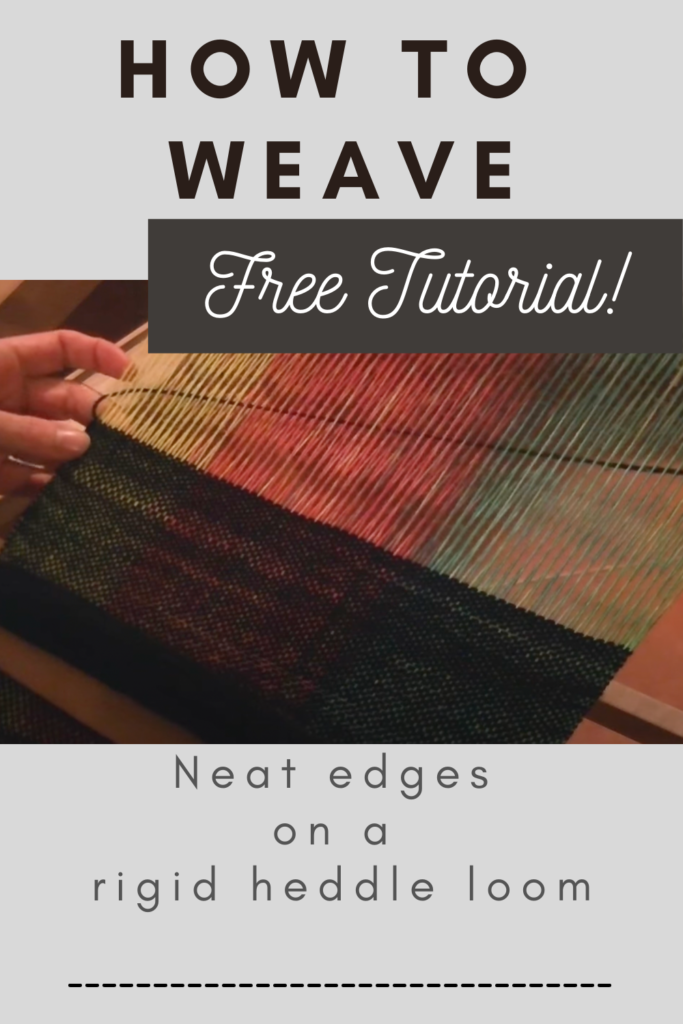
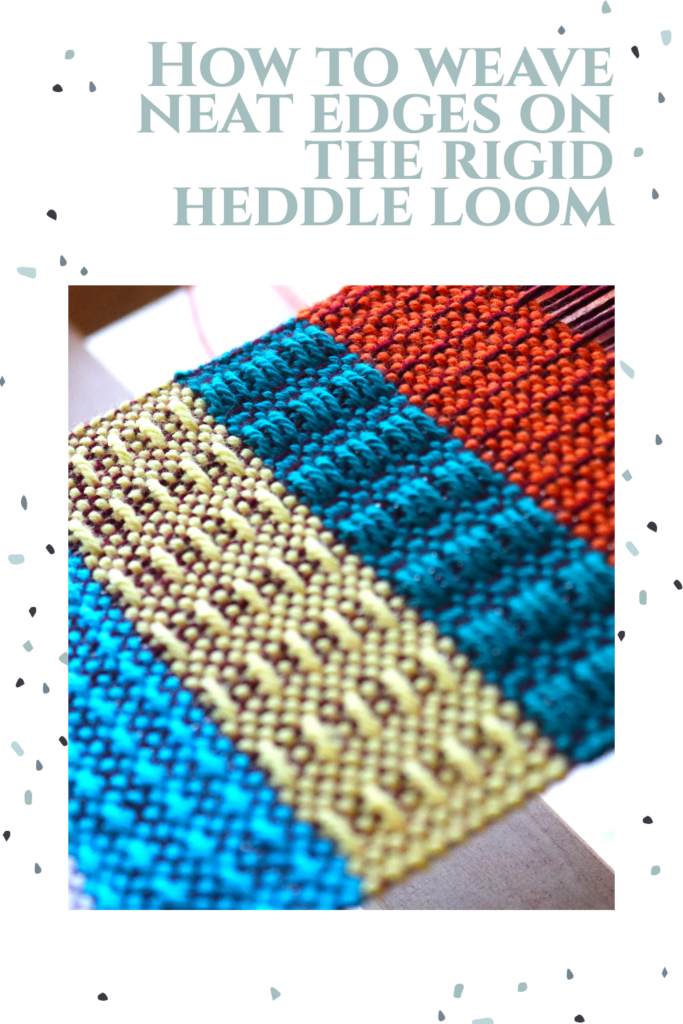
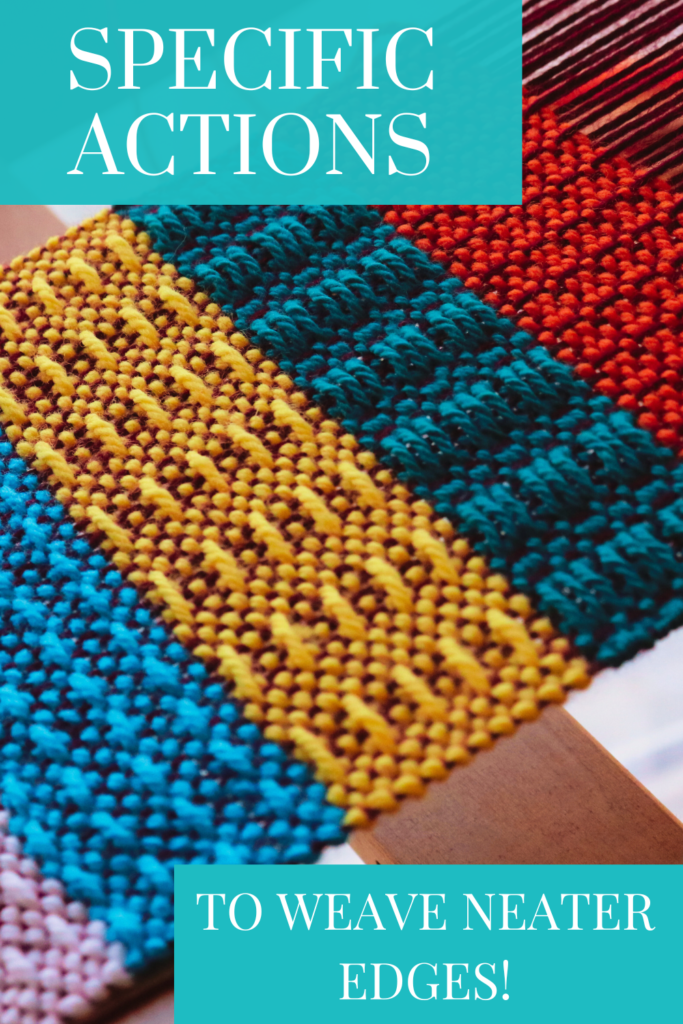
Today’s Ask Kelly question addresses the straight edges conundrum and provides some specific steps that I know will make a difference to your woven edges. I’ll be particularly speaking to weaving neater edges on a rigid heddle loom.

Read right to the end to find links for further learning!

“Thanks for your very informative weaving videos. I have been learning a lot. I am a brand new weaver (month one) and have done a few projects on my Cricket rigid heddle loom. Still learning the terminology and have definitely not been able to get straight edges even after watching your video about it. Need more details about what you are doing specifically – you make it look easy but mine do not look like yours.“

Denise

Hi Denise,

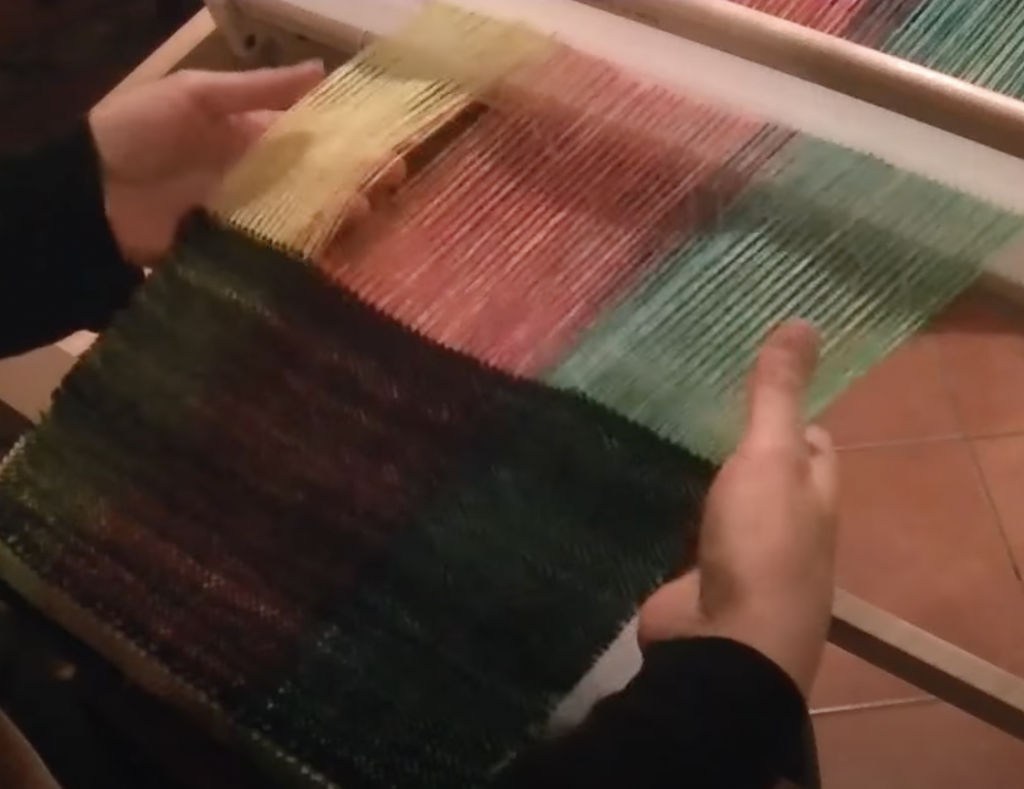
Neat edges are one of the biggest challenges to the newer weaver and probably what I get asked about the most 😊

Yes, you do need to be patient and get lots of practice in. Over time you will start to notice a difference. You will start to understand more about what good warp tension feels like (this is actually crucial to weaving neat edges), you will get to know different yarns, weave structures etc. 

You may also be interested in trying a technique where you thread both edge threads in a hole. This helps your edge threads to be under a more similar tension and can make a big difference to how your edges look. I have a video for doing that here-

Of course, there is so much more I could say on this topic, but I’m trying to focus on the main points that will make a difference to your weaving.

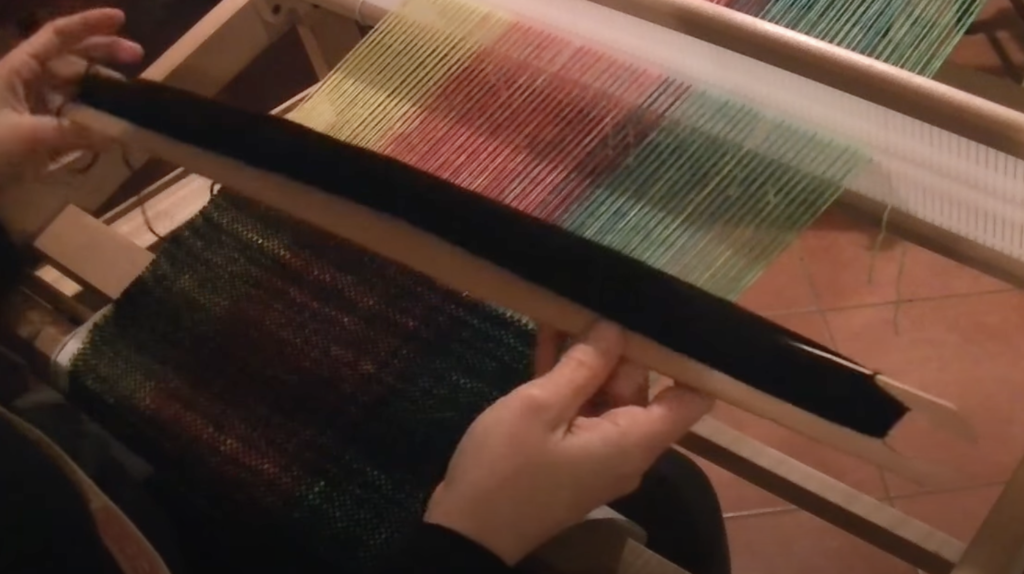
An important point to make is that if you’re weaving anything other than plain weave, your best bet will be to install floating selvedges to ensure that your weft thread always wraps at the edges. Floating selvedges are easy to install, check out these resources:

What are floating selvedges?…

How to use floating selvedges…

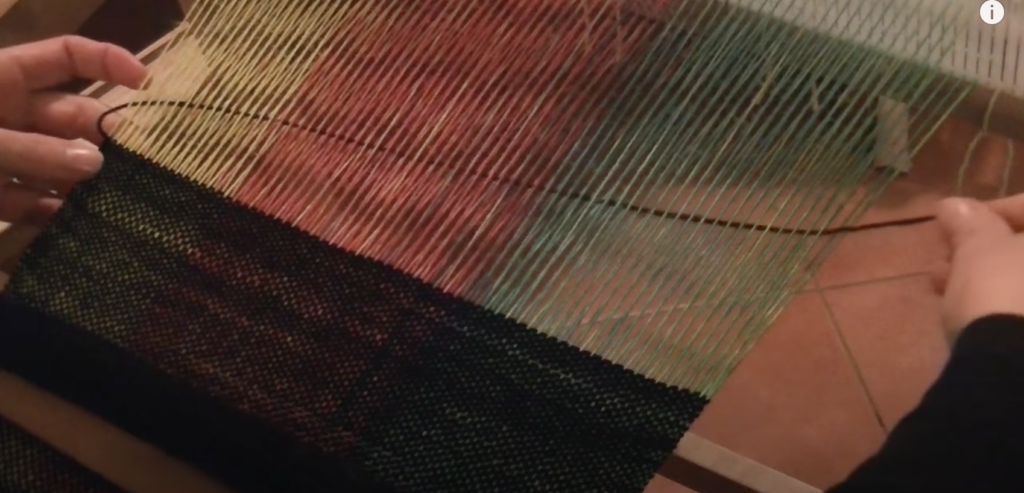
So, what about those specific actions for neater edges?

  • Really good warp tension.
  • The pinching technique
  • Angled weft
  • Correct weft tension
  • Appropriate yarns

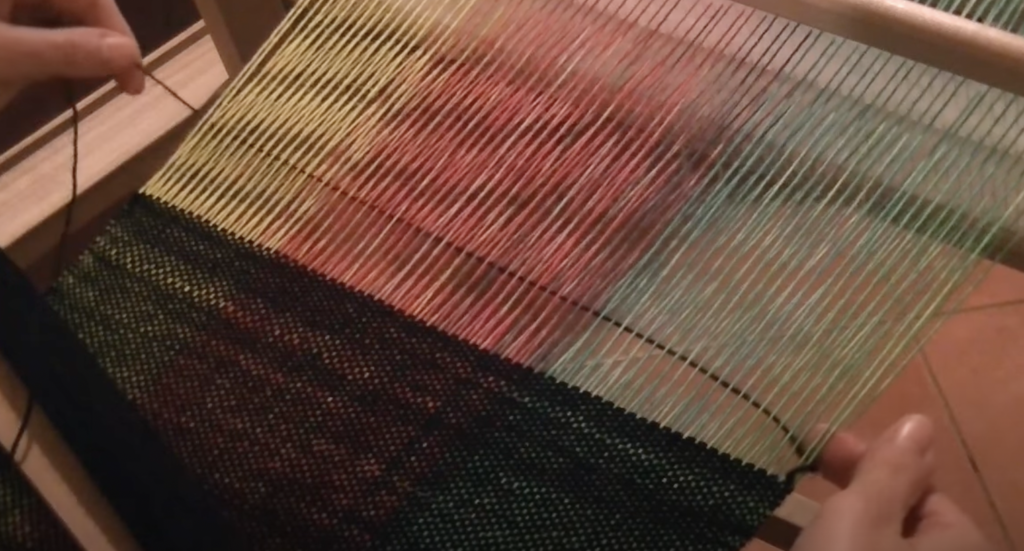
Great warp tension is really essential to neat edges (and to a successful project too!) You can learn more about how to obtain great warp tension in these online classes:

Woe to Go Beginner’s class

Setting up for Success class (member’s only)

And here are some more resources to help set you on the journey of weaving neater edges:

Help, my edges are wonky!

Troubleshooting loose slot threads…

Lifeline selvedges technique…

Yet another neat edges tutorial…

*This post may contain affiliate links. For further information, please see my disclosure policy.

The last point that I want to make is to not worry if your edges are less than perfect. The best solution to slightly wonky woven edges is really just time and practice. Your edges will get better, just keep going!

Until next time…

Happy Weaving!

Filed Under: Warping, Weaving Tagged With: neat edges, warp tension, warping

How to weave neat edges on the rigid heddle loom

by Kelly 8 Comments

Nearly a decade ago, I took a leap and uploaded my very first YouTube video: How to Weave Neat Edges on the Rigid Heddle Loom. Using my son’s old camcorder (surprisingly, the footage still holds up!), I shared a simple yet essential weaving tip. My son even stepped in as editor, complete with some charmingly cheesy background music! 😄

*This post contains affiliate links. For more information, please see my disclosure policy.

You could say that this is the video that started it all for me. And to be really dramatic, I could say that there would be no Online Weaving School without this first video. Because, regardless of my fears and zero expectations, people actually watched the video. Then they asked for more.

I never did write a blog post to compliment that video, and there are tips and tricks that I want to point out as important, especially for beginner weavers. So here we go, one blog post, coming up!

TIP ONE – TENSION!

I do go on about this a bit, but that is only because it is SO CRUCIAL!! If your warp is either too loose or too tight, you are going to meet with trouble when you start weaving. Let’s look at too loose first.

Too loose!

This is an example of too loose. If you push up underneath the warp or push down on top and it’s like your hands are on a trampoline that has lost it’s zing, you’re too loose. A too loose tension will result in too loose edges, and even if you employ the techniques I discuss in the video, it’s only going to help a certain amount. When your weft travels around the edge warp threads, it naturally wants to draw in that warp thread a little as it travels to the other side.

That is normal and natural as the weft takes it’s path back and forth across the warp. But, it should not be an excessive amount and it should be consistent. I’m going to talk about consistency more in a moment.

One way to know if your warp is way too loose, is your heddle won’t like to stay in position when you place it there. In the up position, it may fall, in the down position it may just hang there. Doesn’t that sound sad?

So, if your edges seem too loose, try advancing your warp a little.

Then there is the opposite problem, your tension is too tight.

An easy way to know if this is your problem is that you have to wrestle with the heddle to get it into the up position. Not good for your poor old warp which my repay you by snapping a thread. Not good for your loom either, which is only designed to hold a certain amount of tension before damage can occur.

When your tension is too tight, you will also get problems at the edges. They may start to curl upwards as you weave the weft and the warp tries to deal with all that tension. This will also cause the dreaded “smile” from your weaving. It sounds like a good thing to have your weaving smile, but trust me, it ain’t smiling because it’s happy! It will be hard to beat, so your fell line could end up uneven. I can always tell a “too tight” warp because the weft at the edges looks unsettled and unhappy. Not consistent and cruisy.

In between “too tight” and “too loose” tension is “inconsistent tension”. I feel that this is even worse than the previous two, because at least they can be remedied easily by adjusting warp tension.

Inconsistent warp tension usually occurs in the warping process. Perhaps you have warped independently, you’ve grabbed the warp with one hand to roll it on, but you haven’t paid enough attention to the middle part of the warp. It then rolls on looser than the rest. What you finish up with when you start warping is a loose middle and too tight edges. Aaaagh! Not fun. At all. And, once again, a sure recipe for whacky edges.

If you have ongoing warp tension issues and find that frustrating, I highly recommend a beginner’s class like my Woe to Go – Beginner Rigid Heddle Weaving.

TIP TWO – WINDING OF YOUR STICK SHUTTLE

The way in which you wind yarn onto your stick shuttle will affect your edges. I like to use a figure 8 to wind my shuttle yarn, as it creates a flow, meaning the yarn feeds off the shuttle without snagging or pulling unnecessarily. This, in turn, means a smoother weave and no sudden catching or pulling in of the edge threads due to yarn getting stuck on the shuttle.

If you need to see the figure 8 method of loading your stick shuttle, you can watch here:

TIP 3 – ANGLE THE WEFT

When you take your weft picks through, you want to ensure that you angle it before beating. If you’re a beginner, a 45 degree angle is good, and for more experienced weavers, around 25 – 30 degrees is fine. Doing this helps with your edges because it gives the weft room to settle into place, rather than being dragged into a tight spot that feels un-natural. And now I’m talking as though the yarn has feelings, but that is what happens to you if you work with it for long enough 😆

TIP 4 – PINCHING TECHNIQUE

I think that maybe, out of all the things I’ve shared with others about weaving, this one may have been the most helpful to the greatest number of people. It really does make that much difference.

Let’s go over the steps to my pinching technique:

I’ve taken the weft through, I’m angling it, and then I’m bringing my pointer finger into the shed to feel the weft as it travels around the edge of the warp thread.

Then, I’m placing my thumb on top so that the weft yarn, along with the warp thread are wedged or “pinched”. This gives me a really good tactile sense of how the weft is behaving at the edge warp. Perhaps it needs tightening up, or perhaps it needs loosening. I place some tension on the weft yarn with the opposite hand to help it settle in.

The last step of the process is to give that weft tail that is sitting up on the right hand side a little tug to help it settle into place before the next pick.

If you practice this technique for a while, you will learn what the yarn is telling you (oops, there I go again!) and how you should proceed.

If you enjoyed this tutorial, you may want to check out the huge variety of classes I have on offer in my Online Weaving School. There are many rigid heddle classes, from beginner to advanced. If you purchase a membership, you also gain access to the private member’s group – a fantastic community of like minded weavers and support team. I hope to see you there!

I have a bunch of other posts and videos on weaving neat edges, as it’s a problem that pops up so often. Isn’t it good to know that there is something you can do about it?

Help! My edges are wonky!

Troubleshooting loose slot threads

Going around the edges

Try this trick for neater edges

Lifeline selvedge technique

Yet another neat edges tutorial

Thank you for visiting, and be sure to leave me a comment down below.

Until next time…

Happy Weaving!

Filed Under: Neat edges, Online Weaving School, Rigid heddle weaving, Tutorials, Weaving Tagged With: neat edges, rigid heddle weaving tutorial

Primary Sidebar

Categories

Archives

Meta

  • Log in
  • Entries feed
  • Comments feed
  • WordPress.org

Copyright © 2025 Kelly Casanova Weaving Lessons on the Foodie Pro Theme