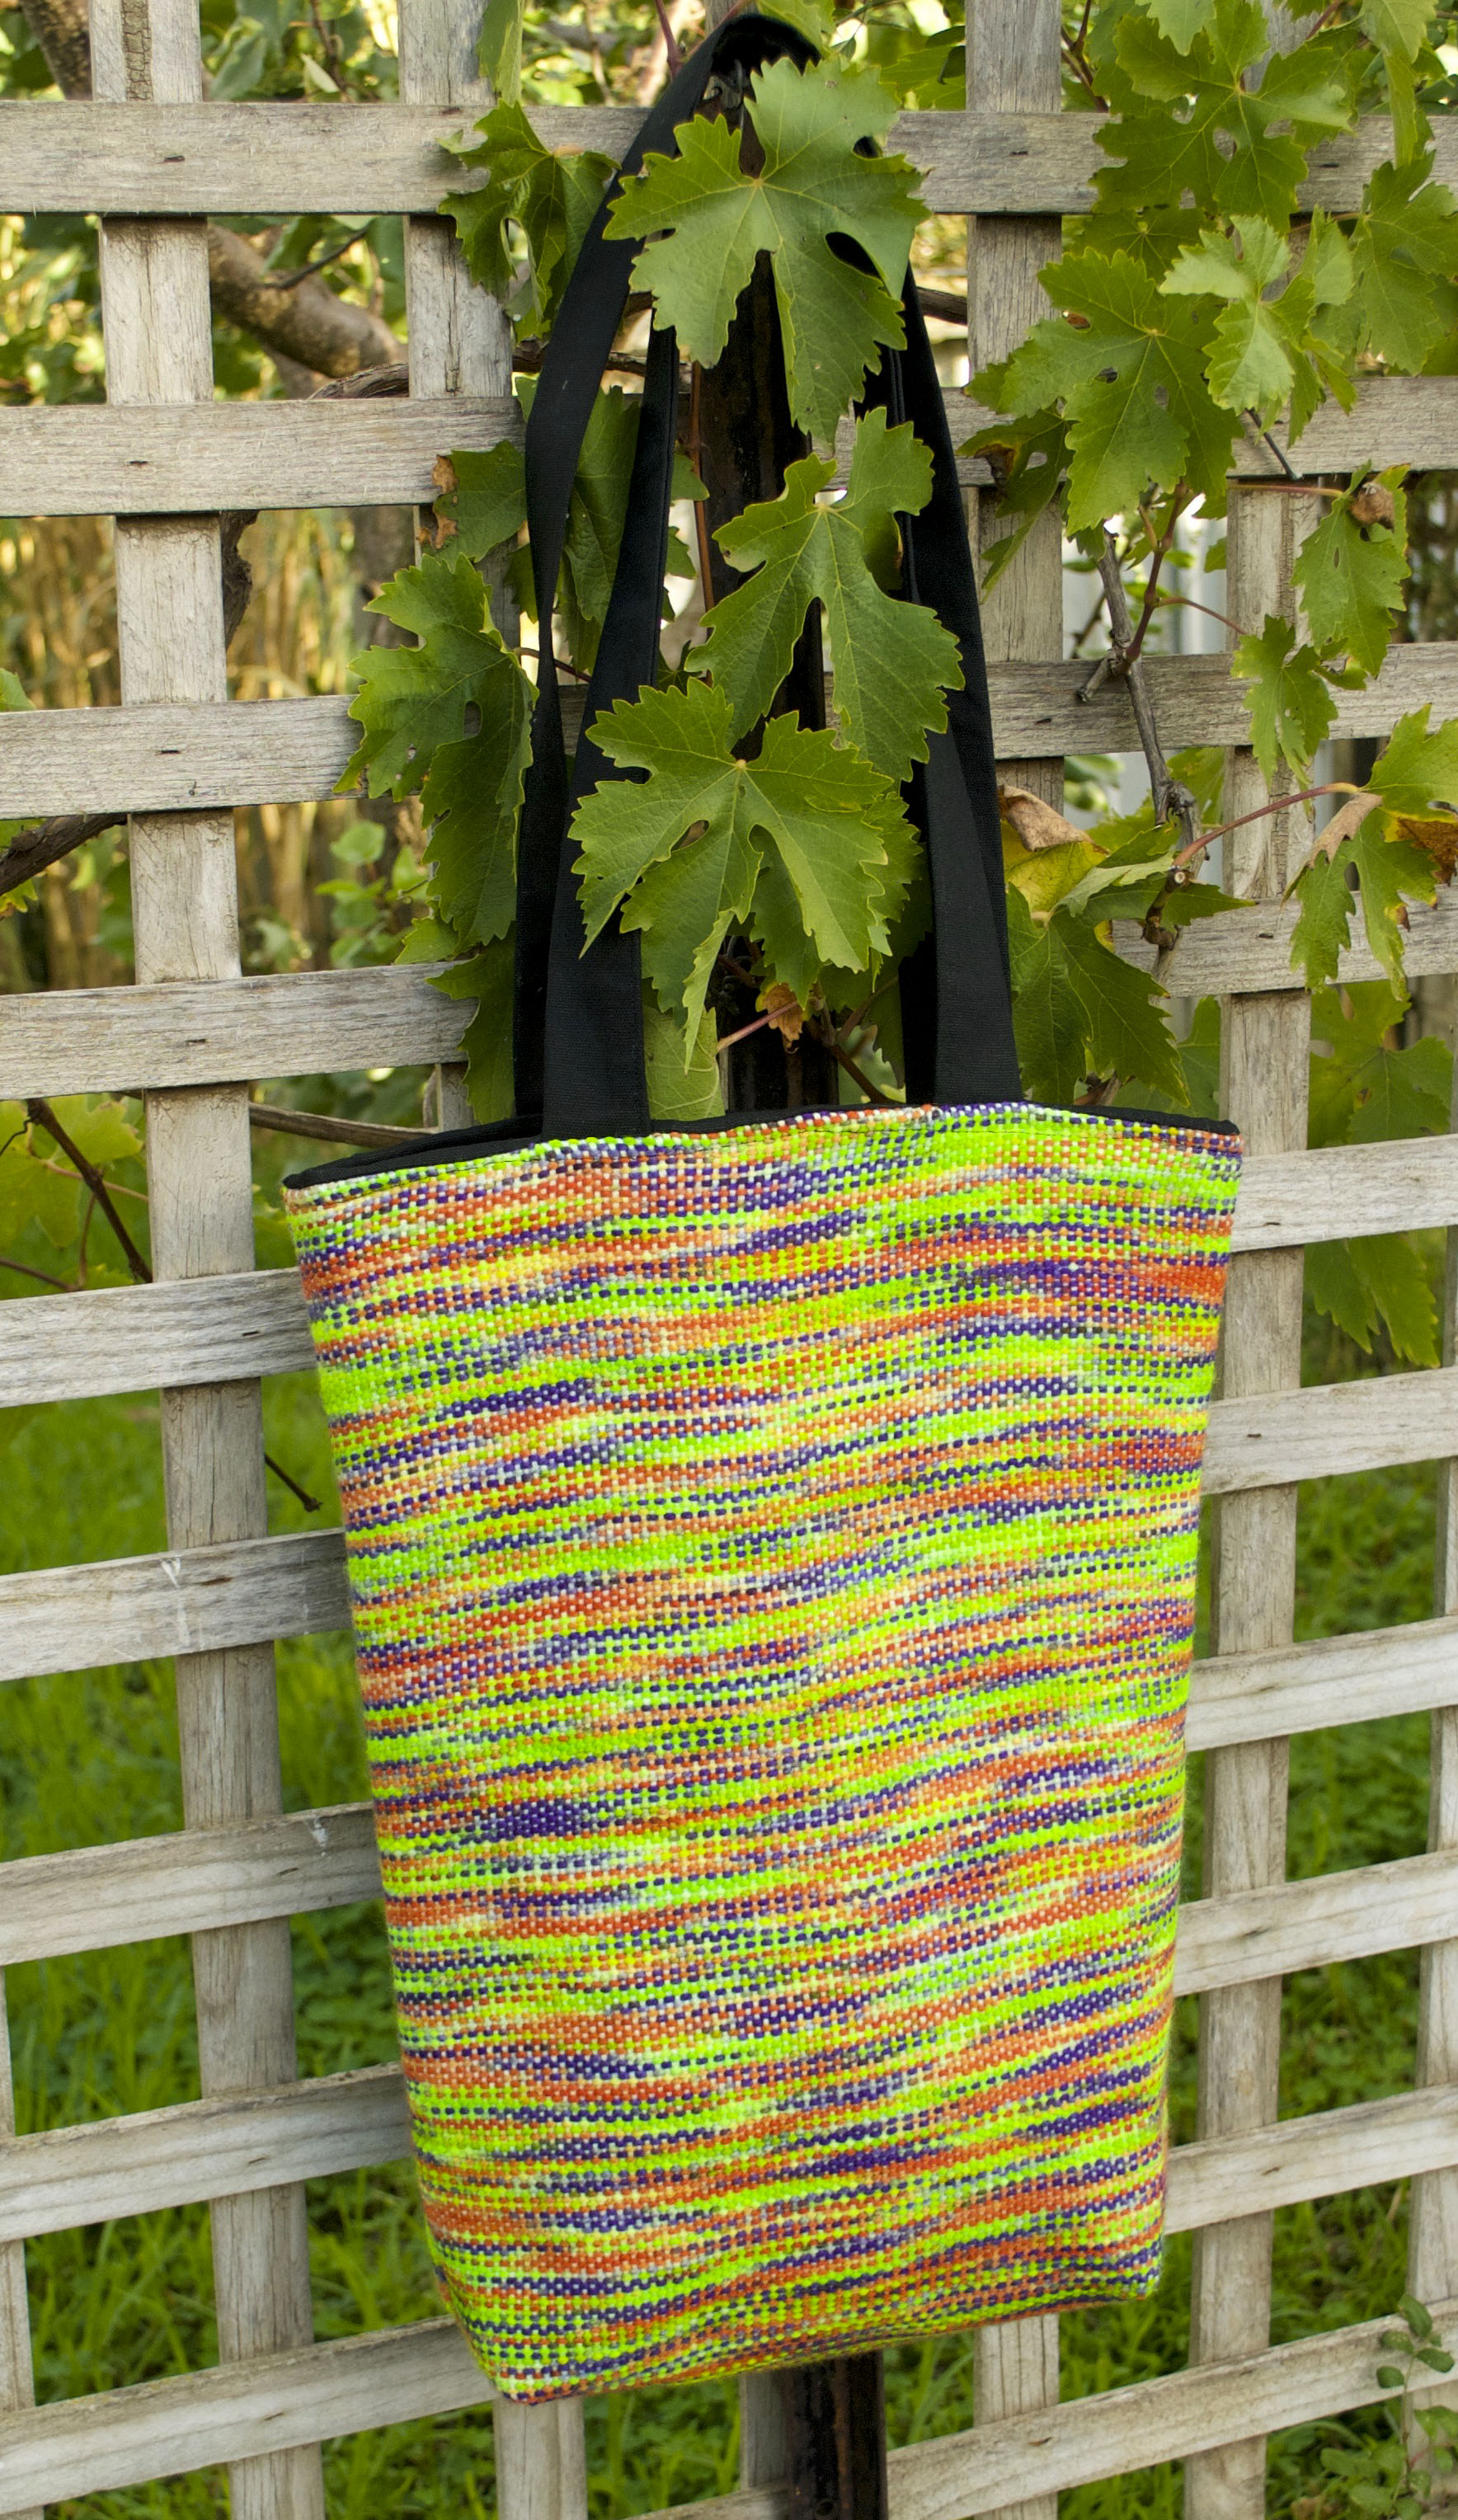
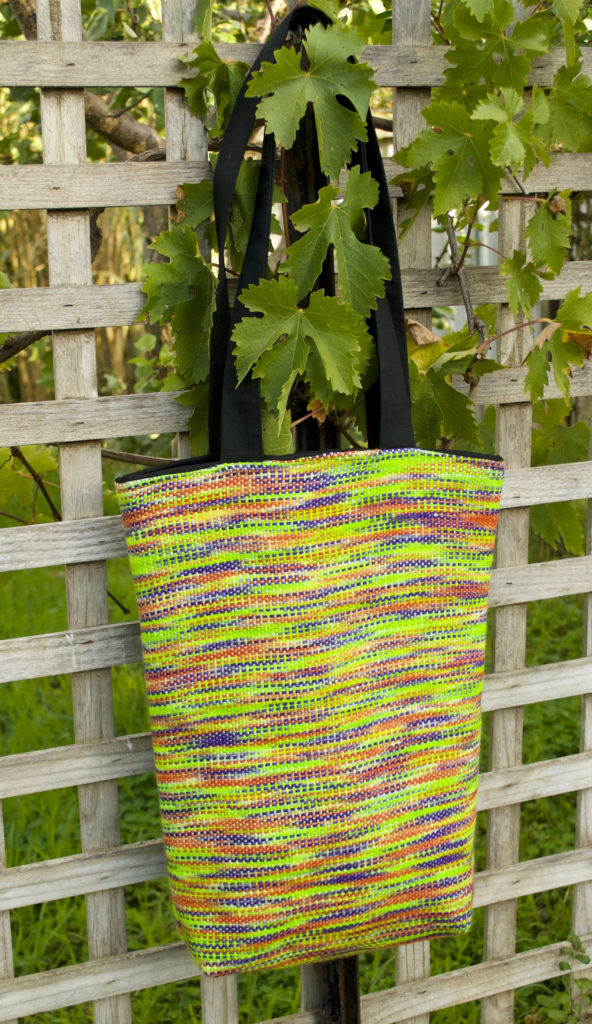
It is almost 3 years since I first posted my Tote Bag Weave Along series on Youtube. It has been my most popular series ever, and I’ve been thrilled to see so many bags woven by others!
I’ve wanted to add extra functionality to the series for those who desire it, and that is what I’ll be doing here over the next couple of posts. I will be giving yarn details and help, printable PDF’s, as well as some step by steps for some sections of making the bag.
I’m beginning with the materials list that you can now download and print out.
OK, lets get into some extra details and questions you may have from the list.
*This post contains affiliate links, meaning if you click and purchase on the link’s given, I receive small commission at no extra cost to you 😉
Do I need to have a 24″ or 60cm rigid heddle loom?
Not necessarily! Although weaving the bag in one piece is the easiest option, it’s not the only way. If, for example, you had a Sampleit loom, you could weave 2 panels, 10″ wide and sew them together for each bag panel you need. (So that would be 4 panels you would weave for one bag). You could even make a design feature of your panels by weaving the wefts in different colours so that each side of your bag would contrast. Where there’s a will there’s a way!
Do I need to sew the handles myself?
Nope. You have other options for the handles too. If you have an inkle loom, you could weave them yourself, in either matching or contrasting colours. You can also purchase ready made handles and these come in a huge variety nowadays. You can choose from metal, acrylic, wood, rattan, and faux leather, to name a few!
I can’t get Australian 8 ply merino – what are my other choices?
There are many yarns you can substitute with and you don’t have to use wool. Cotton, acrylic, bamboo and others can be used too. One world of caution though. When you iron on your interfacing, your chosen yarn needs to be able to take the heat without being scorched. Cotton or superwash wool are good choices.
Here are some suggestions for you:
Lily Sugar n Cream is a range of cottons that come in the most gorgeous colours and varieties. Their variegated cottons are wonderful and they even have curated colour packs! Cascade Ultra Pima is another possibility.
For wool, you have Cascade Superwash, Patons Classic, Carlton Merino and so many more. Yarnsub.com is an excellent resource for checking and comparing yarns.
Do I have to line my bag?
No, but it does give a really nice, more professional looking finish.
Do I need to use a sewing machine?
Technically, you could hand stitch this whole project, but that is not something I would do! If you decide to, make sure your stitches are small and strong, a bag needs to be hard wearing. Whether sewing on a machine or by hand you should always use a good quality thread like my favourite, Gutermann. Cheap thread is cheap for a reason!
Next time we will go through some of the steps for the project. If I have missed anything or if you have questions about the materials, please let me know in the comments. Also, please let me know if offering the series in this format is helpful to you.
In the meantime, if you want to take a look over the Tote Bag Weave Along video series, you can start with the introduction video below.
If you have any questions about the project or anything from this post, please let me know in the comments!
Until next time…
Happy Weaving!


Hi,
I’ve tried to sign up for various things like the webinar about not getting results and I never receive an invite or link or whatever in my inbox. And I’ve checked my spam box and there’s nothing there. What should I do?
Karen
This format is very good for me. My computer and my loom are in different rooms. I like to see as I am weaving.
That’s great, thanks for the feedback Linda!
Can I use my 20″ loom? Would the tote be too narrow? This will be my first project but it looks well described & straight forward thank you
Yes, definitely! You would want to warp the full width and then adjust the length of the bag for better proportion (so it’s not too long and skinny!)
Thanks Kelly for making this one a freebie workshop. How often will,you be updating the lesson. I bought my yarn yesterday and am ready to get stuck in . 😀
I’m planning on updating weekly for the next few weeks 😊
Kelly, this is such a helpful series, and timely too, as I am wanting to warp up for a nice portable summer (here in USA) weaving project. Thank you so much! Looking forward to more posts!
That’s great, I love good timing!
Kelly, I realize I am late to the game but I cannot seem to open the zip file on my iPad. Help!
Hi Carol,
No, you’re not late at all, the idea is that anyone can start at anytime and all the information you need is there, ready for you. Go at your own pace.
I’ve changed the PDF to a non zip file, so hopefully that will help you with the upload. Let me know if you still can’t download it and I will email it to you instead.