Painting with Yarn: Why I’m Obsessed with Inlay Weaving
Have you ever been halfway through a project and thought, “I wish I could just add a little something right here”? Maybe a splash of color, a geometric shape, or a bit of thick, cozy texture that stands out from the rest of the fabric?
If so, let me introduce you to one of my absolute favourite “secret weapons”: The Inlay Technique.
What Exactly is Inlay?
Think of inlay as “painting” while you weave. Unlike traditional patterns where the yarn goes from edge to edge (selvedge to selvedge), inlay allows you to place extra bits of yarn exactly where you want them.
The best part? It doesn’t change the structure of your cloth. Your base fabric stays strong and stable, while your “inlay” yarn sits beautifully on top, almost like it’s floating.
For this shawl I wove for WEFT magazine I used a variety of techniques including Brook’s Bouquet and Clasped Weft. I added in some inlay sections using Lang Yarns Mille Colour Socks and Lace Luxe yarn. You can see in the photo above that I introduced 5 balls of discontinuous weft to build the inlay sections.
How Does Inlay Work?
Typically you will have a plain weave background with a supplementary weft as the inlay. But inlay is also really fun to use in a variety of weave structures, because the same principle applies.
The inlay is created with an additional weft that can be introduced anytime, anywhere. You can explore a variety of yarns to use as your supplemental weft and you are in total control of the placement of the design.
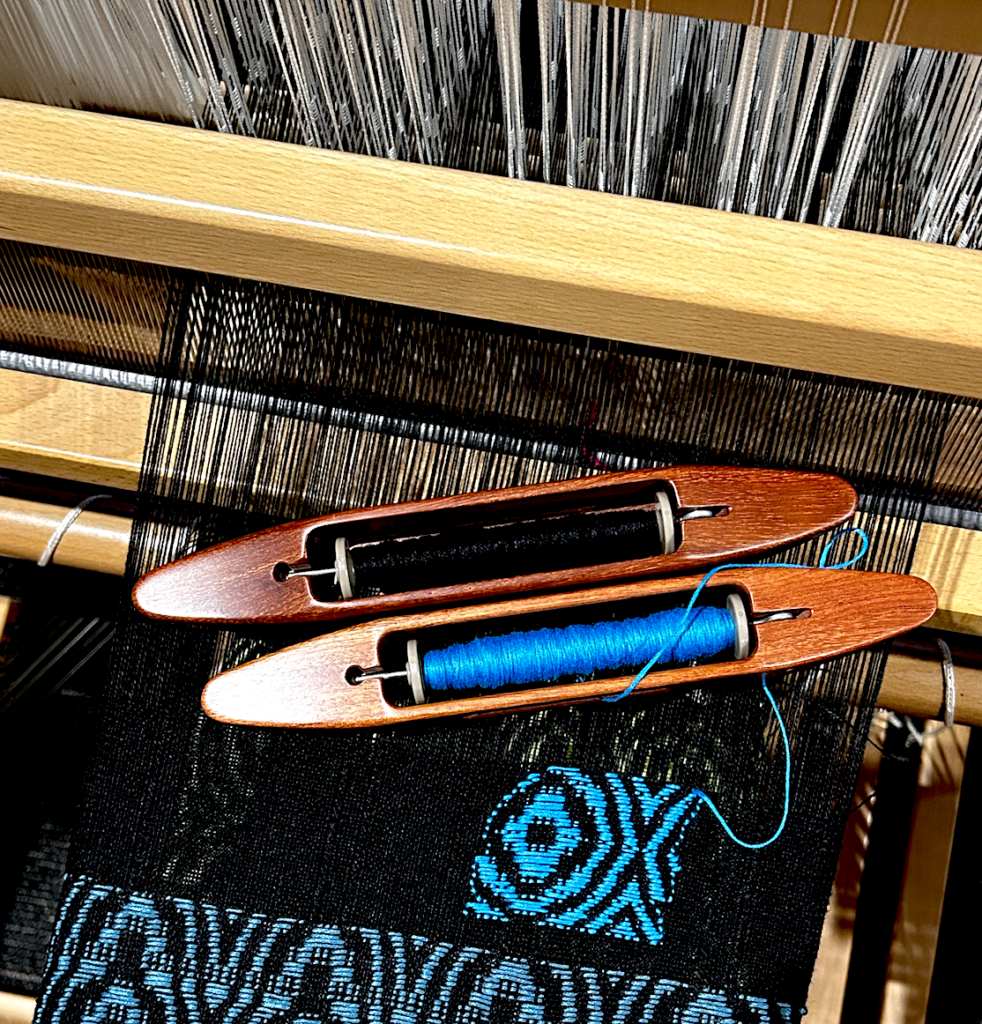
I had so much fun playing around with this sampler. The warp on my floor loom was threaded for overshot. I woven a section of tabby (plain weave, also the ground fabric) in black and then introduced my supplementary bamboo weft in blue. Rather than weave the overshot from edge to edge, I used the shuttle to move in and out of the warp in the section where I wanted the overshot “window”.
Why You’ll Love It
No Fancy Equipment: Just your regular loom, whether it’s a rigid heddle, table loom, floor loom or frame loom.
Stash Busting: It’s the perfect way to use those tiny, beautiful scraps of luxury yarn you’ve been saving.
Total Freedom: You aren’t locked into a repeating pattern. You can change your mind and add a new shape whenever the mood strikes. Plan ahead or make it up as you go along, the choice is yours!
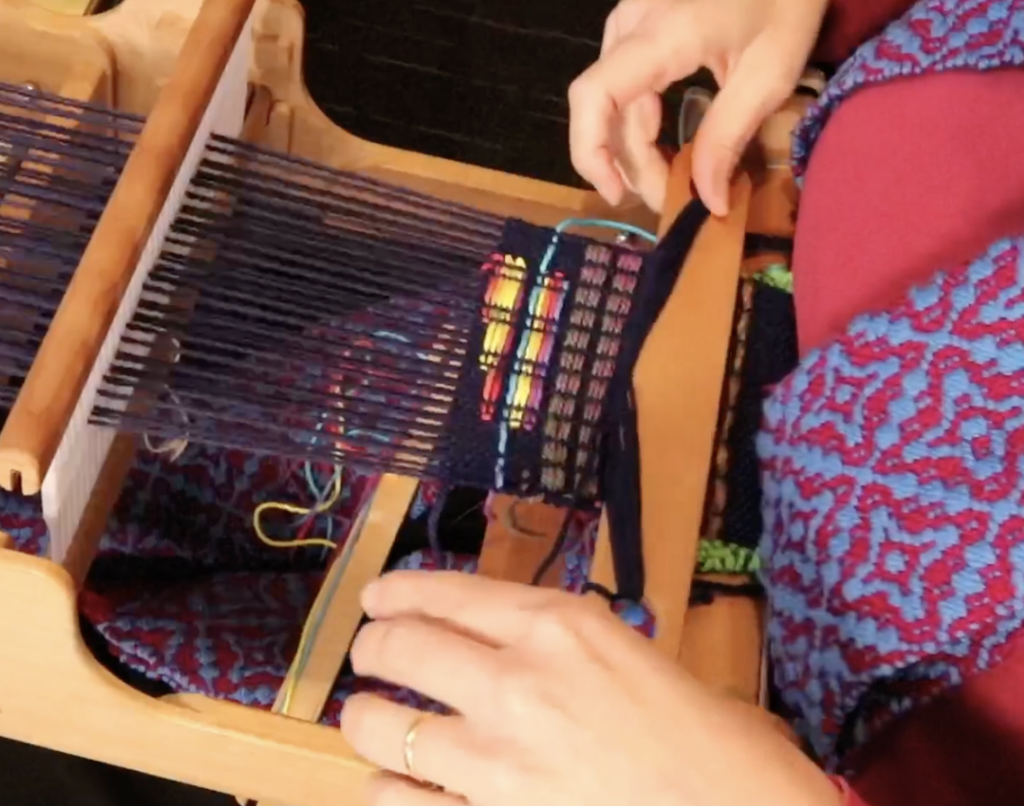
On a rigid heddle loom, you can combine pick up techniques with inlay to create colourful sections of weft or warp floats. Again, you decide on placement. By following up each inlay pick with a plain weave pick you create a stable background fabric.
A Little Tip to Get Started
When you’re choosing your inlay yarn, try something a bit thicker or more “toothy” than your background yarn. This helps the design pop and gives your finished piece that gorgeous, tactile quality that hand weaving is all about.
Inlay can also be used in a more organised fashion, like I did for The Heart Scarf. I wanted to have a plain weave border at each edge with the pick up floats pattern in the middle.
Ready to Dive Deeper into Inlay?
If you’re longing to explore inlay in more depth, I’d love to have you in my online rigid heddle inlay class! This is a member’s only class for members of the Online Weaving School.
Inlay is one of those techniques that feels like a total “lightbulb moment.” Once you try it, you’ll start seeing possibilities for it in every scarf, towel, and wall hanging you plan.
Have you tried adding extra textures to your weaving before, or is this your first time hearing about inlay? Are you eager to give it a try? I’d love to hear your thoughts in the comments!