This is a project I’ve never shared here before but it’s so darn cute, I just know you will love it!
You may have seen some of my overshot style, “branoe” video tutorials on my Youtube channel before. The Snowmen and Reindeer are the most popular.
Well, today’s tutorial follows the exact same technique. You can use this technique on just about any loom, but this tutorial focuses on the rigid heddle loom. If you want to read more about this overshot technique, I’ve written the details for how it works in this post.
*This post contains affiliate links. For further information, please see my disclosure policy.
Here is what you will need to weave your own little trees in pots:
A rigid heddle loom (I used my 24″ but a Sampleit size is fine if you just want a small sample)
A pick up stick wider than the width of your woven piece
Yarns-
There are no set yarns for this project, but I will share what worked well for me:
For the warp I used a light worsted/dk weight (Australian 8 ply) wool in white.
For the weft I used the same wool in a variety of colours. You will need one colour for your pots, brown for the trunk, green for the leaves, and then orange, red or yellow for the fruit (depending on whether you want orange, apple or lemon trees!)
I’m not including specific calculations or measurements for the piece, as this is adjustable and depends on what you’re weaving, but to give you a guide, my sampler was around 8″ width on the loom. It can be a good idea to wind on a 35 – 40″ warp and experiment with my other branoe/overshot tutorials.
You simply warp up and tie on as you would for plain weave. Then you’re ready to pick up.
You can find the pick up sequence PDF here:
Unlike other pick up, we leave the heddle in NEUTRAL and pick up the warp threads IN FRONT of the heddle.
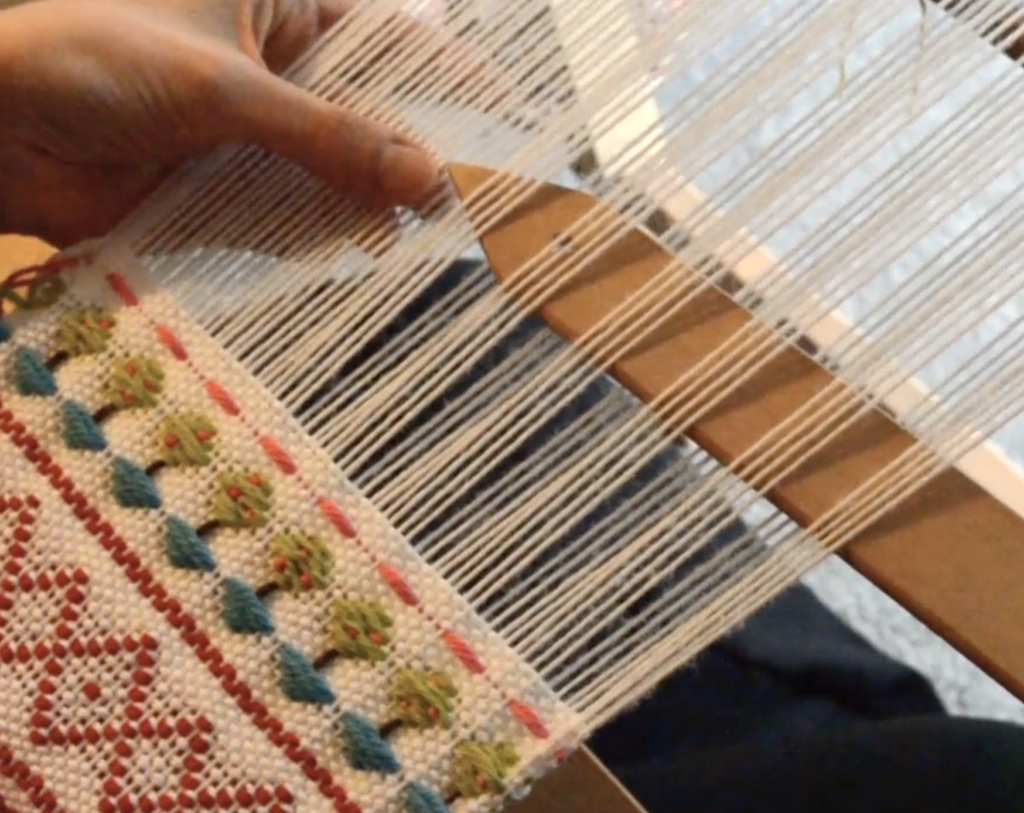
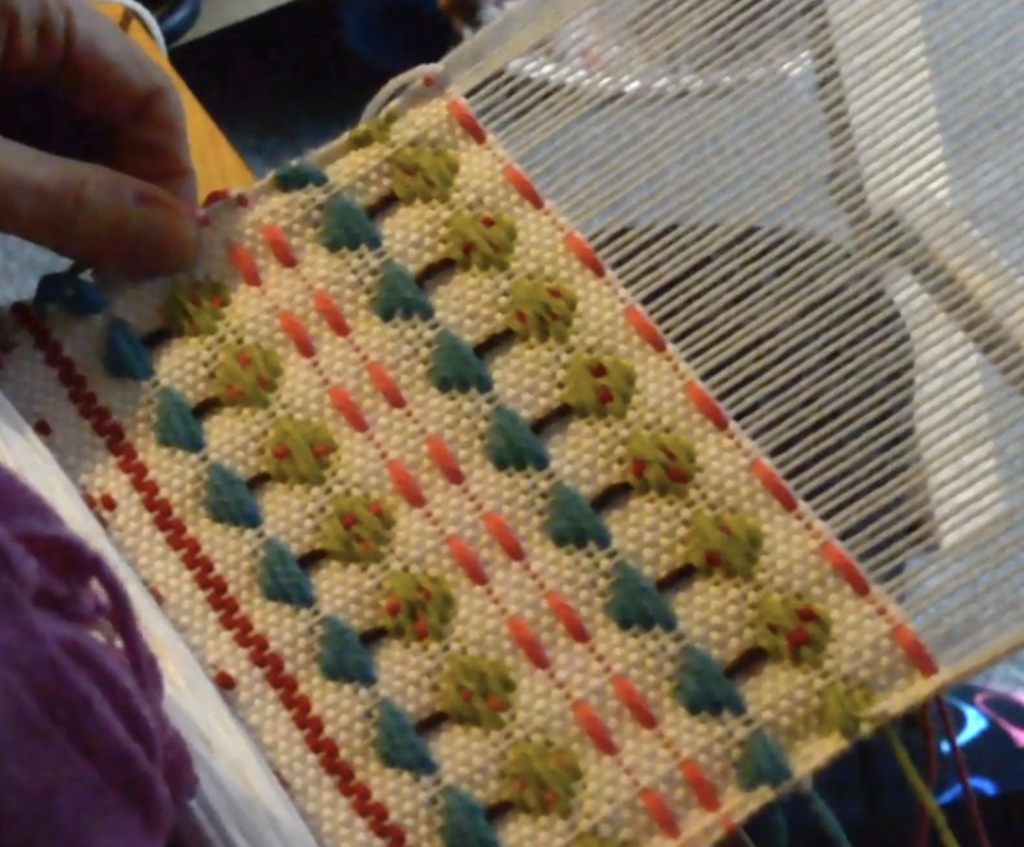
You can begin by weaving some plain weave to support your pick up design and give contrast. There are nice little borders you can work as well, if you want to. The border that I have here in pink is just 4 up, 4 down but there are many variations you could do.
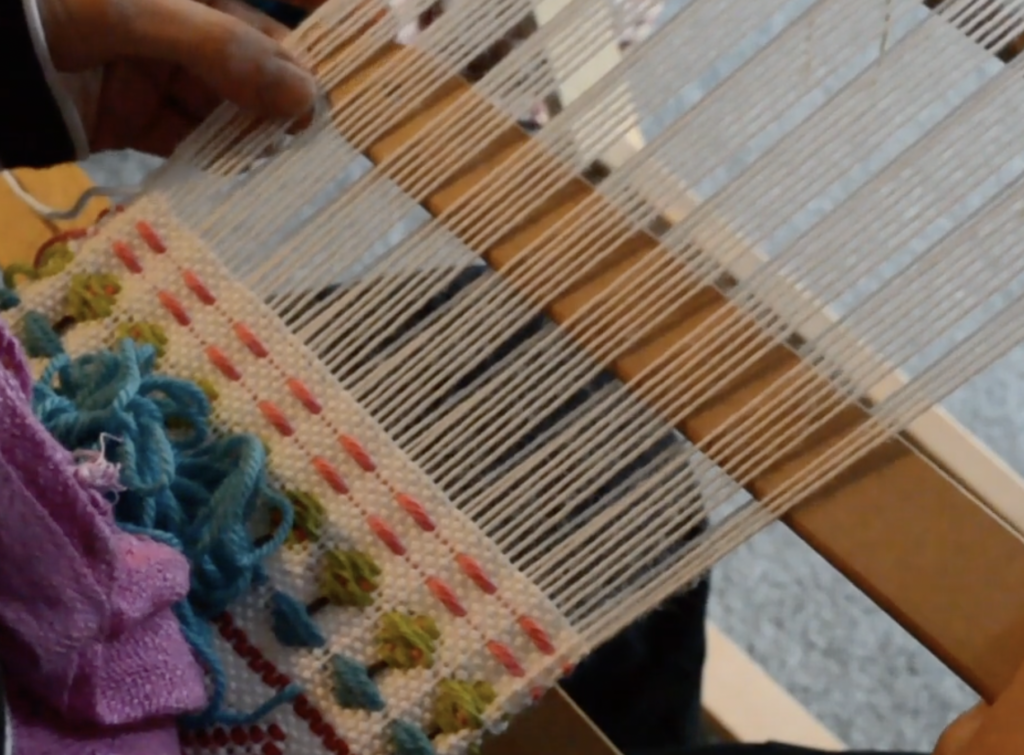
When you’re ready to begin weaving your pattern sequence, make sure you follow the pick up outlined in the PDF provided, starting with Row 1. Heddle in neutral, pick up in front of the heddle. Once all the threads are picked up across the warp, slide your pick up stick towards the heddle and place it on edge.
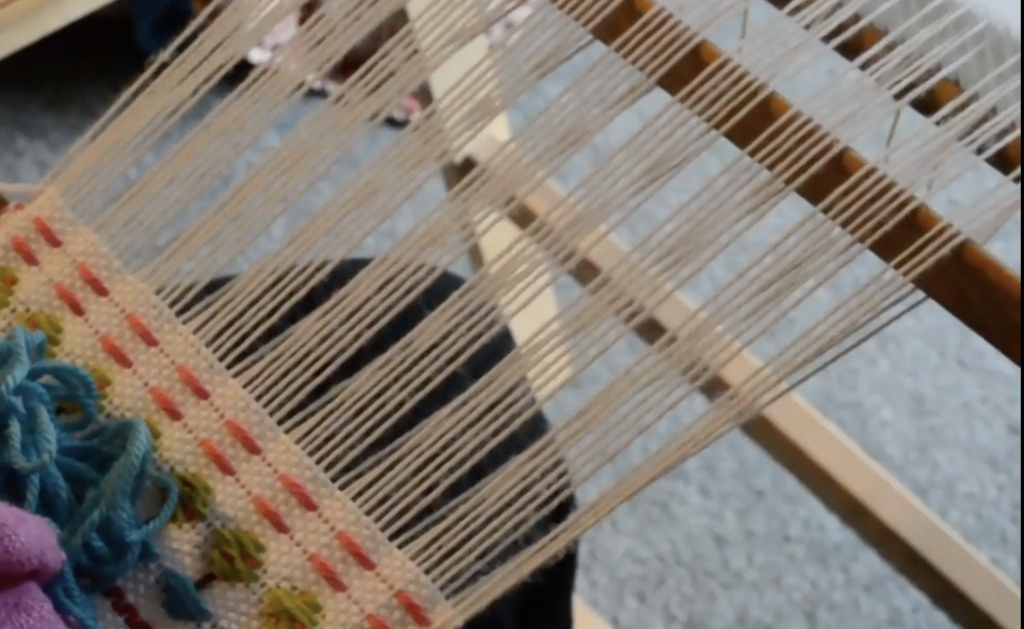
Your picked up threads will be propped up, changing the interlacement from plain weave. You can then bring in your pattern weft (whichever colour you’re using for the pots as designs are worked from the bottom up). I’m using a blue wool for my pots.
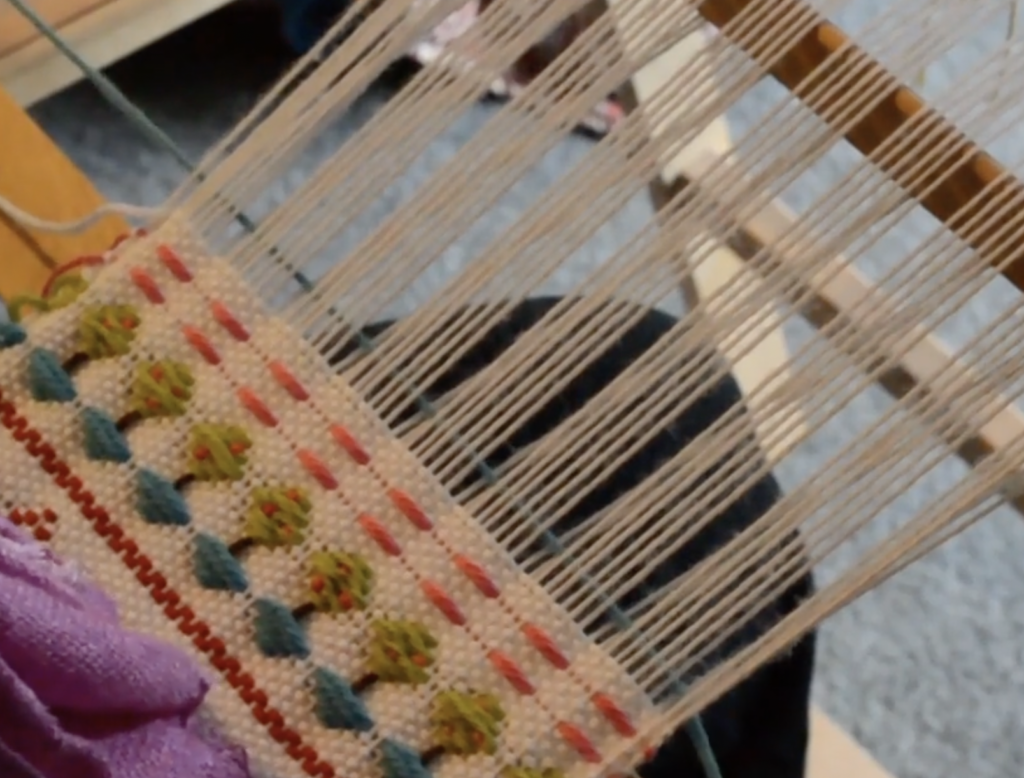
When your weft reaches the other side, take it around the edge warp thread and back into the shed, doubling your weft.
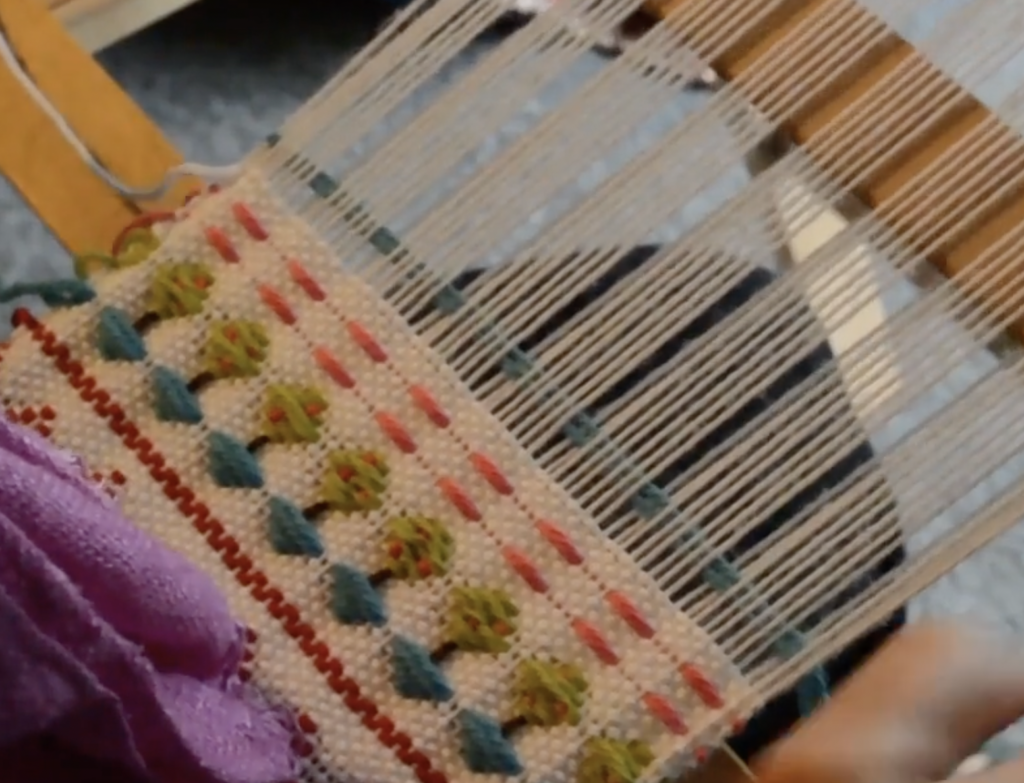
Take your pick up stick out of position and beat the doubled weft into place.
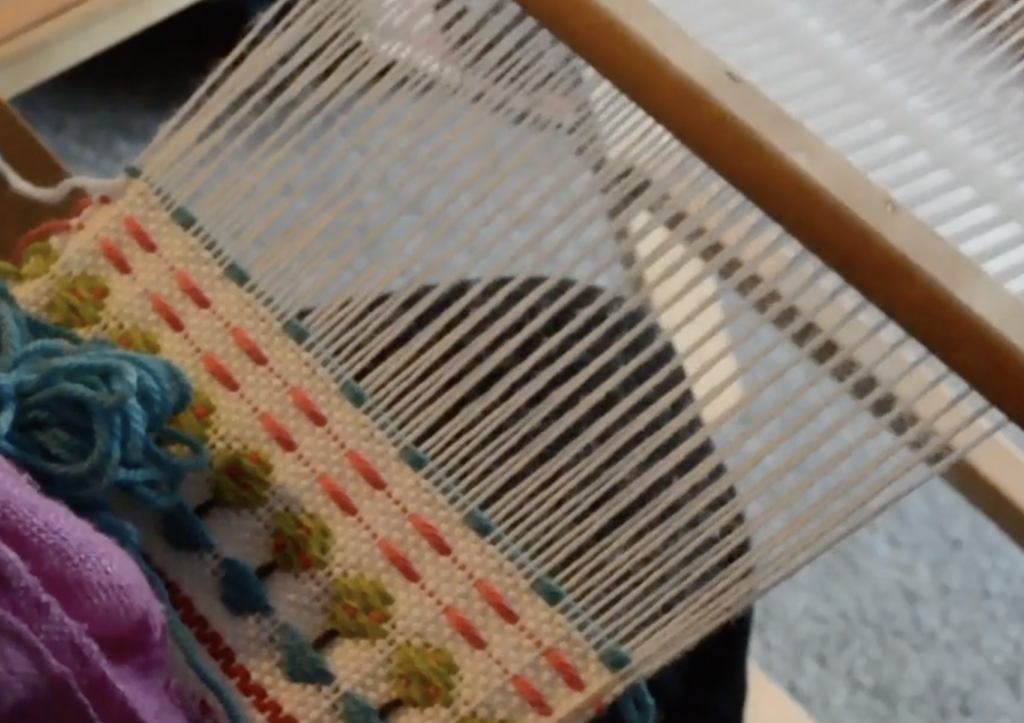
Follow this up with a plain weave pick in your background weft. Choose the plain weave shed (either up or down) that you were up to before you wove your first pattern pick. For me, that was the up position.
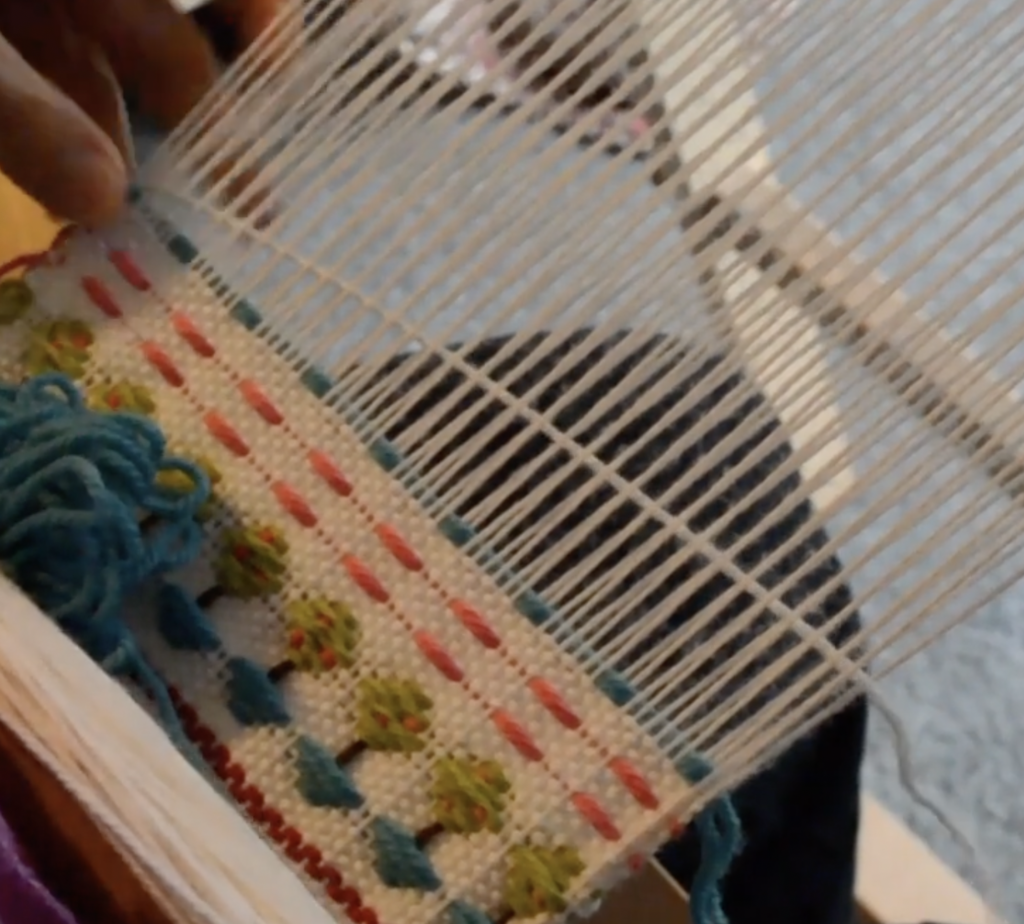
Each plain weave pick will be a single, not double weft.
Continue following the pick up and weaving sequence for the pots.
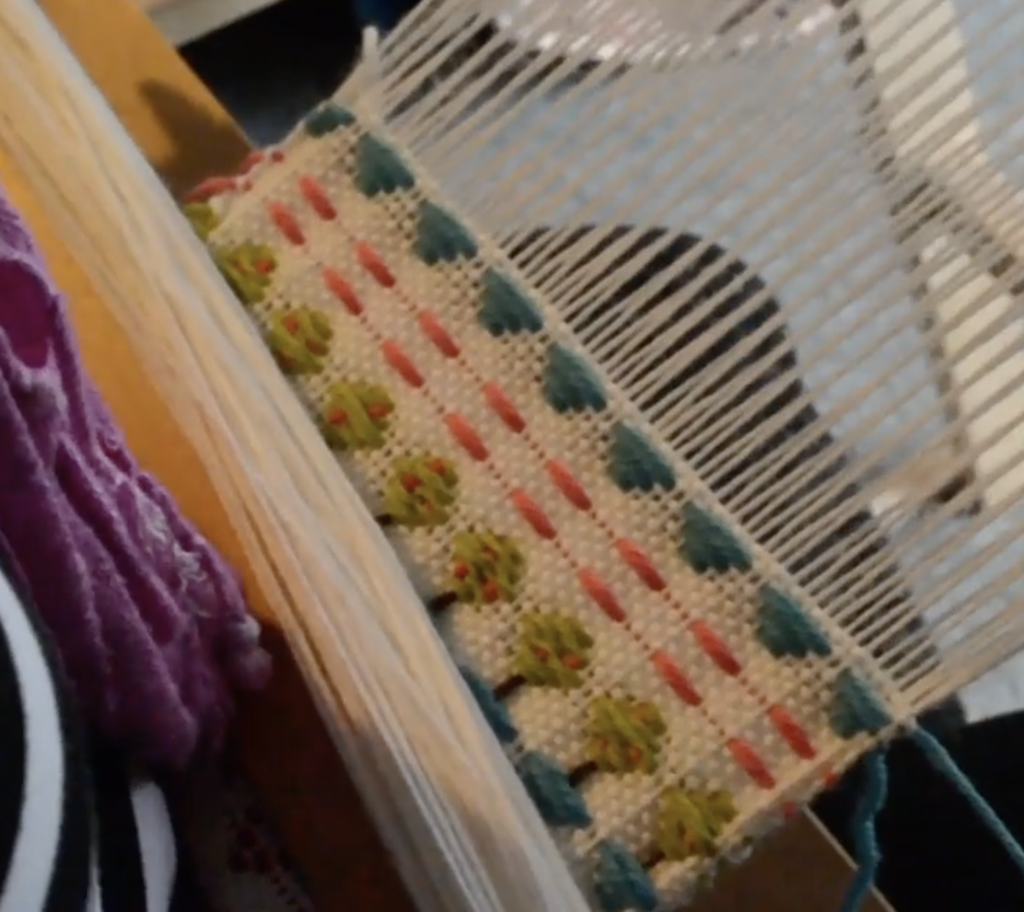
We follow up now with 6 picks of background weft in plain weave. This is because we need a surface to embroider the trunks onto. Weaving narrow trunks (and centering them to match the pots!) is quite difficult, so embroidering whilst the piece is on the loom is a much easier option.
Rather than embroidering right now, we instead move on to the pick up for the tree foliage.
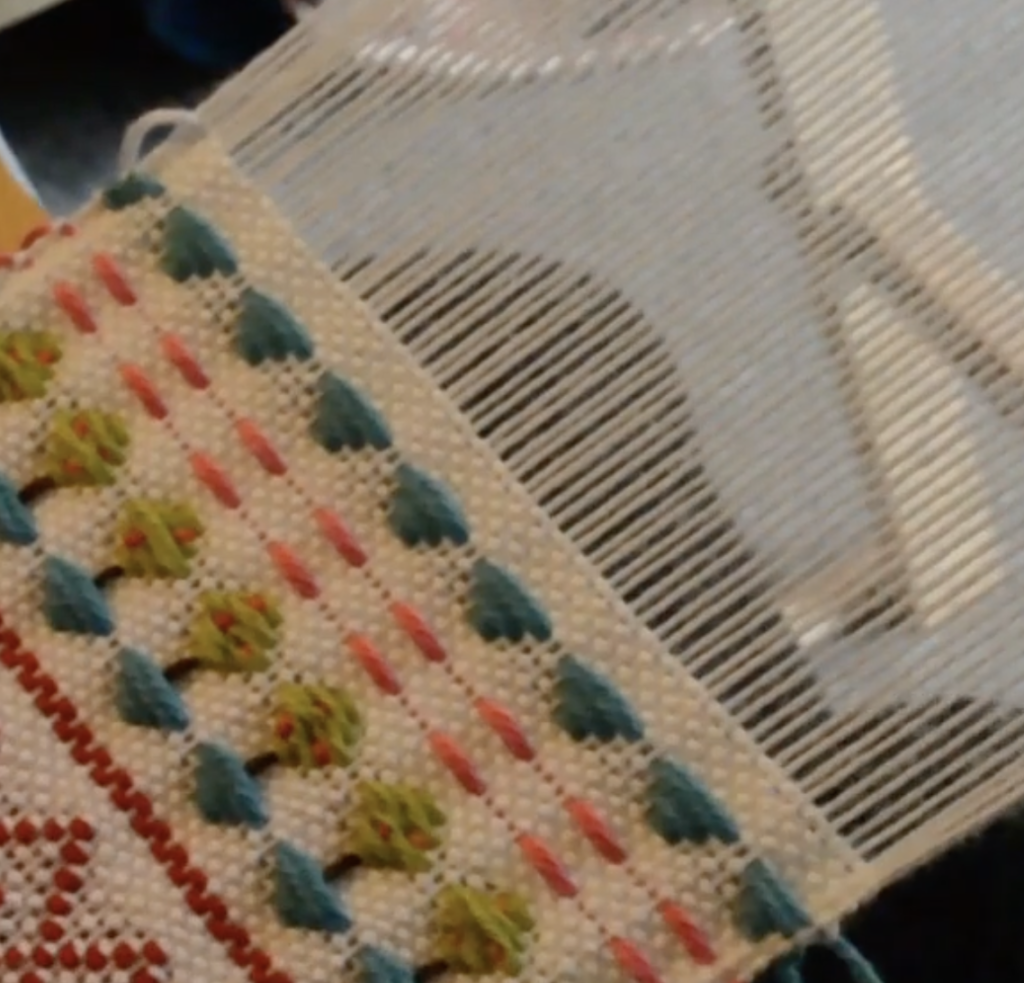
That way, we have sturdy fabric to embroider onto and we can line up the trunks really nicely with the other design elements. So, we move onto step 6 of your pick up instructions.
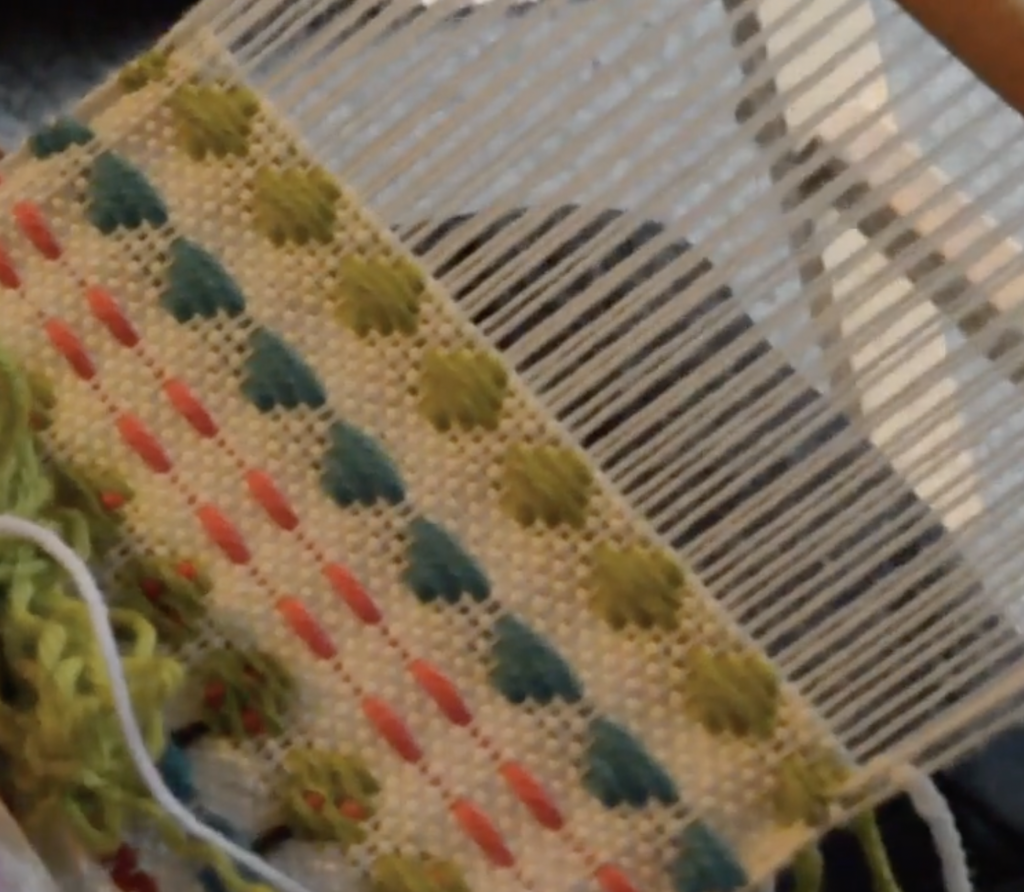
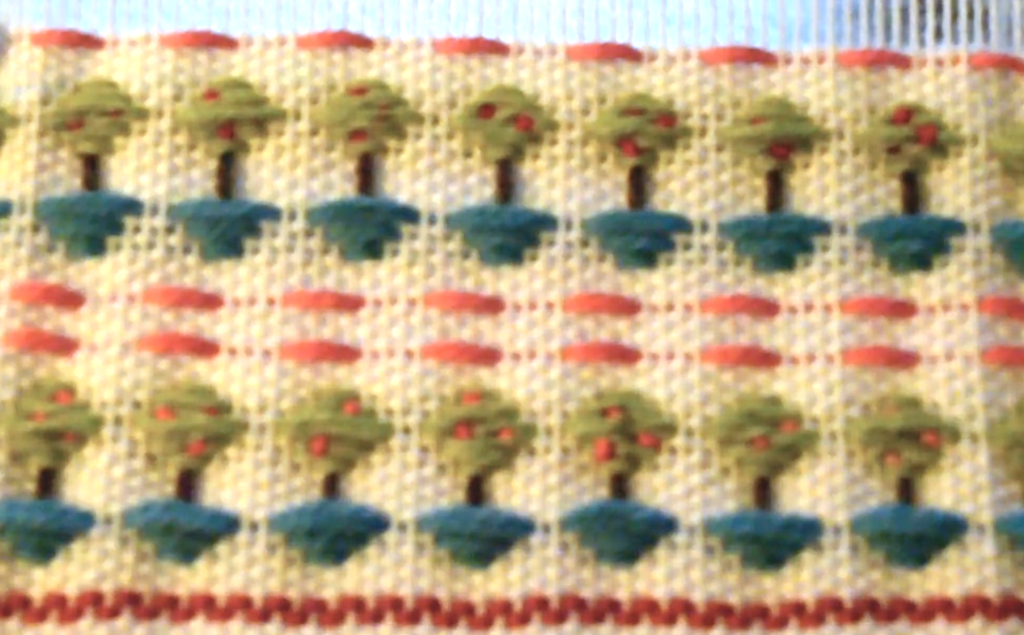
Continue following the sequence to form the tree foliage. The pattern weft for the foliage is also doubled. Don’t forget to weave a plain weave pick in between every pattern pick. Now we can thread a tapestry needle with some brown wool or embroidery floss to embroider the trunks.
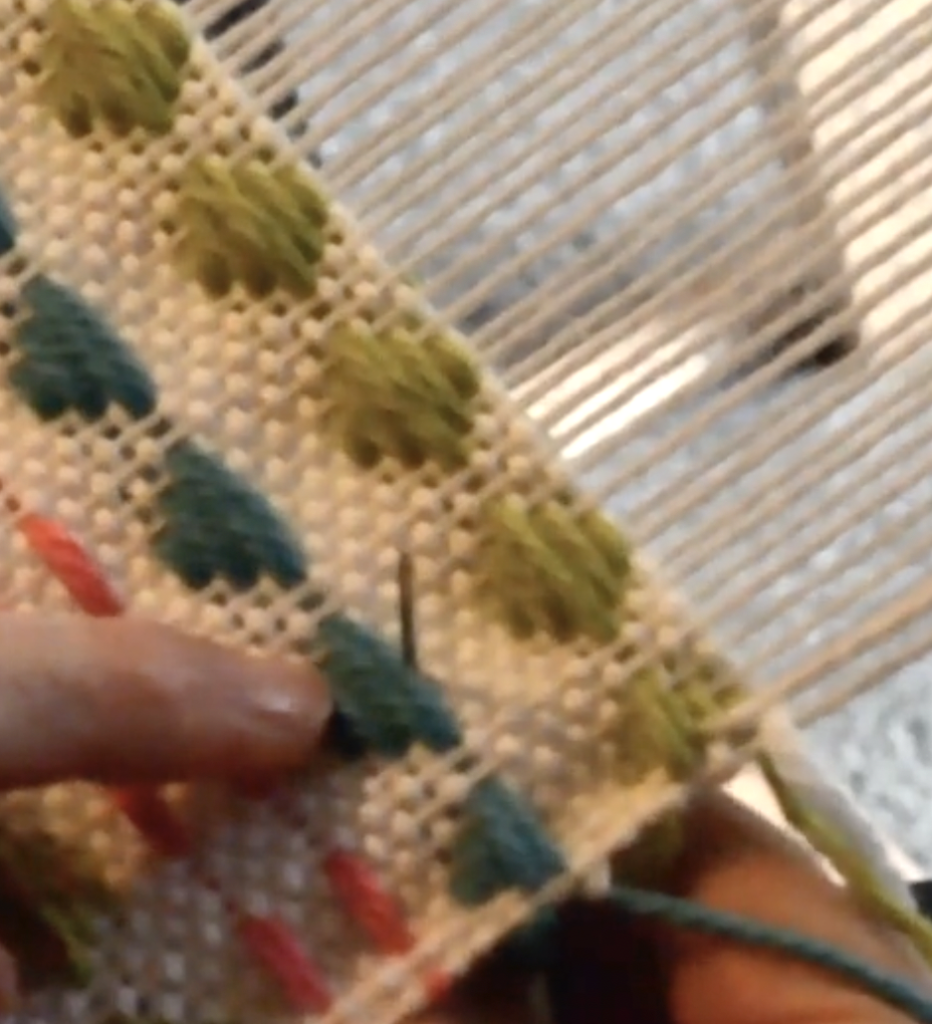
Knot your embroidery yarn to prevent it pulling through the fabric. Come up from the back of the fabric in the middle top of one of the pots, as shown.
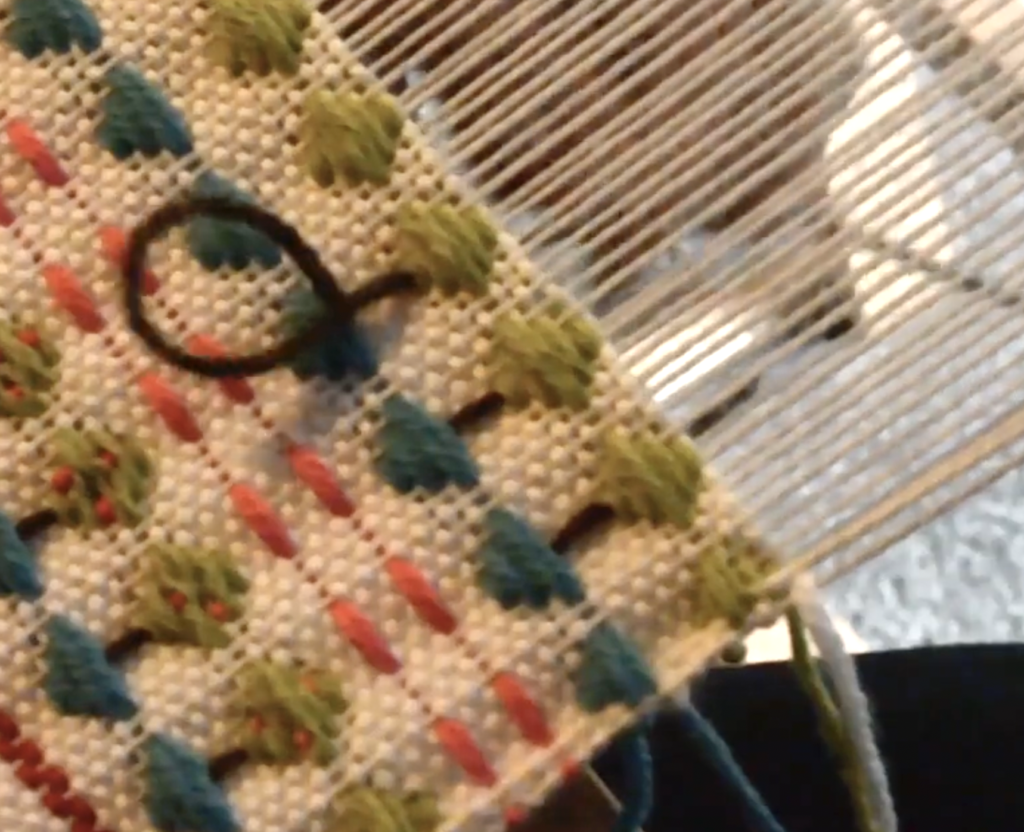
Work a straight stitch to the bottom of the foliage. Take the needle down through the fabric and knot it off at the back, burying the tail in the back of the foliage. This prevents your from having super long threads at the back of the work. Knot the end of the yarn again to work the next trunks.
Once all your trunks are done, you can think about embroidering the fruit. I did this by threading up the colour I wanted and working French knots in the foliage – about 3 French knots for each tree.
If you would like to see the video version of this tutorial, including a graph chart for the design, it is available as a part of the Exploring Branoe class, available at the Online Weaving School.
I also have a low cost downloadable PDF ebooklet available. In this resource you will find written instructions for my free video tutorials on Youtube that use the Branoe technique, all collected and outlined for you in one place 😉
I hope you enjoyed this tutorial.
Until next time…
Happy Weaving!
