Changing weft colours frequently in one project usually occurs when you’re weaving stripes, blocks or bands of colour.
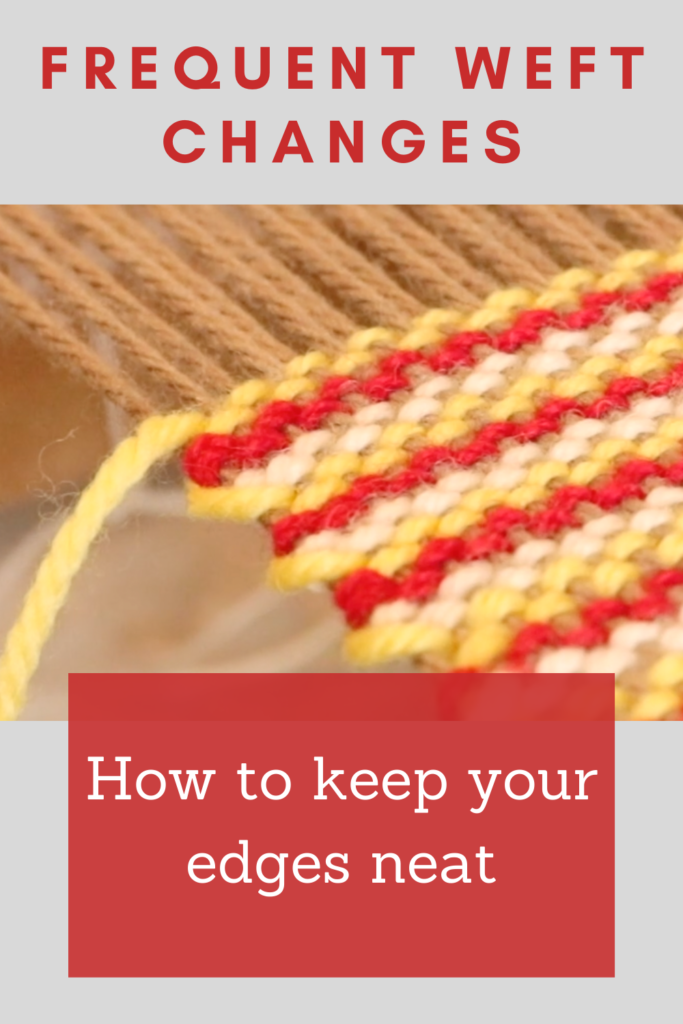
Today I’m going to talk about the problems that can spring up and show you three different options you can use when you need to change your weft colours often.
Here are some common questions and confusions surrounding weft changes:
“Should I cut the old colour when introducing a new one? If so, what do I do with the cut tails?”
“Should I not cut the colours, but weave them continuously, swapping shuttles as I go and carrying the colours up the edges?”
You may be wondering about which method is the best?
Well, that all depends on how wide the stripes or each band of colour are going to be. I’ll explain further.
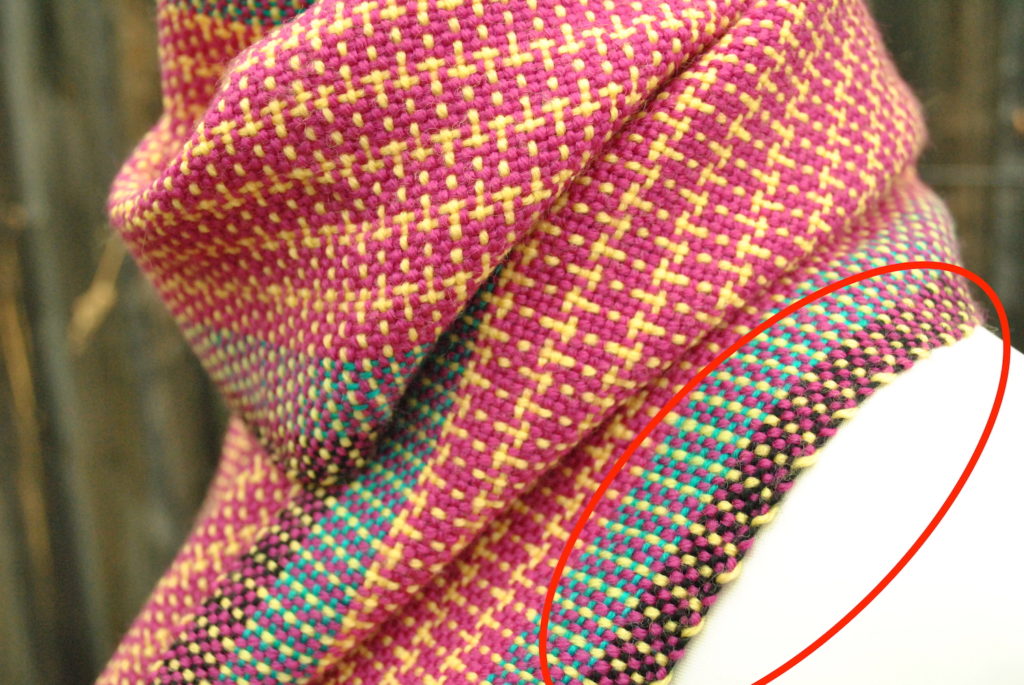
If you are weaving wide bands of colour, it will likely not be practical to carry the yarns up the selvedges as you weave. This will create long floats. Now, floats at the edges can look great as a design feature, but the length does need to be practical. Floats that are too long will get caught or snagged once the woven piece is in use – they will get stretched and end up looking, well, a bit ragged!
There is no hard and fast rule with what length of float is too long or how wide a stripe should be before deciding on which method is best. But, one example that I use would be, if I’m weaving with light worsted weight yarn and intended to carry the yarn up the side, I wouldn’t make my stripes more than 4 picks wide.
Another example might be that I’m weaving 3 picks of a colour before changing, weaving another 3 picks in a different colour and then going back to the original colour. For this situation, I would choose to keep the yarn colours continuous and carry them up the sides.
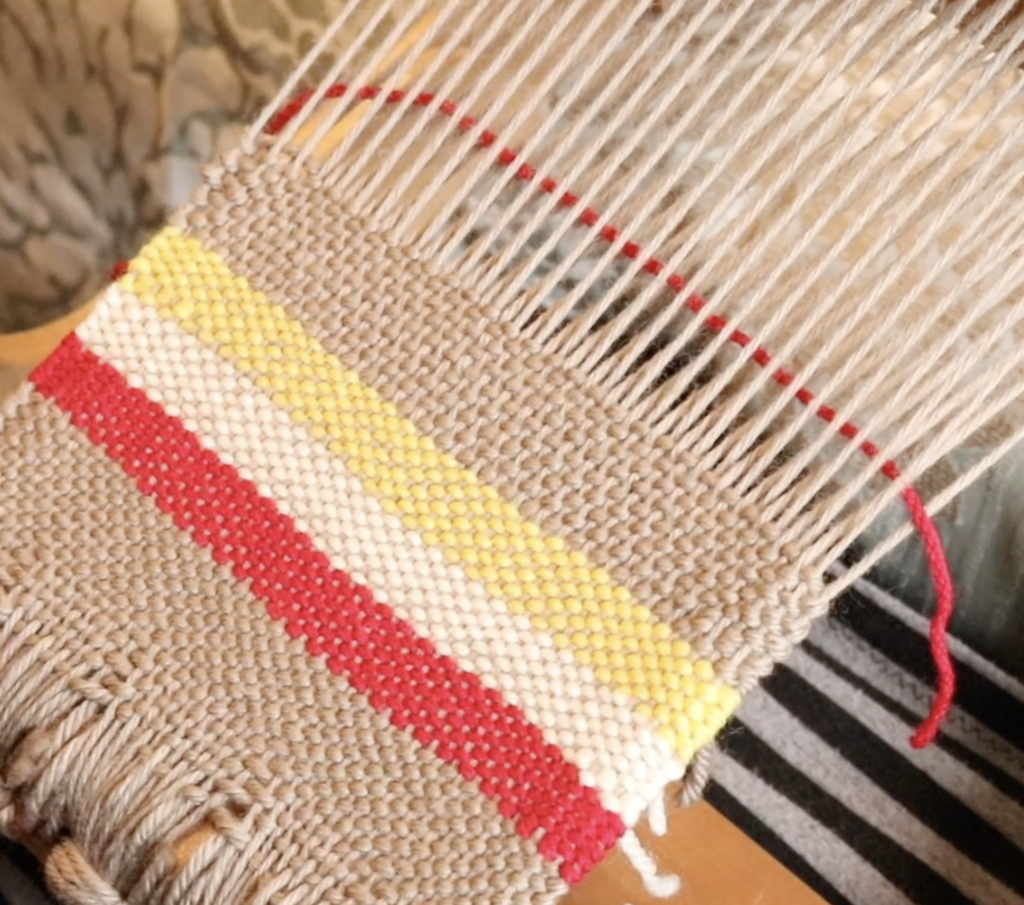
Let’s have a look at what the basic method for thicker stripes would be:
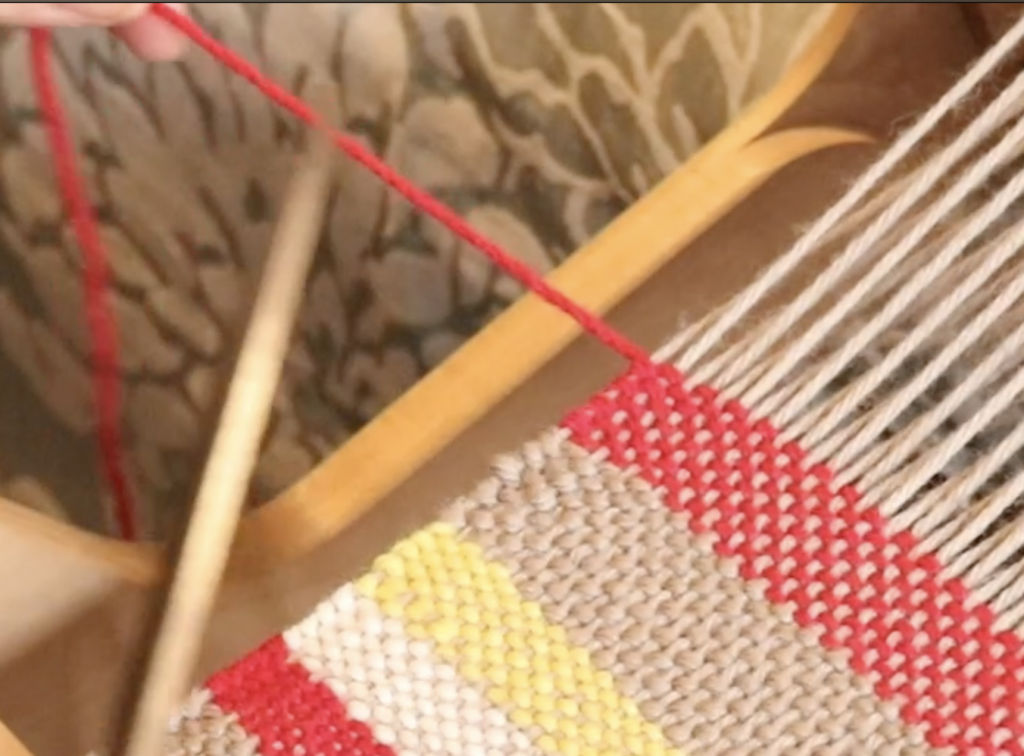
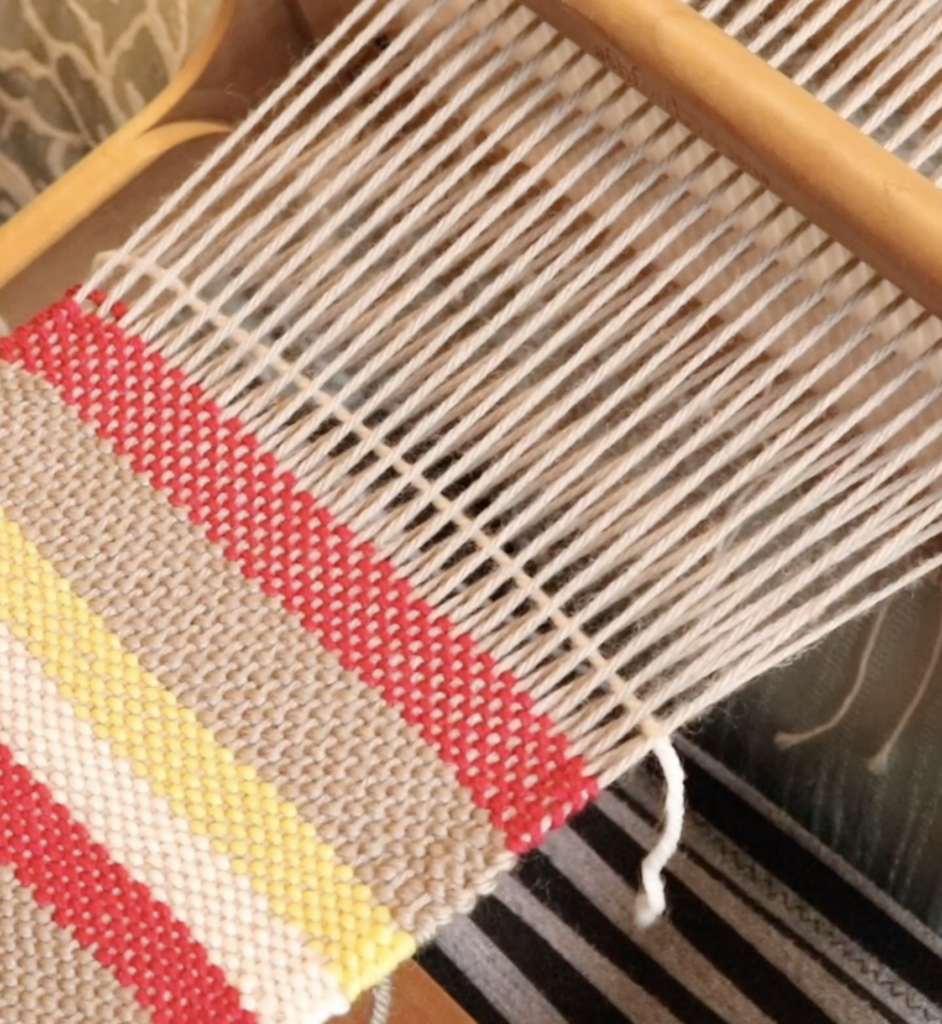
Introduce the new colour and leave a tail of a couple of inches on the cut end. Weave that pick and change to the next shed.
Take the cut tail around the edge warp thread and into the new shed, around 3 warp threads deep. Pull down to the back of the warp, making sure that it is nicely arranged at the edge warp thread.
Weave the new pick, and continue to weave until your stripe or band of colour is as thick as you want it to be. Finish the pick on the opposite side to the one you introduced it on.
Cut the yarn, again leaving a tail of a couple of inches. Change to the next shed.
Tuck the tail into the new shed as before.
Bring the new colour in, ensuring the tail is on the opposite side to where you finished the last colour. Continue with the initial steps for each colour change.
Pretty straightforward?
The only thing you need to pay particular attention to here is to alternate the sides that the tails are on to prevent a build up on one side. Leave the excess parts of the tails hanging from the back as you weave (they don’t get in the way) and when your piece is wet finished and dried, cut them close to the fabric, being careful not to cut the fabric itself.
Now let’s go over the two methods you can use when your stripes and thinner or colour changes are more frequent:
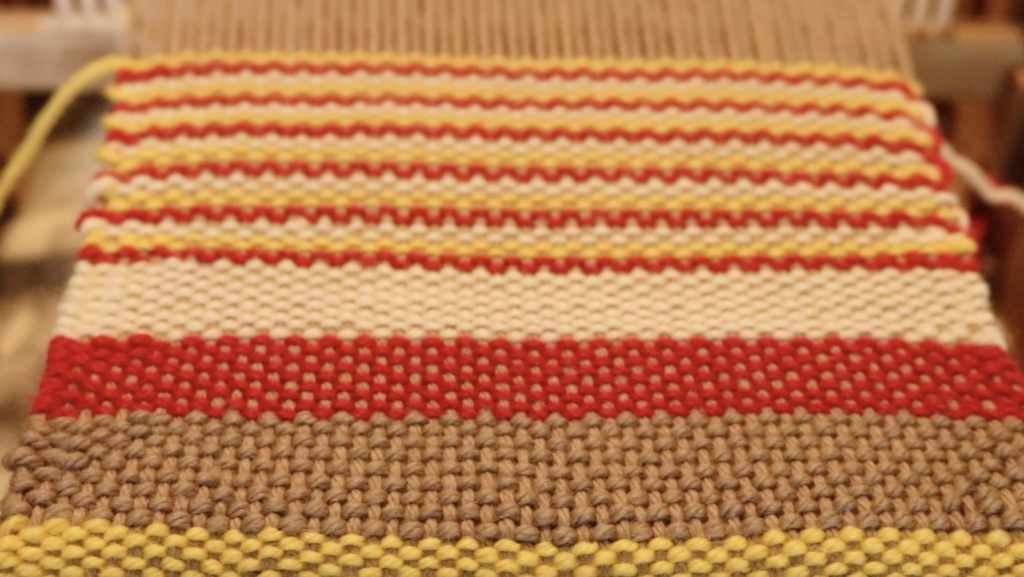
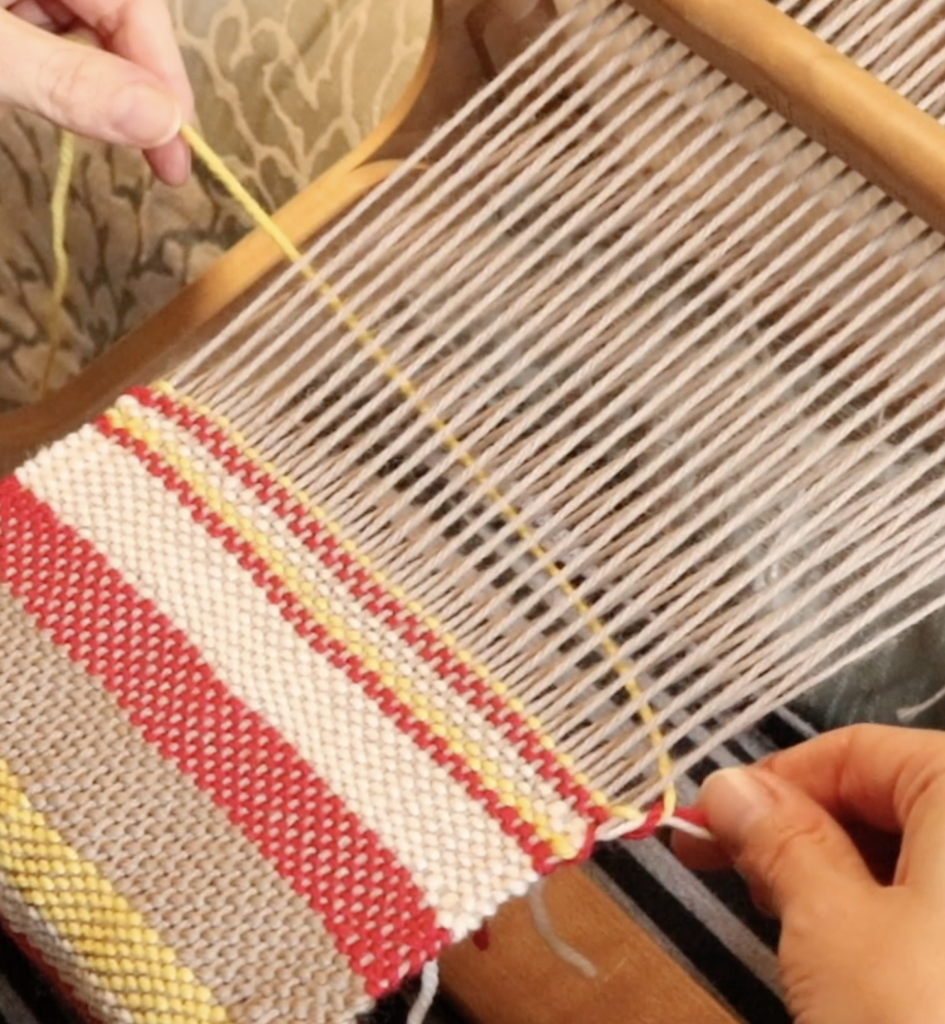
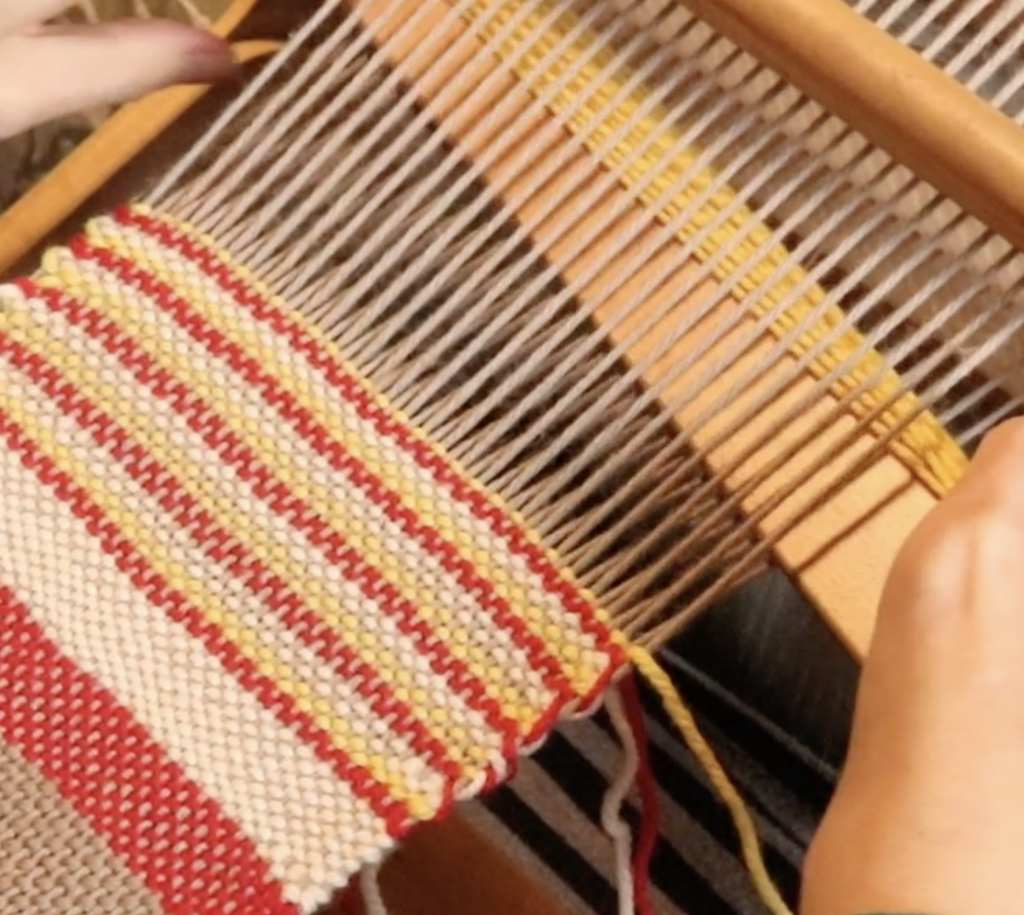
In my demonstration I’m using 3 different colours and weaving 2 picks of each colour.
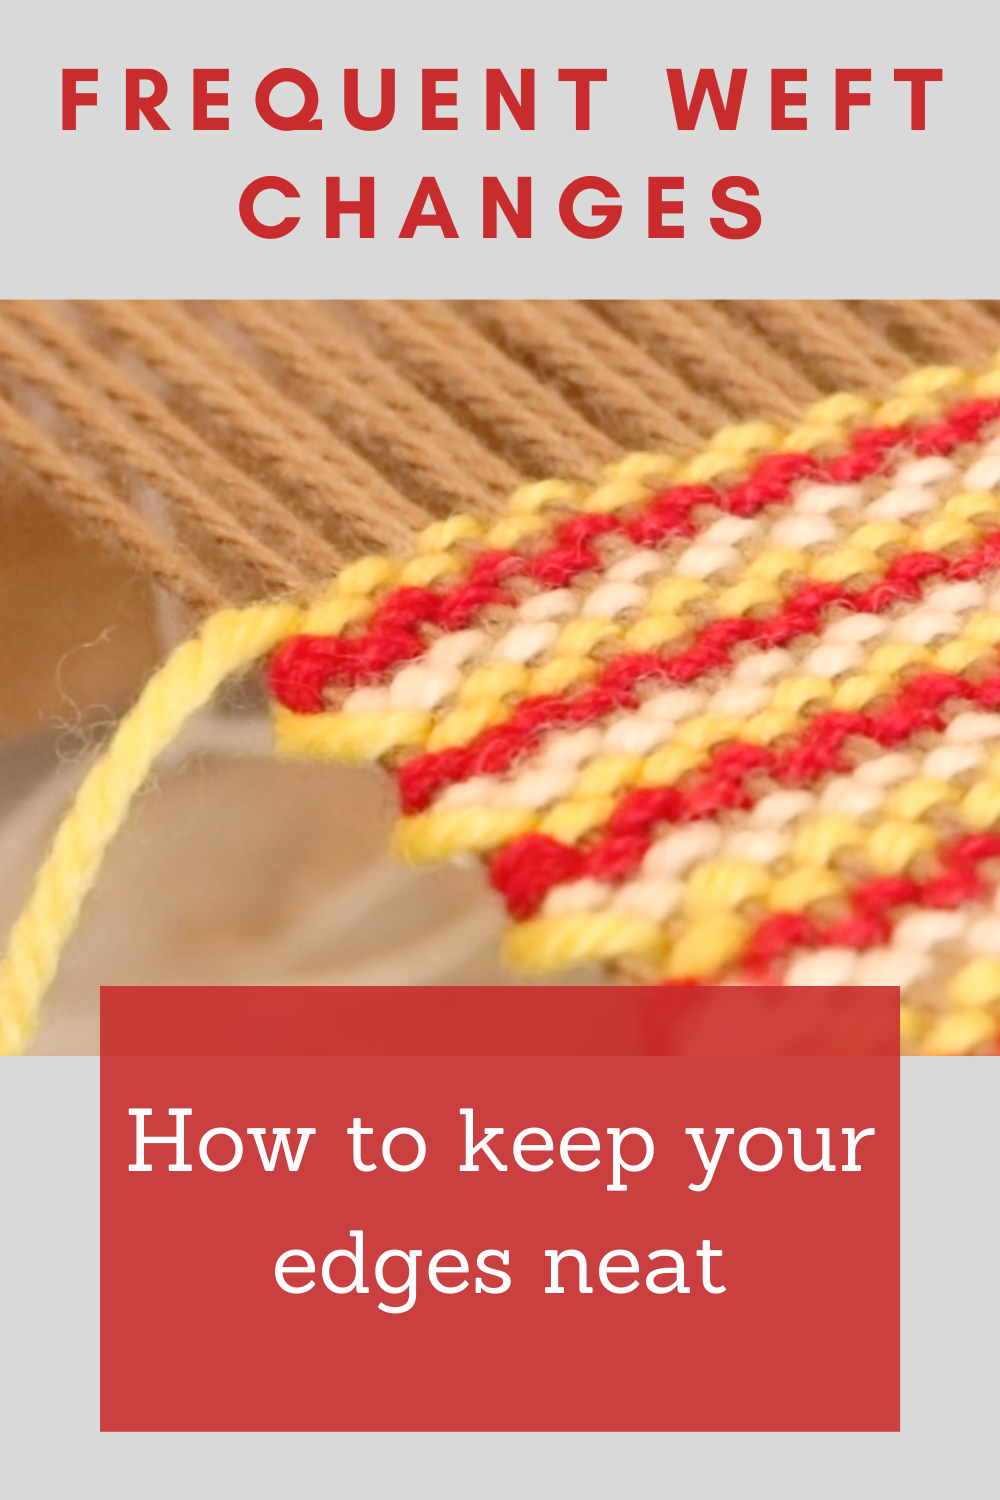
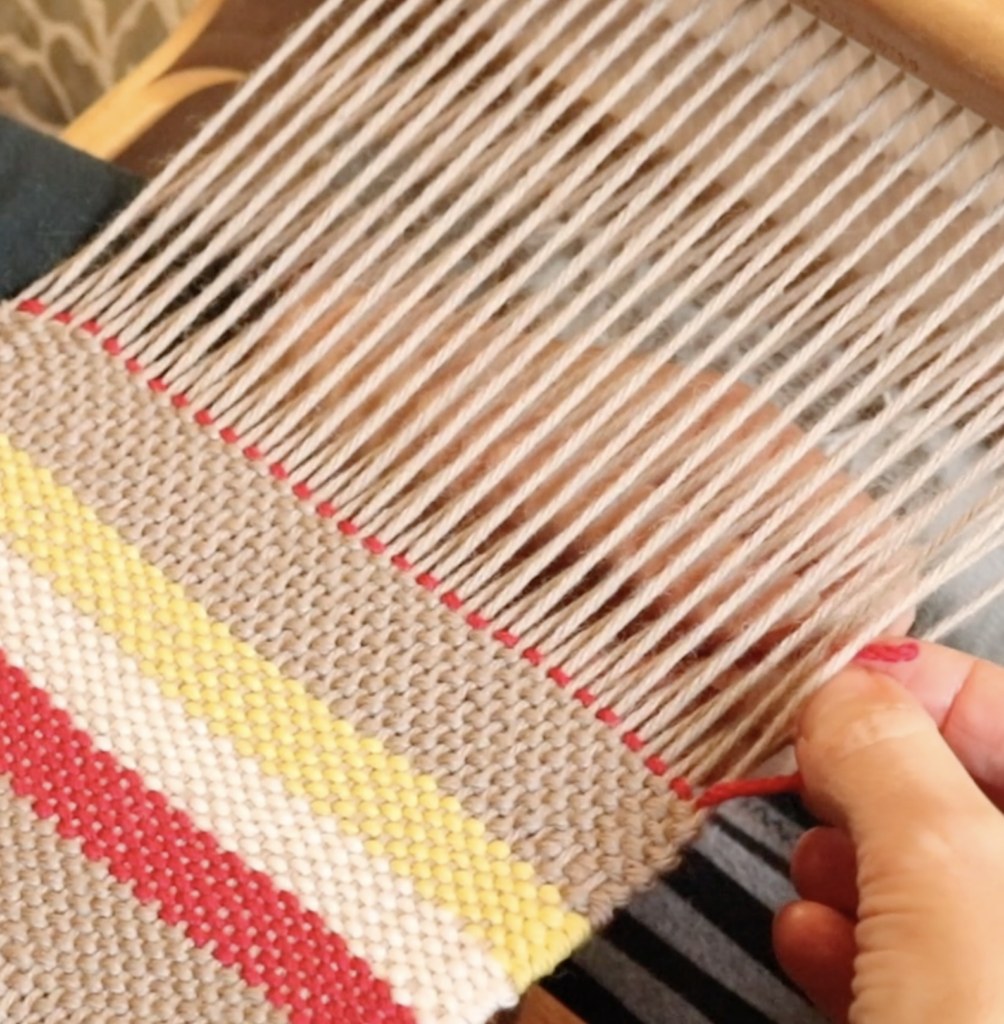
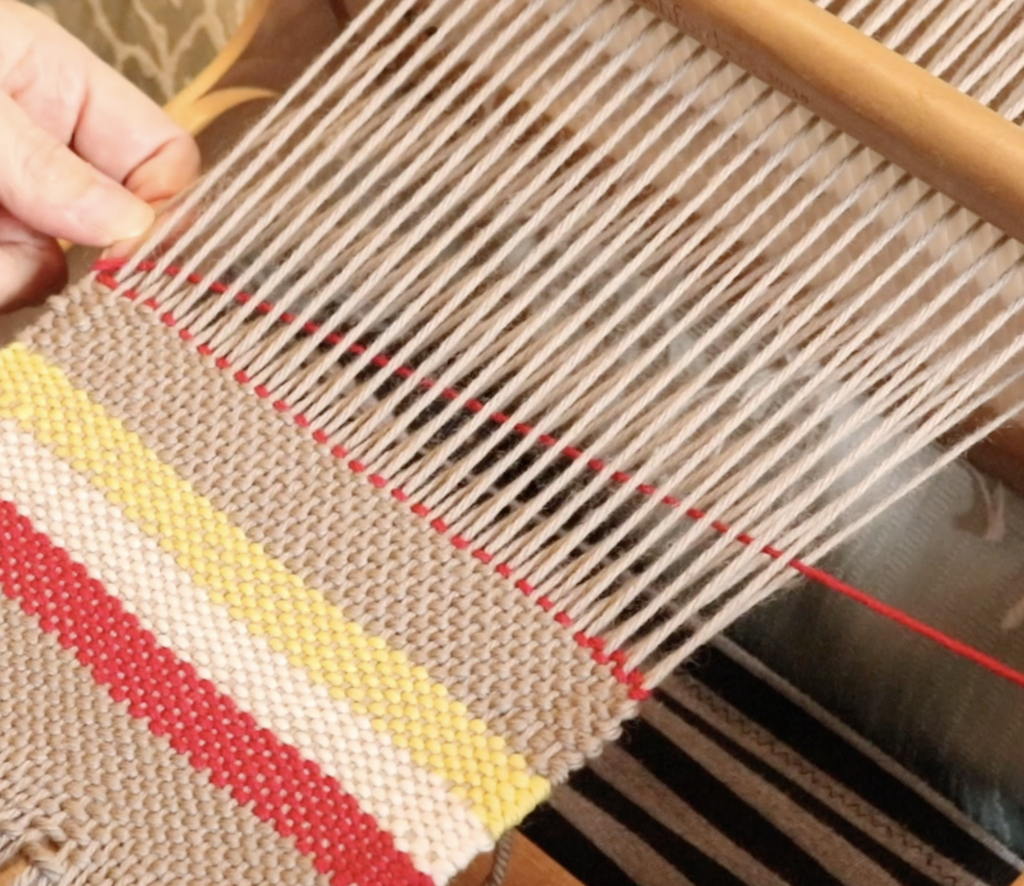
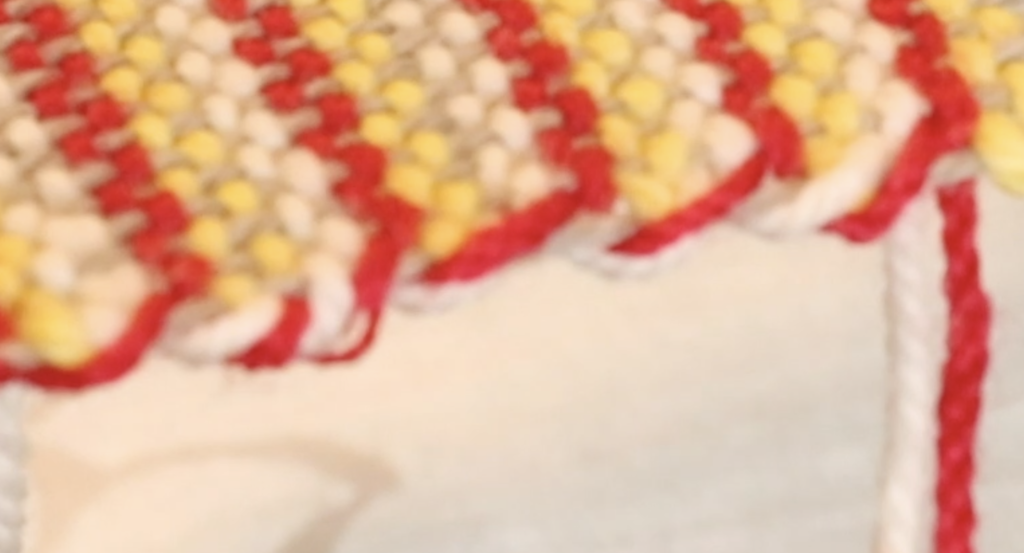
The first technique is to make the colours go around each other at the edges. This ensures that every colour is carried up the edges while it’s not actively in use.
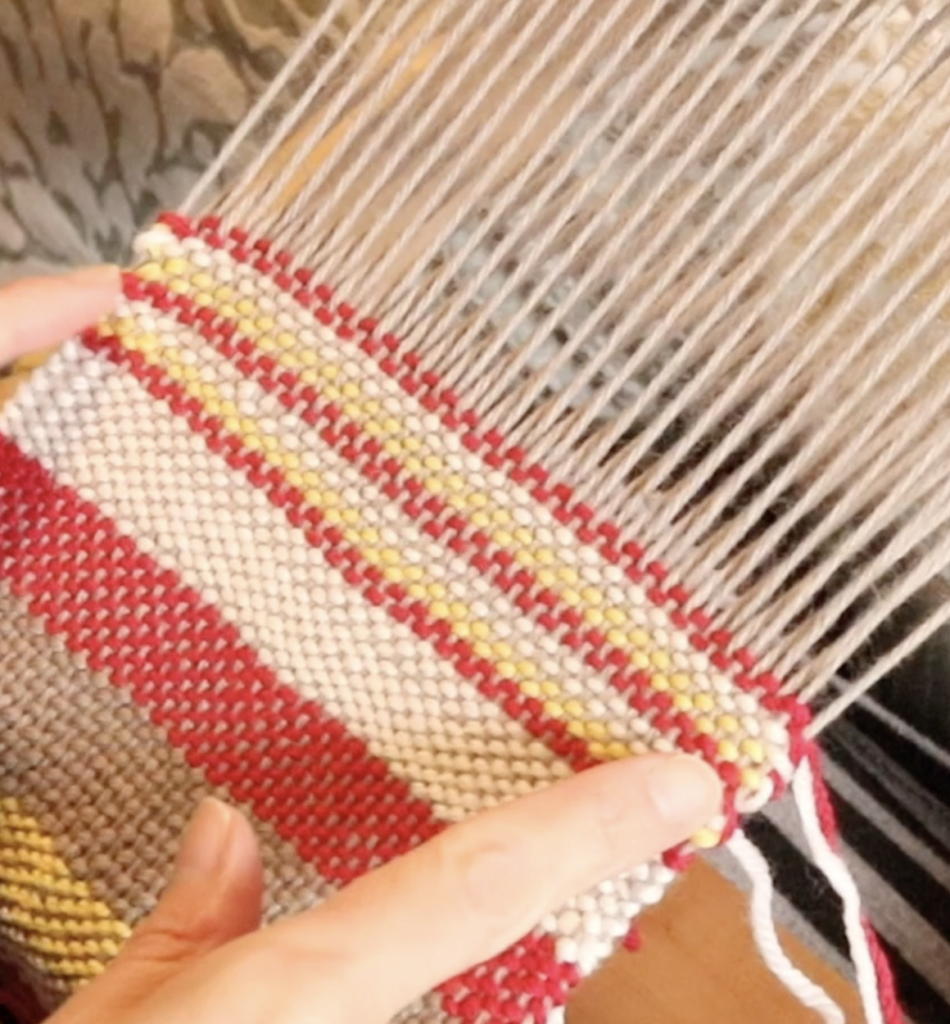
This method does have its drawbacks. I was using 3 weft colours for my stripes and found that, for the picks where all 3 colours were on one side, carrying up the side created bulkiness in the form of a noticeable bump where all the colours meet.
While this method would work well for 2 weft colours, for 3 it is not the method I would naturally choose. I can’t live with those bumps – to me they just stick out like a sore thumb!
So, for my 3 weft colours, this is my preferred method:
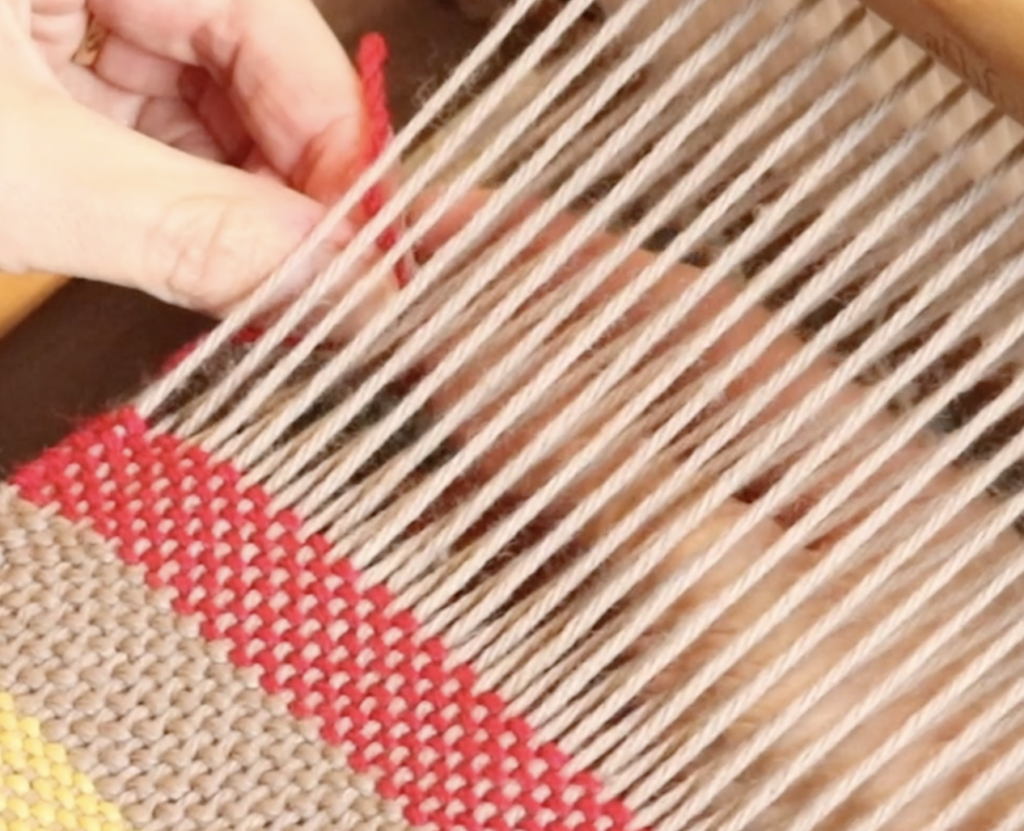
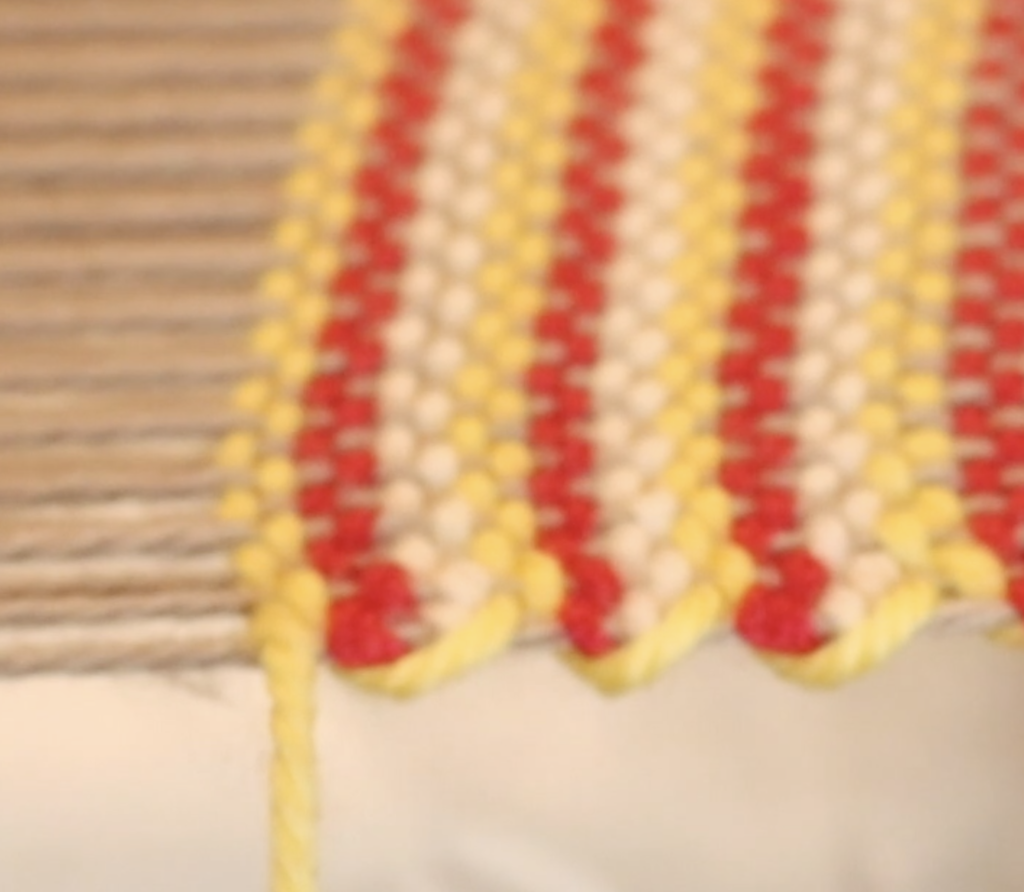
Weave the weft colours in the same way but don’t make them go around each other at the edges. Just weave them independently of each other and ignore the colour that you’re not using at the time, let it just sit where it finished off and wait.
When you’re ready to weave a new colour, you can just pick up the colour you want and continue weaving. Obviously, this works best for repetitive colour patterns so that your edge floats look harmonious and continuous.
I find this method gives a very neat and pleasing finish to the edges.
To the left you can see the first method I used of taking the colours around each other. On the right is how the second method looks – much neater, I think!
When you are using a thinner yarn (say an 8/2 or 10/2 cotton) it is much easier to hide what you’re doing at the edges and it won’t be very noticeable in your finished piece. But for thicker yarns, like the light worsted I’ve used here, these techniques are a “must know”.
If you’re interested in exploring these techniques further, I have a detailed video demonstration available in the Weaver’s Knowledge Library. I have put this library of “bite sized” classes together for members of my Online Weaving School. It is a great new space where members can learn new techniques quickly and effectively – and of course, refer back to them over and over. I intend to build up a lot of classes in this library in the coming years.
As an additional resource, you may find this video helpful. It shows how I weave the wefts for log cabin:
Have you tried any of these techniques? Which one do you prefer and why? Let me know in the comments, I love to hear from you!
Until next time…
Happy Weaving!

Hya Kelly, I’ve read through the comments and answers , my question is I’m doing thick and thin stripes and joining and cutting and weaving ends in , with your explanation I’ve got my head round that bit. So for getting tails to lie more evenly at both ends , if I finish a colour block with the heddle in the down position with a pick starting at the left, finishing to the right side , instead of putting the heddle to the up position and restarting at the right , , can I start the next block at the left, down heddle shed side finishing at the right, or does that not work
Hope that makes sense?
Jean, you can start at the opposite side as long as you change sheds first, otherwise you double up on your weft row 😊
I’m having issues with a tartan pattern. There are 16 picks one one color, then 2 picks if the accent color. With the accent color beginning & ending on the same side it leaves a noticeable lump/bunch when I tuck the ends into the selvedge. Any suggestions?
You could leave a tail and needle weave it into the piece when it’s off the loom – that way you can place the tail a little more discretely.
This is a great help. Thank you. I do have a scenario that I don’t know if this fits into, though (or perhaps it does): I have a single color within a series of single row two-color changes. The single weft row isn’t used for another twelve rows. When you tuck in the ends, you end up with a thick end on each side. Is there any other way to do that so that it looks like one clean, single weft row?
Joyce, if you’re using a thicker yarn, there are times where the tails will be visible and there isn’t a lot you can do about it. If you have the tails on both sides of the warp, it doesn’t tend to be as noticeable and looks more balanced.
I’ve experimented with a variety of techniques to see if the tail bulk can be decreased but haven’t come up with anything that looks better than just tucking into the warp.
This is not generally a problem when using thinner yarns, as they “disappear” into the weaving more readily.
I recently encountered another method for 2 pick stripes, it’s probably best for accent stripes, not part of a repeated pattern. Cut a piece of yarn 4-3 inches longer then needed for 2 picks. Lay in the first pick centered across the width of the warp. Change sheds, now bring in the ends into the new shed, crossing them in the middle so they overlap by several threads. How much will depend on the size of the yarn. You can do a split ply join if it’s a thick yarn. Pull the tails out the back as usual and beat. This avoids the bulky ness at the edge and completely hides the join.
I’ve used middle joins, but I do find (particularly for thicker yarns) that the yarn tails hold in position a bit better when tucked into the selvedges, just because the warp threads are naturally closer and tighter there.
Normally I change colours like Kelly shows above. The problem with 2 pick stripes is that they begin and end on the same side, and that leads to 4 threads at the edges. I recently made towels from 8/2 cotton with some 2 pick stripes, and I split the threads at the biginning and the end and put the tails back into the same shed. They are barely visible.
Great to hear you found a good solution Arnold 😊
Hello dear one…..the video at the bottom of this post shows how to make an additional heddle rod, not the carrying up of the floats for log cabin. Oops????
Val J
Ps, I just love your instruction……and talent.
Oops indeed, thanks for letting me know, I will fix it!
Thanks so much
Thank you for this very helpful post. Specially the way you explained the color changes with narrow stripes will help me with future projects. But:
When I weave block stripes and cut the yarn at the end I usually thread the tail into a darning needle and weave that end in one or two picks further down so that it disappears into the same color. Specially when I use a thicker cotton yarn and do it the way you described the color change is more visible. Is it understandable what I wanted to say?
Yes, very understandable 😊 That is also a good way to do it, especially when you want to make the tails more invisible.
Hi Kelly,
Than you so much for this blog post about the different methods of changing yarn colors at the selvedge with different numbers of colors and different numbers of picks for each color. As usual, it was very instructive and your detailed instructions and demonstrations were so helpful. I am delighted that your online school is growing by leaps and bounds. That is wonderful and I hope it just keeps getting larger. What a great success! Congratulations. Veena
Thanks so much Veena 😄
Thank you for the information of changing colors. My problem is when only one row of a color is needed. can’t figure out the correct shed. Example: l row or red, l row of blue, three rows of white. Doesn’t seem to work out correctly.
When using odd colours, you’re going to end up with more floats on one side. It can look fine though, because it will form a pattern as you repeat the colours and sheds.
Thank you for another great post Kelly. I recently had frequent colour changes with thin stripes and didn’t like the way I tried to weave them up the side. Your method looks way better, I’ll remember to come back and review your method next time I’m weaving thin stripes.